


Electric Wall Ovens
Ligh
t
Norm
al
Oven
Fan
Assist
Classic
Half
Grill
Gri
ll
Grill
Fan
Oven
Fan
Bake
Hig
h
Bake
Operation And Care Instructions
Model No’s
4516080 9 function Clock
4516500 5 function Clock
4516400 5 function Timer
4516090 9 function Timer
4516050 5 function Timer
Safety Precautions
The appliance is not intended for use by young children or infi rm persons without supervision.
•
Young children should be supervised to ensure they do not play with the appliance.
•
During use the appliance becomes hot. Care should be taken to avoid touching heating elements
•
inside the oven.
WARNING: Accessible parts may become hot during use. The oven becomes very hot and retains
•
its heat for some time after it has been switched off. To avoid burns and scalds children should be
kept away. Children should never be allowed to sit or stand on any part of the appliance. Children
should never be left alone or unattended in the area where the appliance is in use.
Use this appliance only for its intended use. Never use this appliance for warming or heating the
•
surrounding room, for drying clothes, textiles or other items.
Do not place combustible materials or products on or near the appliance. Do not use or store
•
aerosol cans near your oven.
Use only dry, heat resistant oven mitts or pot holders when handling items in the oven. Do not allow
•
oven mitts or pot holders to touch hot heating elements. Using moist or damp mitts or pot holders
may result in burns from steam. The use of a towel or other bulky cloth when handling hot cooking
utensils, is not recommended.
Loose fi tting, hanging or highly fl ammable garments should never be worn whilst using the
•
appliance. Wear appropriate apparel.

First Time Use And Quick Start Guide
The purpose of this section is to get you using your oven to cook a meal with a minimum of delay.
More detailed instructions that will give you greater control of your oven are contained later.
Set The Clock To Manual Mode
12:05
Electronic
Timer
Models
Only
Using The Mechanical Timer
/6%.
Mechanical
Timer Models
Only
When power is fi rst connected to your oven: The time of day “(0:00)” and
“AUTO” will fl ash in the display. Simply press the “Reset” button under the
clock to automatically place the unit in manual mode so that you can
continue to use the oven.
Note: Although not necessary at this stage, you may if you wish, set the time
of day. Refer to page 8 for instructions on how to do this.
To time your cooking: Turn the far left knob in a clockwise direction to the
desired number of minutes, up to a maximum of 120 minutes (2 hours). You
should hear a faint ticking sound as the timer proceeds to wind itself back to
zero. When the timer reaches zero, the oven switches itself off. You can still
switch the oven off before the timer reaches zero by simply setting the Mode
and Temperature Controls.
Note: When using any mechanical timer, it is more accurate if you turn the
control knob slightly past the required number of minutes, and then turn it
back again to the desired setting.
The timer can be set to Manual: Turn the far left knob to the Manual setting.
The timer will be deactivated, allowing you to turn the oven on and off as
you need.
Initial Heating
Before placing food in your oven for the fi rst time, you will need to do an initial heating. The
elements in your oven have a fi ne oil fi lm on them, applied to help protect the appliance during
shipping. You now need to burn off this fi ne oil fi lm. You may notice some smoke and/or smell
when you do this, which is perfectly normal.
Ensure the oven is set for Manual operation, as explained above.
1.
Select “Fan Forced” on the 5 function models or “High Bake” on the 9 function models. This
2.
can be done by turning the Mode control knob in either direction.
Turn the oven Temperature control in a clockwise direction to 180°C.
3.
Keep the oven door closed and leave the oven on for about 1 hour, or until any smoke has
4.
disappeared.
Now using the Mode control knob, select “Fan Grill”. Keep the oven door closed and leave
5.
for a further 20 minutes or until any smoke has disappeared.
Turn oven off by returning the Temperature control and Mode control to the off position.
6.
Wait till the oven has cooled down before proceeding.
7.
Clean The Oven
It is important to clean your oven before preparing food for the fi rst time. To avoid electrical
shock or burns, make sure the oven is turned off, and the oven has cooled down.
Use a damp cloth with warm water and a little detergent to wipe down all the internal surfaces
of the oven. Next, thoroughly wipe down the cleaned surfaces with a soft cloth and cold water
and then dry them with a clean, soft cloth to remove any remaining residue.
2
First Time Use And Quick Start Guide
Basic Cooking
Set The Cooking Mode
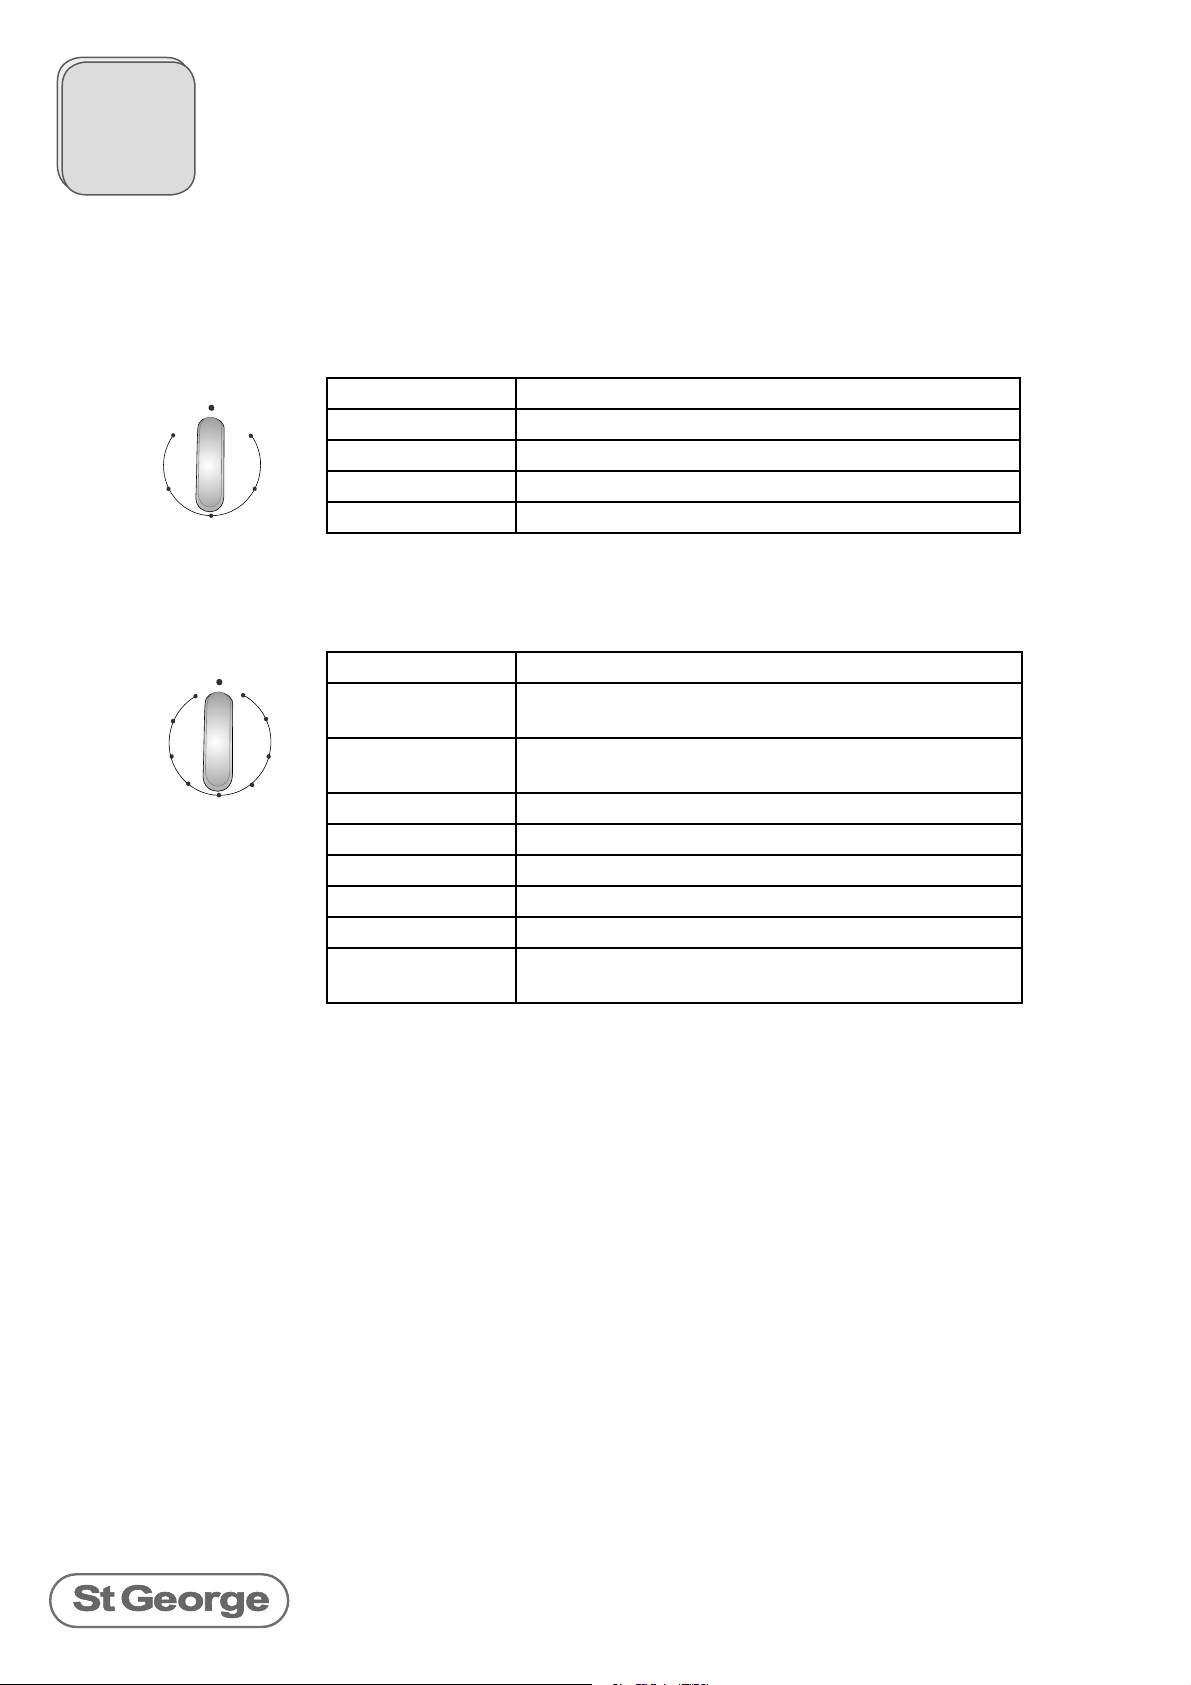
Models 4516400, 4516500 and 4516050 have the following fi ve choices:
-/$%
&AN
'RILL
'RILL
&AN
&ORCED
,IGHT
$EFROST
For model 4516080 & 4516090 you have the following nine choices:
Light No heat or fan. Light only.
Defrost No heat. Fan only.
Fan Forced Circular rear element, plus fan to circulate heat
Grill Top element only
Fan Grill Top element plus rear fan to circulate heat.
In all cooking modes, the light remains on.
&AN
/VEN
&AN
'RILL
'RILL
(IGH
"AKE
-/$%
(ALF
'RILL
,IGHT
#LASSIC
"AKE
.ORMAL
/VEN
!SSIST
Light No heat or fan. Light only.
Normal Oven Concealed bottom element plus outer top
element
&AN
Fan Assist Concealed bottom element, plus outer top
element, plus fan to circulate heat
Classic Bake Concealed bottom element only
Half Grill Inner top element only
Grill Inner and outer top element
Fan Grill Inner top element plus rear fan to circulate heat.
Fan Oven Circular rear element, plus fan to circulate heat
High Bake Concealed bottom element plus circular rear
element plus fan
In all cooking modes, the light remains on.
Set The Temperature
Turn the Temperature control clockwise to the required temperature. Typical
cooking temperatures are:
Fruit cakes 130ºC - 150ºC
•
Meat 170ºC - 200ºC
•
Pastries 200ºC - 230ºC
•
Of course there are many exceptions, so you should consult specifi c recipes for
actual temperatures and times. A more complete time and temperature guide
is included on the back page of this booklet for later reference.
Where To Place Food In The Oven
•
Position food near the centre of the oven as much as possible.
•
When cooking several dishes at once, prevent dishes from touching each other or
the sides of the oven.
•
To allow heat to circulate, do not place dishes directly underneath each other stagger their positions if possible.
3

Basic Oven Functions
Your St George oven has a number of different cooking functions. On these pages are the basic
functions contained in all models in this range. These cover the majority of cooking needs.
All functions are simple to use and can be set by turning the Mode control to the desired
setting.
General Oven Use Hints
General Hints
It is always a good idea to pre-heat the oven when cooking more than one dish at a time.
•
Always place food as close to the centre of the oven as possible.
•
When cooking on more than one level, stagger the positions of the trays to allow for as much
•
free circulation of heat as possible.
Once cooking is fi nished and the oven is turned off, a good amount of heat will be retained
•
for a period of time. This heat can be used to dry foods such as bread crumbs or herbs, or to
keep food warm prior to serving.
Defrost
No heat is
applied in this
mode. The rear
fan is switched
on
When To Use This Function
This function can be used to hygienically and effectively defrost all frozen foods.
Food is defrosted effectively by the circulation of air, not by heat. The risk of
growing bacteria and over thawing is reduced. Foods will not start to cook as
sometimes happens when using a microwave to defrost.
Helpful Hints
This method of defrosting can be used for any type of food, but works best for
•
meat, fi sh fi llets and delicate foods such as, cream cheesecakes, cakes with
cream fi lling and icing or frosting.
The volume and weight of the food will determine the time it will take for foods
•
to defrost. As a general rule, the approximate time for defrosting meat is 15-20
minutes per kilogramme.
Place the food towards the centre of the oven. This will speed up the defrosting
•
time.
Be sure to check your food whilst it is defrosting. Leaving the food in the oven for
•
longer than is needed may cause the food to spoil. Once the food is defrosted,
remove it from the oven and place it into the refrigerator until needed.
4

Basic Oven Functions
Fan Forced
When To Use This Function
This function is especially useful when cooking several trays of foods on
different shelves.
The fan distributes heat around the oven more evenly. Although cooking
Heat comes from
the rear circular
element. The rear
fan operates to
circulate heat.
Grill
temperatures are the same as in a conventional oven, cooking times tend to
be shorter, saving time and energy. Food also tends to cook more evenly.
Helpful Hints
•
It is a good idea to pre-heat the oven when cooking more than one dish
at a time.
•
When cooking on more than one level, stagger the positions of the trays to
allow for as much free circulation of heat as possible.
Heat comes
from the top
element only.
Fan Grill
Heat comes
from the top
element.
The rear fan
operates to
circulate heat.
When To Use This Function
Ideal for toasting or for grilling foods that only require 5 minutes or less cooking
time. When cooking foods which require longer cooking times or have a high
fat content, use the “Fan Grill” mode of cooking.
Helpful Hints
Grilling should be commenced from a cold oven only.
•
Close the oven door and be sure to keep it closed whilst cooking in “Grill”
•
mode. If the door is left open, discolouration of the panels may occur.
When To Use This Function
Suitable for grilling foods that require longer than 5 minutes, or for foods with a
high fat content.
A combination of direct heat from the grill element and circulated hot air by
the fan gives excellent cooking results. Food generally stays moist and has a
rotisserie style fl avour with a crunchy exterior and succulent centre. Cooking is
also more even, since all parts of the food receive similar heat energy.
Helpful Hints
Close the oven door and be sure to keep it closed whilst using Fan Grill.
•
Food should be placed as close as possible to the centre of the oven.
•
The use of large grill pans or roasting dishes can reduce the circulation
•
of air and cause moisture to condense in the lower sections of the oven.
Pre heating the oven for about 10 minutes using “Normal Oven” or “High
Bake” modes prior to fan grilling will help prevent this from happening.
5

Advanced Oven Functions
Some models of St George oven have a number of added cooking functions for more
specialised cooking needs. Like the basic functions on the previous pages, all functions are
simple to use and can be set by turning the Mode control to the desired setting.
Normal Oven
When To Use This Function
This function is most suitable when cooking a single item on one rack only, or for
foods that require long slow cooking.
Heat is provided
by the outer top
element and
the concealed
bottom element.
Fan Assist
Heat is provided
by the outer top
element and the
concealed bottom
element. The rear
fan operates to
circulate heat.
Helpful Hints
•
Best results will be achieved if the food is placed towards the centre of the oven.
•
When cooking more than one tray at a time, it is best to pre heat the oven and
stagger the positions of the baking trays to allow for effi cient circulation of heat.
•
Condensation: Cooking food which contains a good deal of moisture may
cause condensation to escape and run down the front of your oven. If this
happens simply wipe away the condensation from the front of your oven using
a soft cloth. Built up steam in the oven can be dangerous so stand clear and
take care when opening the oven door.
•
When using water in your cooking, it is best to select “Fan Oven” mode which
allows the excess moisture to be circulated and evaporated during cooking.
When To Use This Function
This function is most useful when cooking multiple dishes at the same time.
Heat will be evenly distributed throughout the oven. For example this mode will
allow one dish to have a well cooked base and the other to be well browned.
Helpful Hints
It is a good idea to pre-heat the oven when cooking more than one dish at a
•
time.
Classic Bake
Heat is provided
by the concealed
bottom element
only.
Half Grill
Heat comes from the
6
inner top element only.
When To Use This Function
Choose this function when you want a well cooked base and minimal browning.
Helpful Hints
It is a good idea to pre-heat the oven when cooking more than one dish at a
•
time.
When To Use This Function
Similar to Grill except a smaller portion of the grill heats up. Used where less food
•
needs to be grilled, or not as much heat is required..

Advanced Oven Functions
Grill
When To Use This Function
Similar to the Grill function described on page 5. Here, both inner and outer grills
•
heat up. This function is used for larger quantities of food, or where higher heat
levels are required.
Heat comes
from the inner
and outer top
elements only.
Fan Grill
When To Use This Function
Similar to the Fan Grill function described on page 5, except only the smaller
•
inner grill element heats up.
Heat comes from
the inner top
element. The rear
fan operates to
circulate heat.
Fan Oven
Heat comes from
the rear circular
element. The rear
fan operates to
circulate heat.
High Bake
Heat is provided
by the rear
element and
concealed bottom
element. The rear
fan operates to
circulate heat.
When To Use This Function
This function is identical in all respects to Fan Forced, described on page 5. It is
especially useful when cooking several trays of foods on different shelves.
The fan distributes heat around the oven more evenly. Although cooking
temperatures are the same as in a conventional oven, cooking times tend to be
shorter, saving time and energy. Food also tends to cook more evenly.
Helpful Hints
•
It is a good idea to pre-heat the oven when cooking more than one dish at a
time.
•
When cooking on more than one level, stagger the positions of the trays to
allow for as much free circulation of heat as possible.
When To Use This Function
Foods that require a high heat and a crisp base. High bake is also good for
reheating.
Quick and consistent heat is evenly distributed throughout the oven. This function is
especially successful for pastry foods and pizza. Food retains a crisp, dry texture on
the outside.
Helpful Hints
It is a good idea to pre-heat the oven when cooking more than one dish at a
•
time.
7

Using The Programmable Clock
Not only does the clock allow you to read the time of the day but it also allows you to
automatically time cooking. Other features include an alarm and a timer which can also be
used for other household activities.
A Quick Tour Of The Programmable Clock
Mode Buttons
Timer
A
U
T
12 45
O
Cook
Stop Reset
.
Indicator Lights
Mode Buttons
Timer This is a normal kitchen timer. It sounds an alarm after a preset
number of minutes, but does not turn the oven on or off.
Cook This gives cooking duration in minutes.
Stop This button allows you to set the time of day that the oven
automatically switches off.
Reset Reset button clears any setting on the Cook or Stop buttons. It
does not clear the timer.
v and ^ These change the time or number of minutes either up or down.
Indicator Lights
8
Upper light (Heat up light) Indicates the oven is actually heating up. When the oven reaches
its preset temperature (eg when preheating), the indicator light
switches off. At the same time, the heating elements also switch
off. As the oven loses heat, the elements and indicator light switch
on again until the proper temperature is restored.
Lower light (Oven on light) Indicates the oven is working, even if it is not heating up (eg only
the fan may be on)
Clock Symbols
A
U
T
O
Indicates that the oven has been set to automatically switch itself
off, using the Cook mode.
Indicates the timer is active.
Indicates the oven is set to work manually.

Using The Programmable Clock
T
C
S
R
Set The Time Of Day
Press the Reset button.
.
12 45
TCSR
Using The Timer
This is an independent alarm that allows you to time various household activities. It does not affect the
operation of the oven. The timer sounds an alarm after the selected number of minutes.
.
0 00
TCSR
1.
Immendiately (within 5-10 seconds) press the “^” or “v” buttons until the
2.
correct time is displayed.
When these buttons are pressed and released the time will change in 1
•
minute steps,
If you hold the buttons down, the time will change more rapidly.
•
When you complete this step, the new time setting takes effect after
approximately 5-10 seconds.
To Set The Timer
1.
Press the Timer button. The clock will display zero’s.
2.
Press the “^” or “v” buttons till the desired number of minutes is displayed. The
symbol appears.
After about 5-10 seconds, the display will revert back to showing the time of day.
However, the
After the preset number of minutes has elapsed, the alarm sounds.
symbol will remain to show that the timer is working.
.
0 20
TCSR
.
0 00
TCSR
.
12 45
TCSR
.
12 45
TCSR
To Look At Or Change The Timer
If the timer is running and you wish to see how much time is left, or if you want to
increase or decrease the time remaining, you use a similar procedure to setting the
timer:
Press the Timer button. The clock will display the number of minutes remaining.
1.
Press the “^” or “v” buttons till the desired number of minutes is displayed.
2.
Once this is done, the display reverts back to showing the time of day,
To Clear The Timer
Follow the steps above to change the timer setting down to zero.
Once this is done, the display reverts back to showing the time of day, and the
symbol will disappear.
To Change The Alarm Tone
You have a choice of 3 different alarm tones.
Make sure no other function is selected (such as Cook or Stop). Press the “v” button
to allow the different alarms to sound in turn. When you hear the alarm tone you
want, stop pressing the button. The last alarm you hear will be the one selected.
To Stop The Alarm
Press any of the 4 left hand buttons to stop the alarm. If you do not manually
cancel the alarm, it will automatically stop after approximately 1 hour.
9

Using The Programmable Clock
C
S
How to Set the Oven to Stop Automatically
Here you switch the oven on to your required function and temperature so that cooking starts
immediately, and then set the clock to switch off automatically after a preset number of minutes.
To Switch The Oven On
/6%.
TCSR
A
U
T
0 40
O
-/$%
&AN
'RILL
'RILL
&AN
&ORCED
.
Select the oven temperature and function.
,IGHT
The oven will begin working immediately.
$EFROST
Press the Cook button. The display will normally
show 0.00.
Press the “^” or “v” buttons to select the number
of minutes you want the oven to stay on for.
The Auto indicator comes on, and will remain
on until the oven switches itself off.
The oven will continue working until the number
of minutes has passed. When the time has
elapsed, the oven will switch itself off, and the
alarm will sound.
When The Time Has Elapsed...
10
TCSR
TCSR
/6%.
A
U
.
T
0 00
O
12 45
Clear the alarm by pressing any of the 4 left
hand buttons.
.
The auto indicator will start fl ashing. To clear the
indicator, press Reset. This returns the oven to
manual operation.
-/$%
&AN
'RILL
'RILL
&AN
&ORCED
Return the temperature control and oven
,IGHT
function selector to their off positions.
$EFROST

Using The Programmable Clock
How to Set the Oven to Start And Stop Automatically
Here you set the cooking duration and the time which cooking must stop, so the oven automatically
calculates when to switch on and when to switch off..
To Set The Start And Stop Time
A
U
.
T
0 40
O
TCSR
Press the Cook button to select the cooking time. As soon as you press the
Cook button the display will show 0.00.
Press the “^” or “v” buttons to select the number of minutes you want the
oven to stay on for. The Auto indicator light will come on.
A
U
.
T
10 20
O
TCSR
Press the Stop button to give the time of day when you want cooking to stop.
As soon as you press the Stop button the display will show a time equal to the
current time plus cooking duration. (For example, if the current time of day is
9:40, and cooking duration is 40 minutes, the display will read 10:20.)
Press the “^” and “v” buttons to give the time of day that you want cooking
to fi nish.
For example, if you want cooking to fi nish at 12:30 instead of 10:20, press the
“^” button till 12:30 is chosen.
NOTE: if you try to set a time that is less than the current time plus cooking
/6%.
-/$%
&AN
'RILL
'RILL
&AN
&ORCED
duration, the alarm will sound.
,IGHT
Select the oven temperature and function.
$EFROST
The oven will calculate the proper time to switch on and off. In our example,
the oven will switch on at 11:50, stay on for 40 minutes and switch off at 12:30.
The alarm will also sound at this time. Clear the alarm and reset the oven to
manual mode as explained in previous sections.
To Change The Settings
It is possible to change the settings during cooking or while the oven is waiting to switch on.
A
U
.
T
0 35
O
TCSR
A
U
.
T
12.45
O
TCSR
To change the cooking duration, press the Cook button. The display will show
the remaining number of minutes to cook. Use the “^” and “v” buttons to make
changes.
To change the switch off time, press the Stop button. The display should show the
time that the oven is currently set to switch off. Use the “^” and “v” buttons to
make changes.
You cannot set a longer cooking time than the switch off time will allow. This is a
common sense rule.
For example, if the time is now 9:15, and you set a switch off time of 9:45, the
longest possible cooking duration is 30 minutes. If you try to set a time longer than
this, the alarm will sound. To fi x the problem, either reduce the cooking duration, or
set a later switch off time.
11

Maintenance
Cleaning The Exterior
Using a warm, damp, non abrasive cloth, wipe down the
•
control panel, handles, glass, stainless steel and enamel
surfaces.
Normal stains can be removed by wiping them with a clean
•
cloth soaked in soapy water before the spill becomes cold or
dries up.
More stubborn stains can be removed by soaking them in
•
hot soapy water. Mild detergents may be used safely on all
the exterior surfaces. Never use oven cleaners, caustic or
abrasive cleaners on any exterior surfaces.
When cleaning surfaces which have a brushed stainless steel
•
fi nish, take care to wipe in the same direction as the grain.
After cleaning make sure that all surfaces are rinsed and wiped down with a clean soft cloth.
•
Cleaning The Inside Of Your Oven
(Note below the separate cleaning directions for catalytic panels)
The high quality vitreous enamel used in your St
•
George oven has a hard durable fi nish which is
resistant to wear and discolouration and makes
cleaning easy. However, to maintain the appearance
and durability of the fi nish, it is best to wipe off any
spills or spatters immediately. This can be done while
the oven is still warm. Thoroughly wipe out your oven
after each use.
Commercial oven cleaners may be used in a cool
•
oven, but choose only the non-caustic types and
follow manufacturer’ instructions. Always avoid
contact with elements, rubber door seals and exterior
surfaces. After cleaning be sure to thoroughly rinse
and wipe down all surfaces with a clean, soft cloth.
Remove any residue from the oven cleaner thoroughly to avoid corrosion of metal fi nishes.
•
Never use the oven to dry out oven cleaners as they can produce a highly corrosive chemical
reaction that will attack the enamel. Never activate any element or burner on the appliance
(except oven light) while there is oven cleaner in the oven compartment
For easier cleaning and access, the shelves and shelf guides can be lifted out as explained later
•
in this section. They can then be washed by hand or placed into the dishwasher for cleaning.
When necessary the oven door may be removed for better access while cleaning. (Refer to the
•
next page for directions on the correct way to remove the oven door.)
Self-Cleaning Catalytic Panels
St George 9 function ovens are fi tted with self cleaning panels to cover the inside walls (they are
also available for 5 function models as optional extras). These special panels are simply hooked
on to the walls before the shelf guides are fi tted. They are coated in a special, micro-porous
catalytic enamel which oxidises and gradually vapourises splashes of grease and oil at cooking
temperatures above 200°C. If the oven is not clean after cooking fatty foods, operate the
empty oven for 60 minutes (max.) at maximum temperature.
Never wash or clean self cleaning panels with abrasive, acid, or alkaline products.
12

Maintenance
Removing The Door
The oven door can be removed and replaced quickly and easily for
more convenient cleaning and access.
Open the door fully, and locate the
two metal hinge levers at the bottom
corners of the door.
Lift the two levers up and swing them back
as far as they will go.
Partially close the door (just less than half way).
You will fi nd that the levers will lock inside the
channel in the door.
Lift the door upwards and outwards to
allow the hinges to separate from the
slotted openings in the main oven body.
Replacing The Door
To replace the door, re-insert the hinges in the slotted openings on the main oven body and
lower the two levers.
Check that the door has been properly mounted: The door should be able to open fully, close
easily, and sit vertically in the closed position. When viewed from the side, the edge of the door
should be vertical, and evenly spaced from the main oven body.
13

Maintenance
Replacing Shelves
Insert the shelves into the shelf guides with the raised
wire loop towards the back of the oven as shown in the
illustration.
There is a bump underneath both sides of the shelves
towards the back. This helps to prevent the shelf from
being accidentally pulled out too far. When replacing
the shelves, you need to ease the bumps over the
guides.
Baking trays are also provided with most models, These
are removed and replaced similarly to shelves.
Removing And Replacing The Shelf Guides
The two shelf guides on the side walls are completely removable for easier cleaning.
Unhook the guides from the bottom thumb screw.
You can now remove the guide from the side wall by
carefully pulling the top of the guide out of the two holes
in the side wall.
14
To replace the guide, push the two prongs back into the top holes on the side wall.
Then clip the bottom of the guide back over the thumb screw.

Maintenance
Changing The Light Bulb
WARNING: Ensure that the appliance is switched off before
replacing the lamp to avoid the possibility of electric shock.
Ensure the oven is cool. You may fi nd it easier if you remove
the shelves and trays before beginning.
Rotate the clear cover anticlockwise to remove it. If
the cover is tight, you may need to jiggle it slightly while
rotating.
Remove the bulb and replace with an identical new
bulb. Replacement bulbs are available from St George
Appliances.
Replace the clear cover. Turn all the way in, and then a
quarter turn back.
15

Reference Information
Temperature Guide For Meats
Type of meat Cuts of meat Time/kg Oven Temperature
Beef Standing rib, Rolled
rib, Sirloin, Bolar Blade,
Corned Topside
Fillet, Scotch Fillet
Veal Shoulder or leg (with bone
or rolled)
Lamb Leg, Shoulder (loin or
rolled)
Pork Leg Loin 90 minutes per kg 220˚ - 230˚ for the fi rst 15
Chicken Whole or pieces 30 minutes per 500g 180˚- 200˚C
Duck 1.4 - 1.9 kg 30 minutes per 500g
Turkey 2.5-10.0 kg 30 minutes per 500g
Fish Whole or Fillets 10 minutes per 500g 170˚- 190˚C
60 minutes per kg
40 mins per kg
40-50 minutes per kg 180˚- 200˚C
40-50 minutes per kg 180˚- 200˚C
+ 35 minutes extra
+ 35 minutes extra
180˚- 200˚C
180˚- 200˚C
minutes, then reduce to 180˚200˚C for remainder of the
cooking time.
180˚- 200˚C
180˚- 200˚C
Turkey should be well basted
and turned during cooking.
In Normal Oven mode, fi sh
should be covered for the
fi rst 3/4 of the cooking time to
help retain moisture.
Temperature Guide For Other Foods
Foods Suitable General Times Oven
Small meringues, pavlova, baked custard, reheating
Fruit cake 85 - 95 mins 130°C - 150°C
Casseroles, deep butter cakes 30 - 45 mins 150°C - 180°C
Shallow butter cakes, sponges, biscuits, meat loaf,
baked fi sh
Swiss roll, patty cakes, rock cakes, shortcrust pastry 8 - 10 mins 200°C - 230°C
Scones, choux pastry 10 - 12 mins 230°C and over
St George Appliances
3-5 Birmingham Ave Chester Hill NSW 2162
16
4516xx0_care_1005
ph 1300-305-366
www.sga.com.au
Temperature
50 - 60 mins 130°C and under
30 - 40 mins 180°C - 200°C
 Loading...