

Page 1
SOLARTHERMIE - SOLAR THERMAL - SOLAR TÉRMICO- SOLAIRE THERMIQUE - SOLARE TERMICO
Operating instructions
Overvoltage protection
OP1
724.206 | Z01 | 07.26
EN
Page 2

2
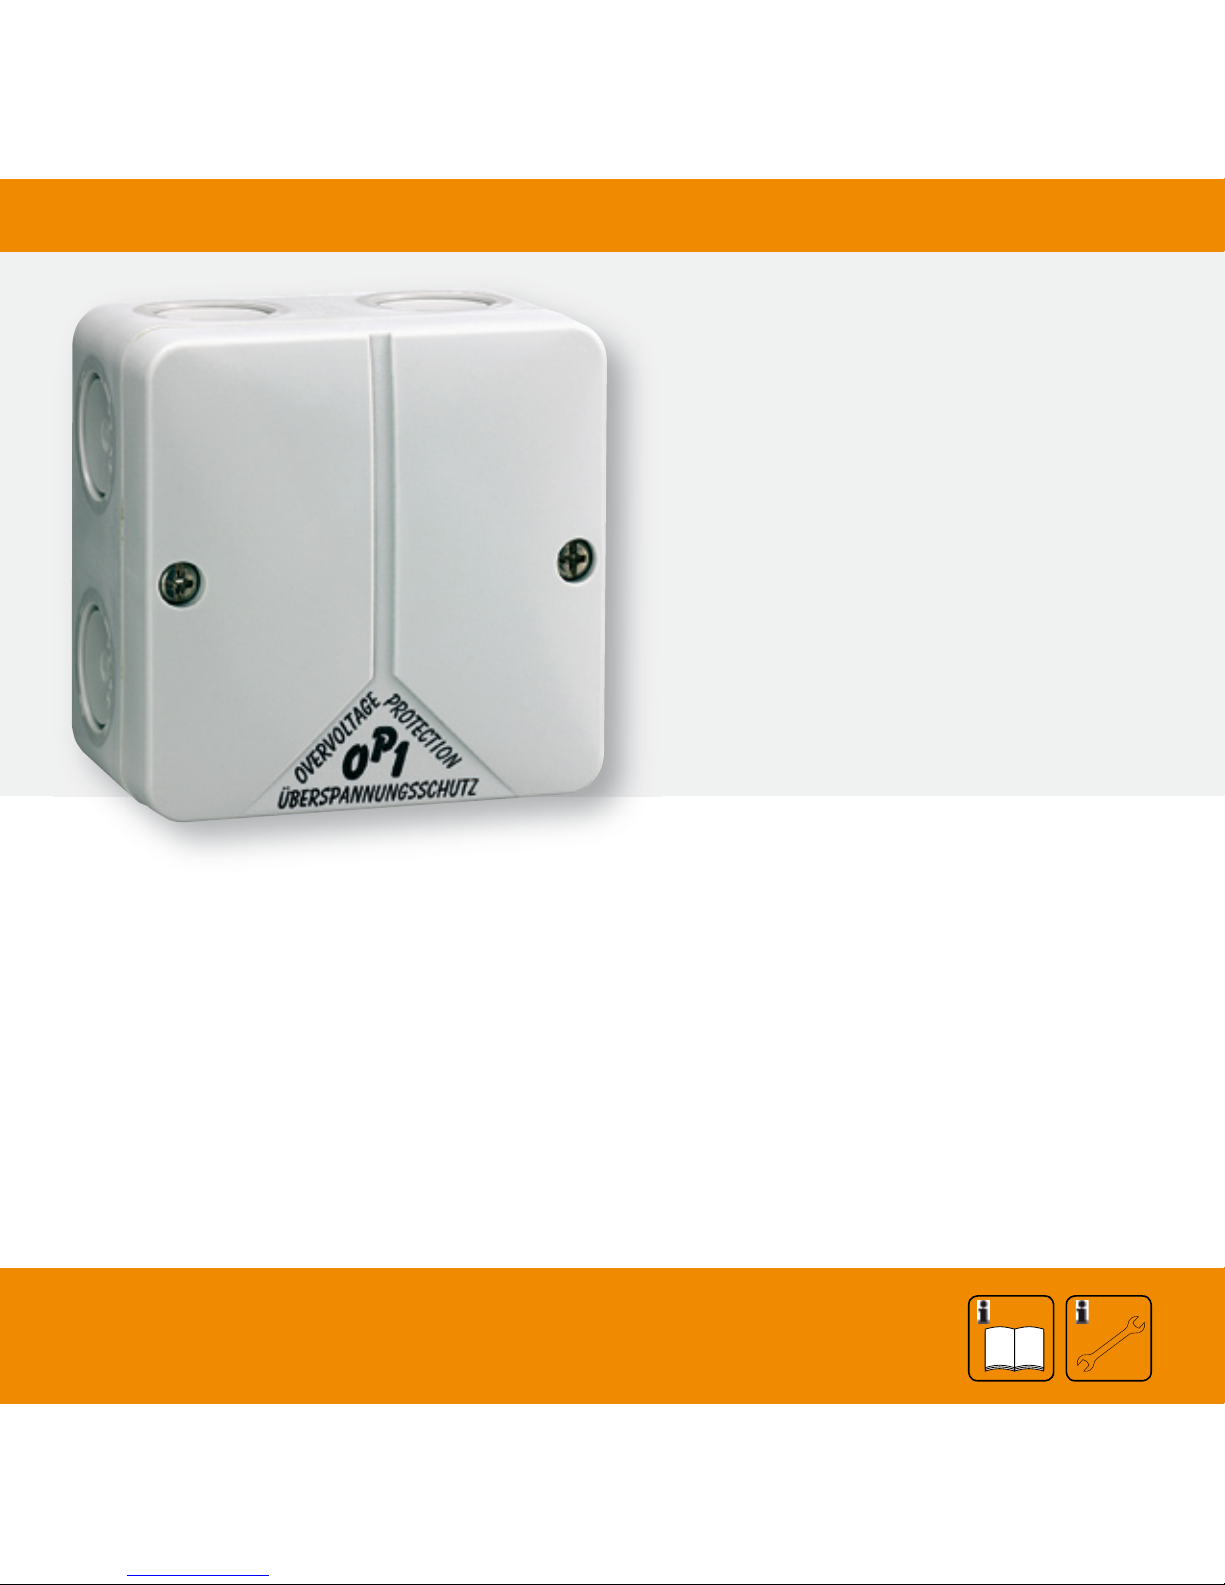
1. Installation
Using the two pre-drilled holes (1), fasten the connection socket to an even and firm surface. In order
to guarantee a high degree of protection, remove the
locking caps (2) from the base of the casing and place
them into the pre-drilled holes. If the connection socket is to be used outdoors, drill open the condensation water hole located at the bottom corner of the
base of the socket. After having realized the electrical
connections (see below), close the cover with the two
screws (3).
2. Electrical connection
Perforate the chosen cable inlets with a sharp object
and insert the cables. Always insert the cables from
below in order to protect against penetrating humidity. Use your fingers or a screwdriver to activate the
terminal clamps by pushing back the tongue lever.
Connect the sensor cable to clamps E1 and E2 and the
outgoing cable for the controller to clamps A1 and A2.
If polarity is an issue, keep in mind that E1 and A1 and
E2 and A2 are the respective current paths.
724.206 | 07.14
EN
Page 3

3
Overvoltage protection OP1
Permissible ambient temperature -25 °C...+70 °C
Max. operating voltage 12 V, DC
Protection degree IP 65 / DIN 40050
Weight 50 g
Dimensions L x W x H 80 x 80 x 50 mm
Attention:
Sensor cables conduct safety extra-low voltage and
should be laid separately from 230 V or 400 V cables.
724.206| 07.14
EN
Page 4

4
80
50
80
724.206 | 07.14
EN
Page 5

5
E1 / E2
A1 / A2
E1 / E2:
from the collector
A1 / A2:
to the controller
724.206| 07.14
EN
Page 6

724.206
 Loading...