

Star Manufacturing HFD-1CRPL Installation Manual

Star
Manufacturing
International Inc.
10 Sunnen Drive
St. Louis, MO 63143
Phone: (314) 678-6303
Fax: (314) 781-2714
HOT FOOD
HUMIDITY CABINET
MODEL
HFD-1CRPL
Installation
and
Operating
Instructions
2M-Z4051 Rev. P 8/14/13
1

2
These symbols are intended to alert the user to the presence of
important operating and maintenance instructions in the manual
accompanying the appliance.
RETAIN THIS MANUAL FOR FUTURE REFERENCE
NOTICE
Using any part other than genuine Star factory supplied parts relieves the
manufacturer of all liability.
Star reserves the right to change specications and product design without
notice. Such revisions do not entitle the buyer to corresponding changes,
improvements, additions or replacements for previously purchased
equipment.
Due to periodic changes in designs, methods, procedures, policies and
regulations, the specications contained in this sheet are subject to change
without notice. While Star International Holdings Inc., Company exercises
good faith efforts to provide information that is accurate, we are not
responsible for errors or omissions in information provided or conclusions
reached as a result of using the specications. By using the information
provided, the user assumes all risks in connection with such use.
MAINTENANCE AND REPAIRS
Contact your local authorized service agent for service or required maintenance.
Please record the model number, serial number, voltage and purchase date in the area below and have it ready when
you call to ensure a faster service.
SAFETY SYMBOL
Model No.
Serial No.
Voltage
Purchase Date
Business 8:00 am to 4:30 p.m. Central Standard Time
Hours:
Telephone: (314) 678-6303
Fax: (314) 781-2714
E-mail Parts@star-mfg.com
Service@star-mfg.com
Warranty@star-mfg.com
Website: www.star-mfg.com
Service Help Desk
Authorized Service Agent Listing
Reference the listing provided with the unit
or
for an updated listing go to:
Website: www.star-mfg.com
E-mail Service@star-mfg.com
Mailing Address: Star International Holdings Inc., Company
10 Sunnen Drive
St. Louis, MO 63143
U.S.A
2

SPECIFICATIONS
HFD-1CRPL120
Capacity: Four 12" (30cm) Pizza Shelves
Electrical: 120 volt, 50/60 hertz, single phase, 1200 watts, 10 amps
Dimensions: 15" W x 15" D x 28-1/4" H
(38.1 cm W x 38.1 cm D x 71.7 cm H)
Weight: Approximately 62 lbs. (28 kg)
3
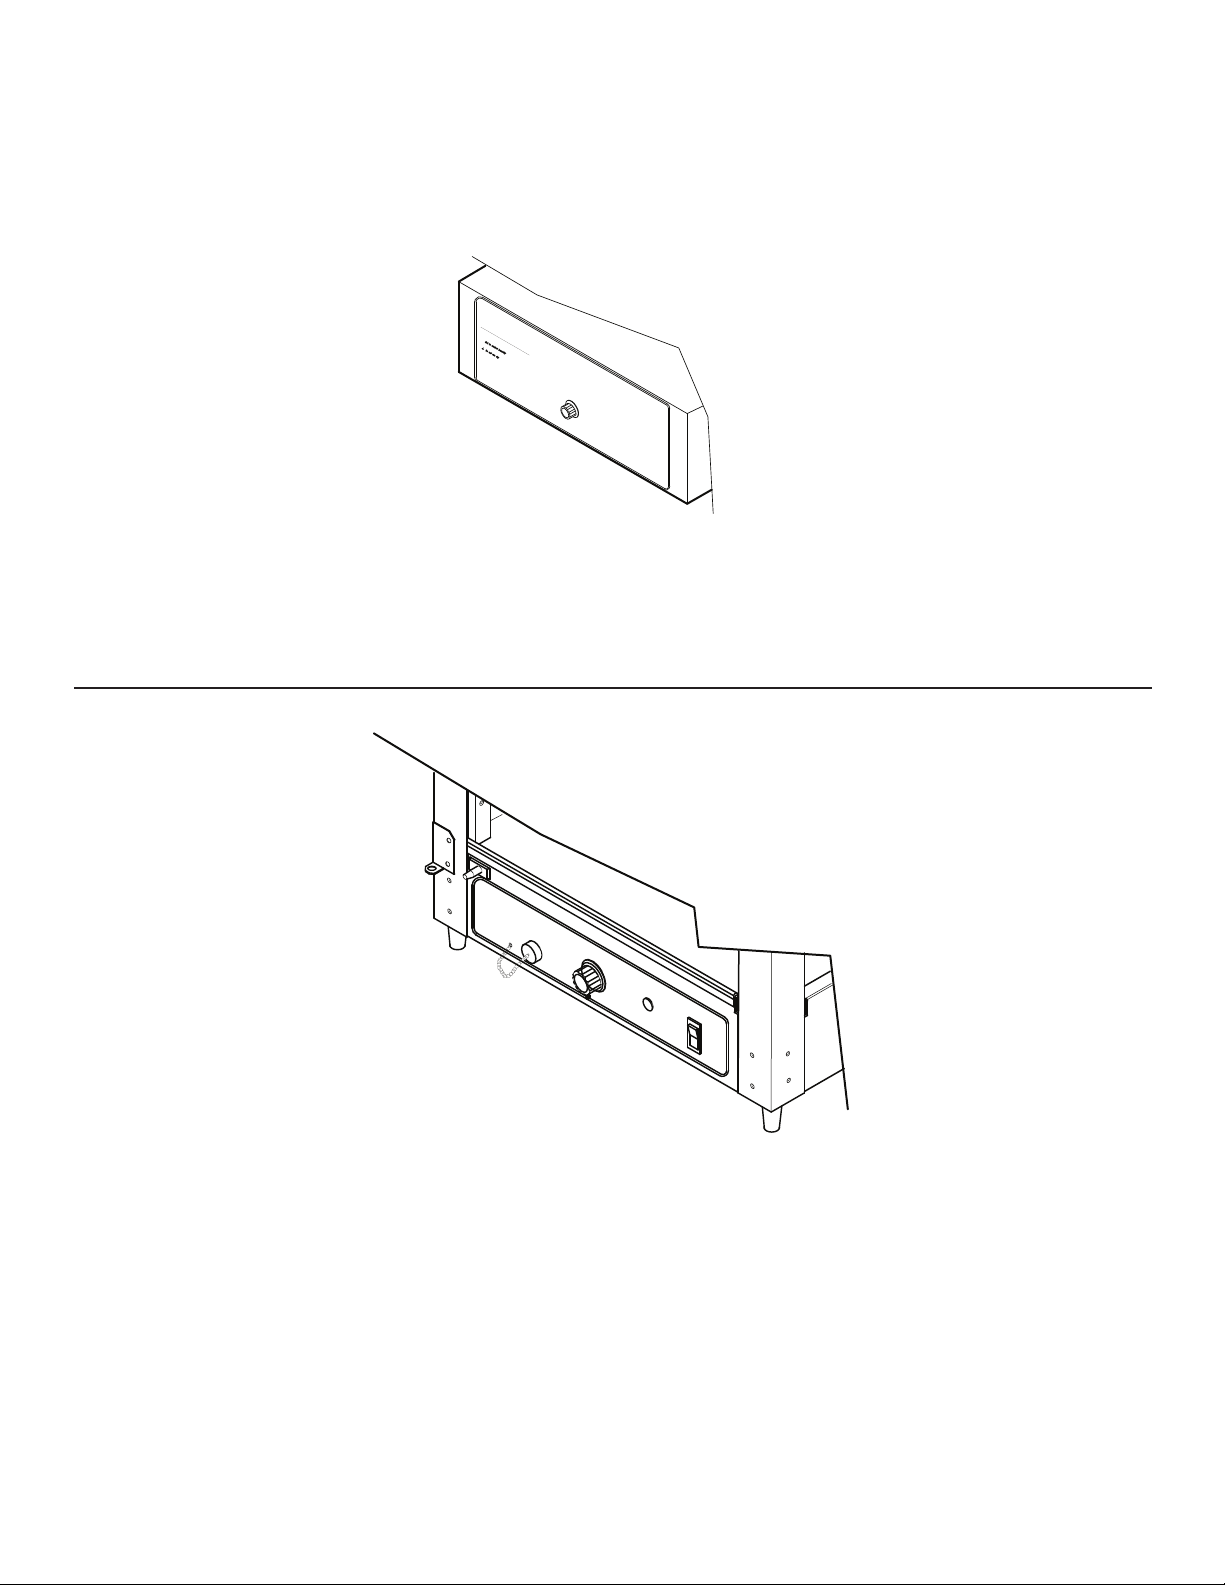
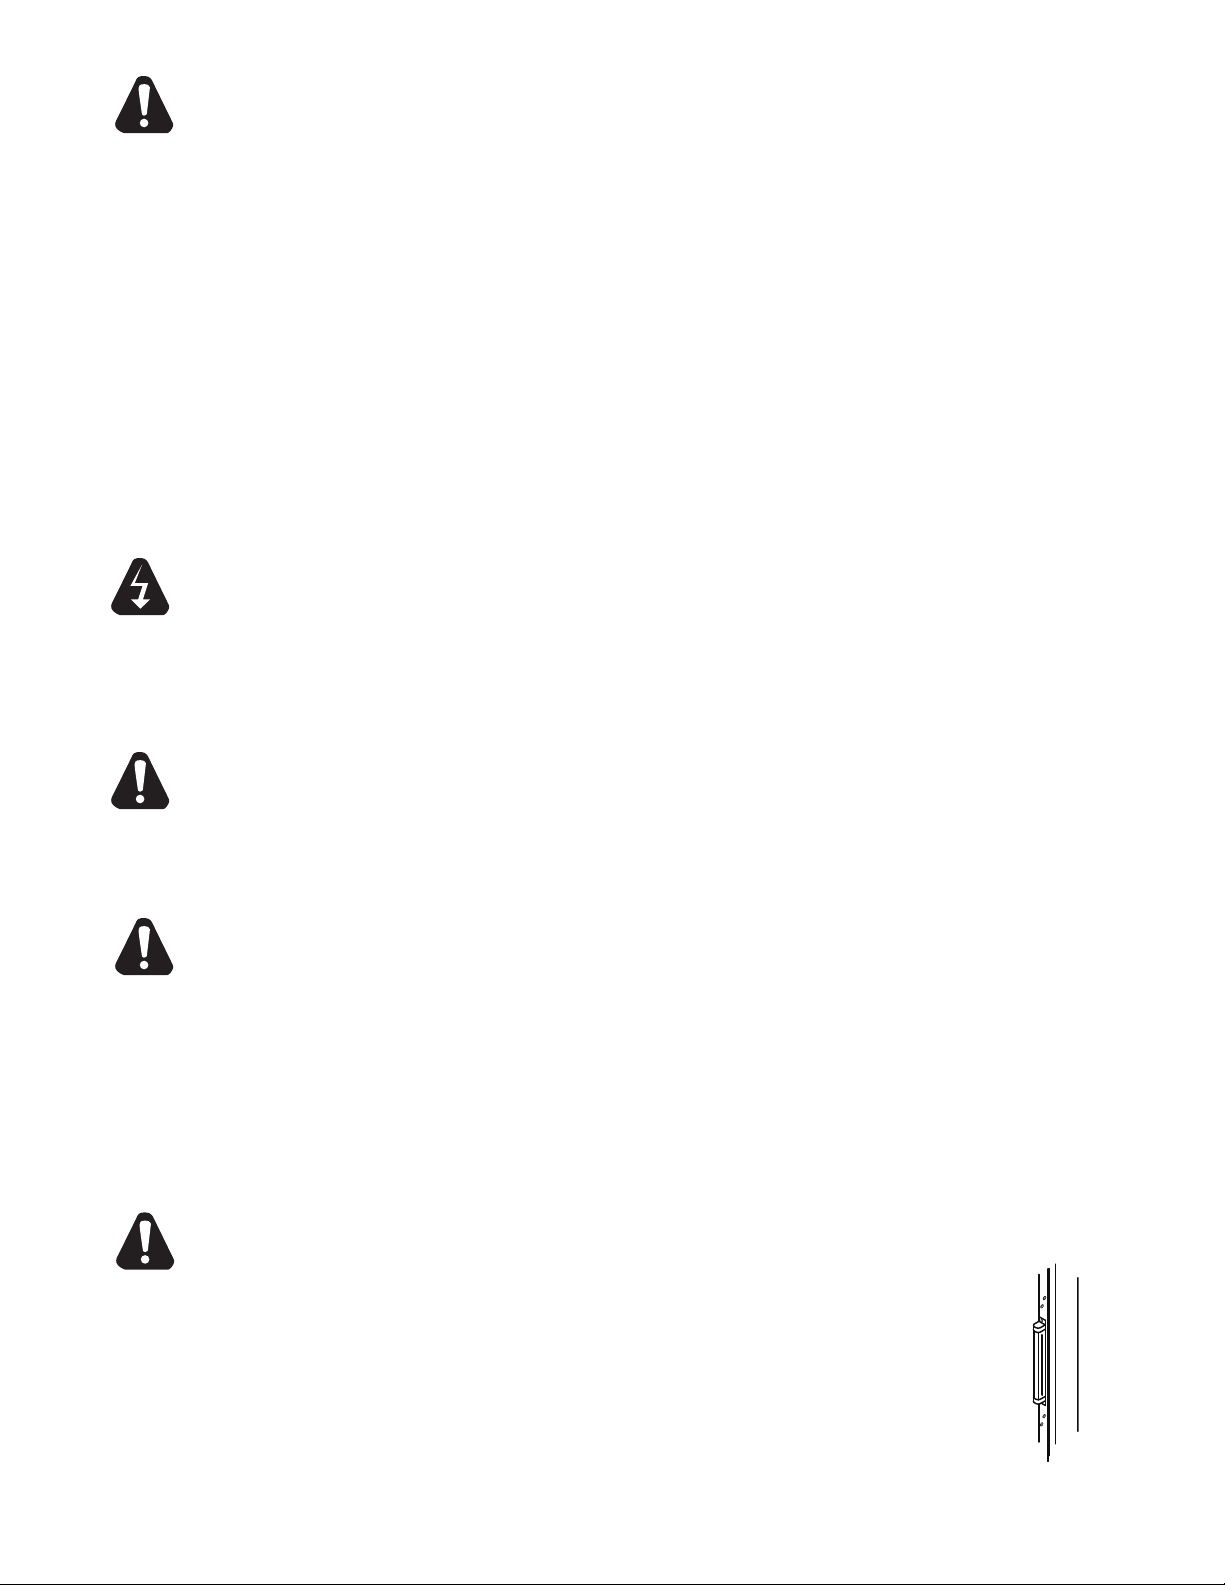
OPERATING CONTROLS
4. Do not run
dry
5. Consult Operator's
manual for complete
Information on op
erating and cleaning.
3. Drain and cle
an water pan daily
2. Adjust top d
ial to desired temper
ature
1. Add water to
pan and adjust bottom
Do NOT Rotate Manually
CAUTION: HOT RACKS
OPERATING INSTRUCTION
S
dial to desired hu
midity
6
4
5
CONTROL
TEMPERATURE
0
3
2
1
P.O. BOX 430129
STAR MANUFACTURING INT'L INC
63143
ST. LOUIS, MO
5
4
6
HUMIDITY CONTROL
0
1
2
3
POWER
LOW
WATER
The temperature controls are located at the top of the unit above the door and the humidity controls are
located on the bottom of the unit below the door (see Figures 1 and 2).
Figure 1
Temperature Dial - Adjusts cabinet temperature
Figure 2
ON/OFF Switch - Activates cabinet light, and air circulation system.
Humidity Dial - Adjusts cabinet humidity.
Low Water Indicator - Illuminates when water needs to be added.
Drain Tube - Allows the water reservoir to be emptied during cleaning.
Door Switch - Allows the rotisserie motor to rotate when the door is closed.
4
40°
C°
F°
100°
50°
120°
60°
140°
70°
160°
80°
180°
90°
200°
CAUTION
WARNING
This equipment is designed and sold for commercial use only by personnel trained and experienced in
its operation and is not sold for consumer use in and around the home nor for use directly by the general
public in food service locations.
All shipping containers should be checked for freight damage both visible and concealed. This unit has
been tested and carefully packaged to insure delivery of your unit in perfect condition. If equipment is
received in damaged condition, either apparent or concealed, a claim must be made with the delivering
carrier.
Concealed damage or loss - if damage or loss is not apparent until after equipment is unpacked, a
request for inspection of concealed damage must be made with carrier within 15 days. Be certain to
retain all contents plus external and internal packaging materials for inspection. The carrier will make an
inspection and will supply necessary claim forms..
INSTALLATION
Each machine has been properly wired and inspected at the factory for operation on the voltage and
type of current specied on the nameplate. Machines with a nameplate stamped 120V, are equipped for
operation on 120 volt 50/60 hertz AC single phase service. Machines with a nameplate stamped 240V,
are equipped for operation on 240 volt 50/60 hertz AC single phase service. Each condition must be
connected to a separate 15 amp circuit with a 3 wire grounded, polarized receptacle.
DO NOT CONNECT TO ANY OTHER TYPE OF CURRENT OR THE MACHINE WILL
BE SERIOUSLY DAMAGED.
The guarantee of this machine as covered by the warranty card does not apply if an improper installation
has been made.
CAUTION
CAUTION
CAUTION
GENERAL OPERATING INSTRUCTIONS
DO NOT BLOCK VENT HOLES ON TOP OF THE CABINET
1. Ensure cabinet is plugged into the proper voltage receptacle prior to turning on.
2. Fill reservoir with water (distilled preferred) such that the water is approximately level with the top of
the water reservoir (low water indicator should extinguish).
Capacity is 3/4 gallon (2.8 L).
DO NOT OVERFILL !
3. Follow preheat instructions on the following page. Allow approximately 15 minutes for the machine to
reach the proper temperature.
4. Monitor product temperature via the thermometer (see Figure 3).
5. Load product into the racking system. For maximum product freshness, adjust the settings as
specied. Pizza and pretzel racks are adjustable for different applications using the screws provided.
6. Periodically monitor the water level by the red indicator light on the lower control panel. If the light
is illuminated, add water (distilled preferred) until the indicator light is no longer illuminated or to the
maximum recommended water level (see Figure 4).
DO NOT OVERFILL !
7. See attached sketch for instructions on reversing the door.
5
Figure 3
 Loading...