

Page 1
SUBMERSIBLE
SWIMMING POOL DRAINER
O W N E R’ S M A N U A L
INSTALLATION, OPERATION & PARTS
MODEL PCD-10B
is hazardous. To reduce the risk as much as possible, carefully
read and follow all instructions in this manual or on your pump.
Use of this manual will reduce service requirements and chance
of injury and will lengthen the life of your pump.
Pentair Water Pool and Spa, Inc.
© 2010, Pentair Water Pool and Spa, Inc. All rights reserved. This document is subject to change without notice.
1620 Hawkins Ave., Sanford, NC 27330 • (919) 566-8000
10951 West Los Angeles Ave., Moorpark, CA 93021 • (805) 553-5000
Technical Support: (800) 831-7133
®
Sta-Rite
United States and/or other countries. Unless noted, names and brands of others that may be used in this document are not used to indicate an
affilitaion or endorsement betweent the proprietors of these names and brands and Pentair Water Pool and Spa, Inc. Those names and brands
may be the trademarks or registered trademarks of those parties or others. Printed in U.S.A.
04-14-10 S958 (Rev. B)
and Pentair Water Pool and Spa®are registered trademarks of Pentair Water Pool and Spa, Inc. and/or its affilitated companies in the
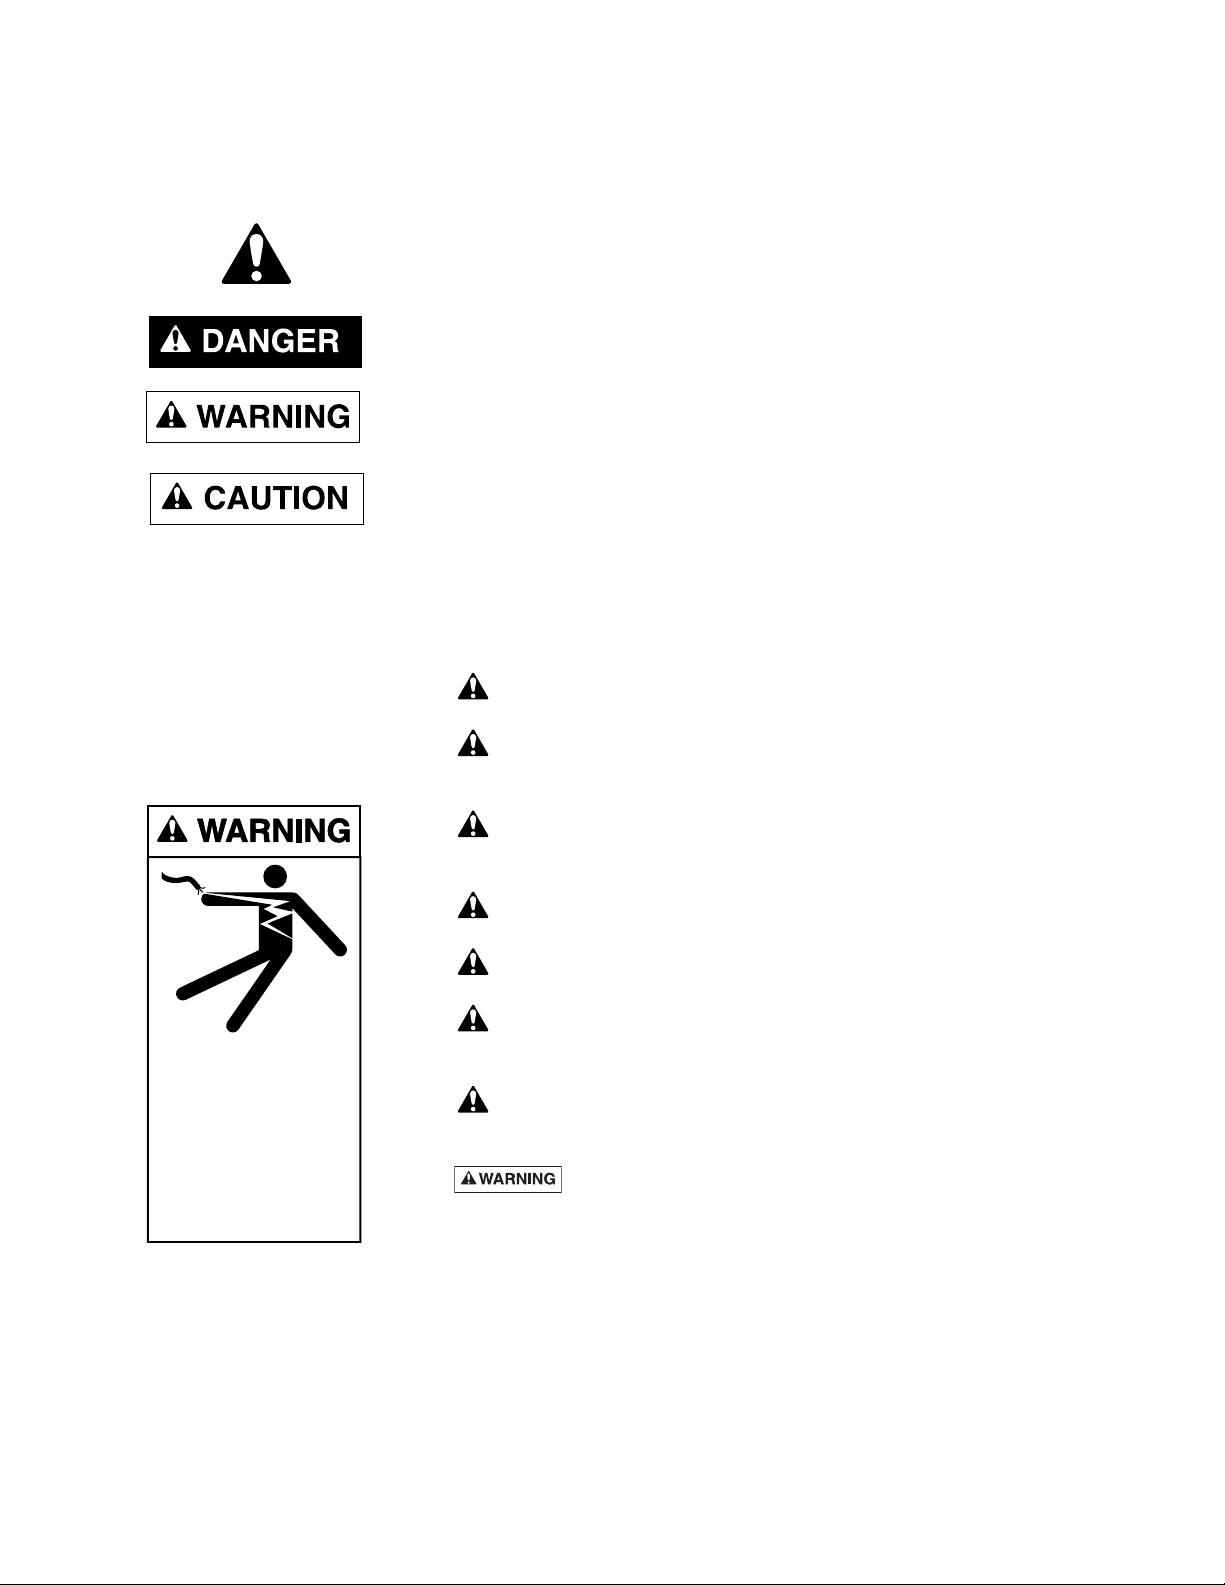
Use of electrical appliances around swimming pools
Page 2
2
READ AND FOLLOW
SAFETY INSTRUCTIONS!
This is the safety-alert symbol. When you see this symbol on your pump or in
this manual, look for one of the following signal words and be alert to the potential for personal injury.
DANGER warns about hazards that will cause serious personal injury, death or
major property damage if ignored.
WARNING warns about hazards that can cause serious personal injury, death
or major property damage if ignored.
CAUTION warns about hazards that will or can cause minor personal injury or
property damage if ignored.
The label NOTICE indicates special instructions which are important but not
related to hazards.
Carefully read and follow all safety instructions in this manual and on pump.
Keep safety labels in good condition. Replace missing or damaged safety labels.
OBSERVE THE FOLLOWING
SAFETY PRECAUTIONS
WITH THIS PUMP
Install and use pump according to National Electrical Code and local
codes and ordinances.
Use pump only in a circuit protected by a Ground Fault Circuit
Interrupter (GFCI). Test GFCI before each use. Operation without a
GFCI in circuit can cause dangerous electrical shock hazard.
DO NOT allow anyone, including pump operator, in the water while
pump is standing in water and connected to power source, whether
pump is running or not.
DO NOT modify cord or plug. Plug pump into a 115 volt, 3-prong,
grounded, GFCI protected outlet only. Do not use extension cords.
Do not use as a continuous duty pump for waterfalls, fountains, etc.
Motor may overheat and fail and warranty will be void.
Do not use to pump acid solutions (such as in pool wash work). Pump
casing could be attacked by the acid, causing an electrical shock hazard
and pump failure.
Before each use, carefully inspect power cord for nicks, breaks, and
cracks. If cord shows any visible damage or defects, do not use pump.
Take pump to a qualified repair facility and have cord replaced.
Explosion hazard. Pump is oil filled and must be submerged
while running (see Figure 2) to prevent overheating and possible explosion,
which could cause severe burns and lacerations to anyone nearby.
NOTE: This unit is not designed for applications involving salt water or brine!
Use with salt water or brine will void warranty.
Pump water only with this pump.
Hazardous voltage.
Can shock, burn,
or cause death.
Plug into grounded,
GFCI protected circuit
only.
Read instructions
before using pump.
Page 3
3
SWITCH INSTALLATION/
PUMP SET-UP
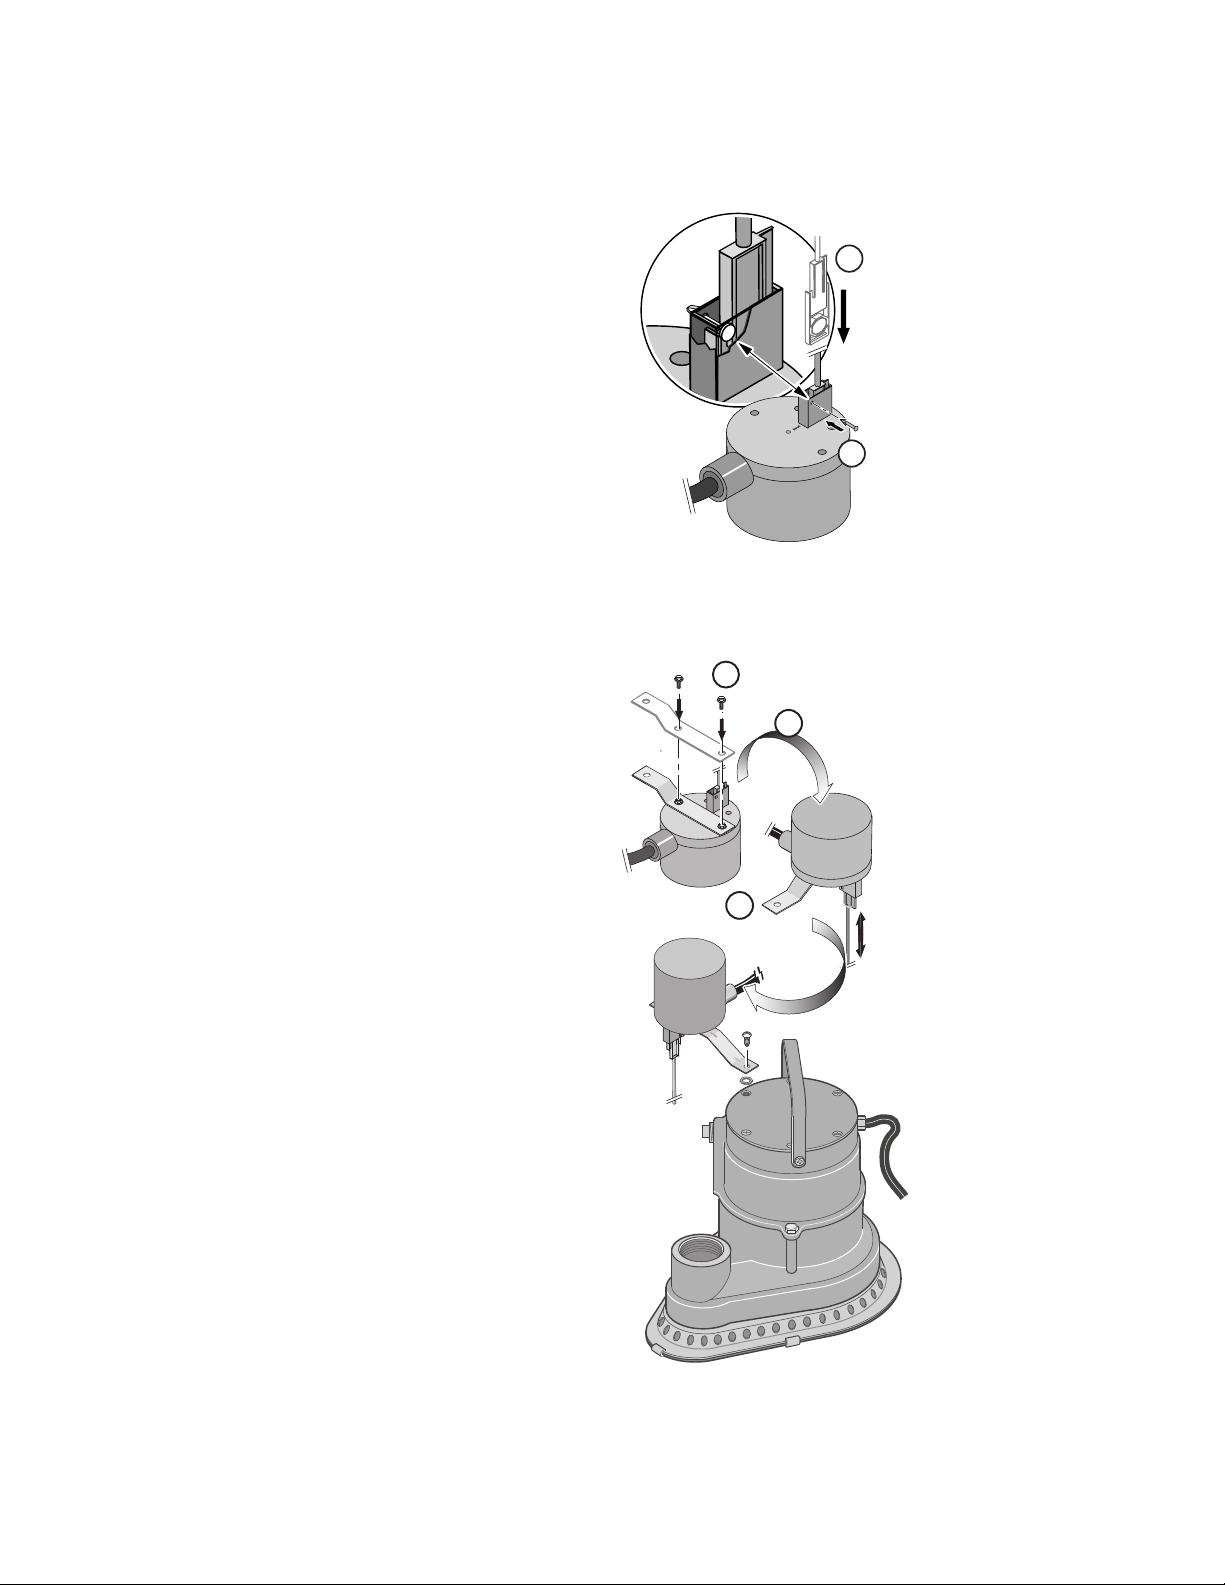
Step 1: Invert switch and insert switch rod in housing.
Step 2: Insert pin through holes in housing to retain switch rod. After the pin is
in place, pull gently on the rod to make sure it is retained by the pin.
4795 0105
1
2
FIGURE 1
FIGURE 2
Step 3: Attach the bracket to the switch with two screws.
Step 4: Turn switch right side up and align it as shown.
Step 5: Mount it on the pump motor with the the screw and gasket provided.
3
4
5
4801 0105
6076 0709
Page 4

4
Step 6: Slide the float over the end of the float rod. Move it up the rod far
enough to allow you to install the rubber rod stop on the switch rod
beneath the float.
Step 7: Adjust the rod stop on the nibs on the rod to give the desired pumping
range.
Step 8: Attached discharge hose or piping to pump discharge with 1-1/4” NPT
fittings. Use discharge hose or pipe of 1-1/4” diameter or larger. Make
sure that pump outlet is not restricted.
Step 9: Make sure air bleed hole is not plugged (see Figure 4). If it is plugged,
DISCONNECT POWER to pump and use a small piece of wire to
clean it.
Pump will
remove water
to here without
a float switch.
Vertical float
switch mounts
here (switch
omitted for
clarity).
Weep Hole
(Anti-airlock)
.05"
FIGURE 4
6
7
FIGURE 3
Page 5

5
OPERATION
Risk of electrical shock. Do not allow work in pool (vacuuming,
scrubbing, etc.) with electrically conductive metal tools while pump is
operating. If pump or cord failure occurs, pump case and pool water may be
energized, setting up a major electrical shock hazard.
Before using pump, BE SURE that power supply circuit is protected by a
Ground Fault Circuit Interrupter (GFCI); if possible, test GFCI for proper
operation. Use pump ONLY with grounded, GFCI protected, 115 Volt circuit.
To avoid electrical shock hazard, do not modify cord or plug. Use 15 amp
Fusetron or 30 amp fuse or circuit breaker in circuit.
1. Pump is equipped with an air bleed hole to prevent airlocking. Check hole
(see Figure 4). If hole is plugged, DISCONNECT POWER to pump and
clean hole with a piece of wire.
2. Plug pump into a GFCI protected, 115 volt, three-prong, grounded electrical
outlet ONLY. Do not modify cord or plug or remove grounding prong from
plug.
NOTICE: Do not run pump out of water. To do so can damage seal and will
void warranty.
3. Pick up pump by the rope provided (not by the cord) and lower into the
pool. Place pump in lowest point of pool.
To avoid severe injury or fatal electrical shock, do not use electrical cord
as a handle. Do not lower pump into pool by the electrical cord; use rope
provided.
4. To avoid overheating and early pump failure, do not allow pump to run
continuously if more than 1/3 of the motor is out of the water (see Figure 4,
Page 4).
5. Do not use an extension cord with this pump. Use the pump’s 25’, three-
wire, grounded cord plugged into the plug on the piggy-back switch cord,
which must be plugged into a 115 Volt, grounded, GFCI-protected outlet that
meets code requirements.
6. Run pump discharge in compliance with local ordinances. Make sure that
water from discharge will not cause flooding. Check local ordinances before
discharging pump into sanitary or storm sewers.
If cord or rope become tangled in switch assembly, ON-OFF switch may not
work properly. To prevent tangling, keep excess cord and rope outside of pool.
Hazardous voltage.
Can shock, burn,
or cause death.
Plug into grounded,
GFCI protected circuit
only.
Read instructions
before using pump.
Page 6

6
MAINTENANCE
To prevent airlocking, make sure air bleed hole is not plugged. To clear it, unplug pump and clean hole with a short piece of wire.
Risk of electrical shock if motor is incorrectly assembled. Do
not have it repaired locally. Do not attempt to replace cord.
Motor is not designed for field maintenance. It is filled with special
dielectric oil and sealed. Attempting to open or work on motor can cause
shock hazard and will void warranty.
If motor needs repair, call Sta-Rite Customer Service at 1-800-752-0183.
TROUBLESHOOTING
1. Motor fails to run
A. Check fuses, etc. to be sure there is current at outlet.
B. Check GFCI in outlet for tripping. GFCI protects against dangerous
current leaks to ground. If GFCI has tripped and will not reset, DO
NOT USE PUMP until problem is repaired.
C. If motor runs for a short time and cuts out:
1. Turn power to pump OFF; unplug pump.
2. Remove base plate and check to see that impeller turns freely.
3. If pump still does not operate after this preliminary check, take it to
a qualified motor repair facility.
1. Pump runs but does not pump water
A. Discharge outlet too high above pump. Lower hose or pipe outlet.
B. Pump is airlocked. Clean air bleed hole (see Figure 4, Page 4).
C. Suction Baseplate may be plugged.
1. Turn power to pump OFF; unplug pump.
2. Remove baseplate and clean holes around edge.
3. Reinstall baseplate.
4. Put pump in water before starting.
5. Plug in pump; turn power ON.
Page 7

7
Sta-Rite Submersible Swimming Pool Drainer
MODEL NO. PCD-10B
REPAIR PARTS LIST
• Not illustrated.
* Not available separately.
Key PCD-10B
No. Description Qty. 1/2 HP
1 Switch (Incl. Key Nos. 2-9) 1 PS17-89
2 Pin 1 PS30-3
3 Bracket 1 PS19-101SS
4 Screw 1 U30-539
5 Screw 2 U30-955SS
6 Float Rod 1 PS28-17
7 Float 1 PS28-18
8 Rubber Rod Stop 1 RP0005248
9 Rubber Gasket 1 RP0001616
10A Retainer Ring 2 PS43-10
10B Check Valve 1 PS20-12
11 Locknut, 8-32 1 U36-129DN
12 Machine Screw 8-32x1/2” 6 U30-539SS
13 Base Plate Cover 1 PS4-11D
14 Base Plate 1 PS4-9D
15 Machine Screw 10x1/2” 1 U30-692SS
16 Gasket 1 PS20-22
17 Motor Assembly Complete* 1 –
18 Screw, 1/4-20x1/2” 2 U30-694SS
19 Spacer 2 PS43-15
20 Handle 1 PS54-11
21 Cord 1 U17-505
22 Rope - 24 Feet 1 U97-21A
• Dielectric Oil (19.5 oz. required) U97-98
• Owner’s Manual 1 S958
1
6
7
8
5
10A
10B
4
2
3
9
11
21
20
19
17
16
15
14
13
12
6072 0709
22
18
Page 8

*S958*
S958 (Rev. B) 04-14-10
 Loading...