

Page 1
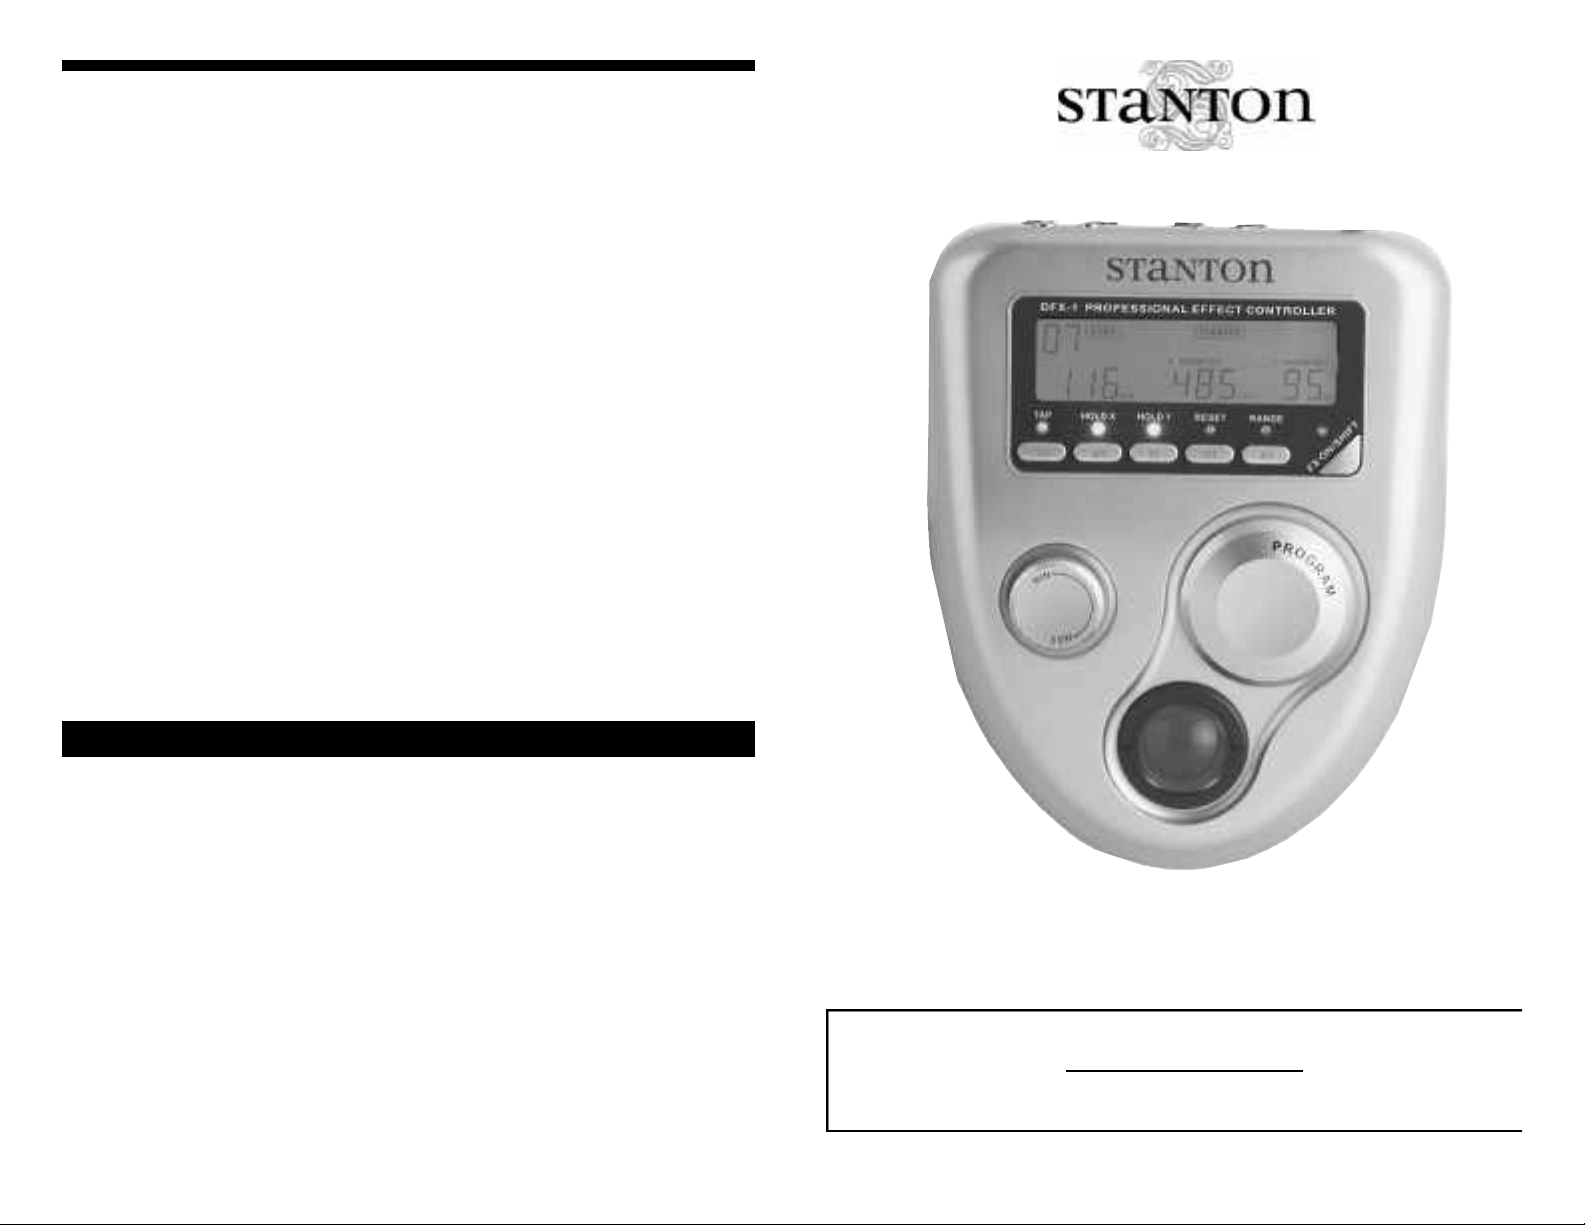
DFX-1
OWNER’S M A N U A L
The DFX-1 contains no user-serviceable parts. The manufacturer is not
responsible for any damage or personal injury resulting from unauthorized
user-servicing or modifications. In addition, the warranty will be void if any
unauthorized service by the user is detected. Always return the unit to an
authorized Stanton dealer for servicing. For warranty service, contact the point of
purchase. Make sure to keep your receipt. For non-warranty service, contact
Stanton directly.
S TA N TON CONTA C T I N F O R M AT I O N
R E PAIR INFORMAT I O N
USA
Stanton Magnetics, Inc.
3000 SW 42nd St
Hollywood, FL 33312
Tel: (954) 689-8833
EUROPE
Stanton Europe
382 Avenue de la Couronne
B-1050 Brussels, Belgium
Tel: +32 2 645 0500
EMAIL
General information
info@stantonmagnetics.com
Product related or technical questions
dj@stantonmagnetics.com
WEB
www.stantonmagnetics.com
www.stantongroup.ws
Page 2
Thank you for making Stanton your first choice in professional DJ
equipment.
This innovative instrument has been developed with input from the
professional DJ community, bringing to the marketplace a previously
unavailable, affordable combination of user-friendly, functional design,
rugged construction, and professional quality features.
Stanton and your authorized Stanton dealer are dedicated to your
complete satisfaction by offering benchmark service and support
throughout the long life of your Stanton product.
Again, we appreciate your patronage, and look forward to many years
of making music together.
Avoid placing the unit near heat
To prevent overheating, always provide
the unit with adequate ventilation air
space.
• Avoid stepping on the unit’s AC cord.
Repeated compression of the cord may
lead to electrical shorting.
• To avoid damage due to AC voltage
peaks, always disconnect your mixer from
the power source during electrical storms.
Use a surge protector if possible.
• The unit contains no user-serviceable
parts. The manufacturer is not responsible for any damage or personal injury
resulting from unauthorized user-servicing
or modifications. In addition, the warranty
will be void if any unauthorized service by
the user is detected. Always return the
unit to an authorized Stanton dealer for
servicing.
PLEASE READ CAREF ULLY BEFORE USE
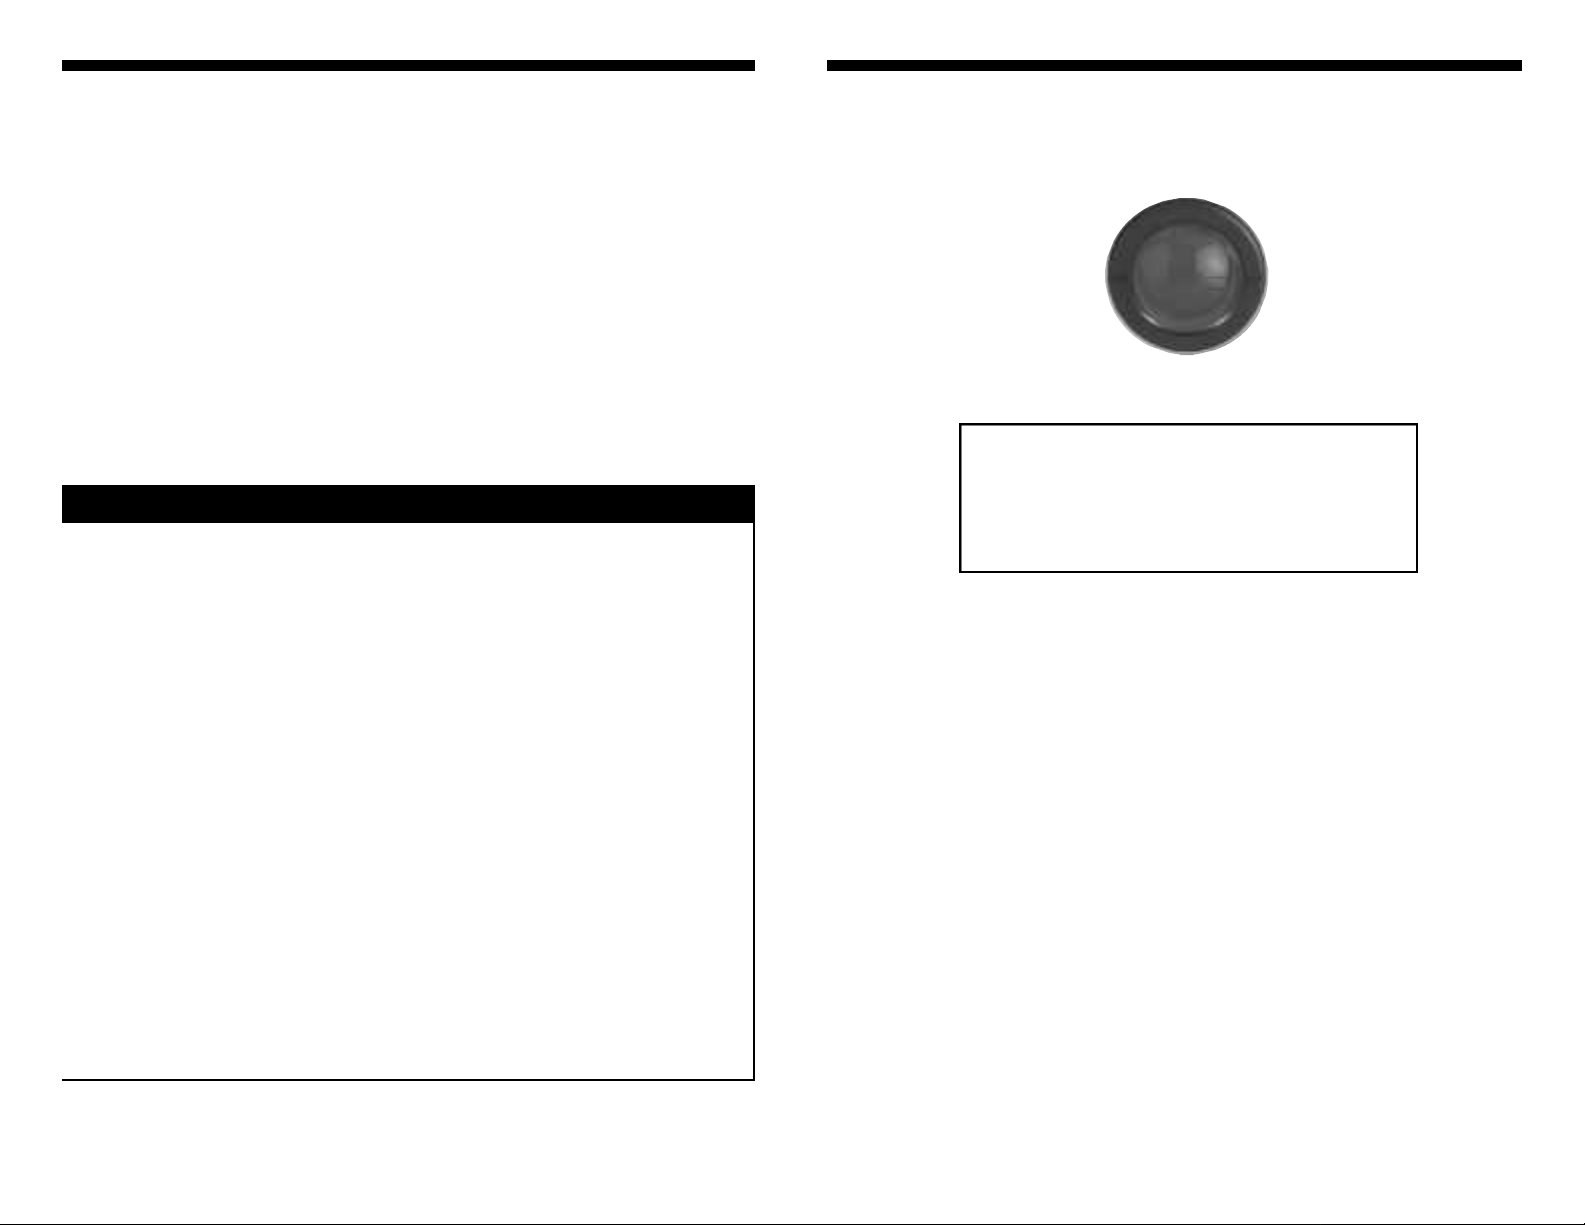
T R A C K B A L L C L E A N I N G
CLEANING THE TRACKBALL
Remove the protective ring around the trackball by turning counter-clockwise until you feel it snap (about 1/10th of a turn). Remove the ring and
trackball. You can use cotton swab with alcohol or a soft tissue to rub off
the dust that has accumulated on the 2 rubber rings that pick up the
trackball movements. The rings are located on 2 metal bars at the bottom
and left side of the opening.,
To clean the trackball:
1. Turn ring counter-clockwise to remove.
2. Remove ring and trackball.
3. Clean mechanism with soft tissue or cotton
swab.
4. Re-assemble trackball and ring.
Page 3

This unit has been designed and manufactured using quality components. Therefore, it is warranted to be free from defects in materials (limited as specified below), and workmanship for a period of twelve (12)
months from the original purchase date. During this period, all service
and parts necessary to repair a defect will be free of charge. This limited
warranty applies to mechanical parts which are subject to wear and tear
as specified:
• Trackball and mechanism, specified durability: 15,000 cycles
• Rotary potentiometers, specified durability: 10,000 cycles
• Switches, specified durability: 10,000 cycles
Consequently, the parts listed above are warranted to be free from
defects in materials and workmanship for a period of thirty days (30) days
from the original purchase date.
FOR THE WARRANTY TO BE VALID, PLEASE COMPLETE THE
ONLINE WARRANTY REGISTRATION FORM FOUND AT
WWW.STANTONMAGNETICS.COM
DFX - 1 U S E R M A N UA L
C O N N E C T I O N S . . . . . . . . . . . . . . . . . . . . . . . . . . . . . . . . . . . . . . . . . . . . . . . . . . . . . . . . . . . . . . . . . . . 4
F E AT U R E S . . . . . . . . . . . . . . . . . . . . . . . . . . . . . . . . . . . . . . . . . . . . . . . . . . . . . . . . . . . . . . . . . . . . . . . . . . . 5
PROGRAM LIST...................................................................6
F U N C T I O N S . . . . . . . . . . . . . . . . . . . . . . . . . . . . . . . . . . . . . . . . . . . . . . . . . . . . . . . . . . . . . . . . . . . . . . . . . 7
T R O U B L E S H O O T I N G . . . . . . . . . . . . . . . . . . . . . . . . . . . . . . . . . . . . . . . . . . . . . . . . . . . . . . . . 1 3
WA R R A N T Y. . . . . . . . . . . . . . . . . . . . . . . . . . . . . . . . . . . . . . . . . . . . . . . . . . . . . . . . . . . . . . . . . . . . . . . . 1 4
CONTACTINFO..................................................................15
WA R R A N T Y TABLE OF CONTENTS
To get started quickly:
If you think you can figure this thing out on your
own and you just don’t feel like reading the whole
manual, just look at the text boxes like this one for
quick instructions.
Page 4

T R O U B L E S H O O T I N G
PROBLEM
The BPM counter keeps
flashing 120 BPM.
I don’t hear any effects.
The trackball doesn’t
respond very well.
The trackball doesn’t
respond at all.
CAUSE
The audio signal is not
loud enough.
The BPM of the audio
signal is outside of the
selected BPM range.
The MIX knob is set to
minimum, which is 100%
dry signal (no effects) and
0% wet signal (with
effects).
Trackball mechanism is
dirty.
X and Y are both
bypassed. The LEDs
under each button should
be lit red.
SOLUTION
Turn up the level of the
audio signal gradually unti
the BPM count is shown.
Press and hold SHIFT
while pressing the RANGE
button to select the desired
BPM range.
Turn up the dry/wet mix
until you reach what you
consider to be a good
combination of dry and we
signals.
Follow the instructions on
cleaning the trackball in th
manual.
Press and hold SHIFT
while pressing HOLD X an
HOLD Y to deselect and
reactive the trackball.
C O N N E C T I O N S
The DFX-1 can be connected in a variety of configurations. Two are
shown below:
1. CONNECTING INTO A DJ SETUP.
Connect the Master output of your DJ mixer to the Line In on your
DFX-1 using either the RCA or 1/4” jacks depending on the connectors
provided on the mixer.
2. CONNECTING TO A KEYBOARD.
Connect the left and right outputs of your keyboard to the Line In on your
DFX-1 using 1/4” jacks. Connect the Line Out on your DFX-1 to a stereo
input channel on any mixer (recording, DJ, etc.).
Page 5

FUNCTIONS & FEA T U R E S
USER INTERFA C E
C O N N E C T I O N S
FUNCTIONS & FEA T U R E S
FX ON
The FX ON button is simply used to turn the effect on or off. Not the unit,
just the effect. This buttons also acts as a starting point (See Function
Keys).
MIX KNOB
The MIX knob controls the mix of the dry signal (original signal without
effects) and wet signal (processed signal with effects), giving the user the
option to hear either signal by itself. When the knob is turned all the way
to the left, only he dry signal will be heard (even if the effect is on). When
turned all the way to the right, only the processed signal will be heard.
When the knob is set to 12 o’clock (center, as shown) both signals are at
their maximum levels. When turned in either direction from the center,
one of the signals will decrease while the other will increase, giving you
the option to set the mix of both signals as you desire. For the Echo effect
for example, it is best to keep the mix set within the Dry area, giving just
enough wet signal to hear the Echo, but not enough so the Echo is louder than the original signal (unless that is the desired effect). For effects
such as the Manual Filter or transformer, most of the time, you will want
to have only the wet signal.
Page 6

43 Transformer + Auto-filter 1 beat
44 Transformer + Auto-filter 2 beats
45 Flanger
46 Flanger + Echo 1/4 beat
47 Flanger + Echo 1/2 beat
48 Flanger + Echo 3/4 beat
49 Flanger + Echo 1 beat
50 Flanger + Pan 1/2 beat
51 Flanger + Pan 1 beat
52 Flanger + Pan 2 beats
53 Flanger + Transformer 1/4 beat
54 Flanger + Transformer 1/2 beat
55 Flanger + Transformer 3/4 beat
56 Flanger + Auto-filter 1/4 beat
57 Flanger + Auto-filter 1/2 beat
58 Flanger + Auto-filter 1 beat
59 Flanger + Auto-filter 2 beats
60 Filter
61 Filter + Echo 1/4 beat
62 Filter + Echo 1/2 beat
63 Filter + Echo 1 beat
64 Filter + Pan 1 beat
65 Filter + Pan 2 beats
66 Filter + Pan 4 beats
67 Filter + Transformer 1/4 beat
68 Filter + Transformer 1/2 beat
69 Filter + Transformer 3/4 beat
70 Auto-filter
71 Auto-Filter + Echo 1/4 beat
72 Auto-Filter + Echo 1/2 beat
73 Auto-Filter + Echo 1 beat
74 Auto-Filter + Pan 1 beat
75 Auto-Filter + Pan 2 beats
76 Auto-Filter + Pan 4 beats
77 Auto-Filter + Trans 1/4 beat
78 Auto-Filter + Trans 1/2 beat
79 Auto-Filter + Trans 3/4 beat
80 Reverb
81 Reverb + Pan 1/2 beat
82 Reverb + Pan 4 beats
83 Reverb + Transform 1/4 beat
84 Reverb + Transform 1/2 beat
85 Pitch Shifter
PROGRAM LIST
FUNCTIONS & FEAT U R E S
FUNCTION KEYS
The 4/1 key also doubles as a SHIFT key to access the TAP/RESET,
HOLD X, HOLD Y, and RANGE functions. To access these function, hold
down SHIFT together with the desired Function keys. If any of the Shift
functions are activated, the corresponding LED will light up in red. If both
functions are used at the same time on one key, the LED will light up
orange.
The Shift functions include:
TAP/RESET: Use this function in case of emergency to manually tap the
beat count or reset the BPM counter. To tap the beat, hold down shift
while tapping the TAPkey. To reset the BPM counter, hold down both
keys for 1 second.
HOLD X: Use this function to bypass the trackball’s X axis so the Y axis
can be manipulated by itself. This parameter can still be controlled using
the function keys.
HOLD Y: Use this function to bypass the trackball’s Y axis so the X axis
can be manipulated by itself.
RANGE: Use this function to select the BPM counter range. The selections are 60-120, 120-180, and 180-240.
To access S H I F T functions :
Press and hold the SHIFT (4/1) Key while pressing the desired function key.
To tap or reset the BPM:
1. Press and hold Shift.
2. Tap the BPM on the TAP/RESET key
3. To Reset the BPM, just hold the TAP/RESET
key until the BPM flashes 120
4. Release Shift
To bypass X or Y:
1. Press and hold Shift.
2. Press HOLD X or HOLD Y
3. Release Shift
For more info on the Programs, see page 7.
Page 7

FUNCTIONS & FEA T U R E S
The DFX-1 effect processor was designed for easy and effective real-time
control over the music in live applications - although it works really well in
a studio environment too. The trackball controls the effect parameters for
easy single handed control in live situations when many things often need
to happen at the same time.
PROGRAMS
The DFX-1 features 85 unique effect programs constructed from 8 main
effects: Echo, Auto Pan, Transformer, Flanger, Manual Filter, Auto Filter,
Reverb, and Pitch Shifter. Aside from these 8 single effects, the other programs are combinations. in which 2 of the above effects are daisy
chained in the signal path. For these combination presets, only the first
effect in the chain can be controlled while the second remains static. The
list below shows the speed of the second effects in beats. For example,
for Program 01, the audio will be panned left to right every 1/2 beat
according to the BPM counter readout.
PROGRAM WHEEL
The Program wheel is used to search and select the effect Programs.
There are 85 Programs in the DFX-1. To scroll through the Program bank,
just turn the wheel in either direction. When the Program wheel is turned,
the Program number on the LCD display will begin flashing with the new
Program number. Push down to select the desired Program. The display
will keep flashing until a new Program is selected. If a new Program is not
selected within 5 seconds, the display will return to the current Program.
FUNCTIONS & FEAT U R E S
FUNCTION KEYS
The 5 Function keys located under the LCD display serve two purposes.
They control the same effect parameter as the Trackball’s X axis (see
control chart) and are also used for various functions when the SHIFT key
is held down. More about the SHIFT key on the next page.
For all effects (except the Manual filter and the Reverb), the X parameter
equals the speed of the effect. In this case, the function keys will act as
“Beat Selectors” to change the speed of the effect in time with the music
(according to the BPM count). From left to right, the keys are marked 1/2,
3/4, 1/1, 2/1, and 4/1. These numbers refer to the beat count picked up
by the BPM counter. 1/1 is one beat. By pressing the 1/1 key, the effect
will regenerate on every beat. Pressing 1/2 will make the effect regenerate every half beat, and so on.
(TIP: These keys affect the same effect
parameter as the trackball’s X axis. Use them together to create various
rhythmic effects).
For the Manual Filter, the function keys control the frequency cut-off, and
for the Reverb, they control the feedback.
The beat selectors also act as starting points for the effects to let the unit
know where the first beat is, and together with the BPM counter makes
sure the effects are synchronized. The LED above each button will light
up in green to show the selected Function key.
To ch a n ge the speed* of an effect :
Press any Function Key: 1/2 for a half beat, 3/4
for 3/4 of a beat, 1/1 for every beat, 2/1 for every
2 beats, and 4/1 for ever 4 beats.
To select a program:
1. Rotate the program wheel
to the desired program
2. Press wheel down to select.
* The Functions Keys control the speed of the Echo, Pan , Flanger, Transformer, and AutoFilter effects. For the Manual Filter, the function keys control the frequency cut-off, and for
the Reverb, they control the feedback, as they are not rhythmic effects.
Page 8

FUNCTIONS & FEAT U R E S
BPM COUNTER
The built-in BPM counter automatically displays the beat count of the
incoming audio signal. When the unit is turned on, the BPM count will
flash 120 BPM (located at the bottom left corner of the LCD display). The
display will keep flashing until the BPM counter picks up an accurate Beat
count. If no audio is passing through the unit, the BPM counter will just
keep flashing, unless a beat count is manually entered. To enter the beat
manually, simply hold down SHIFT and tap the tempo on the TAP/RESET
key. To reset the beat count, simply press and hold both SHIFT and
TAP/RESET for 2 seconds. For better accuracy, the BPM counter is
divided into 3 ranges 60-120, 120-180, 180-240 BPM’s. To select the
desired range, hold down SHIFT while pressing the RANGE button until
the desired range is displayed to the right of the BPM counter.
LCD DISPLAY
The LCD display lets you know just about everything going inside the unit.
At the top left corner is the Program number. Next to it, the actual effect
is displayed. At the bottom left corner is the BPM counter, and to the right
are the X and Y parameters. The X parameter is shown in milliseconds
(ms) for all rhythmic effects: Echo, Auto Pan, Transformer, Flanger, and
Auto-Filter; KiloHertz (KHz) for the Manual Filter; and feedback percentage (%) for the Reverb and Pitch Shifter. The Y parameter is always
shown in percentage (See control chart).
FUNCTIONS & FEA T U R E S
To tap or reset the BPM:
1. Press and hold Shift.
2. Tap the BPM on the TAP/RESETkey
3. To Reset the BPM, just hold the TAP/RESET
key until the BPM flashes 120
4. Release Shift
To select the BPM range:
1. Press and hold SHIFT.
2. Press the RANGE key until the desired
range appears
4. Release SHIFT
TRACKBALL
The trackball controls two of each effect’s parameters (see control chart below) simultaneously. The
X Axis refers to the left to right movement of the
trackball, and the Y axis refers to the up and down
movements. It is possible to use the trackball to
control only one parameter at a time. For example,
once the X parameter is set to the desired value, it
can be bypassed while the Y parameter is
changed, and vice versa. Both and X and Y can be
bypassed simultaneously.
To change effect parameters:
1. Move the trackball left to right to
increase X parameters.
2. Move the trackball up to increase
the Y parameters. Down to decrease.
To bypass X or Y:
1. Press and hold Shift.
2. Press HOLD X or HOLD Y
3. Release Shift
T R A C K B A L L C O N T R O L C H A R T
 Loading...