

Page 1

Hand Held Earth Auger
Model No. PD241001C
Owner’s Manual
Assembly & Operating Instructions
This safety alert symbol identifies important safety messages in this manual.
Failure to follow this important safety information may result in serious injury
or death.
PD45-759-0108
Rev 0
Page 2

Table of Contents
Page(s)
Important Safety Information ................................................................................................ 1-2
Intended Use ..............................................................................................................1
Personal Protective Equipment ................................................................................. 1
Safety Decals ............................................................................................................... 1
Operating Safety ........................................................................................................ 1-2
Fire Prevention .......................................................................................................... 2
Assembly Instructions ................................................................................................................ 3
Operating Instructions ............................................................................................................... 3
St arting Instructions .................................................................................................................... 3
Maintenance ............................................................................................................................. 4
Replacement Parts for PD241001C ........................................................................................... 5
Augers & Replacement Parts .................................................................................................... 6
Notes ........................................................................................................................................... 7
Warranty ....................................................................................................................... Back Cover
Page 3
WARNING: Read and thoroughly understand all instructions and safety information before assembling
or operating this hand held digger. Failure to do so may cause serious injury or death. Do not allow
anyone to operate this digger who has not read this manual. As with all power equipment a hand held
digger can be dangerous if assembled or used improperly. Do not operate this digger if you have
doubts or questions concerning safe operation. Call our customer service department at 1-800-525-8322
to address these concerns.
Si no entiende ingles, se prefiere que busque alguien que interprete las instrucciones para usted.
INTENDED USE
This product is designed to dig holes in the soil. It is not intended for any other use. Using this product for anything other
than digging holes in the soil could result in serious injury or death.
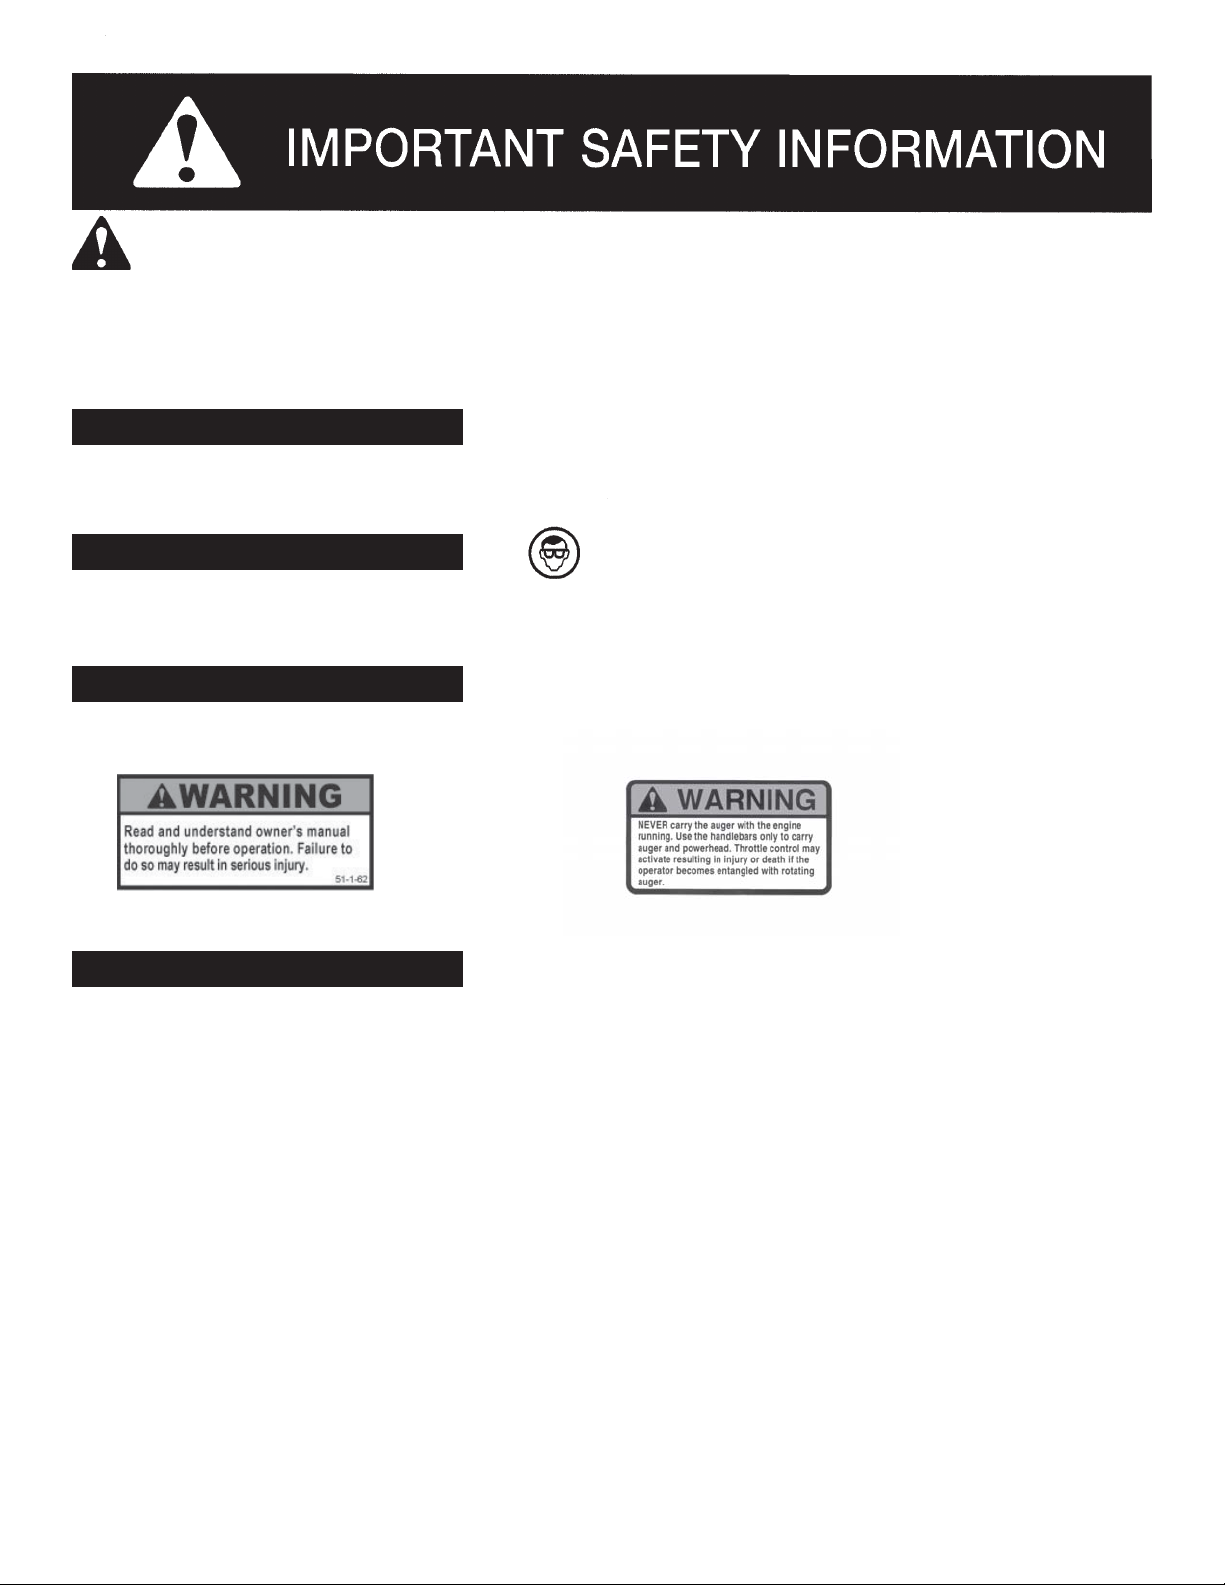
PERSONAL PROTECTIVE EQUIPMENT
Recommended personal protective equipment includes safety glasses and protective hearing devices. Do not wear loose
clothing, open toe shoes or jewelry when operating this earth auger. Long p ants are also recommended.
SAFETY DECALS
Make sure that all safety warning decals are in good condition and readable. Always replace missing or defaced decals.
Write us or call 1-800-525-8322 and they will be sent to you at no charge.
P ART NUMBER: DL51-1-62
LOCA TION: HANDLE FRAME
PART NUMBER: DL52-2-11
LOCATION: TOP OF GAS TANK
OPERATING SAFETY
NEVER operate this earth auger without knowing and understanding all operating and safety instruction and warning
decals.
ALWAYS keep everyone clear of the rotating auger when operating this digger. Serious injury or death could result.
ALWAYS keep hands, feet and clothing clear of all moving parts to avoid entanglement with the rotating auger.
NEVER carry the auger with the engine running.
NEVER let children operate the auger or be near it during operation.
NEVER try to force the auger into the ground by using your body weight.
NEVER operate the earth auger or any power equipment while under the influence of alcohol, drugs or medication.
ALWAYS make sure that all nuts and bolts are tight before operating this earth auger.
NEVER operate this earth auger until you have checked with local authorities for underground utilities. Serious injury or
death could result from contact with gas or electric lines.
1
Page 4

If the auger rotates while the engine is idling, turn off the machine immediately and contact S peeCo at 1-800-525-8322 for
further information.
If an obstruction is encountered during operation, release the throttle control until the engine idles down. Then remove the
earth auger from the ground and turn it off. Remove the obstruction, if possible, and resume digging.
NEVER tilt the gas tank if the engine is running, hot or if the unit is indoors.
NEVER have the throttle control fully open when starting. You could easily lose control of the digger.
NEVER run the digger indoors, in poorly-ventilated or partially enclosed areas, or outdoors where the exhaust could be drawn
into a building. Exhaust contains carbon monoxide which is odorless and deadly .
ALWAYS avoid contact with the exhaust area of the engine to prevent possible burns.
ALWA YS remove the spark plug wire before performing any maintenance, adjustment or rep airs.
FIRE PREVENTION
NEVER store the digger indoors with fuel in the tank. Fumes could be ignited by a spark, flame or pilot light. ALWAYS drain
the fuel outdoors into an approved container .
ALWAYS close the fuel vent cap on the engine when transporting this digger or when the engine is stopped.
NEVER remove the fuel cap or add fuel when the engine is running.
NEVER start or operate the engine with the fuel cap removed.
ALWA YS allow the engine to cool before refueling.
NEVER fill the tank indoors. Refilling should be done outdoors and in a well ventilated area.
NEVER allow children to refuel the tank.
NEVER smoke while refueling the tank or while operating the machine.
ALW AYS use an approved red gasoline container to store and dispense fuel.
NEVER overfill the fuel tank. Leave space for the fuel to expand without overflowing.
ALW AYS keep flammable materials including grass and leaves away from the muffler and the engine.
NEVER operate this earth auger if there is spilled gasoline on the engine or in the immediate area. Wipe up the spill and
allow the gas to evaporate before operating the digger. A void creating any source of ignition until fuel vapors are gone.
NEVER pour fuel from engine or siphon fuel by mouth. Empty tank by running engine until it stops from lack of fuel.
NEVER leave the digger unattended while the engine is running.
WARNING: CALIFORNIA PROPOSTION 65
The engine exhaust from this product contains chemicals known to the State of California to cause cancer,
birth defects or other reproductive harm.
2
Page 5

ASSEMBLY INSTRUCTIONS
NOTE: This post hole digger was fully assembled at the factory. Refer to the illustrations and parts list should it
become necessary to disassemble the unit for repair or replacement of parts.
STEP 1: Remove the powerhead from the box. The powerhead and auger are purchased separately. Inspect each
piece for shipping damage. If any part is damaged contact your dealer or delivering carrier.
STEP 2: The gear box has been filled with lubricant at the factory. Check the lubricant level after approximately one year
of use. Add all-purpose grease if the level is below the top of the gears. Do not fill to the overflow point.
STEP 3: Attach the auger to the output shaft on the bottom of the powerhead using the 3/8” bolt (3 or 4), lock
washer (5) and nut (6). See the illustrations on page 5. Tighten.
STEP 4: This post hole digger uses an oil/gas mixture of 1:25. Do not mix fuel and oil directly in fuel tank.
STEP 4: Adjust the acceleration cable until it is between 1.0 and 2.0 mm. An excessive length will result in poor
performance.
OPERATING INSTRUCTIONS
IMPORTANT NOTE: The clutch requires a break-in period of approximately two hours. During this time some slippage
may occur. For best operation and long life keep the clutch free from oil and moisture.
1) St art the engine. Never have the throttle control fully open when starting.
2) Place the auger point in the desired hole location. Make sure that the unit is upright. Do not dig at an angle.
3) Engage the throttle and start digging at a slow speed. Increase speed as the auger enters the soil.
4) Do not try to force the auger into the ground with your body weight.
5) For heavier soil, move the unit up and and down for each foot of depth.
6) Do not use this unit in extremely rocky soils. If an object is encountered that is too large for the auger to move,
release the throttle control until the engine idles down. Then pull the auger from the hole and turn the engine
off. Remove the obstacle, if possible, and resume digging.
ST ARTING INSTRUCTIONS
IMPORTANT NOTE: Storing the power head in temperatures below 20 Degrees F could result in dif ficult starting.
1) Move the kill switch to the “ON” position. The motor will not start while the kill switch is in the
“OFF” position.
2) Move the choke lever to the “ON” position.
3) Pull the throttle. Grasp the starter cord and pull.
4) Af ter the engine has started; slowly move the choke lever to the “OFF” position If the motor does not start
move the choke lever to the “OFF” position and pull the starter control again.
5) Once the motor is running release the throttle.
3
Page 6

MAINTENANCE
CAUTION: ALW A YS remove spark plug wire before performing any maintenance, adjustments or repairs
CAUTION: NEVER allow children to perform maintenance.
1) Check the air intake and outlet for clogging. This engine is air-cooled, if air passage is blocked the engine may
overheat.
2) Periodically check that the air filter is not dirty . A dirty air filter may cause the auger to consume more fuel.
3) Check the level of gear box lubricant after approximately 100 hours of use. Check sooner if digger is used
frequently . Add all-purpose grease only to a point below the top of the gears. Do not overfill the gearbox.
4) Periodically check all nuts and bolts for tightness.
5) Check and clean the spark plug and surrounding area approximately every 50 hours of use.
5) Periodically check the cutting blade and tip for wear and replace if necessary .
NOTE: Replacing worn blades and tips will increase digging efficiency
6) For long term storage (greater than one month), you may add fuel stabilizer or empty the fuel tank by running
the engine until it stops. Close the fuel cap vent and store the unit in an upright position.
4
Page 7

PD241001C REPLACEMENT P ARTS
TRAP
REBMUN
090142DPylbmessAlioceR1
690142DPhctulC1
190142DPteksaGylbmessAlioceR1
DPhctaCretratS1
490142
590142DPelttorhT1
790142DPtiKlaeSenignE1
890142DPrevoCcitsalP1
522142DPrevoC1
622142DPylbmessAretliF1
9
90142DPknaTleuF1
720142DPrelffuM1
822142DPnoitingI1
922142DProterubraC1
032142DPgulPkrapS1
390142DPslortnoCelttorhTht
132142DPyarThctulC1
980142DPretpadAreguA1
290142DPrevoCeldnaHrebbuR1
232142DPtiKlaeSliOxoBraeG1
NOITPIRCSEDREBMUN
DERIUQER
iweldnaH1
5
Page 8

AUGERS & REPLACEMENT P ARTS
ECNEREFER
REBMUN
1750142DPreguA"011
2150142DPre
51552142DPreguAecI"81
3L/OtloBdaeHtekcoS5edarG"4/1-1XCNU81-"8/31
4L/OtloB5edarG"4/3-1xCN
5L/OrehsaWkcoL"8/31
6L/OtuNCNU81-"8/31
7940142DPreguA"01dna"8,"6rofgnirpStfahS1
8L/OrehsaWkcoL"61/54
9L/OtuNCNU
01435071WHtloB5edarG"4/1-2xCNU81-"61/54
11L/OtloB5edarG"8/5xCNU02-"4/14
21L/OtuNCNU02-"4/14
31UBZ250142DP2f
41050142DPtnioPwercSreguA1
61L/OtloBdaeHtekcoS"4/1-1x"8/31
71L/OtuNkcoLmm54
81L/Otl
91152142DPsedalB2htiwllehsmalC-piT&sedalBgnittuC"81
02L/OtloBmm51xmm54
12L/OtuNkcoLmm71
/O
TRAP
REBMUN
550142DPreguA"81
350142DPreguA"61
752142DPreguAecI"011
UBZ450142DP2fogaB-segdEgnittuCreguA"61
UBZ650142DP2fogaB-segdEgnittuCreguA"81
UBZ85
0142DP2fogaB-segdEgnittuCreguA"011
252142DPsedalB2htiwllehsmalC-piT&sedalBgnitt
.yletarapesdloserasreguallA:ETON
NOITPIRCSEDREBMUN
guA"41
U81-"8/31
81-"61/54
ogaB-segdEgnittuCreguA"41
oBmm53xmm71
uC"011
serotsmrafdnaerawdrahhguorhtelbaliavasrenetsafnommoC.yllacoLniatbO-L
DERIUQER
6
Page 9

NOTES
Model No. ____________________
Date of Purchase _______________ Place of Purchase _______________________
_______________________
_______________________
_______________________
7
Page 10

LIMITED WARRANTY
This earth auger is guaranteed to be free from defects in material and workmanship for one year from the
date of purchase. SpeeCo will repair or replace free of charge any p art or parts of the earth auger that in our
judgement is found to be defective in material or workmanship during the warranty period stated above. The
replaceable screw point and cutting blade are not covered under this warranty . The warranty also does not
cover parts that in our judgement have been subjected to negligent use, misuse, alteration, accident or if
repairs have been made by anyone except an authorized dealer . Defective parts must be returned to
Speeco, Inc. 15000 W . 44th Ave. Golden, CO 80403 with the shipping charges prep aid. This warranty is not
transferable to second or subsequent purchasers-users.
Please fill out the enclosed warranty card and return it to us for product registration.
 Loading...