

Page 1
122mm
©1976, 2008 SANRIO CO., LTD.
LED DIGITAL ALARM CLOCK
OWNER'S MANUAL
MODEL KT3005P
�
SAFETY INSTRUCTION
WARNING: TO PREVENT FIRE OR SHOCK HAZARD, DO NOT EXPOSE THIS
APPLIANCE TO RAIN OR MOISTURE.
The lightning flash and
arrow head within the
triangle is a warning
sign alerting you of
"dangerous voltage"
inside the product
CAUTION : TO REDUCE THE RISK OF
ELECTRIC SHOCK DO NOT REMOVE
COVER (OR BACK) NO USER
SERVICEABLE PARTS INSIDE. REFER
SERVICING
TO QUALIFIED SERVICE
PERSONNEL.
THE IMPORTANT SAFETY INSTRUCTIONS SHALL INCLUDE, AS APPLICABLE TO THE APPLIANCE,
ST
ATEMENTS THAT CONVEY TO THE USER THE INFORMATION ITEMIZED IN THIS PARAGRAPH:
Read ins-tructions - All the safety and operating instructions should be read before the appliance is operated.
1.
Retain instructions - The safety and operating instructions should be retained for future reference.
2.
Heed Warnings - All warnings on the appliance and in the operating
3.
instructions should be adhered to.
Follow instructions - All operation and use instructions should be
4.
followed.
5.
Water and Moisture - The appliance should not be used near water; for
example, near a bathtub, washbowl, kitchen sink, laundry tub, in a wet
basement, or near a swimming pool, and the like.
6.
Carts and Stands - The appliance should be used only with a cart or
stand that is recommended by the manufacturer.
An appliance and cart combination should be moved with care. Quick
stops, excessive force, and uneven surfaces may cause the appliance
and cart combination to overturn.
7.
Wall ad Celling Mounting - The appliance should be mounted to a wall or celling only as recommended by
the manufacturer
8.
Ventilation - The appliance should be situated so that its location or position does not interfere with its proper
ventilation. For example, the appliance should not be situated on a bed, sofa, rug, or similar surface that may
block the ventilation openings; or placed in abuilt-in installation, such as bookcase or cabinet that may
impede the flow of air through the ventilation openings.
9.
Heat - The appliance should be situated away from heat sources such as radiators, heat registers, stoves or
other appliances (including amplifiers) that produce heat.
10.
Power Sources - The appliance should be connected to a power supply only of the type described in the
operating instructions or as marked on the appliance.
11.
Grounding or Polarization - Precautions should be taken so that the grounding or polarization means of an
appliance is not defeated.
Power-Cord Protection - Power supply cords should be routed so that they are not likely to be walked on or
12.
pinched by items placed upon or against them, paying particular attention to cords at plugs, convenience
receptacles and the point where they exit from the appliance.
Protective Attachment Plug - The appliance is equipped with an attachment plug having overload protection.
13.
This is a safety feature. See Instruction Manual for replacement or resetting of protective device. If replacemrnt
of the plug is required, be sure the service technician has used a replacement plug specified by the
manufacturer that has the same overload protection as the original plug.
Cleaning - The appliance should be cleaned only as recommended by the manufacturer
14.
15.
Power Lines - An outdoor antenna should be located away from power lines.
.
The exclamation point
within the triangle is a
warning sign alerting you
of important instructions
accompanying the
product
.
Outdoor Abtenna Grouding - If an outside antenna is connected to the receiver, be sure the antenna system is
16.
grounded so as to provide some protection against voltage surges and built up static charges. Section 810 of
the National Electrical Code, ANSI/NFP
the mast and supporting structure, grounding of the lead-in wire to an antenna discharge unit, size of grounding
conductors, location of antenna discharge unit, connection to grounding electrodes, and requirements for the
grounding electrode. See figure 1.
Nonuse Periods - The power cord of the appliance should be unplugged from the outlet when left unused for
17.
a long period of time.
Object and Liquid Entry - Care should be taken so that objects do not fall and liquids are not spilled into the
18.
enclosure through openings.
Damage Requiring Service - The appliance should be serviced by qualified service personnel when:
19.
A. The power supply cord or the plug has been damaged: or
B. Objects have fallen, or liquid has been spilled into the appliance: or
C. The appliance has been exposed to rain: or
D. The appliance does not appear to operate normally or exhibits a marked change in performance; or
E. The appliance has been dropped, or the enclosure damaged.
Servicing - The user should not attempt to service the appliance beyond that described in the operating
20.
instructions. All other servicing should be referred to qualified service personnel.
A No.7-1984, provides information with respect to proper grounding of
189mm
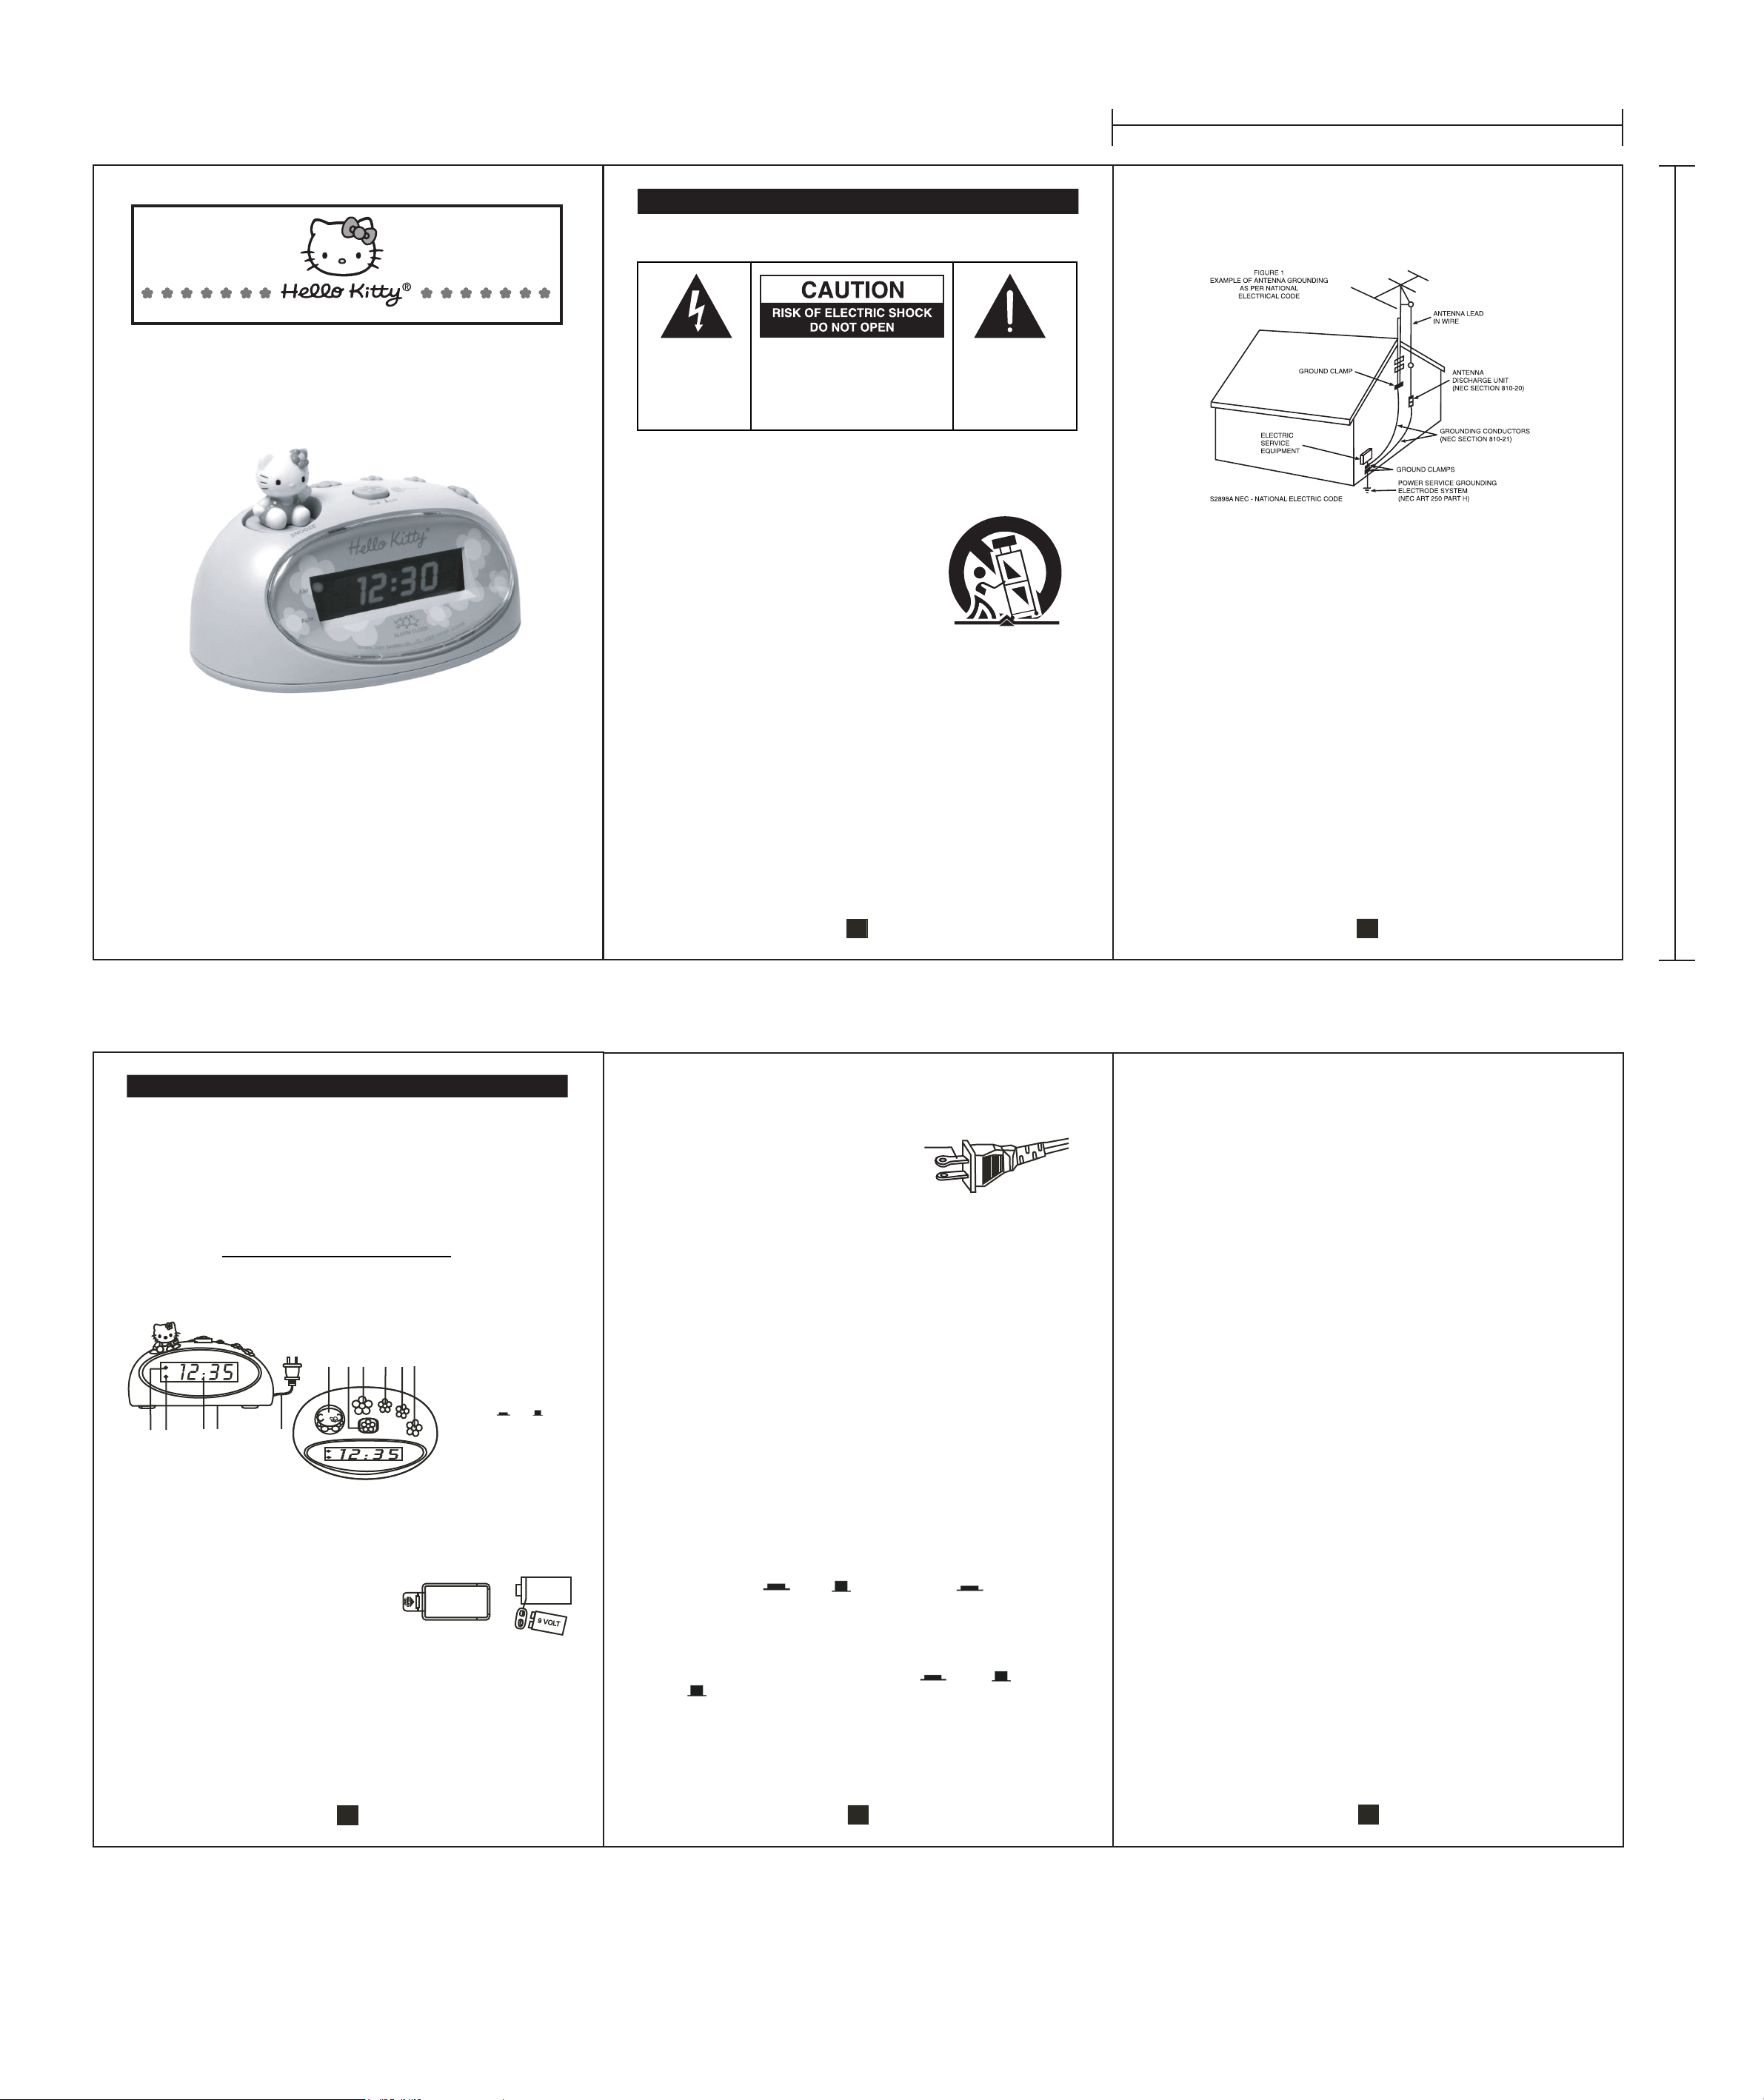
WELCOME TO THE WORLD OF HELLO KITTY
We have taken great care to make sure that your Clock Radio was in perfect
working order when it left our factory. It has been designed to give you many
years of enjoyment and trouble free operation. Read this manual before
operating this unit to become familiar with its features and obtain the
performance that will bring you continued enjoyment for many years.
For future reference, record the serial number in the space provided. The
serial number can be found on the bottom of the unit.
Model Number: KT3005P
Serial Number:
LOCATION OF CONTROLS AND INDICATORS
AM Indicator
1.
ALM(Alarm ON) Indicator
2.
Time LED Display
3.
11
10
Battery Compartment
4.
(at bottom of cabinet)
AC Power Cord
5.
SNOOZE Button (Doll)
6.
Alarm ON /OFF Button
7.
ALARM / RESET Button
8.
(Alarm Time Adjustment)
HOUR Button
9.
MINUTE Button
10.
TIME Adjustment Button
11.
1 2
7
6
8 9
3
4
5
SURE-ALARM BATTERY BACK UP SYSTEM
This alarm clock has a Sure-Alarm battery back up system that will maintain the time
and alarm settings in the event of a temporary power interruption. In addition the battery
can still operate the alarm even if the power is '
Open the b
of the cabinet and att
included) to the batter
attery compartment cover on the bottom
ach a 9 volt battery, (not
y terminal. It can only be
Off' at the wake up time.
attached one way. Use an alkaline battery for
longest life. Push the battery into the compartment
and close the cover.
If the power is interrupted the display goes .Off. However, the battery will maintain the
time and ala
and the time and alarm settings will b
If there is n
interrupted, the clock and alarm settings will b
clock displ
rm settings, and when the power is restored the display will come on again
e correct.
o battery, or a dead battery, in the battery compartment and the power is
e lost. When the power is restored the
ay will be flashing. This indicates that the time display is incorrect and that
both the time and alarm time must be reset.
A fresh 9 volt alkaline battery should last for at least one year, but this depends on the
number and duration of the power interruptions you experience. For best perfor
mance
we recommend that you install a new battery every 12 months
3
1
POWER SUPPLY
This alarm clock is designed to operate on 120V 60 Hz AC house current only. It sho
be connected to an AC outlet that
controlled b
This unit has a polarize
y a wall switch.
d AC plug with one
wide blade and one narrow blade. This plug
is always "live". Do not connect it to an outlet that is
wide blade
uld
will only fit into a matching polarized AC
outlet. This is a safety feature to reduce the
possibility o
f electric shock. If this plug will
not fit in your AC outlet, you probably have an o
have your o
utdated outlet changed by a qualified, licensed electrician. Do not file the
utdated non-polarized outlet. You should
AC Polarized Plug
wide blade on the plug, or use an adapter to make the plug fit into your outlet. This
defeats the safety feature and could expose you to electric shock.
SETTING THE TIME
After installing the back up battery, unwind the AC cord completely and connect the plug
to your AC o
1. Depress the TIME and HOUR b
utlet. The display will show "12:00" and begin to flash.
uttons to adjust the hours. Release the buttons
when the correct hour appears on the display.
NOTE: Be sure to observe the AM indicator when adjusting the hours. If the AM
indicator is 'On' the hour displayed is AM. If the AM indicator is '
Off', the hour
displayed is PM.
2. Depress the TIME and MINUTE buttons to adju
st the minutes. Release the buttons
when the correct minute appears on the display.
SETTING THE WAKE-UP TIME
1. Depress the ALARM / RESET and HOUR buttons to adjust the hours. Release the
buttons when the correct wake-up hour appears on the display.
NOTE: Be sure to observe the AM indicator when adjusting the hours. If the AM
indicator is 'On' the hour displayed is AM. If the AM indicator is '
Off', the hour
displayed is PM.
2. Depress the ALARM / RESET and MINUT
E buttons to adjust the minutes. Release
the buttons when the correct wake-up minute appears on the display.
SETTING THE ALARM
1. Depress the ALARM / RESET button to check the wake-up time setting. When the
button is depressed the display will change from the actual time to the wake-up time.
Adjust the wake-up time setting if necessary.
2. Set the Ala
rm ON / OFF switch to the ON position. The
ALM (Alarm On) Indicator appears in the display.
3. At the selected wake up time the electronic 'buzzer' comes on. It will continue for
one hour and 59 minutes and then shut itself off automatically, and reset itself for
the following day.
4. To stop the buzzer immediately, press the ALARM / RESET button. The buzzer
stops and the alarm resets itself for the following day.
5. To shut the alarm off completely set the alarm ON / OFF switch to the
OFF position.
SNOOZE / REPEAT ALARM
If you need a few extra minutes sleep after the buzzer comes on, press the SNOOZE
button. The buzzer sto
Snooze operation can b
ps for approximately 9 minutes and then it st
e repeated several times if necessary.
arts again. The
4
2
CARE AND MAINT
1. Clean your unit with a damp (never wet) cloth. Solvent or detergent should never be
use
d.
2. Do not drop your unit or subject it to strong impacts.
3. Avoid leaving your unit in direct sunlight or in hot,humid or dustyplaces.
4. Keep your u
orescent lamps or motors.
flu
5. This manual should be kept for future ref
information.
COMPLIANCE WITH FCC REGULATIONS
This equipment has been tested and found to comply with the limits for a Radio
Receiver, pursuant to Part 15 of the FCC Rules. These limits are designed to
provide reasonable protection against harmful interference in a residential
installation. This equipment generates, uses and can radiate radio frequency
energy and, if not installed and used in accordance with the instructions, may
cause harmful interference to radio communications. However, there is no
guarantee that interference will not occur in a particular installation. If this
equipment does cause harmful interference to radio or television reception,
which can be determined by turning the equipment off and on, the user is
encouraged to try to correct the interference by one or more of the following
measures:
- Reorient or relocate the receiving antenna.
- Increase the separation between the equipment and receiver.
- Connect the equipment into an outlet on a circuit different from that to which
the receiver is connected.
- Consult the dealer or an experienced radio technician for help.
SERVICE
Please refer to the instructions on the enclosed warranty card for returning
your unit for service. When returning the unit, please remove batteries to
prevent damage to the unit in transit and/or from possible battery leakage.
We are not responsible for batteries returned with the product or for the cost
of replacement.
Distributed by:
Spectra Merchandising International, Inc.
Chicago Industry Tech Park
4230 North Normandy
Chicago, IL60634, U.S.A.
Please have model number ready, for Customer Service, call 1-800-777-5331
809-3005000-120R
ENANCE
nit away from heating appliances and sources of electrical noise such as
erence since it contains important
Avenue
Printed in China
5
 Loading...