

Page 1

Page 2
MOUNTING
THE SPEEDZONE®ELITE
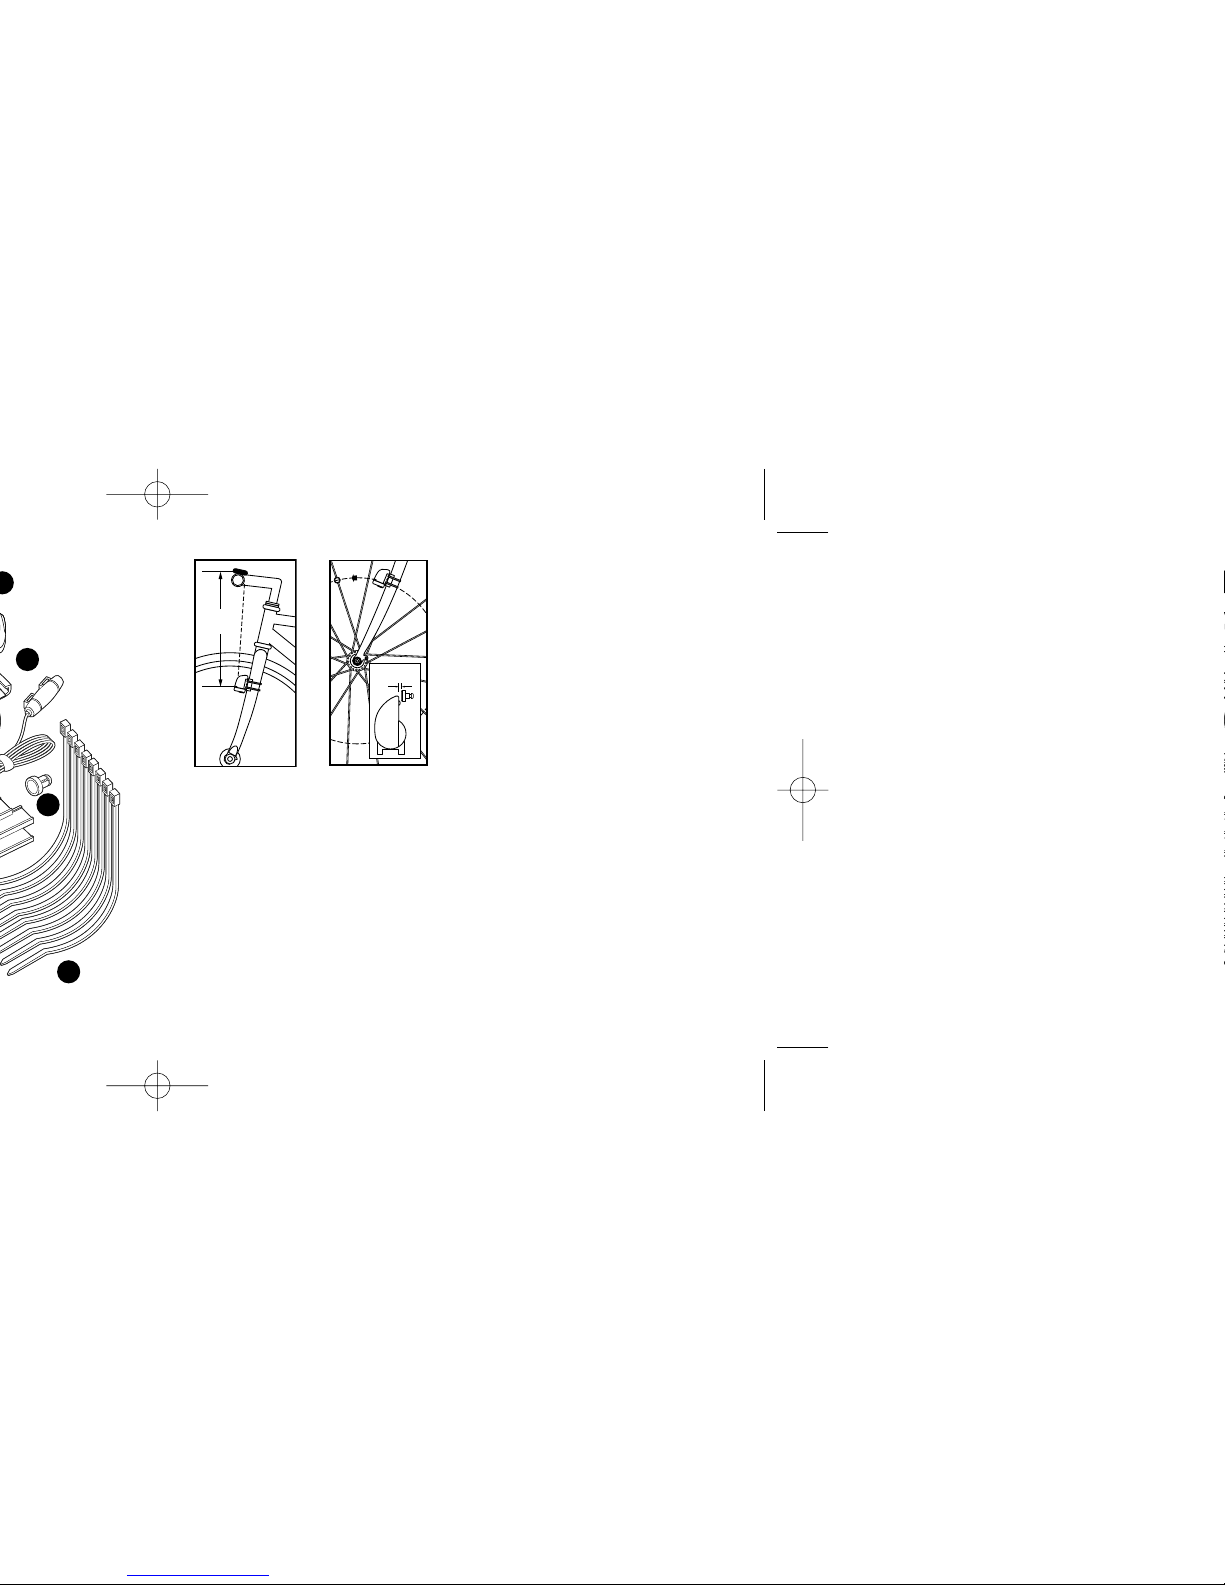
The SpeedZone®Elite wireless transmitter can mount on the right or the left
side of the fork blade. The right side
should be used on large frames or
when a suspension fork is installed.
The optimal distance between the computer and the transmitter is 24 inches
(610mm) The distance may need to be
less than 24 inches (610mm) if ambient temperatures are below 40°F (4°C).
To reduce signal loss in colder temperatures, the transmitter should be
mounted as close to the computer as
possible. (Maximum mounting distance
is 28 inches). Use the transmittermounting bracket and tie-wraps provided to position the sensor. Do not
tighten the tie-wraps until final placement of the magnet is correct.
(See figure 1).
Attach the magnet to a spoke across
from the transmitter with the magnet
screw. The clearance between the
magnet and the transmitter should be
approximately 1/32"-1/16" (1-2mm).
3
2
4
6
500-700mm
20-28 in.
FIGURE 1:
SENSOR
PLACEMENT
FIGURE 2:
MAGNET
ATTACHMENT
Page 3
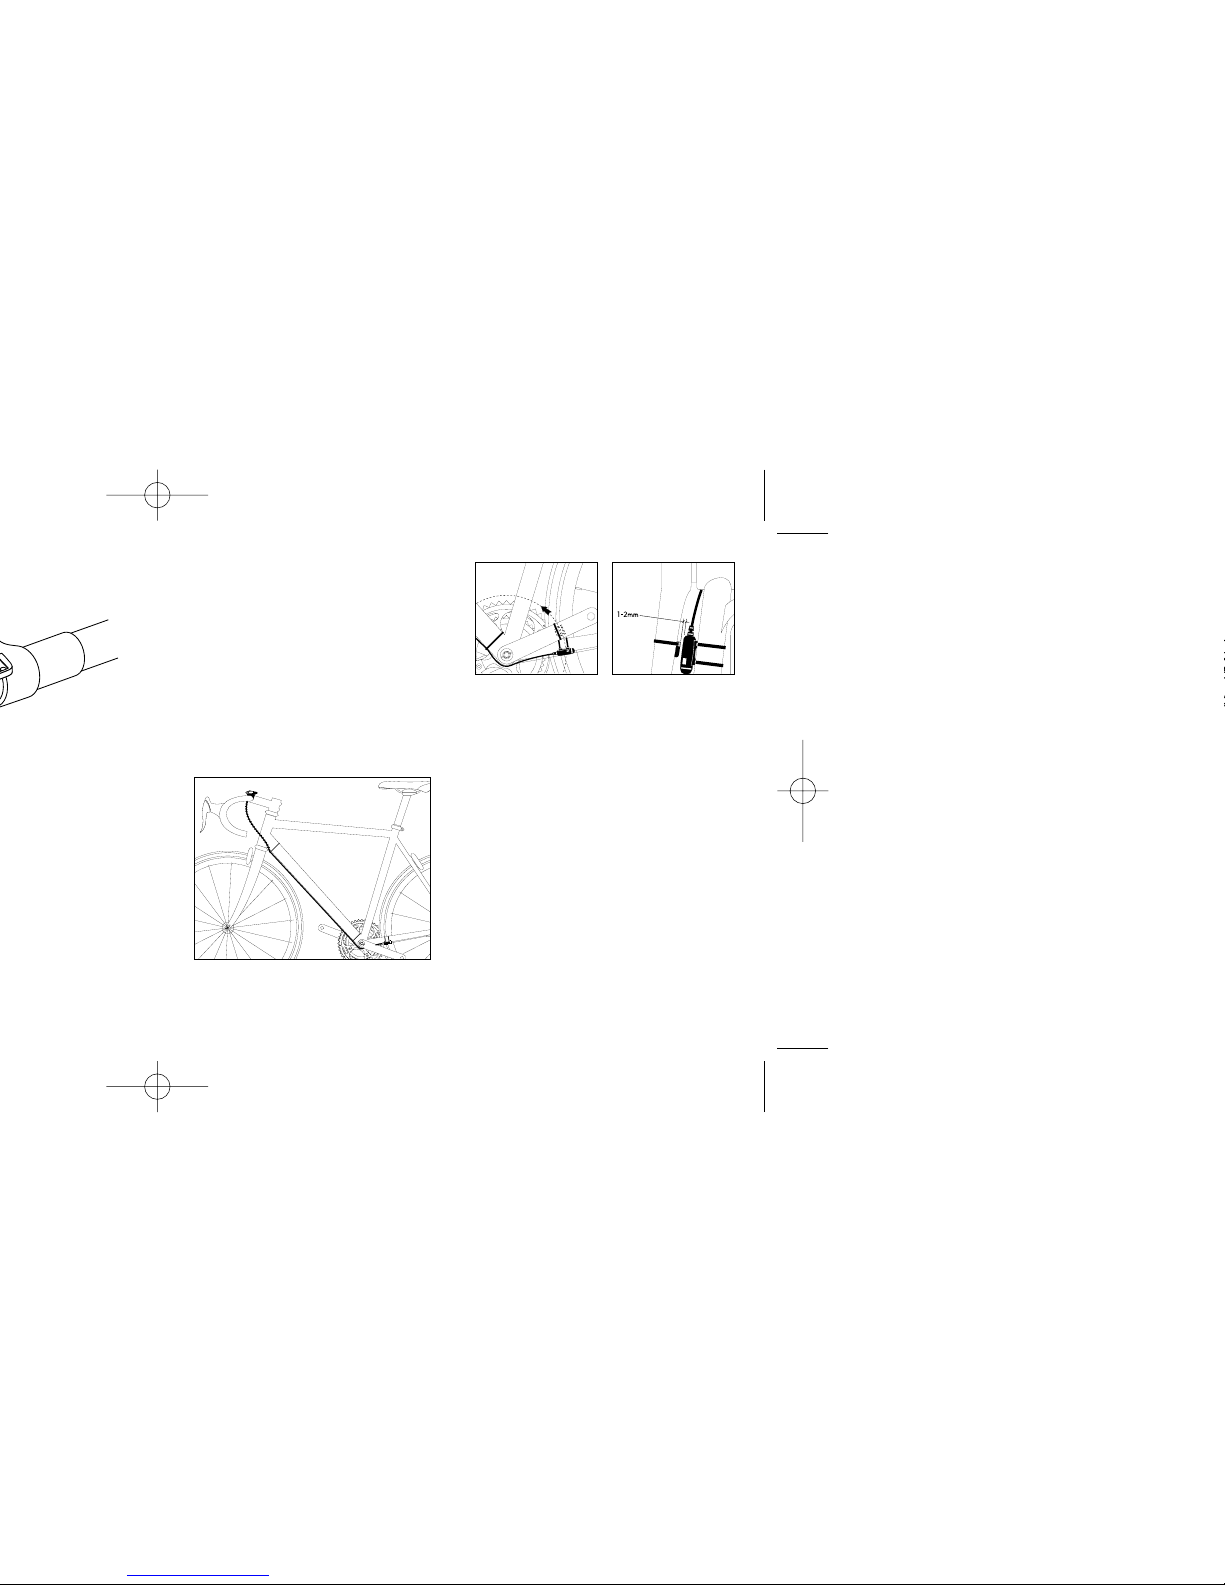
sensor wire along the head tube, down
tube and chain stay of your bicycle
and secure it into place using the
provided tie-wraps. (See figure 4)
Next, attach the cadence magnet to
the inside of your crank arm directly
across from the sensor. Use a tie-wrap
to fasten the magnet to the crank arm.
(See figure 5).
Do not tighten the tie-wrap until final placement of the magnet is correct. The
clearance between the magnet and the
sensor should be approximately
1/32"-1/16" (1-2mm). (See figure 6)
Tighten the magnet and sensor.
5
FIGURE 4:
CADENCE WIRE PLACMENT
FIGURE 5:
CADENCE SENSOR
PLACEMENT
FIGURE 6:
CADENCE MAGNET
ATTACHMENT
Page 4
2. Setting the Programmable
Odometer
This mode is useful if you have
replaced the battery and would like to
retain the mileage you have already
ridden. To access the programmable
odometer mode, first advance the
"MODE" button until (ODO) appears
on the left-hand side of the screen.
Hold down the "FUNCTION" button
and ‘tap’ the "MODE" button once.
The Km/h indicator will flash. If the
Km/h setting is correct press the
"FUNCTION" button once and a fivedigit number will appear. You are now
in the programmable odometer mode.
To enter a mileage into the odometer,
press the "MODE" button until the
flashing digit is correct.
(Note: The "MODE" button may be
held to scroll to the correct digit.) Press
the "FUNCTION" button to select the
next digit to the right. Repeat this
process until all five digits are entered
as your existing mileage.
3. Wheel Circumference Selection
To set the circumference for the type of
tires you are using, you can use
Specialized’s "Easy Calibration Mode"
or measure your actual tire circumference by the rollout method. Two different tire diameters may be entered
by using the computer’s "Second
Wheel Option."
7
Page 5
Roll Out Method
The roll out method will provide the
most accurate computer calibration
and can take into account variables
such as inflation pressure, rim width
and rider weight.
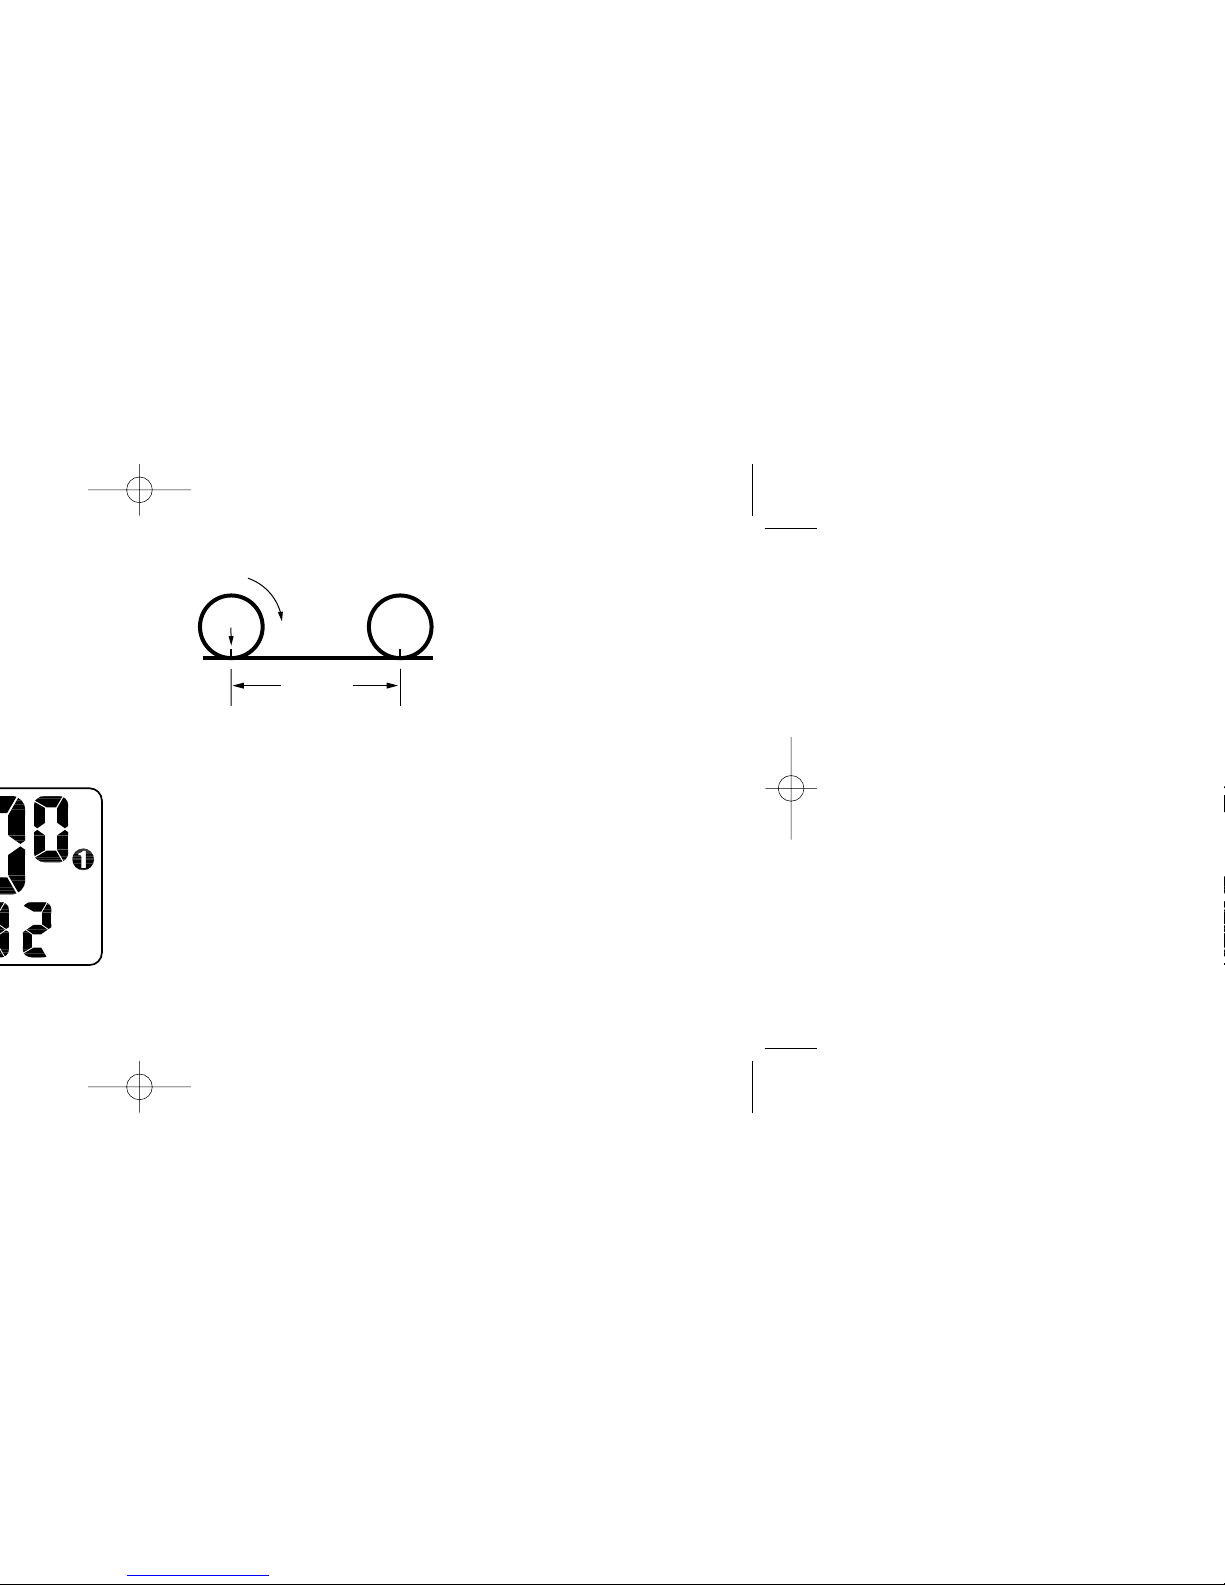
1. Extend a tape measure out to
3000mm (120 inches) and lock
it in place.
2. With your tire inflated to its proper
pressure, place the valve at the 6:00
position (at the bottom) directly over
the start of the measuring tape.
3. Roll the wheel one complete revolution until the valve stem is again at
the 6:00 position. Read the tape
directly under the valve and note
the distance in millimeters.
(To convert inches to millimeters,
multiply inches by 25.4). Use this
number to replace the default
(default values are 2073 for wheel
one, and 2134 for wheel two)
when programming your computer.
(See figure 8)
9
Stem
Wheel
Circumference
Roll Forward
FIGURE 8: ROLL OUT METHOD
Page 6
Repeat the process until all four digits
are entered as your tire circumference.
Press the "FUNCTION" button once to
select it and enter the circumference for
wheel option #2. Follow the same
procedure to program the wheel #2
tire size and tap the "FUNCTION"
button to exit circumference programming mode.
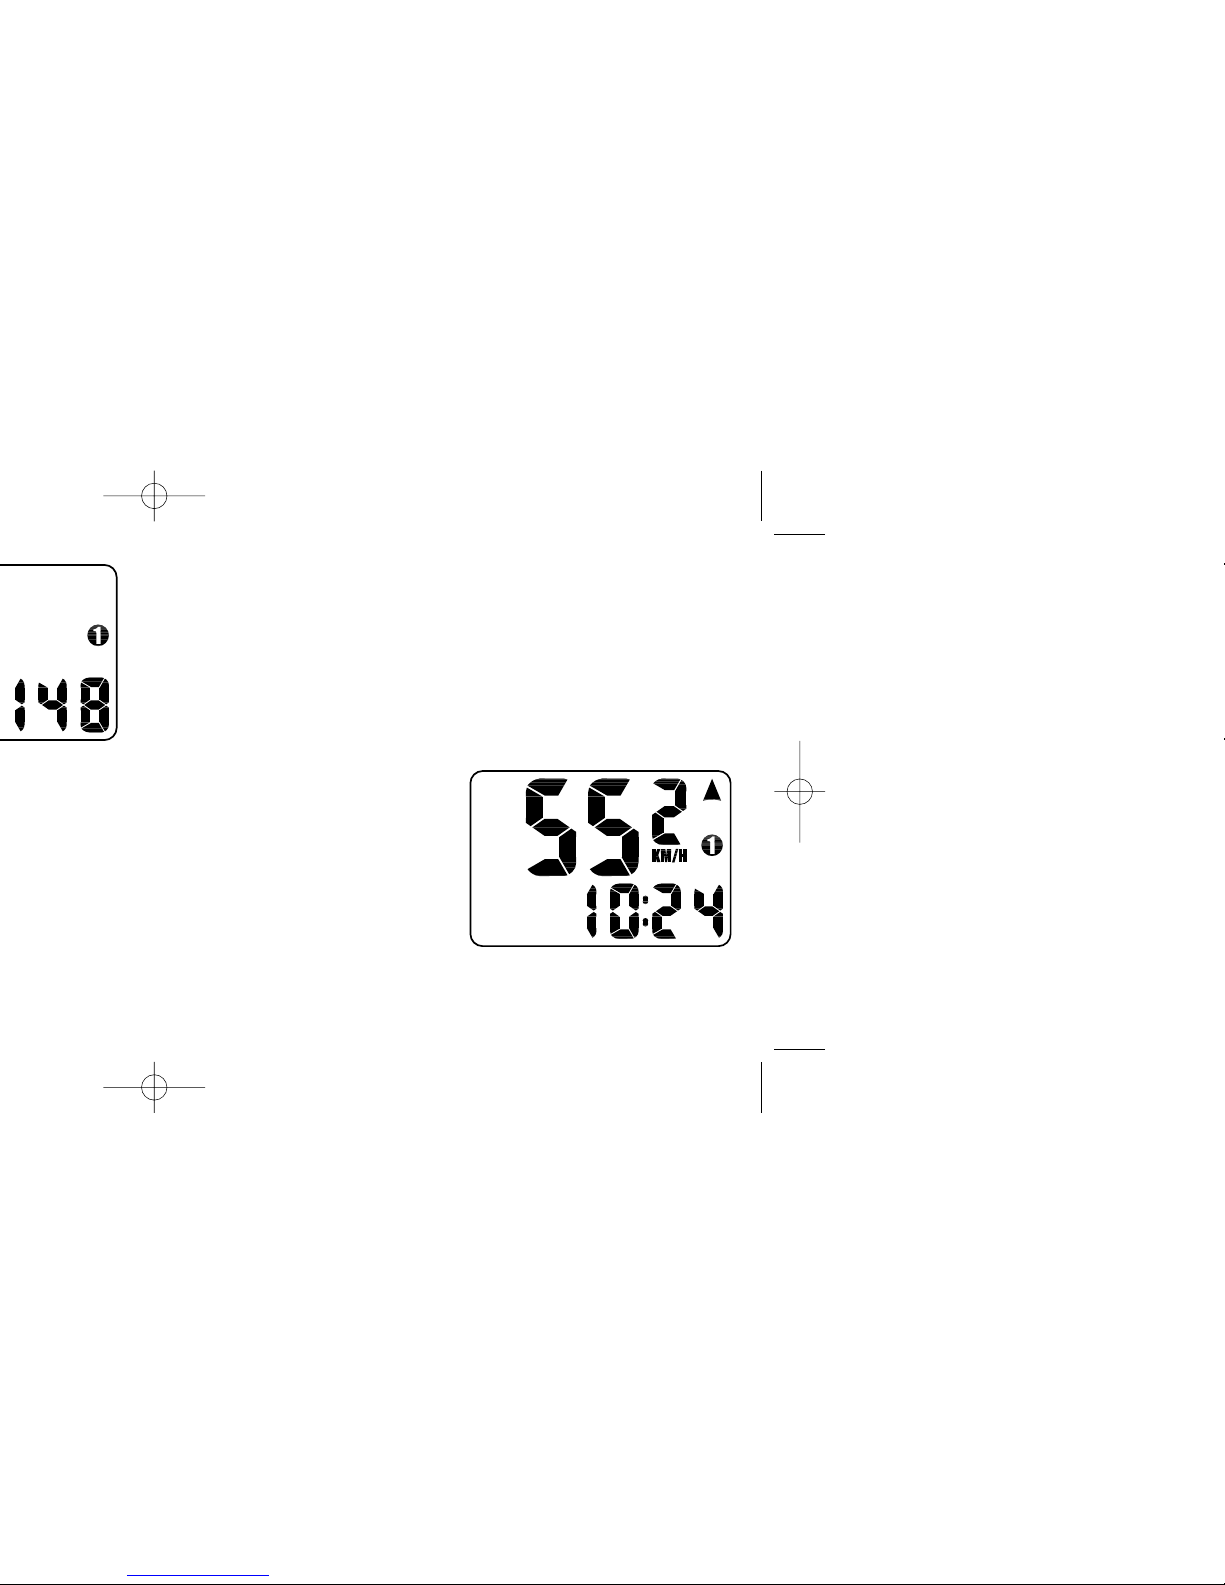
4. Setting the Clock
To access the "clock mode" press and
hold the "MODE" button for three seconds. To set the clock, press the
"FUNCTION" button for three seconds.
The display will flash either twelve
(12:) or twenty-four (24:). Select
between 12: or 24: mode by pressing
the "MODE" button. Press the
"FUNCTION" button to set the mode.
The hour digit will now begin flashing.
Press the "MODE" button to adjust the
hour digits and press the "FUNCTION"
button to set. The minutes will flash
and can be adjusted by pressing the
"MODE" button. (Hold the "MODE"
button to scroll through the digits
quickly) Press the "FUNCTION" button
to set the minutes and return to clock
mode. (See figure 10)
11
FIGURE 10: CLOCK SCREEN
Page 7
mode has been selected, press the
"FUNCTION" button to advance to the
next operating mode.
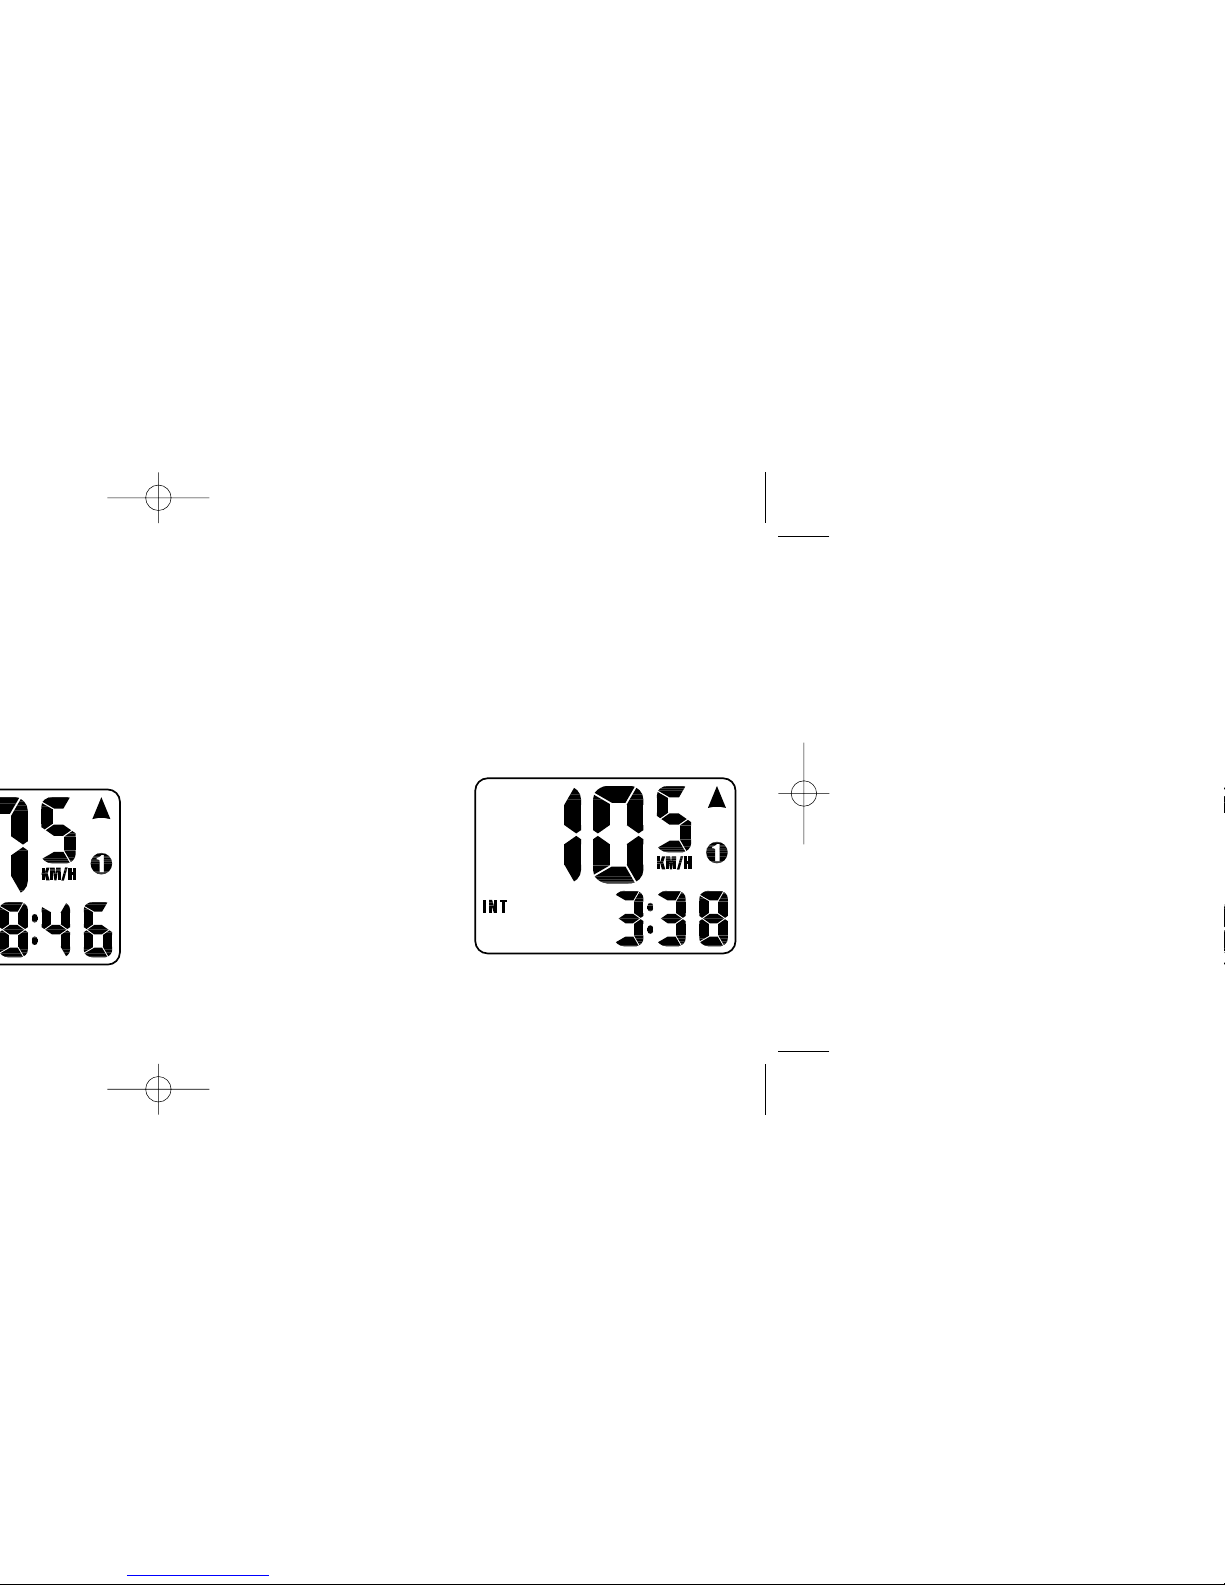
6. Interval Timer
Your Speedzone Elite is equipped with
an Interval Timer. This feature allows
you to customize your training by integrating a programmable repeating
countdown timer into your workout. To
enter the interval timer mode, press the
"MODE" button until "INT" appears on
the left-hand side of the screen. You
are now in interval timer mode. To set
the interval timer, hold the "FUNCTION" button for three seconds. The
hour digit will begin flashing. Press
the "MODE" Button until the desired
number appears. (Hold down the
"Mode" button to scroll quickly) Press
the "FUNCTION" button once to set
this number and advance to minutes.
Repeat this process until minutes and
seconds are set to the desired settings.
Press the "FUNCTION" button to exit
programming mode. Once the interval
timer is programmed, press the
"FUNCTION" button to start/stop the
countdown. (See figure 12)
Note: The shortest interval that can
be set is 5 seconds.
13
FIGURE 12: INTERVAL TIMER SCREEN
Page 8
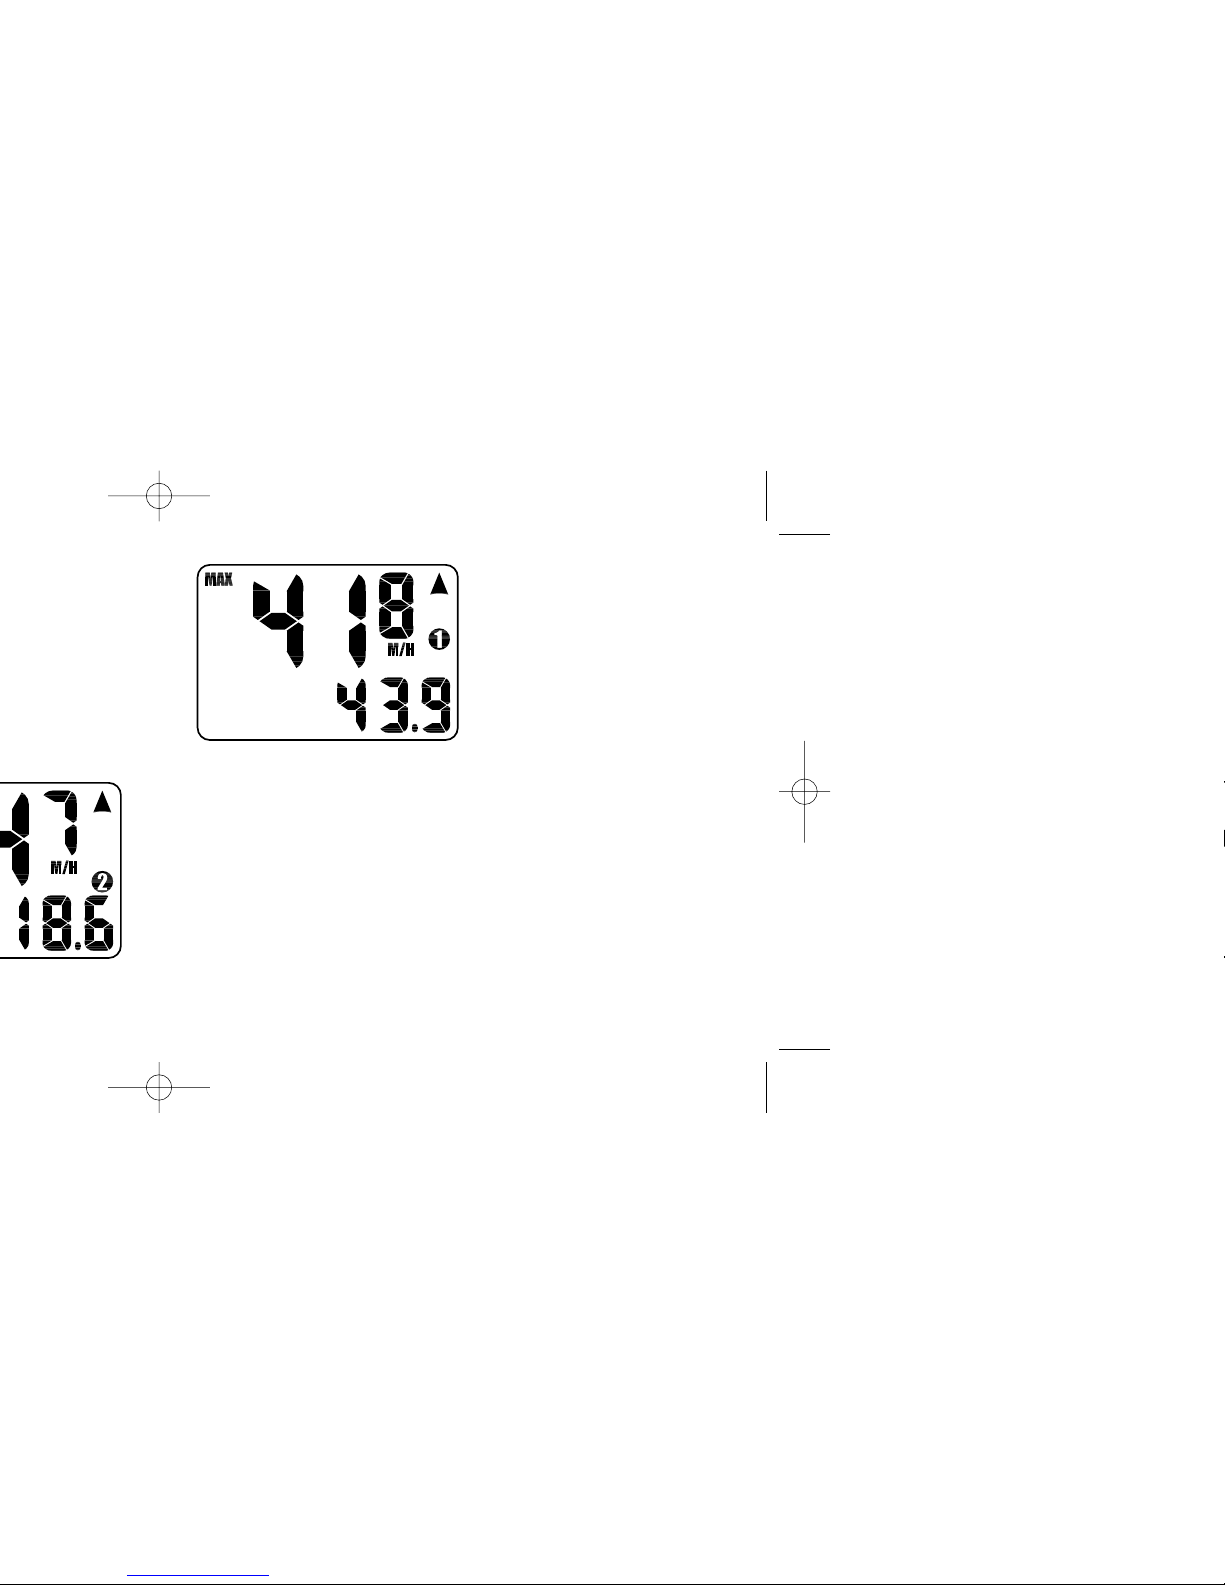
speed is retained in memory and updated when a higher speed is attained.
The maximum speed can be reset by
pressing the "FUNCTION" button for
three seconds. (See figure 14)
Auto Start/Stop Timer (ATM)
In ATM mode the stopwatch function
records the actual time spent riding. It
operates only when there is speed
input and is displayed on the lower
line of the screen.
Timer Mode (TM)
In TM mode the stopwatch function will
operate when the "FUNCTION" button
is pressed. The stopwatch will record
the total time after the button is pressed
regardless of whether there is speed
input or not. The average speed (AVS)
will be calculated based on the time
the timer mode is activated.
Interval Timer (INT)
The interval timer is displayed on the
lower line of the screen when (INT)
appears on the left. The timer indicates the end of an interval with one
short beep per second for the last 4
15
FIGURE 14: MAXIMUM SPEED SCREEN
Page 9
Trip Distance (DST)
Trip distance mode will record up to
999.99 miles or kilometers and then roll
to zero. The trip distance function can
be reset by pressing the "FUNCTION"
button for three seconds. The resolution
is 0.01 miles (0.01 Kilometers). The
trip distance is shown on the lower line
if the screen. (See figure 16)
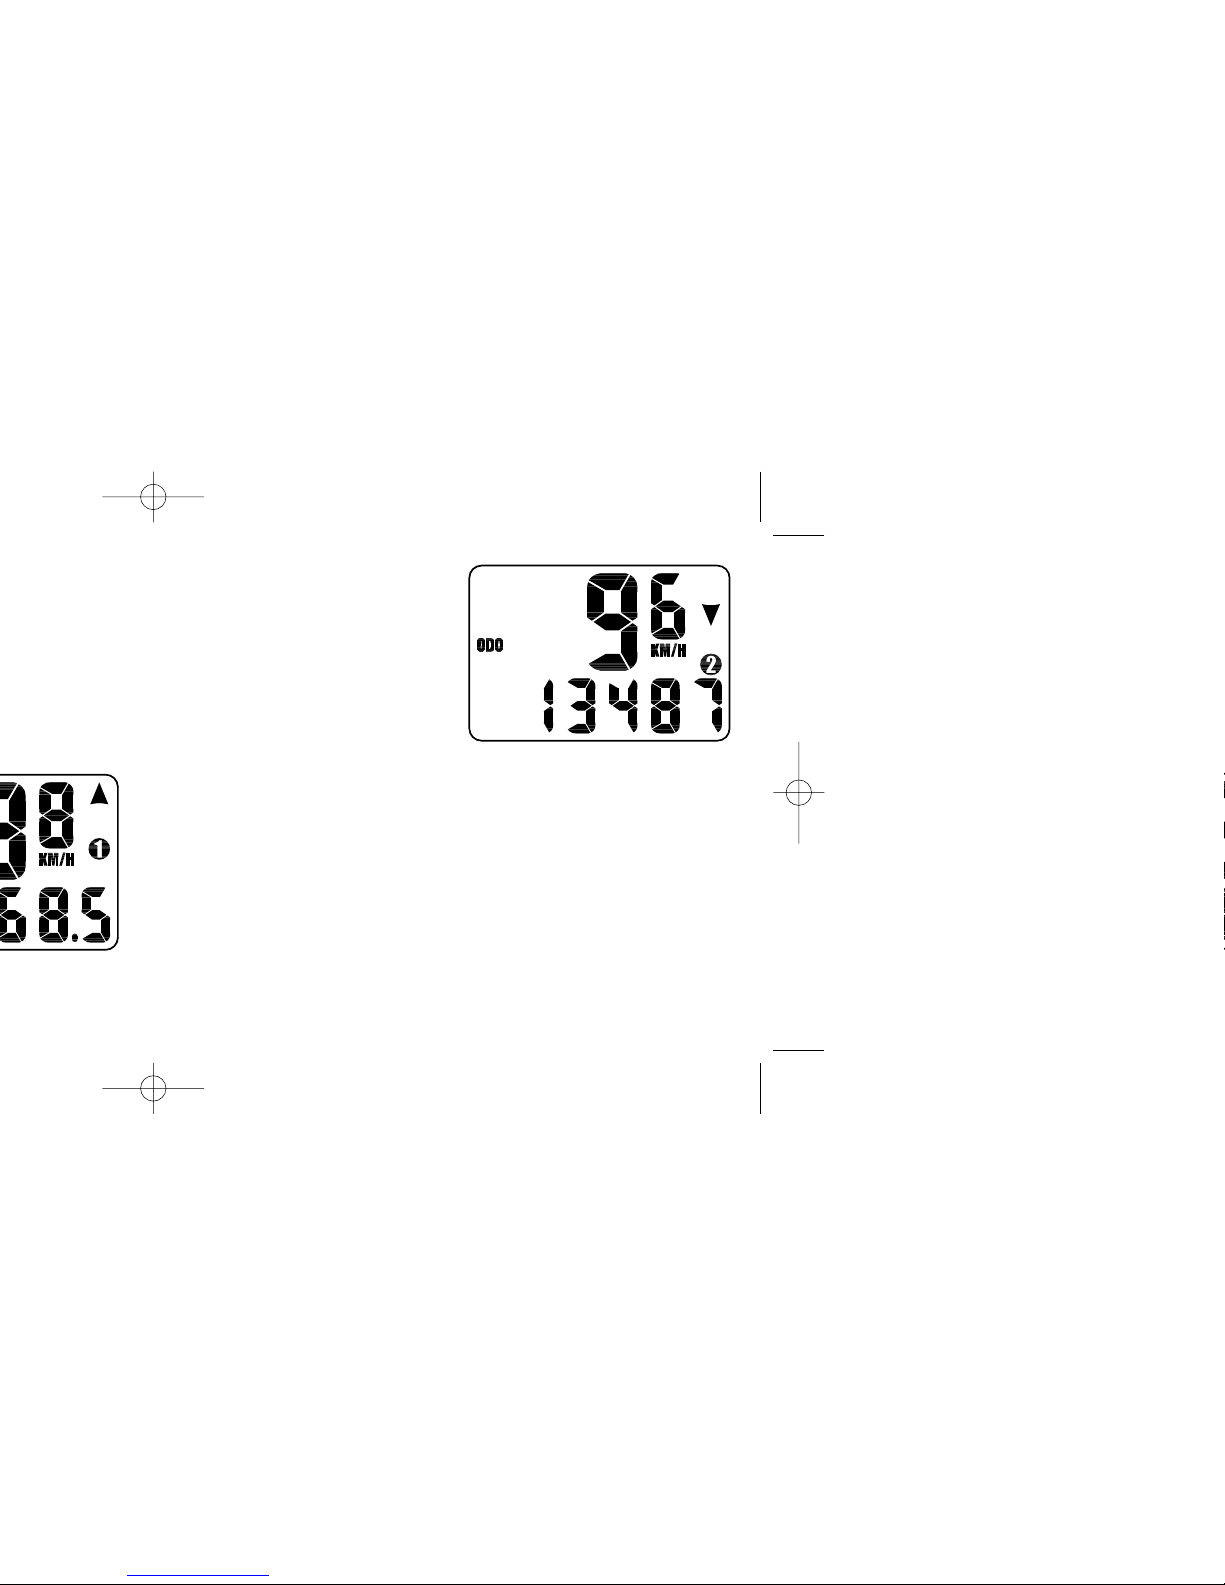
Odometer (ODO)
The odometer will record the total
distance traveled up to 99,999 miles
or kilometers and then roll to zero. The
odometer can be reset by pressing the
"FUNCTION" button for three seconds.
The total distance is shown on the
lower line if the screen. (See figure 17)
Programmable Odometer
The odometer digits are programmable.
This is convenient for transferring your
hard-earned mileage that is usually lost
when changing batteries or computers.
17
FIGURE 17: ODOMETER SCREEN
Page 10
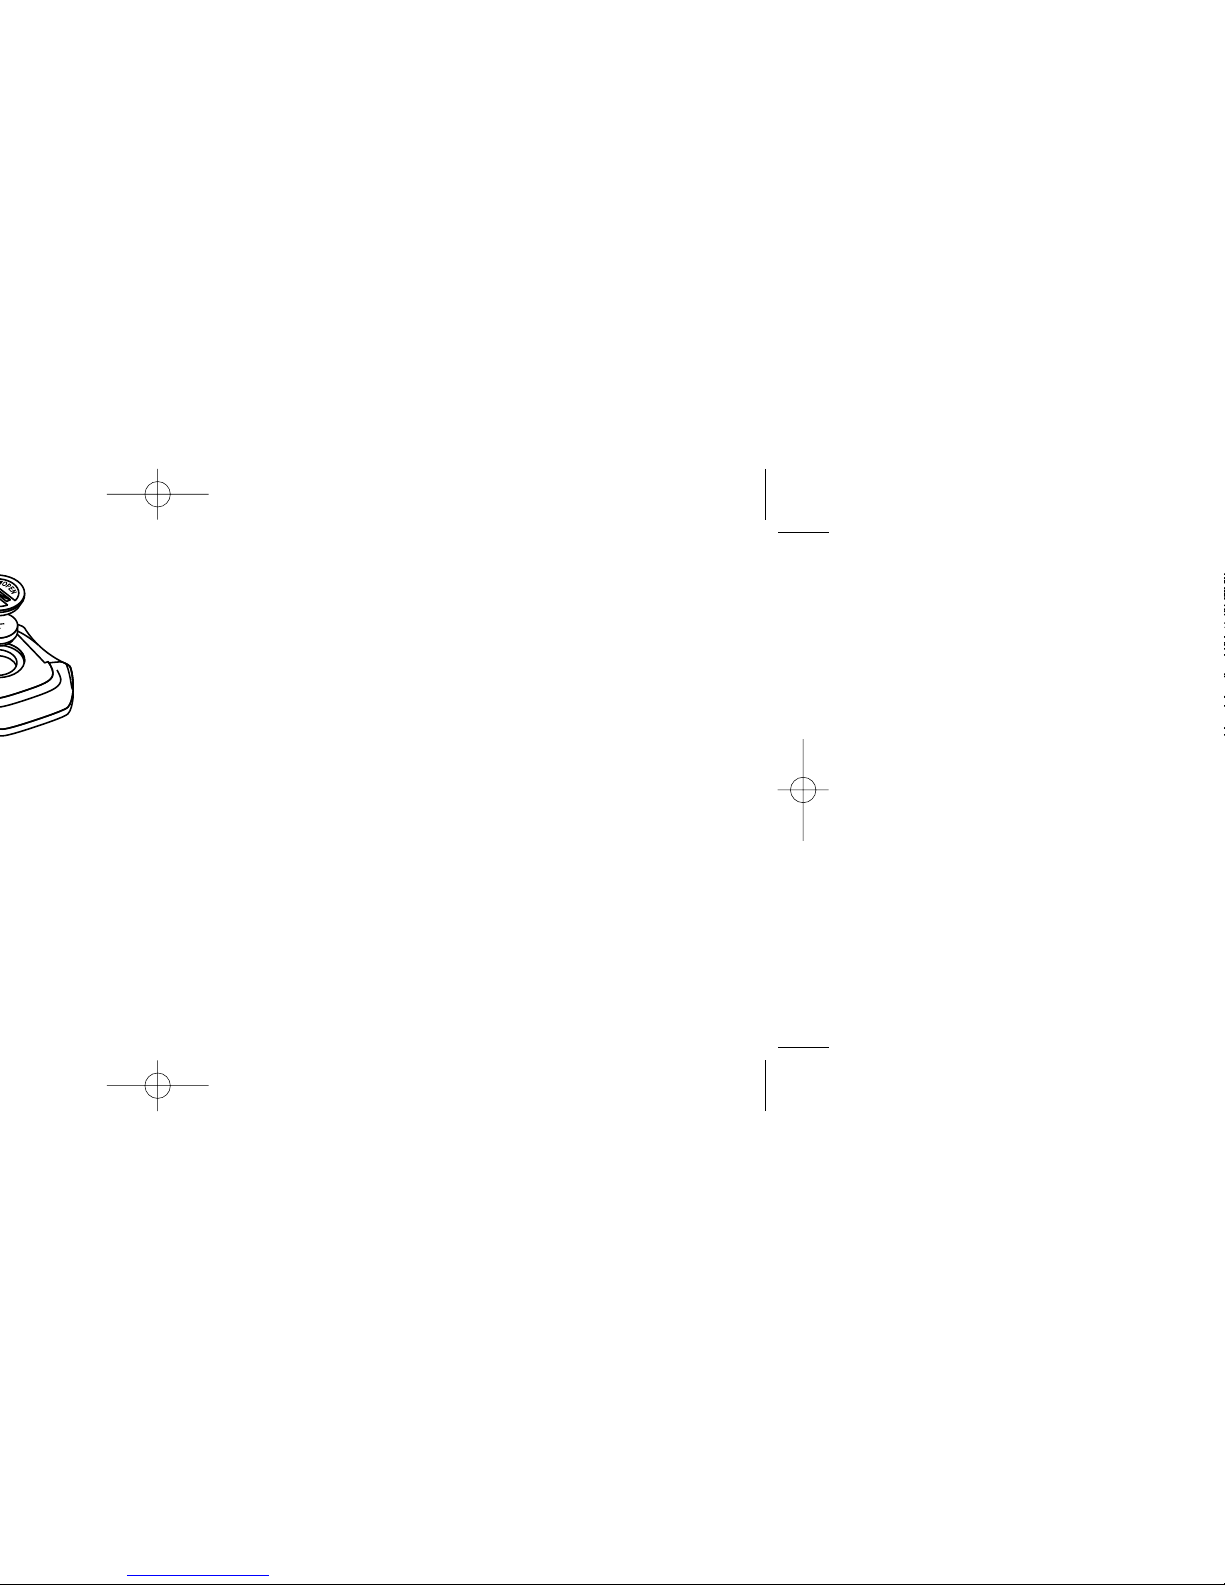
re-enter them when you restart the
computer. Turn the computer over so
the display is facing downward. Use a
coin to unthread the battery cap from
the computer. Install the battery (model
CR2302) with the positive pole (+)
facing upward. Carefully thread the
battery cap back onto the case with a
coin. (See Figure 18)
If the LCD display is blank or shows
incomplete digits, turn the computer
over and press the "AC" button on the
bottom of the case with the tip of a pen
or a paper clip. This will clear all the
data and re-start the computer. Reinstall
the computer by pushing it forward into
the mount until it snaps into place.
TROUBLESHOOTING
• Display is blank:
Change the battery or press the AC
button on the bottom of the case
• Display shows partial digits:
Press the AC button on the bottom
of the case.
• Speed/distance not recording:
Check sensor/magnet alignment.
Make sure that the sensor is no more
than 1/16" (2mm) from the magnet.
• Entire screen is dark:
Did you leave the bike parked in the
hot direct sun when it was parked?
If so, move the bike to the shade.
The data will be OK.
• Computer moves on handlebar:
Tighten mount or add sizing straps
to improve fit on handlebar.
19
Page 11
SPECIFICATIONS
Current Speed
0.0 to 99.9 MPH
0.0 to 99.9 Km/H
Average Speed (AVS)
0.0 to 199.9 MPH
0.0 to 199.9 Km/H
Maximum Speed (MXS)
0.0 to 199.9 MPH
0.0 to 199.9 Km/H
Stopwatch (TM)
0 to 9hrs, 59min, 59sec. recycling type
Automatic Timer (ATM)
0 to 9hrs, 59min, 59sec. recycling type
21
WARRANTY INFORMATION
Specialized cycling computers are
guaranteed to be free from defects
in materials and/or workmanship
(excluding battery) for a period of
two years from the date of purchase.
Specialized will at its option, repair
or replace your defective computer.
To receive warranty service send the
unit, a copy of the sales receipt and
a brief description of the problem to:
Specialized Bicycle Components Inc.
15130 Concord Circle
Morgan Hill, CA. 95037
Attn: Product Services/
Computer Warranty
Page 12

 Loading...