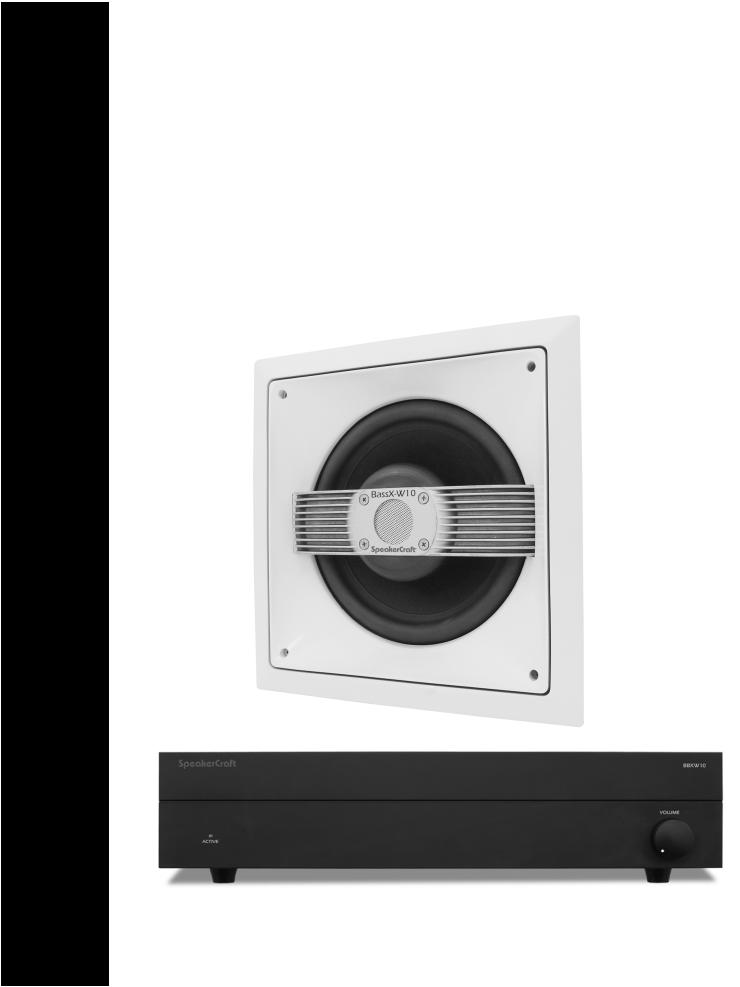
SpeakerCraft BassX-W10 User Manual

OWNER’S MANUAL
BassX-W10
Powered In-Wall Subwoofer
SpeakerCraft®

Page 2 |
BassX-W10 Owner’s Manual |
SAFETY INSTRUCTIONS
CAUTION: To reduce the risk of electric shock, do not remove cover (or back). No user-serviceable parts inside. Refer servicing to qualified service personnel.
• Explanation of Graphical Symbols
The lightning flash with arrowhead symbol, within an equilateral triangle, is intended to alert you to the
presence of uninsulated “dangerous voltage” within the product’s enclosure that may be of sufficient magnitude to constitute a risk of electric shock to persons.
The exclamation point within an equilateral triangle is intended to alert you to the presence of important operating and maintenance (servicing) instructions in the literature accompanying the appliance.
1.Read Instructions - All the safety and operating instructions should be read before the appliance is operated.
2.Retain Instructions - The safety and operating instructions should be retained for future reference.
3.Heed Warnings - All warnings on the appliance and in the operating instructions should be adhered to.
4.Follow Instructions - All operating and other instructions should be followed.
5.Water and Moisture - The appliance should not be used near water – for example, near a bathtub, washbowl, kitchen sink, laundry tub, in a wet basement, or near a swimming pool, etc.
6.Carts and Stands - The appliance should be used only with a cart or stand that is recommended by the manufacturer.
PORTABLE CART
WARNING
7.Wall or Ceiling Mounting - The appliance should be mounted to a wall or ceiling only as recommended by the manufacturer.
8.Ventilation - The appliance should be situated so that its location or position does not interfere with its proper ventilation. For example, the appliance should not be situated on a bed, sofa, rug, or similar surface that may block the ventilation openings; or placed in a built-in installation, such as a bookcase or cabinet that may impede the flow of air through the ventilation openings.
APPLICABLE FOR USA, CANADA OR WHERE
APPROVED FOR USAGE
CAUTION: TO PREVENT ELECTRIC SHOCK, MATCH
WIDE BLADE PLUG TO WIDE SLOT, INSERT FULLY.
ATTENTION: POUR EVITER LES CHOCS ELECTRIQUES, INTRODUIRE LA LAME LA PLUS LARGE DE LA FICHE DANS LA BORNE CORRESPONDANTE DE LA PRISE ET POUSSER JUSQU AU FOND.
9.Heat - The appliance should be situated away from heat sources such as radiators, stoves, or other appliances that produce heat.
10.Power Source - The appliance should be connected to a power supply only of the type described in the operating instructions or as marked on the appliance.
11.Power-Cord Protection - Power-supply cords should be routed so that they are not likely to be walked on or pinched by items placed upon or against them, paying particular attention to cords at plugs, convenience receptacles, and the point where they exit from the appliance.
12.Cleaning - The appliance should be cleaned only as recommended by the manufacturer.
13.Non use Periods - The power cord of the appliance should be unplugged from the outlet when left unused for a long period of time.
14.Object and Liquid Entry - Care should be taken so that objects do not fall into and liquids not spilled into the inside of the appliance.
15.Damage Requiring Service - The appliance should be serviced by qualified service personnel when:
a.The power-supply cord or the plug has been damaged; or
b.Objects have fallen onto, or liquid has been spilled into the appliance; or
c.The appliance has been exposed to rain; or
d.The appliance does not appear to operate normally or exhibits a marked change in performance; or
e.The appliance has been dropped, or the cabinet damaged.
16.Servicing - The user should not attempt to service the appliance beyond those means described in the operating instructions. All other servicing should be referred to qualified service personnel.
17.Grounding or Polarization - The precautions that should be taken so that the grounding or polarization means of an appliance is not defeated.

BassX-W10 Owner’s Manual |
Page 3 |
Congratulations on your purchase of the BassX-W10 Powered In-Wall Subwoofer System!
System Description
The BassX-W10 will provide the excellent performance and reliability that SpeakerCraft products have been recognized for. To receive the best performance from your BassX-W10 System, please carefully read the instructions in this manual. For technical inquires, please call 1-800-448-0976 or e-mail us at techsupport@speakercraft.com.
Innovation At Its Best...
The BassX-W10 delivers the room-filling, thundering bass demanded by today’s home theater systems, while remaining completely recessed in the wall behind a flush mounted grille. The performance of high power, floor standing subwoofers has finally come to architectural speakers.
Flexible Installation Options...
Since every installation is different, we created the BassX-W10 Mounting Bracket to be expandable, allowing it to fit through the smaller drywall cut-out hole and adjust to various wall stud spacing.
For new construction applications, simply attach the mounting bracket to the studs, then cut the drywall around it, using the template supplied. The BassX-W10 Enclosure (P/N ASMX3102) is also available and is recommended for new construction applications.
For retrofit installation, simply cut out the drywall using the template included, adjust the bracket to it's smallest size allowing it to fit through the hole in the drywall. Now simply mount the bracket to the studs. BassX-W10 AcoustaCell (P/N ASMX3101) is also available and is recommended for retrofit installations.
Quality You Can Depend On...
SpeakerCraft is the name you can trust for accurate sound reproduction. We’ve manufactured nearly four million in-wall speakers, and pledge that every product we build will give you the highest level of workmanship and sound performance.

Page 4 |
BassX-W10 Owner’s Manual |
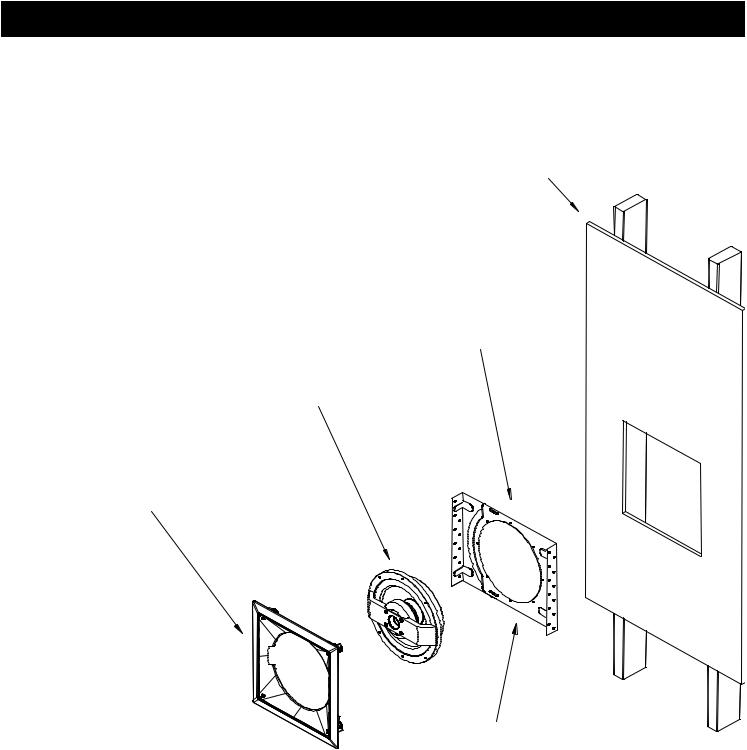
Please use Diagram 1 for a quick installation overview, which will be explored in greater detail throughout this manual.
DIAGRAM 1
Installation Overview
STEP 5:
Install baffle by tightening dogging screws until baffle gasket contacts face of speaker
STEP 1:
Cut opening in drywall per template provided
STEP 2:
Slide bracket through drywall opening. Expand bracket until contact is made with inside wall of studs. Secure slide bracket to studs.
STEP 4:
Bolt speaker to mounting bracket using machine screws provided
CAUTION: Overtightening can cause plastic baffle to contact speaker and cause vibration noise
STEP 3:
Tighten slide adjustmnent screws To secure brackets together
CAUTION: Faliure to tighten locking screws, can result in vibration noise
CAUTION
•The BassX-W10 is designed to work only with the BBXW10 amplifier. To insure maximum sound quality and performance, use only this amp.
•The installation bracket must be aligned accurately in the center of the cut out hole in the drywall. This is to insure proper alignment with the woofer and baffle.
•Please follow the instructions below carefully. For technical inquires, please call 1-800-448-0976 or e-mail us at techsupport@speakercraft.com.
 Loading...