

Sony XR-1100 Owner’s Manual
FM/AM
Cassette Car
Stereo
Operating Instructions
Owner's Record
The model and serial numbers are located on the bottom of the unit.
Record the serial number in the space provided below.
Refer to these numbers whenever you call upon your Sony dealer regarding this
product.
Model No. XR-1100 Serial No.
For installation and connections, see the supplied installation/connections
manual.
XR- 1100
© 2000 Sony Corporation
Warning
Welcome!
m
This equipment has been tested and found to
comply with the limits for a Class B digital
device, pursuant to Part 15 of the FCC Rules.
These limits are designed to provide
reasonable protection against harmful
interference in a residential installation. This
equipment generates, uses, and can radiate
radio frequency energy and, if not installed
and used in accordance with the instructions,
may cause harmful interference to radio
communications. However, there is no
guarantee that interference will not occur in a
particular installation. If this equipment does
cause harmful interference to radio or
television reception, which can be determined
by turning the equipment off and on, the user
is encouraged to try to correct the interference
by one or more of the following measures:
-- Reorient or relocate the receiving antenna.
-- Increase the separation between the
equipment and receiver.
-- Connect the equipment into an outlet on a
circuit different from that to which the
receiver is connected.
-- Consult the dealer or an experienced radio/
TV technician for help.
You are cautioned that any changes or
modifications not expressly approved in this
manual could void your authority to operate
this equipment.
Thank you for purchasing the Sony Cassette
Car Stereo. This unit lets you enjoy a variety of
features.
Features
General
• Built-in power amplifier (max. output:
45 W x 4 ch) enables you to enjoy a
4-speaker system.
• Digital 12-hour clock provided (page 6).
• D-BASS function enables you to enjoy clear
and powerful bass sounds (page 9).
Cassette player section
ATA (Automatic Tuner Activation) for
automatically turning on the tuner while fast-
forwarding or rewinding a tape (page 7).
Tuner section
• Up to 18 stations can be preset: 12 stations on
FM and 6 stations on AM.
• Automatic memory function stores a total
of 18 stations in memory quickly and easily
(page 8).
2
Precautions
• If your car was parked in direct sunlight
resulting in a considerable rise in
temperature inside the car, allow the unit to
cool off before operating it.
• If no power is being supplied to the unit,
check the connections first. If everything is in
order, check the fuse.
• If no sound comes from the speakers of a
2-speaker system, set the fader control to the
center position.
• If your car is equipped with a power
antenna, note that it will be automatically
extended while the unit is operating.
If you have any questions or problems
concerning your unit that are not covered in
this manual, please consult your nearest Sony
dealer.
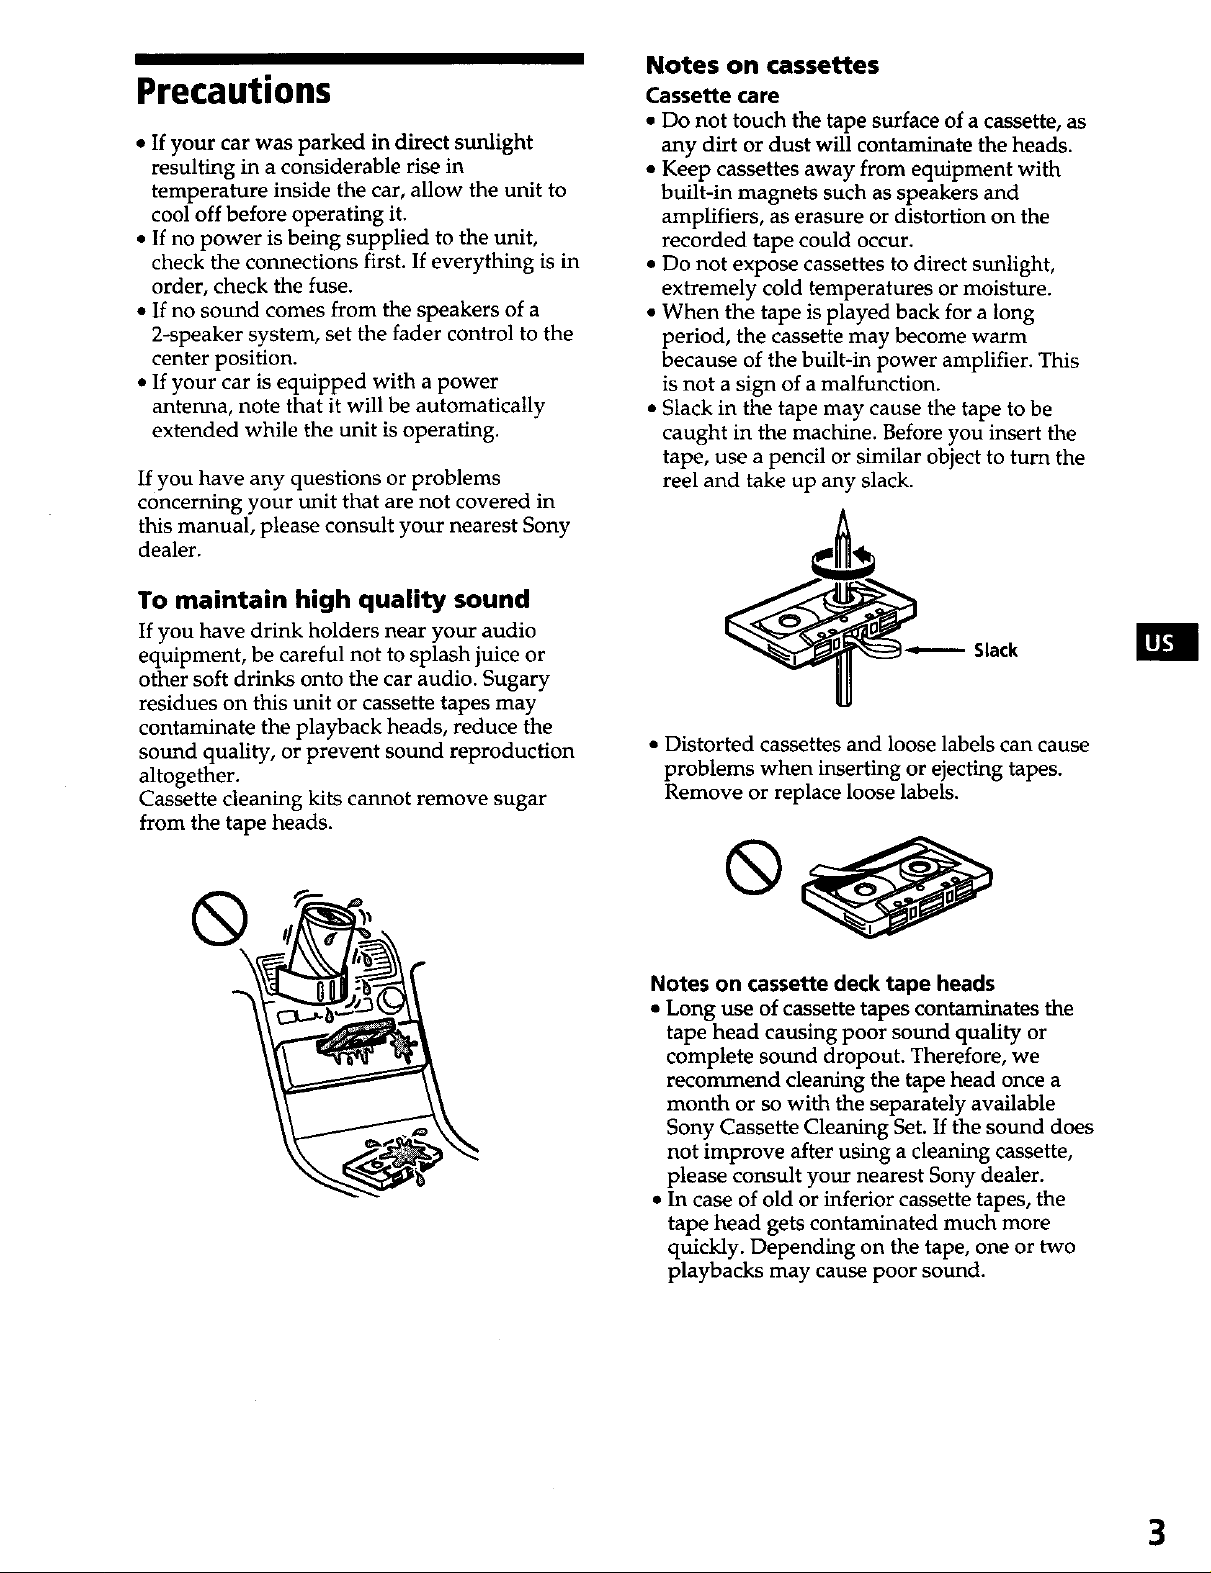
To maintain high quality sound
If you have drink holders near your audio
equipment, be careful not to splash juice or
other soft drinks onto the car audio. Sugary
residues on this unit or cassette tapes may
contaminate the playback heads, reduce the
sound quality, or prevent sound reproduction
altogether.
Cassette cleaning kits cannot remove sugar
from the tape heads.
Notes on cassettes
Cassette care
• Do not touch the tape surface of a cassette, as
any dirt or dust will contaminate the heads.
• Keep cassettes away from equipment with
built-in magnets such as speakers and
amplifiers, as erasure or distortion on the
recorded tape could occur.
• Do not expose cassettes to direct sunlight,
extremely cold temperatures or moisture.
• When the tape is played back for a long
period, the cassette may become warm
because of the built-in power amplifier. This
is not a sign of a malfunction.
• Slack in the tape may cause the tape to be
caught in the machine. Before you insert the
tape, use a pencil or similar object to turn the
reel and take up any slack.
I_---- Slack
• Distorted cassettes and loose labels can cause
problems when inserting or ejecting tapes.
Remove or replace loose labels.
®
Notes on cassette deck tape heads
• Long use of cassette tapes contaminates the
tape head causing poor sound quality or
complete sound dropout. Therefore, we
recommend cleaning the tape head once a
month or so with the separately available
Sony Cassette Cleaning Set. If the sound does
not improve after using a cleaning cassette,
please consult your nearest Sony dealer.
• In case of old or inferior cassette tapes, the
tape head gets contaminated much more
quickly. Depending on the tape, one or two
playbacks may cause poor sound.
3
im
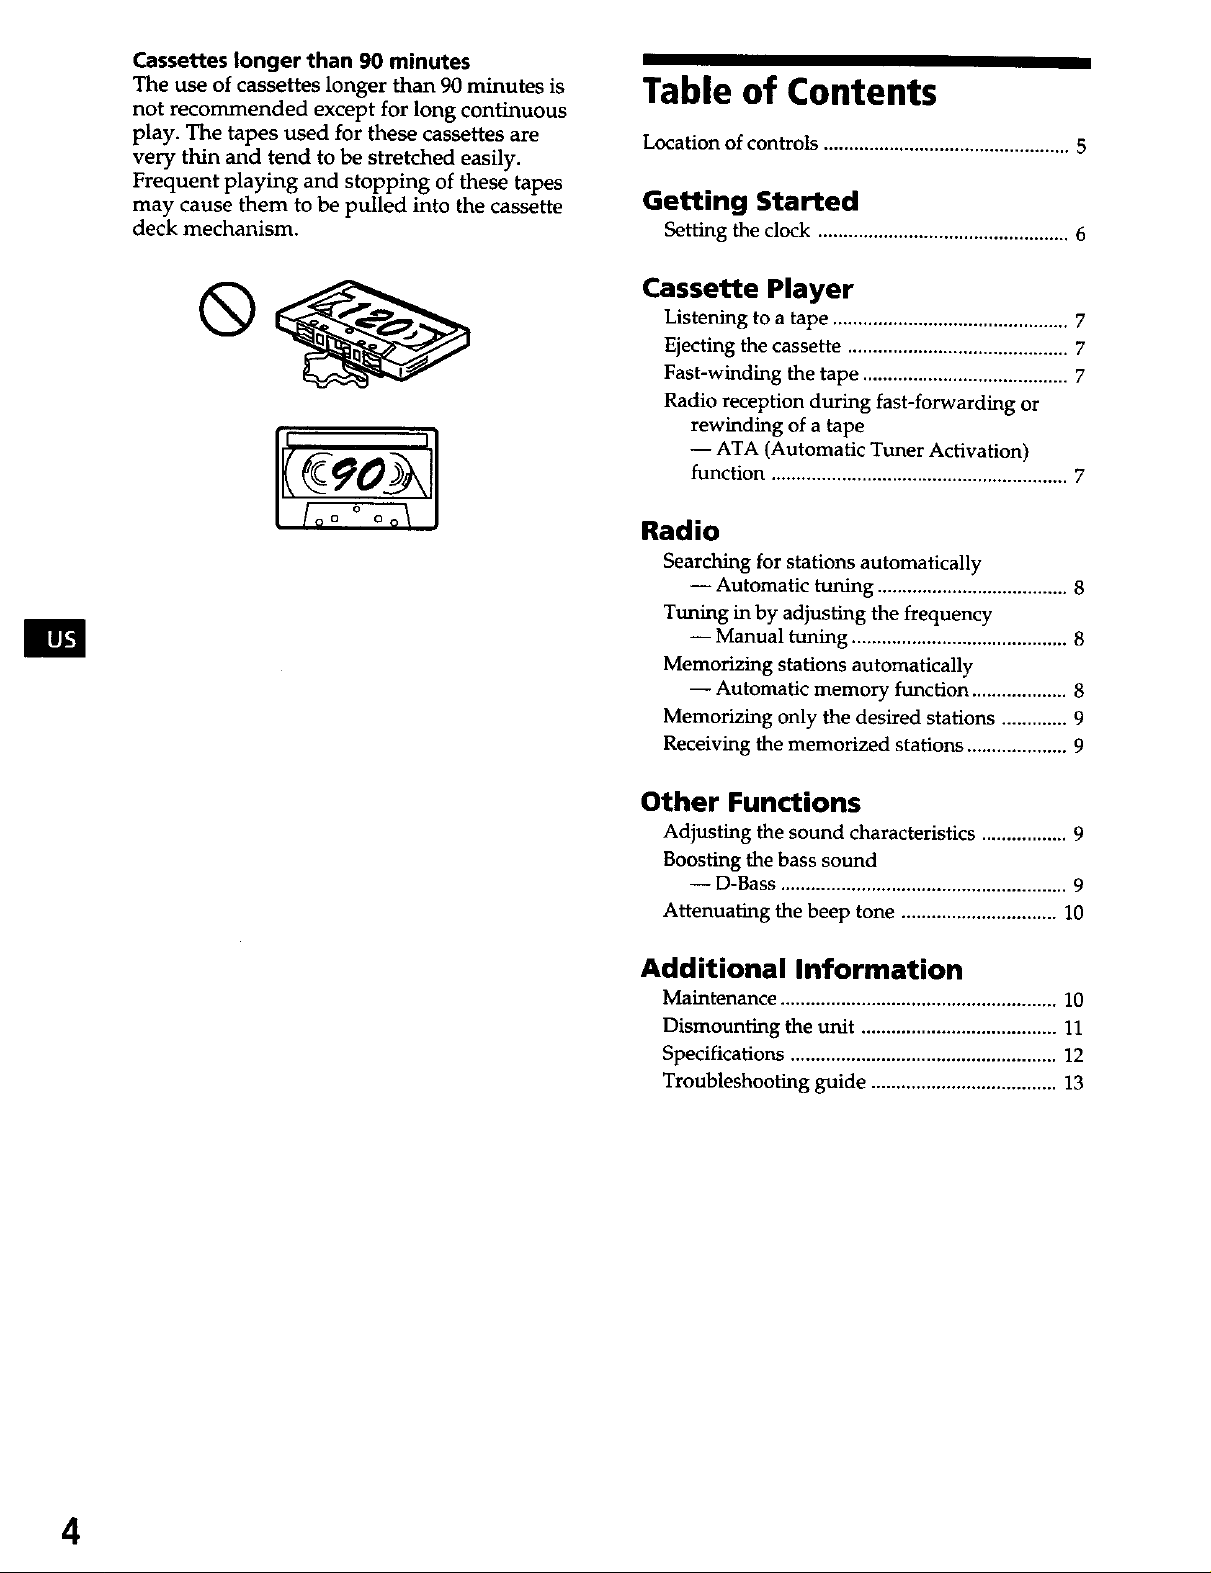
Cassettes longer than 90 minutes
The use of cassettes longer than 90 minutes is
not recommended except for long continuous
play. The tapes used for these cassettes are
very thin and tend to be stretched easily.
Frequent playing and stopping of these tapes
may cause them to be pulled into the cassette
deck mechanism.
Table of Contents
Location of controls ................................................. 5
Getting Started
Setting the clock .................................................. 6
Cassette Player
Listening to a tape ............................................... 7
Ejecting the cassette ............................................ 7
Fast-winding the tape ......................................... 7
Radio reception during fast-forwarding or
rewinding of a tape
-- ATA (Automatic Tuner Activation)
function ........................................................... 7
Radio
Searching for stations automatically
-- Automatic tuning ...................................... 8
Tuning in by adjusting the frequency
-- Manual tuning ........................................... 8
Memorizing stations automatically
-- Automatic memory function ................... 8
Memorizing only the desired stations ............. 9
Receiving the memorized stations .................... 9
Other Functions
Adjusting the sound characteristics ................. 9
Boosting the bass sound
-- D-Bass ......................................................... 9
Attenuating the beep tone ............................... 10
Additional Information
Maintenance ....................................................... 10
Dismounting the unit ....................................... 11
Specifications ..................................................... 12
Troubleshooting guide ..................................... 13
4
Location of controls
liE]
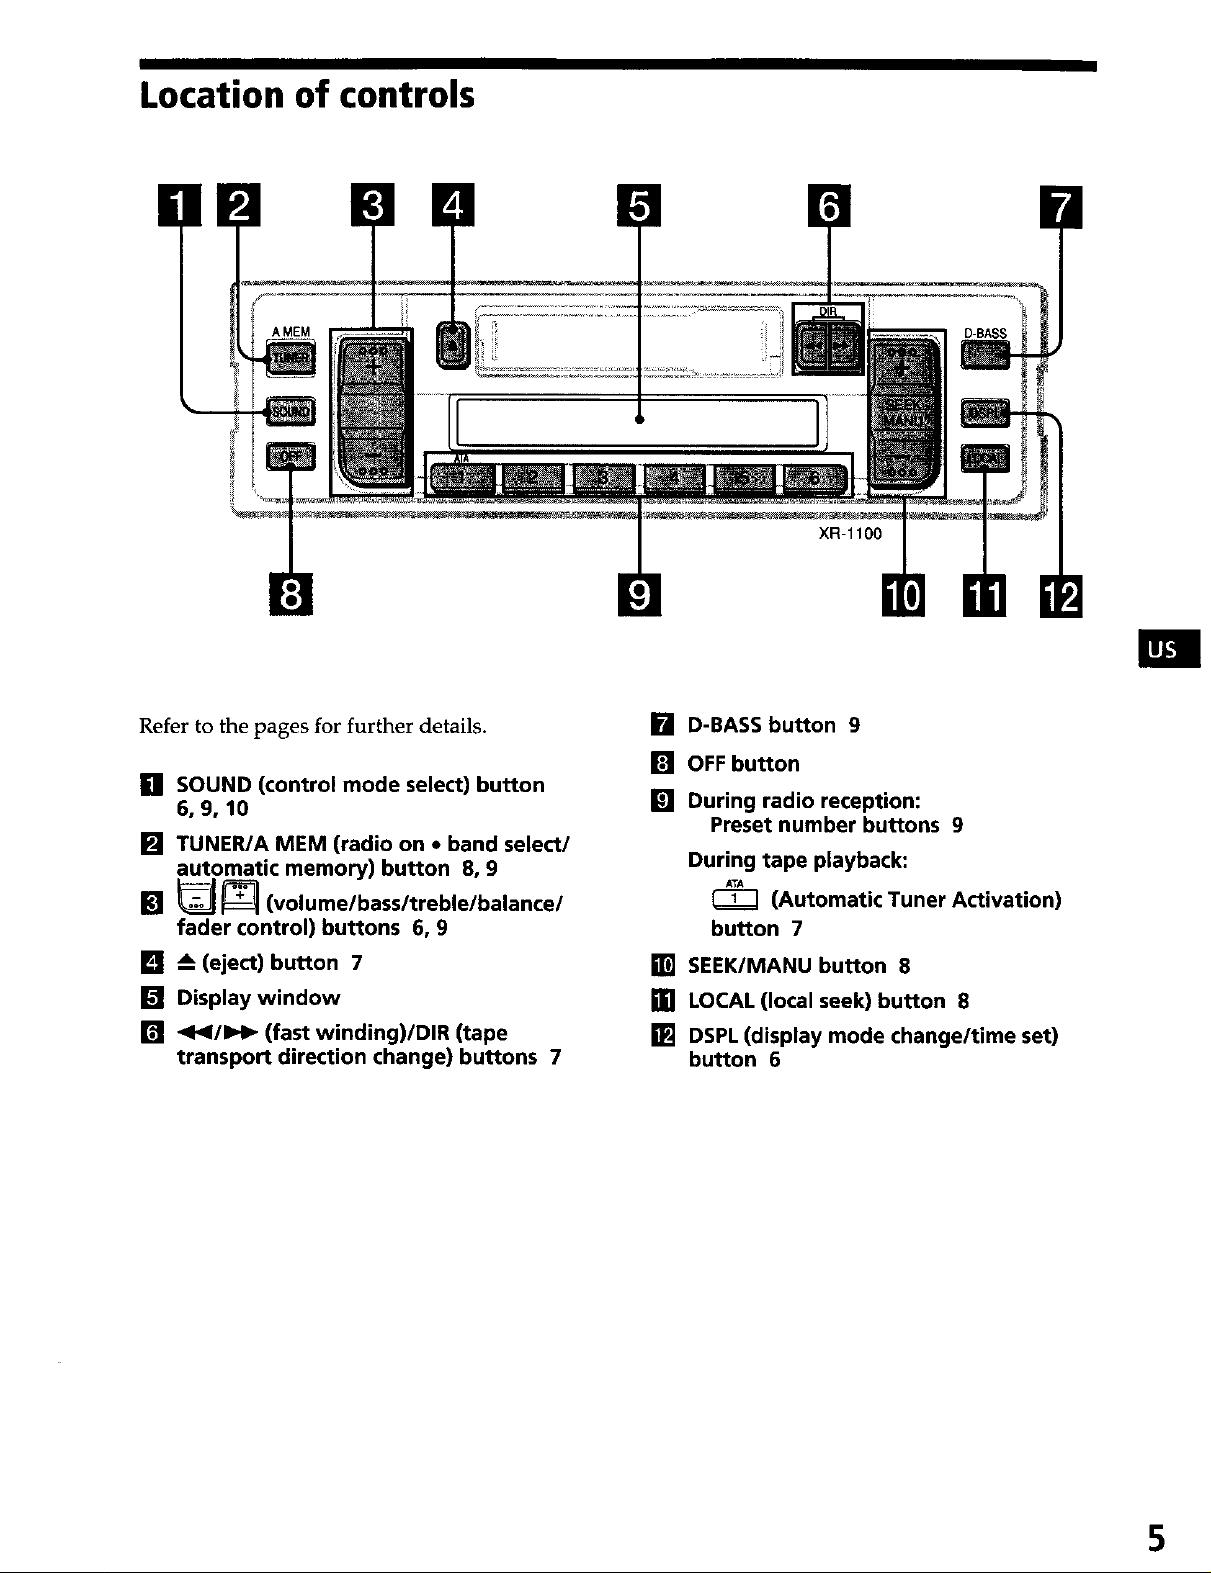
Refer to the pages for further details.
[] SOUND (control mode select) button
6, 9, 10
[] TUNER/A MEM (radio on • band select/
automatic memory) button 8, 9
[] _=:_ (volume/bass/treble/balance/
fader control) buttons 6, 9
[] A (eject) button 7
[] Display window
[] <t_1/1_1_ (fast winding)/DIR (tape
transport direction change) buttons 7
[] D-BASS button 9
[] OFF button
[] During radio reception:
Preset number buttons 9
During tape playback:
ATA
(Automatic Tuner Activation)
button 7
[] SEEK/MANU button 8
_] LOCAL (local seek) button 8
[] DSPL (display mode change/time set)
button 6
5
 Loading...