

Sony XDCAM XDJ-1000, XDCAM XDBK-J102 Installation Manual

PROFESSIONAL DISC LIBRARY
XDJ-1000
PROFESSIONAL DISC DRIVE
XDBK-J102
INSTALLATION MANUAL
1st Edition (Revised 1)
Serial No. 10001 and Higher: XDJ-1000 (SY)

!警告
このマニュアルは,サービス専用です。
お客様が,このマニュアルに記載された設置や保守,点検,修理などを行うと感電や火災,
人身事故につながることがあります。
危険をさけるため,サービストレーニングを受けた技術者のみご使用ください。
! WARNING
This manual is intended for qualifi ed service personnel only.
To reduce the risk of electric shock, fi re or injury, do not perform any servicing other than that
contained in the operating instructions unless you are qualifi ed to do so. Refer all servicing to
qualifi ed service personnel.
! WARNUNG
Die Anleitung ist nur für qualifi ziertes Fachpersonal bestimmt.
Alle Wartungsarbeiten dürfen nur von qualifi ziertem Fachpersonal ausgeführt werden. Um die
Gefahr eines elektrischen Schlages, Feuergefahr und Verletzungen zu vermeiden, sind bei
Wartungsarbeiten strikt die Angaben in der Anleitung zu befolgen. Andere als die angegeben
Wartungsarbeiten dürfen nur von Personen ausgeführt werden, die eine spezielle Befähigung
dazu besitzen.
! AVERTISSEMENT
Ce manual est destiné uniquement aux personnes compétentes en charge de l’entretien. Afi n
de réduire les risques de décharge électrique, d’incendie ou de blessure n’effectuer que les
réparations indiquées dans le mode d’emploi à moins d’être qualifi é pour en effectuer d’autres.
Pour toute réparation faire appel à une personne compétente uniquement.
安全のために,周辺機器を接続する際は,過大電圧を持
つ可能性があるコネクターを以下のポートに接続しない
でください。
: (LAN)コネクター
上記のポートについては本書の指示に従ってください。
For safety, do not connect the connector for peripheral device wiring that might have excessive voltage to the following port.
: (LAN) connector
Follow the instructions for the above port.
For kundene i Norge
Dette utstyret kan kobles til et IT-strømfordelingssystem.
設置時には,通気やサービス性を考慮して設置スペース
を確保してください。
. ファンの排気部や通気孔(BIN パネルの取っ手内)を
ふさがない。
. 通気のために,セット周辺に空間をあける。
. 作業エリアを確保するため,セット後方は,40cm 以
上の空間をあける。
机上などの平面に設置する場合は,左側面および右側面
は 4cm 以上の空間をそれぞれ確保してください。 た
だし,セット上部はサービス性を考慮し 40cm 以上の
空間を確保することを推奨します。
本機をラックに設置するとき
熱の適切な排気・発散を得るために,ラックと本機の
間には,以下の空間を確保してください。
.上面 4cm 以上
.左右両側面 4cm 以上
.後面 10cm 以上
XDJ-1000
When installing the installation space must be secured
in consideration of the ventilation and service operation.
Do not block the ventilation slots at the inside of
.
handles on the BIN panels, and vents of the fans.
Leave a space around the unit for ventilation.
.
Leave more than 40 cm of space in the rear of the unit
.
to secure the operation area.
When the unit is installed on the desk or the like, leave
at least 4 cm of space in the left and right sides.
Leaving 40 cm or more of space above the unit is
recommended for service operation.
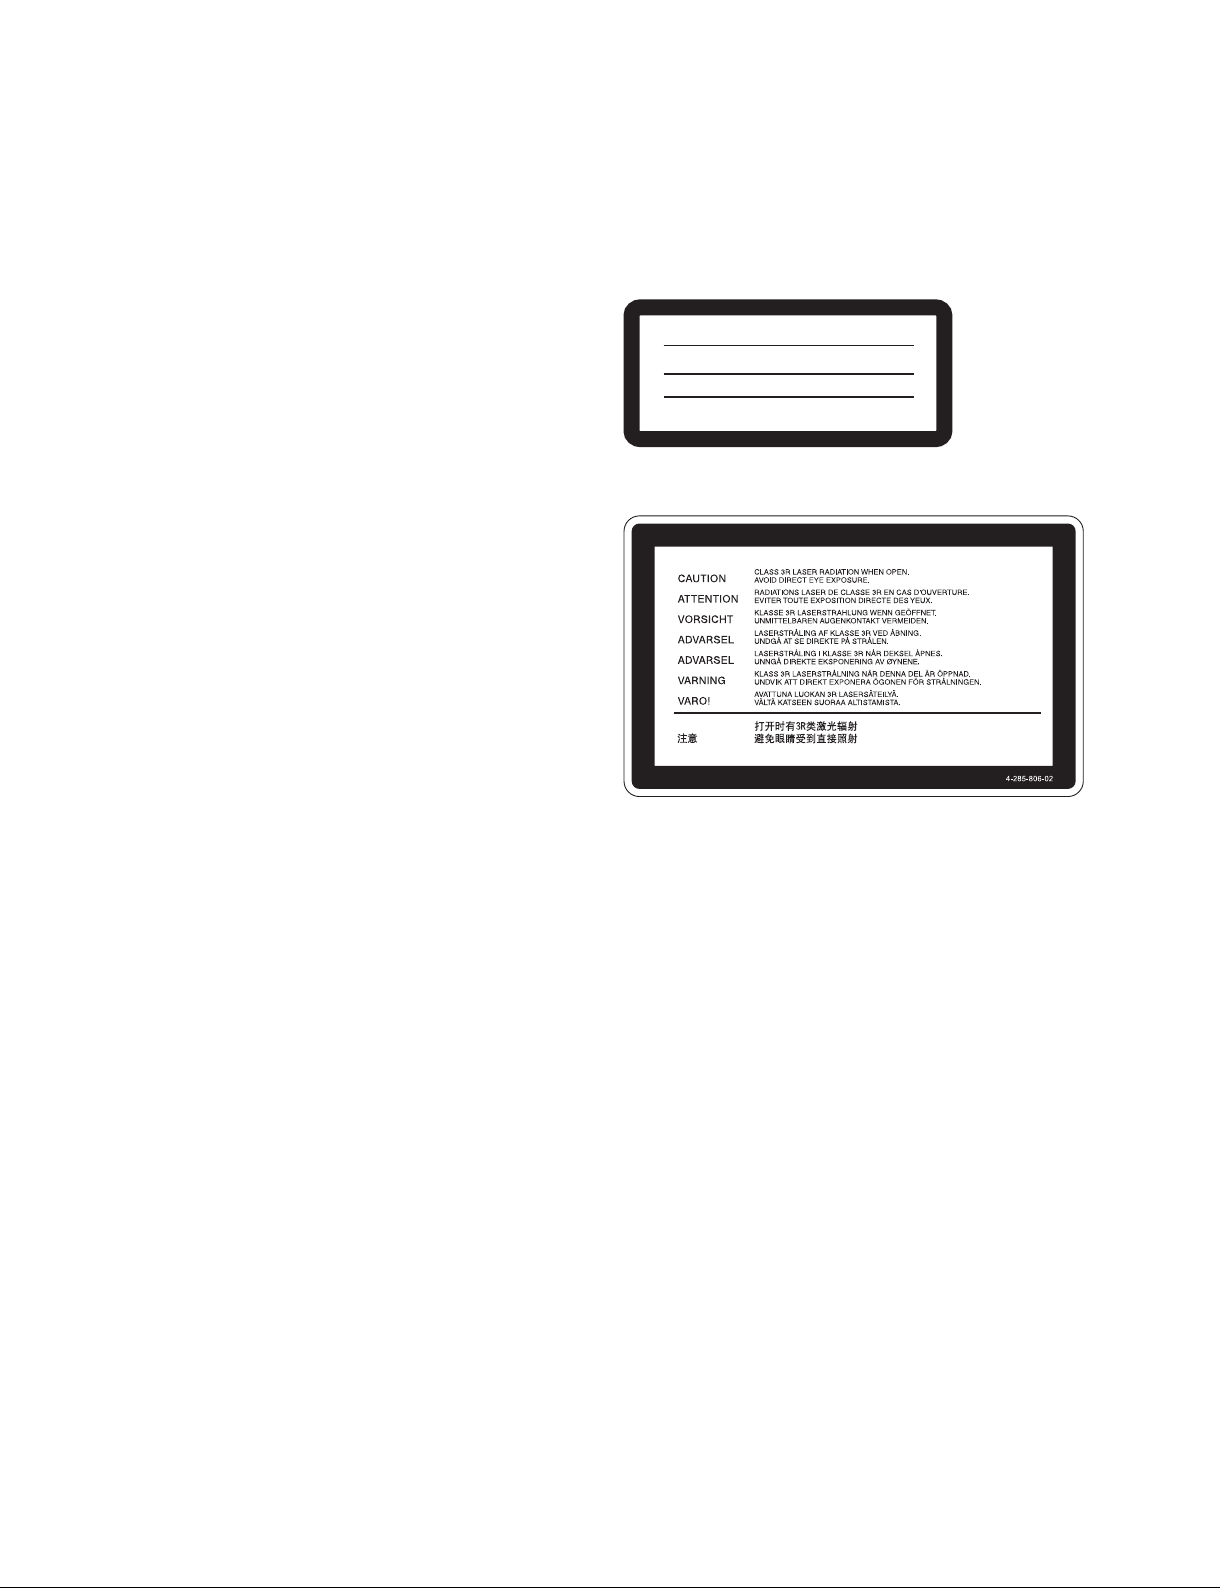
Laser Diode Properties
Wavelength: 400 to 410 nm
Emission duration: Continuous
Laser output power: 280 mW (max. of
pulse peak), 150 mW (max. of CW)
Standard:
CLASS 1 LASER PRODUCT
LASER KLASSE 1 PRODUKT
LUOKAN 1 LASERLAITE
KLASS 1 LASER APPARAT
Attention-when the product is installed in Rack:
1. Prevention against overloading of branch circuit
When this product is installed in a rack and is
supplied power from an outlet on the rack, please
make sure that the rack does not overload the supply
circuit.
2. Providing protective earth
When this product is installed in a rack and is
supplied power from an outlet on the rack, please
confi rm that the outlet is provided with a suitable
protective earth connection.
3. Internal air ambient temperature of the rack
When this product is installed in a rack, please make
sure that the internal air ambient temperature of the
rack is within the specifi ed limit of this product.
4. Prevention against achieving hazardous
condition due to uneven mechanical loading
When this product is installed in a rack, please
make sure that the rack does not achieve hazardous
condition due to uneven mechanical loading.
5. Install the equipment while taking the operating
temperature of the equipment into consideration
For the operating temperature of the equipment, refer
to the specifi cations of the Operation Manual
.
This XDJ-1000 are classifi ed as a CLASS 1
LASER PRODUCT.
This label is located on the top cover of the drive unit.
6. When performing the installation, keep the fol-
lowing space away from walls in order to obtain
proper exhaust and radiation of heat.
Top: 4 cm (1.6 inches) or more
Right, Left: 4 cm (1.6 inches) or more
Rear: 10 cm (4 inches) or more
XDJ-1000
1 (P)


Table of Contents
Manual Structure
Purpose of this manual ............................................................ 3 (E)
Related manuals ...................................................................... 3 (E)
1. Installation
1-1. Overview of Installation ............................................ 1-1 (E)
1-1-1. Cautions before Installation ............................. 1-1 (E)
1-1-2. Supplied Accessories .......................................1-2 (E)
1-2. Installation Procedure ................................................ 1-2 (E)
1-3. Operating Conditions ................................................1-3 (E)
1-4. Power Supply ............................................................1-3 (E)
1-4-1. Voltage and Power Requirements ....................1-3 (E)
1-4-2. Recommended Power Cord .............................1-3 (E)
1-5. Installation Space ......................................................1-4 (E)
1-6. Installation of XDBK-J102 .......................................1-5 (E)
1-7. Removal/Installation of Shipping Screw and
Shipping Bracket ....................................................... 1-6 (E)
1-7-1. Carrier Shipping Screw .................................... 1-6 (E)
1-7-2. Removal of BIN Tray Shipping Bracket..........1-6 (E)
1-7-3. Installing the BIN Tray Shipping Bracket ....... 1-7 (E)
1-8. Installing the RFID (Option) ..................................... 1-9 (E)
1-9. Rack Mounting ........................................................1-10 (E)
1-10. Connectors/Cables ...................................................1-15 (E)
1-11. Signal Inputs and Outputs .......................................1-15 (E)
1-12. Setting after Installation ..........................................1-16 (E)
1-12-1. Tools ...............................................................1-16 (E)
1-12-2. Procedure .......................................................1-16 (E)
1-13. Precautions for Relocation ......................................1-18 (E)
XDJ-1000
1 (E)


Purpose of this manual
Related manuals
Manual Structure
This manual is the installation manual of Professional Disc Library XDJ-1000 and
Professional Disc Drive XDBK-J102.
This manual is intended for use by trained system and service engineers,
and provides the information that is required to install (operating environment,
installation space, connection information, etc.).
For the installation of the Optional Power Supply XDBK-101, refer to the Installation Manual supplied with XDBK-101.
Besides this Installation Manual, the following manuals are prepared for this unit.
. Operation Manual (PDF) (Supplied with this unit.)
This manual describes the application and operation of this unit.
. Maintenance Manual (Available on request)
This manual describes the maintenance and service information (service overview,
error message, maintenance mode, periodic check, replacement of main parts, detailed parts list, block diagrams, board layouts, schematic diagrams, etc.) for this
unit.
. XDBK-101 Installation Manual (Supplied with XDBK-101)
This manual describes the installation of the Optional Power Supply XDBK-101.
XDJ-1000
3 (E)


Section 1
Installation
1-1. Overview of Installation
1-1-1. Cautions before Installation
The Hard Disk Drives (HDD) are installed in this unit. The HDD is a precision part. The causes such as
shock, vibration and static electricity to the unit, and the conditions of temperature and humidity may
damage HDD or its data.
Before installation, read fully the following cautions, and perform the installation with extra care.
Cautions about shock and vibration
When transporting and moving
. Pack the unit using the packaging materials specifi ed by the manufacturer.
. Use a proper cart.
. Avoid rough routes, and manage the cart gently.
When placing on a fl oor or table
. Put the unit on stable and horizontal place.
. Do not place the unit near vibrating equipments.
For the unit
. Never hit the unit, and drop the tool on the unit.
Take extra care
. Never give vibration or shock to the unit while the power is turned on, or within about 30 seconds after
turning off the power.
Cautions about rack mounting the unit
. Never give shock to all the rack mounted unit which has a HDD.
Caution about static electricity
. Keep static-producing items such as plastics (air caps or others) away from the working area.
. When touching the HDD unit, be sure to wear a grounded earth-band to protect against static electricity.
Cautions about temperature and humidity
. Temperature and humidity of storage and operating condition must be kept within the correct specifi ed
range.
. Never turn on the power with the cabinet is removed in consideration of the air-cooling effect.
Cautions when an error appears in a HDD
. Treat this unit conform to the above cautions, even when an error appeared.
. Keep the unit in the condition in which the error appeared, and record the details of the error.
XDJ-1000
1-1 (E)
 Loading...