

Page 1
Installation and Operation Instructions for the following model:
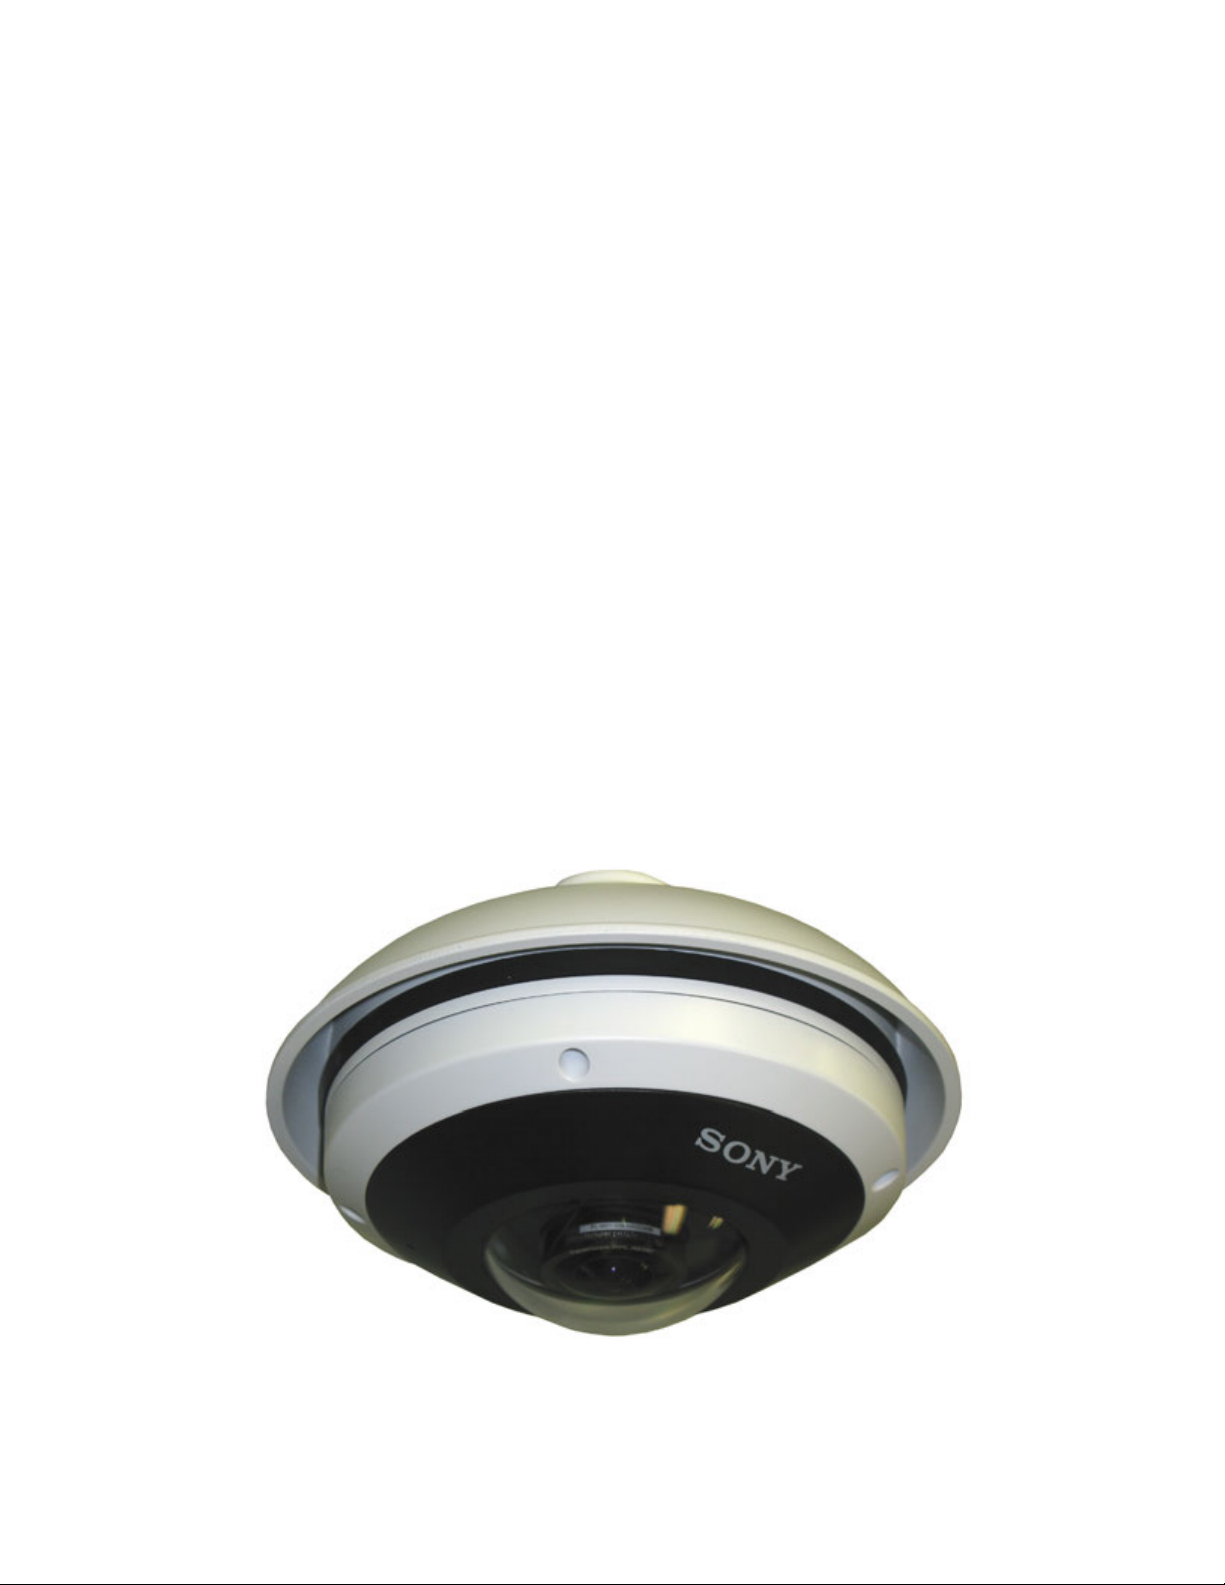
UNI-MDPHM
Pendant Bracket
CONTENTS OF BOX:
(1) Pendant top (For use with SNC-HM662 camera model)
(1) Packet assembly
(3) M3 x 10mm bolts
(3) M3 lock washers
(1) 1” conduit locknut
(1) Pole sealing grommet
Moog - designed
exclusively for
SONY
(1) Housing sealing gasket
(1) Roll of teflon tape
(1) Gasket
81-IN6720 03062014
Page 2
IMPORTANT SAFEGUARDS
!!
!!
Read instructions - All the safety and operating
1.
instructions should be read before the unit is
operated.
Retain instructions - The safety and operating
2.
instructions should be retained for future reference.
Heed Warnings - All warnings on the unit and in the
3.
operating instructions should be adhered to.
Follow instructions - All operating and user instructions
4.
should be followed.
Electrical Connections - Only a qualifi ed electrician
5.
should make electrical connections.
Attachments - Do not use attachments not
6.
recommended by the product manufacturer as they
may cause hazards.
Cable Runs- All cable runs must be within permissible
7.
distance.
Mounting - This unit must be properly and securely
8.
mounted to a supporting structure capable of
sustaining the weight of the unit.
Accordingly:
The installation should be made by a qualifi ed
a.
installer.
The installation should be in compliance with local
b.
codes.
Care should be exercised to select suitable
c.
hardware to install the unit, taking into account both
the composition of the mounting surface and the
weight of the unit.
Be sure to periodically examine the unit and the
supporting structure to make sure that the integrity of the
installation is intact. Failure to comply with the foregoing
could result in the unit separating from the support
structure and falling, with resultant damages or injury to
anyone or anything struck by the falling unit.
UNPACKING
Unpack carefully. Electronic components can be
damaged if improperly handled or dropped. If an item
appears to have been damaged in shipment, replace
it properly in its carton and notify the shipper.
Be sure to save:
The shipping carton and packaging material.
1.
They are the safest material in which to make
future shipments of the equipment.
These Installation and Operating Instructions.
2.
SERVICE
If technical support or service is needed, contact
Sony at the following number:
TECHNICAL SUPPORT
8:15 AM to 7:30 PM
(EASTERN TIME)
1- 800 - 883 - 6817
SAFETY PRECAUTIONS
CAUTION
RISK OF ELECTRIC SHOCK
DO NOT OPEN
CAUTION: TO REDUCE THE RISK OF
ELECTRIC SHOCK, DO NOT REMOVE
COVER ( OR BACK). NO USER- SERVICEABLE
PARTS INSIDE. REFER SERVICING TO
QUALIFIED SERVICE PERSONNEL.
The lightning fl ash with an arrowhead
symbol, within an equilateral triangle, is
intended to alert the user to the presence
of non-insulated “dangerous voltage”
within the product’s enclosure that may be
of suffi cient magnitude to constitute a risk
to persons.
Este símbolo se piensa para alertar al usuario a la
presencia del “voltaje peligroso no-aisIado” dentro del
recinto de los productos que puede ser un riesgo de
choque eléctrico.
Ce symbole est prévu pour alerter I’utilisateur à la
presence “de la tension dangereuse” non-isolée dans la
clôture de produits qui peut être un risque de choc
électrique.
Dieses Symbol soll den Benutzer zum Vorhandensein der
nicht-lsolier “Gefährdungsspannung” innerhalb der
Produkteinschließung alarmieren die eine Gefahr des
elektrischen Schlages sein kann.
Este símbolo é pretendido alertar o usuário à presença
“di tensão perigosa non-isolada” dentro do cerco dos
produtos que pode ser um risco de choque elétrico.
Questo simbolo è inteso per avvertire I’utente alla
presenza “di tensione pericolosa” non-isolata all’interno
della recinzione dei prodotti che può essere un rischio di
scossa elettrica.
The exclamation point within an equilateral
triangle is intended to alert the user to
presence of important operating and
maintenance (servicing) instructions in the
literature accompanying the appliance.
Este símbolo del punto del exclamation se piensa para
alertar al usuario a la presencia de instrucciones
importantes en la literatura que acompaña la
aplicación.
Ce symbole de point d’exclamation est prévu pour
alerter l’utilisateur à la presence des instructions
importantes dans la littérature accompagnant
l’appareil.
Dieses Ausruf Punktsymbol soll den Benutzer zum
Vorhandensein de wichtigen Anweisungen in der
Literatur alarmieren, die das Gerät begleitet.
Este símbolo do ponto do exclamation é pretendido
alertar o usuário à presença de instruções importantes
na literatura que acompanha o dispositivo.
Questo simbolo del punto del exclamaton è inteso per
avvertire l’utente alla presenza delle istruzioni importanti
nella letteratura che accompagna l’apparecchio.
Page 3

Slide pole grommet onto 1” pipe.
• Deslice la arandela poste en 1 "de tubo.
• Faites glisser oeillet pôle sur une pipe ".
• Schieben Polabdichtung auf ein "Rohr.
• Deslize grommet pólo para um "pipe.
• Far scorrere pole gommino a 1 "pipe.
Attach 1” conduit nut.
• Coloque 1 "tuerca conducto.
• Attacher une "conduite écrou.
• Bringen Sie ein "Leitungsmutter.
• Anexar uma "porca conduto.
• Attaccare 1 "nut condotto.
1
Mount 1” NPT pendant pipe in the desired location
(NOT supplied). Or use the UNI-WMB4 gooseneck
wall mount bracket.
• Mount 1 "tubería colgante NPT en el lugar deseado (No suministrado).
O utilice el cuello de cisne UNI-WMB4 soporte de pared.
• Mont 1 "tuyau de la suspension NPT à l'endroit désiré (Non fourni).
Ou utilisez le col de cygne UNI-WMB4 support de fixation murale.
• Berg 1 "NPT Anhänger Rohr in der gewünschten Position (Nicht mitgeliefert).
Oder nutzen Sie die UNI-WMB4 Schwanenhals Wandhalterung.
• Monte um "pipe pingente NPT no local desejado (Não fornecido).
Ou use o gooseneck UNI-WMB4 suporte de parede.
• Mount 1 "pipe pendente NPT nella posizione desiderata (Non in dotazione).
Oppure utilizzare il collo di cigno UNI-WMB4 montaggio a parete staffa.
2
3
4
Seal threads with teflon tape.
• Sellar las roscas con cinta de teflón.
• L'étanchéité du filetage avec du ruban téflon.
• Siegel Gewinde mit Teflonband.
• Selar tópicos com fita teflon.
• Sigillare le discussioni con nastro di teflon.
Page 4

5
6
Arrow
Mark
Tighten and align the arrow mark of the pendant cap
towards the center of the area of interest.
• Apriete y alinee la marca de la flecha de la tapa pendiente hacia el
centro de la zona de interés.
• Serrez et alignez la flèche du bouchon pendant vers le centre de la
zone d'intérêt.
• Ziehen und richten Sie die Pfeilmarkierung des Anhängers Kappe in
Richtung der Mitte der Bereich von Interesse.
• Apertar e alinhar a marca de seta da tampa pingente em direção ao
centro da área de interesse.
• Serrare e allineare la freccia del cappuccio pendente verso il centro
della zona di interesse.
7
Tighten 1” nut.
• Apretar tuerca de 1 ".
• Serrer écrou 1 ".
• Ziehen 1 "-Mutter.
• Aperte uma "porca.
• Stringere 1 "dado.
8
Slide the grommet down against the housing.
• Deslice la arandela hacia abajo contra la carcasa.
• Faites glisser la rondelle vers le bas contre le boîtier.
• Schieben Sie die Tülle nach unten gegen das Gehäuse.
• Deslize o anel para baixo contra a habitação.
• Far scorrere la guarnizione giù contro l'alloggiamento.
Press the gasket onto the housing lip.
• Presione la junta en el labio de la vivienda.
• Appuyez sur le joint sur la lèvre du logement.
• Drücken Sie die Dichtung auf das Gehäuse Lippe.
• Pressione a junta sobre o lábio habitação.
• Premere la guarnizione sul labbro custodia.
Page 5

Attach (3) 3mm screw with lock washers to
the housing.
• Coloque el tornillo de (3) 3 mm con arandelas de seguridad
a la vivienda.
• Fixez la vis (3) 3 mm avec rondelles de blocage sur le boîtier.
• Bringen (3) 3mm Schraube mit Unterlegscheiben zum Gehäuse.
• Fixe o parafuso de (3) 3mm com arruelas de pressão para a habitação.
• Fissare la vite (3) 3 millimetri le rondelle di fissaggio alla scocca.
9
10
Remove cover from 360° camera using the tool
provided with the camera.
• Quite la cubierta de la cámara de 360° utilizando la herramienta
proporcionada con la cámara.
• Retirez le couvercle de 360° caméra à l'aide de l'outil fourni avec
l'appareil photo.
• Entfernen Sie die Abdeckung von 360°-Kamera mit der mit der
Kamera zur Verfügung gestellt.
• Remova a tampa da câmera de 360° utilizando a ferramenta
fornecida com a câmera.
• Togliere il coperchio da 360 ° fotocamera utilizzando lo strumento
fornito con la fotocamera.
11
Make appropriate wiring connections - loop extra
cable inside pendant bracket.
• Haga las conexiones apropiadas - bucle de cable adicional en el
interior del soporte colgante.
• Effectuer les raccordements appropriés - boucle de câble
supplémentaire à l'intérieur de support pendentif.
• Nehmen Sie die jeweiligen Kabelverbindungen - loop zusätzliche Kabel
im Anhänger Halterung.
• Faça as ligações dos fios apropriados - loop de cabo extra dentro
suporte pingente.
• Effettuare adeguati collegamenti elettrici - loop di cavi in più all'interno
staffa pendente.
12
Cable Entry
Attach the camera to the pendant top by aligning the double slot
mounting hole of the camera towards the arrow mark on the pendant
cap (note that the cable entrance to the unit is opposite this arrow mark
as shown in the drawing)
• Monte la cámara en la parte superior colgante alineando el agujero doble ranura
de montaje de la cámara hacia la flecha de la tapa colgante (tenga en cuenta
que la entrada del cable a la unidad se encuentra frente a la marca de la flecha,
como se muestra en el dibujo)
• Fixez la caméra au début de pendentif en alignant le trou de montage à double fente
de l'appareil photo vers la flèche sur le bouchon du pendentif (noter que l'entrée de
câble à l'unité est en face de cette flèche marque comme indiqué sur le dessin)
• Befestigen Sie die Kamera auf den Anhänger oben durch Ausrichten der Doppel-Slot
Montageloch von der Kamera in Richtung der Pfeilmarkierung auf dem Anhänger
Kappe (beachten Sie, dass das Kabel Eingang der Einheit gegenüber dieser Pfeil wie
in der Zeichnung dargestellt)
• Monte a câmara ao topo pingente, alinhando a ranhura furo de montagem dupla
da câmera para a marca da seta na tampa pingente (note que a entrada do cabo
para a unidade fica em frente esta marca de seta, como mostrado no desenho)
• Collegare la fotocamera al top ciondolo allineando il doppio foro di montaggio
alloggiamento della telecamera verso la freccia sul tappo ciondolo (notare che
l'ingresso cavo per l'unità è di fronte a questo freccia, come mostrato in figura)
Page 6

13
14
Rotate the camera counterclock wise to hold.
• Gire la cámara hacia la izquierda para sostener.
• Faites pivoter la caméra vers la gauche pour tenir.
• Drehen Sie die Kamera gegen den Uhrzeigersinn zu halten.
• Gire a câmera para a esquerda para segurar.
• Ruotare la telecamera in senso antiorario per tenere.
Secure 3mm screws and lock washers.
• Asegure los tornillos de 3 mm y arandelas de seguridad.
• Fixez les vis de 3mm et les rondelles de blocage.
• Sichern 3mm Schrauben und Sicherungsscheiben.
• Aperte os parafusos 3 milímetros e arruelas de pressão.
• Fissare le viti 3 millimetri e rondelle.
1615
Replace the camera cover and secure.
• Vuelva a colocar la cubierta de la cámara y seguro.
• Replacez le couvercle de l'appareil photo et sécurisé.
• Ersetzen Sie die Kameraabdeckung und sicher.
• Recoloque a tampa da câmera e seguro.
• Riposizionare il coperchio della fotocamera e sicuro.
Remove the lens protective film.
• Quite la cubierta protectora de la lente.
• Retirez le film protecteur de la lentille.
• Nehmen Sie den Objektivschutzfilm.
• Remova o filme protetor de lente.
• Rimuovere la pellicola protettiva dell'obiettivo.
Page 7

Page 8

Please note that to achieve the increased depth with the aspheric design for optimal camera lens to
capsule orientation, the capsule is slightly angled around the highest section. This creates a ”line’, visible to
the naked eye, around the upper most section of the capsule. This “line” serves as the geometric center line
used to insure proper camera placement. It is not typically seen by the camera. However, Sony RZ series
PTZ cameras are able to tilt up above the horizon to 25°, this wide range of tilt motion at a wide angle view
may cause this line to be captured in the image.
Warranty
For warranty information on this and other Sony Security Systems Products, please visit:
http://pro.sony.com/bbsccms/services/files/servicesprograms/SecurityWarranty.pdf
Note:
 Loading...