

Page 1
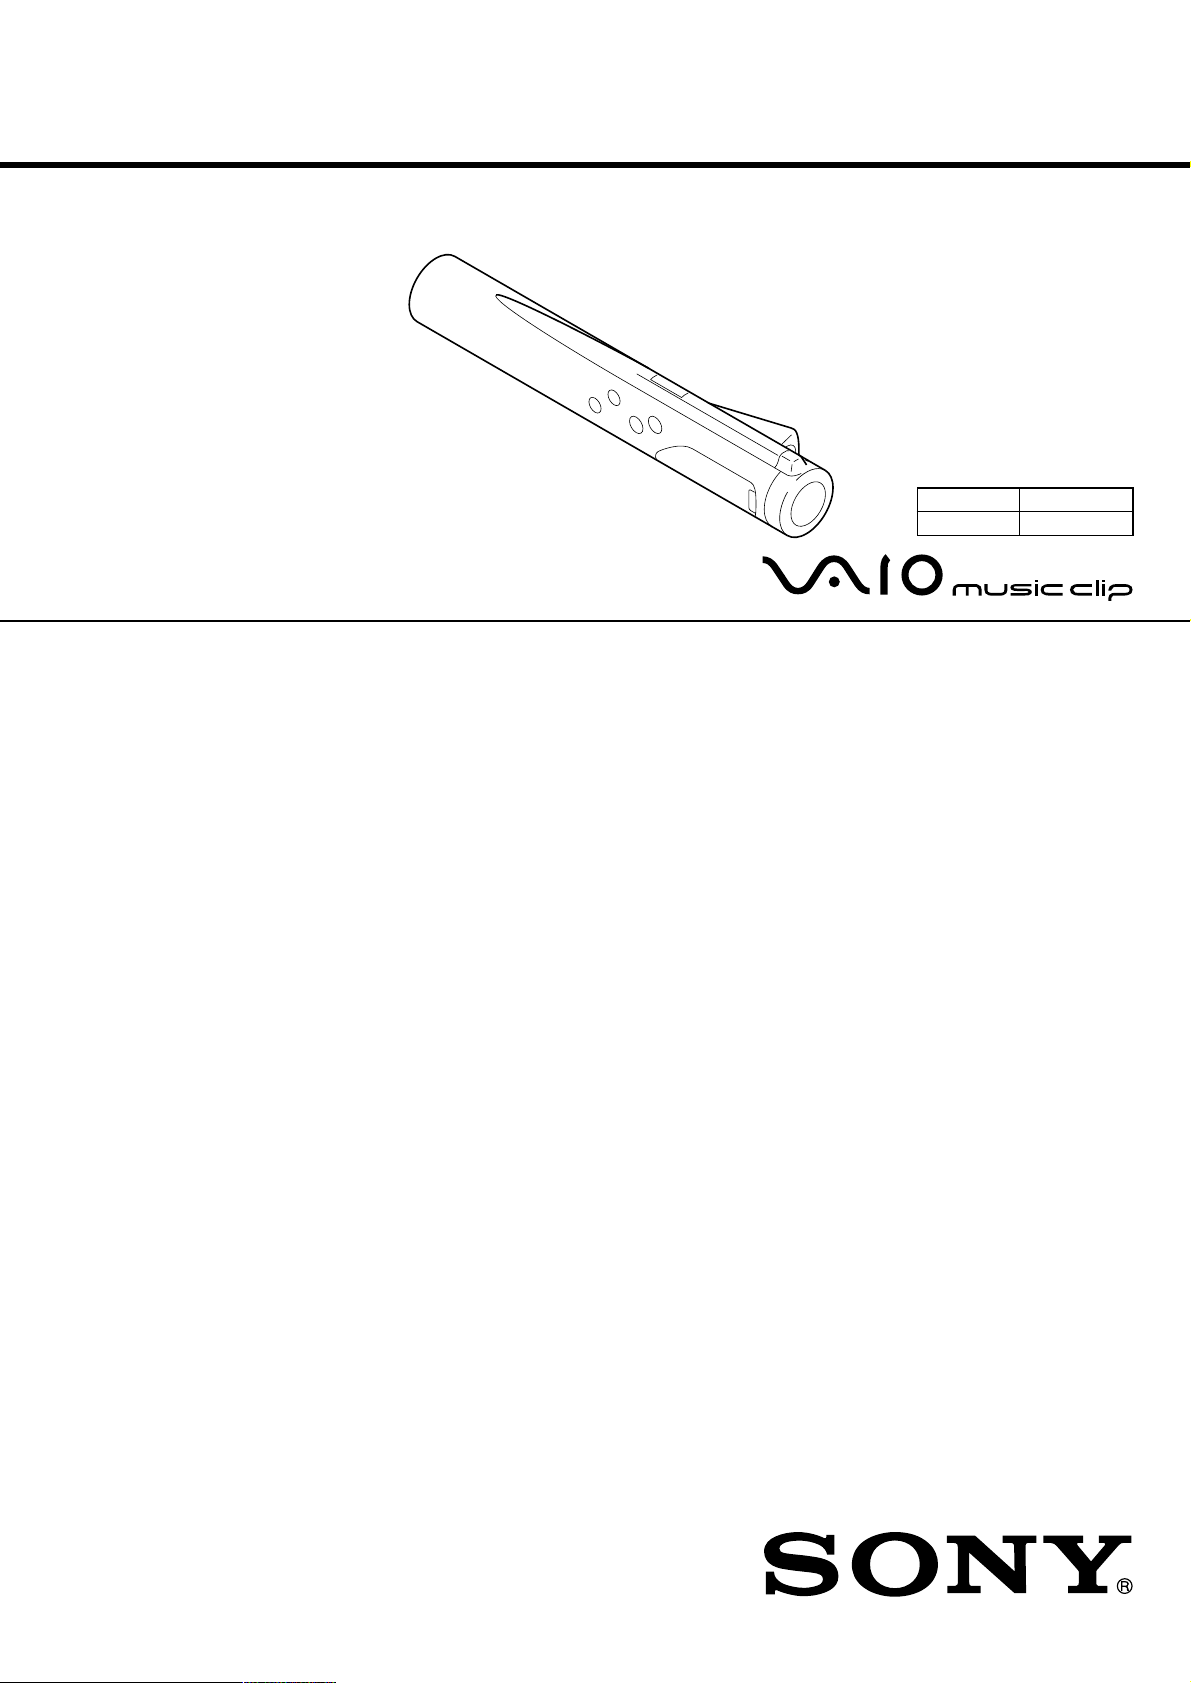
MC-P10
SERVICE MANUAL
SPECIFICATIONS
Audio specifications
Frequency response
20 – 20,000 Hz
Signal-to-noise ratio (S/N)
85 dB
Memory capacity
64 MB (including the system software: 60.8 MB available)
Available MP3 file format
Bitrate*: 32–256 kbps
Sampling rate: 32/44.1/48 kHz
* Variable bitrate file not supported.
Output
Headphones jack
Stereo mini-jack
Connector (special mini jack)
USB 1.0 compliant
General
Power requirements
Size AA (LR6) alkaline battery × 1
USB bus power
Battery life
Approx. 5 hours (varies depending on bitrate,
volume, etc.)
Power consumption
Approx. 360 mW
Dimensions (approx.)
Approx. 4
(w/h/d)
3
7
/
31
×
/
×
/
4
inches (119.8 × 21.5 × 24.0 mm)
8
32
US Model
MC-P10 Silver model
MC-P10/B Black model
Mass
Approx. 1.69 oz (48 g ) (including battery)
Operating temperature
41°F to 95°F (5°C to 35°C ) (not condensed)
Environment temperature
–4°F to 140°F (–20°C to 60°C) (not condensed)
Supplied accessories
• Size AA (LR6) alkaline battery (1)
• Headphones
• Neck strap (1)
USB cable (1)
•
• CD-ROM (OpenMG Jukebox installation disc) (1)
• Operating Instructions (1)
• END-USER LICENSE AGREEMENT (1)
• Other printed materials
(1)
9-928-151-11
PERSONAL NETWORK PLAYER
Page 2

TABLE OF CONTENTS
1. GENERAL
Parts and Controls .......................................................... 1-1
Overview ........................................................................ 1-1
About this Manual.......................................................... 1-2
Installing Open MG Jukebox ......................................... 1-2
Inserting the Battery....................................................... 1-3
Using the Music Clip Player.......................................... 1-3
Playing Songs Repeatedly (MODE).............................. 1-4
Changing the Equalizer (EQ) ........................................ 1-5
Limiting the Maximum Volume level
with Auto Volume Limiter System (AVLS)................... 1-5
Locking Controls (Hold)................................................ 1-5
Glossary.......................................................................... 1-5
2. DISASSEMBLY
Lower Case Assy............................................................ 2-1
Jack Flexible Board........................................................ 2-1
Main Board..................................................................... 2-2
3. EXPLODED VIEW.................................................. 3-1
ACCESSORIES & PACKING MATERIALS ... 3-2
Flexible Circuit Board Repairing
• Keep the temperature of the soldering iron around 270 ˚C during repairing.
• Do not touch the soldering iron on the same conductor of the
circuit board (within 3 times).
• Be careful not to apply force on the conductor when soldering
or unsoldering.
Notes on chip component replacement
• Never reuse a disconnected chip component.
• Notice that the minus side of a tantalum capacitor may be damaged by heat.
Sony, VAIO, the VAIO logo, Music Clip,
OpenMG and the OpenMG logo are trademarks
of Sony Corporation.
IBM and PC/AT are registered trademarks of
International Business Machines Corporation.
Microsoft, Windows and the Windows 98 logo
are registered trademarks of Microsoft
Corporation.
MMX and Pentium are registered trademarks of
Intel Corporation.
Creative and SoundBlaster 16 are trademarks or
registered trademarks of Creative Labs. Inc.
CD-related data through the Internet from the
CDDB Music CD Database.
Copyright 1999 CDDB Inc. CDDB Client
Software. Copyright 1999 CDDB Inc.
CDDB-Enabled, CDDB, CDDB 2 and the
CDDB Logo are trademarks of CDDB, Inc.
All other trademarks are trademarks of their
respective owners.
– 2 –
Page 3

SECTION 1
GENERAL
This section is extracted from instruction manual (4-645-934-11).
Parts and controls
Refer to the page numbers indicated in parentheses for details.
123
5
1 VOL (volume) +/– (page 19)
2 Display (page 20)
3 SHIFT button (pages 21, 22)
4 N/x button (page 19)
5 ./> (EQ/MODE) buttons
(pages 19, 21, 22)
6 Battery compartment (page
13)
687
4
qs
7 Strap holder (page 14)
8 HOLD switch (page 23)
9 Headphones jack (page 19)
0 AVLS switch (page 23)
qa USB connector (page 15)
qs Clip
Overview
What you can do with your Music Clip Personal
Network Player
The Music Clip Player is a portable audio player that allows you to
easily transfer digital sound data from your computer to the Music Clip
Player.
The OpenMG technology* allows you to enjoy digital music, while
maintaining the copyrights of its holders.
The OpenMG-compliant application software that is supplied with
your Music Clip Player enables you to store digital music data on your
computer’s hard disk and transfer it to the Music Clip Player.
9q;qa
EMD services
Music Clip
Player
The supplied OpenMG Jukebox software enables you to import digital
sound data by:
– downloading sound data from Electronic Music Distribution (EMD)
services over digital networks such as the Internet,
– recording audio CDs onto the hard disk of your computer (the
recorded songs are encoded in ATRAC3 format),
– converting existing MP3 and WAV format audio files into OpenMG
format. (WAV format audio files are converted into ATRAC3 format,
and MP3 format audio files are converted into ATRAC3 format or
encoded without changing the format.)
The OpenMG Jukebox encrypts sound data in OpenMG format and
stores it on the hard disk of your computer to prevent unauthorized
distribution.
* Music Clip Player’s copyright protection technology conforms to the SDMI
(Secure Digital Music Initiative) specifications.
USB
connection
Audio CDs
WAV, MP3
files
Hard disk of your
computer (OpenMG
Jukebox)
10
Copyright protection
The Music Clip Player has some restrictions on recording and playback
to protect copyrights.
For details, see “Restrictions on copyright protection by OpenMG” on
page 30.
What is OpenMG?
OpenMG is a copyright protection technology used when recording
and playing back audio data on computers. OpenMG encrypts and
saves digital audio data on a computer’s hard disk, and allows the
audio data to be played back on that computer only, protecting it from
being distributed over a network without permission.
Transfer of sound data from your computer to the Music
Clip Player (Check in/Check out)
The supplied OpenMG Jukebox software enables you to transfer the
sound data stored on your computer’s hard disk to the Music Clip
Player (Check out) and transfer it from the Music Clip Player to your
computer (Check in).
Check in/Check out restrictions:
– You cannot check out the same song more than three times. (Certain
songs are excluded from this restriction.) However, if you transfer a
checked out song back to your computer (Check in), you can then check
out the song again.
– You cannot check in songs checked out to the Music Clip Player to
any computer other than the computer used for Check out.
For details, see “Glossary” on page 32.
Restrictions on sound data
Some sound data is distributed with restrictions on recording or
playback of the data to maintain copyright of its holders.
If the audio data has a limited playing period or playing count, you
cannot check it out to the Music Clip Player. You can play back the data
only with the supplied OpenMG Jukebox software.
4
System requirements
• IBM PC/AT and compatibles
• Operating system: The default installation of Windows
• Display: SVGA (800 × 600 pixel) (supports High Color (16 bit) and
• Internet access
Notes
• We do not assure trouble-free operation for all computers satisfying the
• If your computer has optical output, the music played back on OpenMG
CPU: MMX
above recommended)
Hard disk drive space: 20 MB and above (Free space is required,
depending on the version of Windows 98 and the size of the audio
data you are using.)
RAM: 64 MB and above
CD-ROM drive
Sound Board: Creative SoundBlaster 16 compatible
Default built-in USB port
version (The product does not work on Windows 95/3.1 or Windows
NT. Not assured trouble-free if you use an upgrade version from
Windows 95/3.1 to Windows 98.)
above)
system requirements.
Jukebox will not send digital data through that optical output.
Pentium 233 MHz and above (Pentium II 400 MHz and
98 English
5
6
1-1
Page 4

About this manual
This manual explains how to operate the Music Clip
Player. For details on how to use the supplied
OpenMG Jukebox software, refer to the software’s
Help files.
The OpenMG Jukebox has two Help files, OpenMG
Jukebox Help, which gives an overview of the
software, and VAIO Music Clip Help, which explains
how to use the Music Clip Player with the software.
Using the Help
To open the OpenMG Jukebox Help files from the
Windows 98 “Start” menu, click “Programs” –
“OpenMG Jukebox” – “OpenMG Jukebox Help.”
To open the VAIO Music Clip Help files, click
“Programs” – “OpenMG Jukebox” – “VAIO Music
Clip Help.”
You can also open the Help files by clicking “OpenMG
Jukebox Help” or “VAIO Music Clip Help” from the
OpenMG Jukebox “Help” menu.
Selecting a topic from the contents
From the Contents list, select the desired topic.
Searching using a Keyword
1
To search using a Keyword, select the “Index” tab
from the Help dialog box.
The Keyword list appears.
2
Enter the keyword you want to apply, or scroll the
Keyword list.
3
Select a topic, then click “Display.”
Topics related to the Keyword appear.
Installing OpenMG Jukebox
This section describes how to install the OpenMG
Jukebox software in your computer. Before
installation, turn on your computer, and start
Notes
• Be sure to install
OpenMG Jukebox and
restart your computer
before connecting the
Music Clip Player. Do
not install it with the
Music Clip Player
connected.
• Do not delete, move, or
change contents of the
installation folder, as
OpenMG Jukebox uses
this folder.
Windows 98.
1
Insert the supplied CD-ROM into the CD-ROM
drive of your computer.
The Setup program automatically starts and the
installation begins.
2
Follow the instructions in the Installer window to
complete the installation.
When the CD key input dialog box appears, input
the number shown on the CD-ROM case.
When installation is finished, the computer
restarts.
3
Remove the CD-ROM from the CD-ROM drive.
When the installer does not work
Depending on your computer settings, the installer
may not start automatically when you insert the
software CD-ROM. You may also start installation by
selecting “My Computer” from the desktop. Doubleclick on your CD-ROM drive icon, and then doubleclick “Setup.exe” in the CD-ROM drive window.
“OpenMG <MC-P10> Registration” icon on the
desktop
When you restart your computer after installing the
software, the “OpenMG <MC-P10> Registration” icon
will appear on the desktop. Make sure that you can
connect to the Internet, then double-click this icon to
register the products. For details on customer
registration, refer to the supplied “Customer
Registration for the VAIO Music Clip Player.”
Caution
To protect your personal data, we use SSL (an encryption
protocol) for communication between your browser and our
WWW server. If you are accessing the Internet from inside of
an enterprise LAN, you may not be able to use SSL due to the
proxy server of the LAN. Contact your network
administrator in this case.
(continued)
7
8
Notes
• If you have set the
previous OpenMG
Jukebox to display the
icon on task tray, rightclick the icon and select
“Exit” before installing.
• When entering the CD
key, you must enter the
key for the newer CDROM. If an error
message appears, make
sure that you have
entered the correct CD
key supplied for the
CD-ROM.
EMD services
To use OpenMG-enabled EMD services on the
Internet, you need:
• accessibility to the Internet from your computer.
Sign up an Internet service provider and configure
your computer for Internet access before using this
service.
• several free EMD programs (e.g., EMD key
installer). These can be downloaded from the Sony
EMD Web page.
Double-click the “OpenMG <MC-P10>
Registration” icon, then follow the displayed
instructions. (You can also double-click this icon to
register.)
• an EMD service provider.
Consult the provider for details.
How to upgrade OpenMG Jukebox
1 If you want to register yourself as the user of the
previous version, do this before moving on to the
next step. (You may skip this step if you have
already registered or you do not want to register
yourself as the user of the previous version.)
2 Use the supplied CD-ROM or a file to update*
OpenMG Jukebox. Be sure to perform this step to
add drivers necessary for the new version.
* You can use old ATRAC3, MP3 and WAV files you
previously recorded from CDs and hard drives or
downloaded from EMD services.
3 After the update is complete, double-click the
“OpenMG <MC-P10> Registration” icon on the
desktop to register yourself as the user of the new
version.
Uninstalling OpenMG Jukebox
1
From the Windows 98 “Start” menu, select
“Settings,” and then click “Control Panel.”
The “Control Panel” window appears.
2
Double-click “Add/Remove Programs.”
The “Add/Remove Programs” dialog box appears.
3
Click “OpenMG Jukebox” from the list box, and
then click “Add/Remove.”
12
11
1-2
Page 5

Inserting the battery
Basic operation
Using the Music Clip Player
Notes
• If you do not use the
battery correctly, it may
become damaged from
leakage and corrosion.
For best results:
- Use the alkaline
battery.
- Make sure the polarity
is correct.
- Do not charge a dry
cell battery.
- Remove the battery, if
you do not intend to
use the player for an
extended period of
time.
- If you have battery
leakage, replace with a
new battery after
cleaning the battery
compartment.
• The
mark
indicates that the
battery has run out. The
Music Clip Player will
not function after it
beeps and the display
turns off. Please change
the battery.
Insert the size AA (LR6) alkaline battery (supplied)
matching the + and – ends on the battery to those
inside the battery compartment.
When to replace the battery
Replace the battery when the battery indicator on the
display (page 20) reads empty (r).
Notes
• Be sure to install
OpenMG Jukebox
before connecting the
Music Clip Player (see
page 11).
• The Music Clip Player
is inactive while
connected to the
computer.
• We do not assure
trouble-free operation
if you use the USB
hub.
• This unit may not
work, depending on
another USB device
that you are using at
the same time.
• Some computers may
not work correctly
after recovering from
the suspended status.
Disconnect the USB
cable and reconnect it.
z Tip
When the “Startup”
setting is ON, OpenMG
Jukebox will
automatically start when
you connect the Music
Clip Player. (For more
information, see
“Changing the initial
settings of the OpenMG
Jukebox” in OpenMG
This section explains how to transfer CD tracks to the
Music Clip Player.
Refer to OpenMG Jukebox Help for information on
importing MP3 files and WAV files, and downloading
music files via the Internet.
Connecting the Music Clip Player to
your computer
To the USB
connector
To the USB
connector
Jukebox Help.)
USB cable (supplied)
Starting OpenMG Jukebox
From the Windows 98 “Start” menu, click “Programs”
– “OpenMG Jukebox” – “OpenMG Jukebox,” or
double-click
The OpenMG Jukebox displays.
To exit OpenMG Jukebox
Click the Close button on the OpenMG Jukebox
window.
on the Windows desktop.
15
OpenMG Jukebox basic controls
12 3 4 56
13
Recording a CD on your computer
1
Insert an audio CD into the CD-ROM drive.
To import MP3 files
Use the OpenMG File
Importer software. The
Music Clip Player
supports playback of MP3
files with a bitrate of 32–
256 kbps. However, the
variable bitrate file cannot
be played back. For
details, see “Importing
MP3 files” in OpenMG
Jukebox Help.
2
Click “Recorder.”
The CD Recorder window appears.
78
1 Recorder
Starts OpenMG CD Recorder.
2 Internet
Accesses a Web site for the EMD service
supporting OpenMG (page 12)
3 Shuffle/Repeat indicators
Displays the shuffle/repeat play status.
4 Play mode control buttons
Controls playback, volume, etc.
5 Edit My Select
Opens the My Select window
6 Portable Player
Opens the Portable Player window
7 Album titles column window
Displays the Original album, My Select album,
or filter list
8 Songs column window
Displays the songs in the selected album.
To name the album and
songs
Type the name, or
retrieve it from the CDDB
website on the Internet.
For details, see “Adding
information, such as title
of a track” in OpenMG
Jukebox Help.
16
3
To select certain tracks from your CD, uncheck all
unwanted tracks.
You may also click “Clear All,” and then select the
desired tracks.
4
Click z (record).
Recording begins.
When the recording is finished, the new Original
album appears in the Album Title list of the
OpenMG Jukebox window.
On the bitrate
You can choose the bitrate from 132kbps, 105kbps,
66kbps. The bitrate influences sound quality and
recording time. If you choose a higher bitrate, the
recording will have better sound quality, however the
recordable time will be shorter. If you choose a lower
bitrate, you can record longer, however the sound will
not be as good. See below for the recording time
according to the bitrate.
• 132kbps = about 60 minutes
• 105kbps = about 80 minutes
• 66kbps = about 120 minutes
(continued)
17
1-3
Page 6

You can choose the bitrate from the “Settings” dialog
box displayed by selecting “Settings” from the
“Control” menu. In the “Settings” dialog box, click the
“Setting Option” tab, and choose from the “ATRAC3
Bitrate” list. See “Changing other recording settings”
in OpenMG Jukebox Help.
Playing songs on the Music Clip Player
Before operating the Music Clip Player, disconnect it
from the computer and the USB cable. The Music Clip
Player is deactivated while it is connected to your
computer.
Note
Before transferring songs,
make sure the Music Clip
Player is connected to
your computer.
To cancel checking out
Click .
To transfer songs from
the Music Clip Player to
your computer
See “Checking in a
checked-out song (Check
in)“ in OpenMG Jukebox
Help.
18
Transferring the songs to the Music
Clip Player (Check out)
1
Click “Portable Player” on the OpenMG Jukebox
main window.
The Portable Player window appears on the right
side in the main window.
2
Select the desired album in the Album titles
column, and click
The song names in the selected album appear in
the Song Title list of the Portable Player window.
3
Click .
Check out begins.
When Check out is complete, the kicon changes
to 9, and the shaded Song list area in the Portable
Player window returns to its normal state.
.
z Tip
The Music Clip Player
does not have a power
switch. The Music Clip
Player automatically
turns off about 10 seconds
after it stops playing.
Press Nx (play/stop)
again to start playback.
The Music Clip Player
starts playing from the
song you last played on it.
It starts playing from the
first song stored if you
replace the battery or
after connecting to a
computer.
./>
VOL +/–
1
Connect the headphones (supplied).
2
Press Nx (play/stop).
Playback begins.
Adjust the volume with the VOL +/– buttons.
To stop playback
Press Nx (play/stop).
To Press
locate the next song
locate the beginning of the
current song
locate previous songs
> once
. once
. repeatedly
Nx (play/stop)
19
Note
The display turns off
about 10 seconds after
playback stops.
Using the display information
You can check play status, battery life, and other
information on the Music Clip Player display.
EQ (page 22)
Repeat mode
(page 21)
S1
Remaining
battery life
Play/Volume indicators
While playing, the N icon
and the song number appear.
While changing the volume,
VOL and the volume level
appear.
Additional operations
Playing songs repeatedly (MODE)
You can play all songs or a specific song repeatedly.
SHIFT
The player repeats
the current song (1 Repeat)
all songs continuously
(All Repeat)
all songs in random order
(Shuffle Repeat)
Repeat mode off
Note
The repeat mode is reset
to the factory setting (no
indicator) if the battery is
removed.
> (MODE)
To play songs repeatedly, while holding down the
SHIFT button, press > (MODE) repeatedly. Each
time you press the > (MODE) button, the repeat
mode indicator changes as follows:
1
t F t SHUF F t (no indication)
F
R
Repeat mode indicator
1
F
F
SHUF F
No indicator
To cancel Repeat Play
While holding down the SHIFT button, press >
(MODE) repeatedly until the repeat indicator
disappears.
20
21
1-4
Page 7

Changing the equalizer (EQ)
You can change the equalizer (EQ) to optimize the
type of music you are playing.
. (EQ)
To change the EQ, while holding down the SHIFT
button, press . (EQ) repeatedly. Each time you
press . (EQ), the EQ indicator changes as follows:
Note
The EQ is reset to the
factory setting (no
indicator) if the battery is
removed.
S1 t S2 t S3 t (no indicator)
R
EQ indicator
S1
S2
S3
No indicator
Suitable music
JAZZ
POP
ROCK
Equalizer off
SHIFT
Limiting the maximum volume level
with Auto Volume Limiter System
(AVLS)
To protect your ears, you can limit the maximum
volume level using the Auto Volume Limiter System
(AVLS) switch. When the AVLS switch is activated,
the volume will not exceed the defined limit, even
when turned up all the way.
AVLS switch
To limit the maximum volume level
Slide the AVLS switch to LIMIT.
To cancel AVLS
Slide the AVLS switch to NORM.
Locking controls (Hold)
The HOLD switch locks all controls to prevent
accidental operation.
22
Glossary
To cancel EQ
While holding down the SHIFT button, press .
(EQ) repeatedly until the EQ indicator disappears.
ATRAC3
Abbreviation for “Adaptive Transform Acoustic
Coding3.”
ATRAC3 is audio compression technology which
satisfies both the demand for high sound quality and
high compression rates. In comparison to the
compression method used for MDs (Mini Disks), it
doubles the compression performance, enabling
reduction of data capacity for the media.
Check in/Check out
Check out is to transfer music files managed on a
personal computer by OpenMG-compliant software to
a Portable Player (such as the Music Clip Player).
Returning checked out music files back to that
computer is to check in. (You cannot move checked
out music files to another computer.)
You can also check out a music file, check it back in,
and then check it out again.
The SDMI rules provide that up to four copies of a
music file can be created unless a special condition for
usage is set. Thus, unless a special restriction exists
while one copy is saved in the computer, the other
three can be checked out to the Portable Players.
HOLD switch
To lock all controls
Slide the HOLD switch to ..
Controls will be locked.
To cancel Hold
Slide the HOLD switch to the other direction.
OpenMG
Copyright protection technology to import and
manage contents of music distribution services or
CDs.
By using OpenMG-compliant software installed in a
personal computer, audio contents can be encrypted
before storage in a hard disk drive. You can enjoy the
playback of the audio data on that computer.
OpenMG also functions to prevent unauthorized
distribution of the contents via the Internet or the like.
SDMI
Abbreviation for Secure Digital Music Initiative.
A forum that consists of over 130 companies in the
fields of recorded audio content, computers and
consumer electronics, for the purpose of developing
an integrated method of copyright protection
technology that can be used worldwide.
SDMI is working to create a framework for preventing
improper usage of audio files and to promote legal
music distribution services. The copyright protection
technology “OpenMG” is based upon the SDMI
standard.
23
MP3
Abbreviation for “MPEG-1 Audio Layer3.”
A standard for audio data compression determined by
the Motion Picture Experts Group, which is an ISO
(International Organization for Standardization)
working group.
It enables compression of audio data to about 1/10 of
the data size of a standard compact disc. Since the
MP3 encoding algorithm is disclosed, there are
various encoders/decoders compliant with this
standard, including freeware that is available for no
charge. Thus, the MP3 standard is widely used in the
computer field.
32
33
1-5
Page 8

EMD (Electronic Music Distribution)
Service Information*
This product (MC-P10) features OpenMG, a technology developed by Sony to protect
copyrighted music.
OpenMG uses a high-level cryptographic technology to protect music contents with
2
computers.*
You need to download an EMDkey and programs from “OpenMG Registration” page to
use the EMD service for OpenMG.*
How to obtain the EMDkey download (free) *
I
nstall the supplied OpenMG Jukebox to your personal computer, then click the “OpenMG
<MC-P10> Registration ” icon on the desktop. You will go to the Web page for the
software via the Internet. Follow the steps to download.
SONY recommends that you register your product to provide you with the best possible
support. For details, see the insert “Customer Registration for the VAIO Music Clip
Player.”
On upgrading the supplied OpenMG Jukebox software
This software was developed in accordance with the arrangement between
Sony and SDMI. If this arrangement is modified in the future, some software
functions may become unavailable. Sony may offer an upgrade kit in this
case at additional user expense.
*1 To use the EMD services, you need Internet access.
2
*
For details, see “Restrictions on copyright protection by OpenMG” in the supplied Operating
Instructions.
3
*
You need Internet access.
To protect your personal data, we use SSL (an encryption protocol) for communication between
your browser and our WWW server. If you are accessing from inside of an enterprise LAN, you
may not be able to use SSL due to the proxy server of the LAN. Contact your network administrator
in such case.
1
3
3
Sony Corporation © 2000
Printed in Japan
4-646-741-11 (1)
1-6
1-6 E
Page 9

SECTION 3
1
2
3
4
5
6
8
14
7
9
10
12
26
29
25
27
31
27
27
29
17
13
28
24
15
19
16
15
22
30
11
32
not
supplied
not
supplied
not
supplied
20
18
EXPLODED VIEW
NOTE:
• -XX and -X mean standardized parts, so they
may have some difference from the original
one.
• Color Indication of Appearance Parts
Example:
KNOB, BALANCE (WHITE) . . . (RED)
↑↑
Parts Color Cabinet's Color
• Items marked “*” are not stocked since they
are seldom required for routine service. Some
delay should be anticipated when ordering
these items.
• The mechanical parts with no reference number in the exploded views are not supplied.
• Hardware (# mark) list and accessories and
packing materials are given in the last of the
electrical parts list.
Ref. No. Part No. Description Remark
1 4-645-355-01 CASE, P (BLUE) . . . (SILVER) P10
1 4-645-355-11 CASE, P (GREY) . . . (BLACK) P10/B
2 4-645-356-01 BUTTON, PLAY
3 4-645-369-01 BUTTON, MODE
4 4-645-366-01 WINDOW, LCD (BLUE) . . . (SILVER) P10
4 4-645-366-11 WINDOW, LCD (GREY) . . . (BLACK) P10/B
5 X-4622-604-1 CASE ASSY, UPPER (SILVER) P10
5 X-4622-608-1 CASE ASSY, UPPER (BLACK) P10/B
6 4-645-368-01 BUTTON, VOLUME
* 7 4-645-371-01 HOLDER, PC BOARD
8 4-645-357-01 SHEET, BT
9 1-803-895-11 DISPLAY PANEL, LIQUID CRYSTAL
10 1-694-653-11 CONDUCTIVE BOARD, CONNECTION
11 4-645-370-01 BL UNIT
12 A-8056-772-A SUB PC BOARD ASSY (S)
13 4-645-353-01 TERMINAL (–), BATTERY
14 A-8056-771-A MAIN PC BOARD ASSY (S)
15 3-318-382-01 SCREW (1.7X3), TAPPING
Ref. No. Part No. Description Remark
* 16 4-645-361-01 RETAINER, JACK
17 4-645-354-11 LID, BATTERY (BLACK) P10/B
17 4-645-354-21 LID, BATTERY (SILVER) P10
18 X-4622-571-1 CASE ASSY, LOWER (SILVER) P10
18 X-4622-572-1 CASE ASSY, LOWER (BLACK) P10/B
19 3-937-492-02 SCREW (1.7X5), PRECISION
20 4-645-362-01 COVER, USB (BLUE) . . . (SILVER) P10
20 4-645-362-11 COVER, USB (GREY) . . . (BLACK) P10/B
22 A-8056-709-A FLEXIBLE MOUNTED PC BOARD, JACK
24 4-645-810-01 RIBBON, BATTERY
25 1-677-092-11 PWB, (MODE) FLEXIBLE
26 1-677-091-11 PWB, (KEY) FLEXIBLE
27 3-563-123-01 SPACER
28 4-645-977-01 SHEET (USB)
29 1-771-894-11 SHEET, KEY DIAPHRAGM
30 1-794-021-11 JACK
31 4-646-755-01 CUSHION
32 4-646-754-01 SPACER, LCD
3-1 E
Page 10

MC-P10
Ref. No. Part No. Description Remark
ACCESSORIES & PACKING MATERIALS
********************************
1-792-297-11 CABLE, CONNECTION
4-645-934-11 MANUAL, INSTRUCTION (ENGLISH)
4-645-976-01 STRAP, NECK
4-646-038-11 CD-ROM (PC SOFT 9100)
8-953-735-90 HEADPHONE MDR-W034LP//O SET
MC-P10
9-928-151-11
3-2 E
Sony Corporation
Information Tec hnology Company
– 12 –
9-928-151-11 2000A05023-1
2000A05023-1
Printed in Japan C 2000. 1
Published by VAIO Customer Link.
 Loading...