

T
M
Customization
- build swap -
Xperia
L50t, L50u
1286-9337 Rev 2
Sony Mobile Communications AB – Company Internal
Z2

Customization (Build Swap)
CONTENTS
1 Emma Login & Script Execution ................................................... 3
2 Customization Workflow ............................................................... 4
2.1 Customize Unit ..................................................................................... 5
2.2 Power on unit ........................................................................................ 6
2.3 Customize to Ship or Build Swap ........................................................ 7
2.3.1 Customize to Ship ........................................................................................ 7
2.3.2 Build Swap .................................................................................................... 7
3 Revision History ............................................................................. 8
For general information about Customization and Swap, refer to
1221-5655: Generic Repair Manual – build swap
1286-9337 Rev 2
Sony Mobile Communications AB – Company Internal
2(8)
Sony Mobile Communications AB
Emma Login & Script Execution
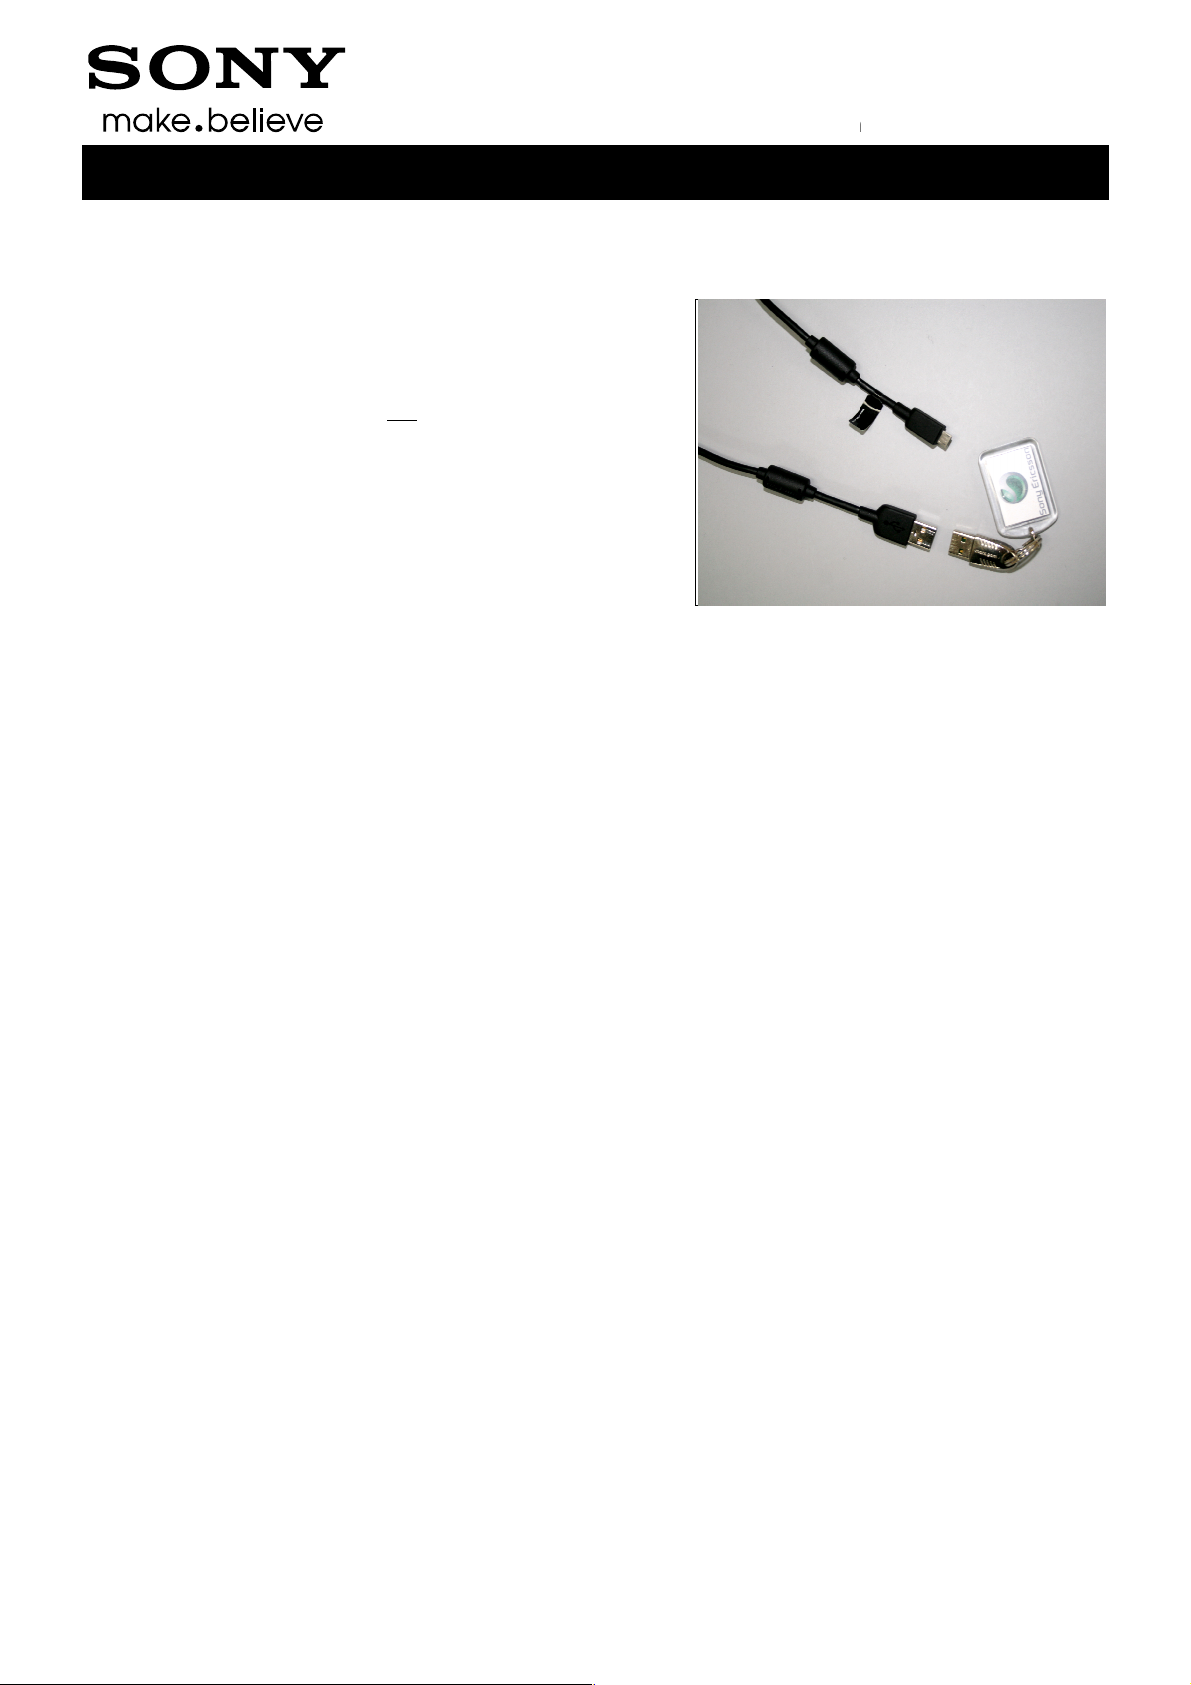
In order to change a phone from Customer A to
Start by launching the Emma application.
Micro USB to USB cable
connect the cable to
has to be inserted
the computer’s USB ports to be able to
Activation
User ID and Password
Customization Script
check that the phone is powered off
Volume Down
connect the phone to the USB Cable
” key
Script
Customization (Build Swap)
Customization Script
’ you need to be properly logged on to the Emma
or any other function):
you will be prompted for the PIN of your USB Activation Dongle
1
followed by an ‘Activation Script’.
Connect the
computer’s USB ports but do not
the phone.
The USB Activation Dongle
To execute a ‘Customization’ or ‘
application by using your
To execute a ‘
•
• press and keep the ”
•
• release the ”Volume Down
When executing an ‘Activation
Customer B you must run a ‘
to one of the
into one of
log in.
.
’ or ‘Activation Script’ (
” key down on the phone
’
’
.
1286-9337 Rev 2
– Company Internal
3(8)

Customization (Build Swap)
2 Customization Workflow
1286-9337 Rev 2
Sony Mobile Communications AB – Company Internal
4(8)

Customization (Build Swap)
Customization Workflow
The primary reason for the customization process is to create a customized unit.
A customized unit is a unit that is ready to ship as a final swap unit.
The second reason for customization is to create “build swap” units and this can be done by selecting
the ‘Service Exchange Unit’ customization script for the particular model.
The instruction steps below refer to the flowchart on previous page.
2.1 Customize Unit
After following the steps in section 1, ‘Emma Login & Script Execution’, you can customize a phone
as follows:
• look for the Customize script for the desired operator or Sales Item:
<Model> <Target> <Lang region> <CDF id>
• if that script is not available locally, select ‘Server search’ for a complete list of available scripts.
When creating a ‘build swap’ unit, select a Service Exchange Unit as the customization scripts!
• choose the desired script
• the application will download all necessary software to run the script and then flash that software to
the phone
• after successful update, disconnect the phone from the USB Cable
In Swap flow, when changing a phone from Customer A to Customer B, always use the service
Customization script!
It is important that the consumer get the same Sales Item customization after repair as before,
since the consumers access to content, software upgrades and consumers support depend on
this!
NOTE: For phones with internal storage (built in “SD card” user memory), the only services
which erase all user data in the internal memory and update the customization in the internal
storage (MS CDF) are the Services “Refurbish” and “Customize”.
See also Emma User Guide info.
http://emma.extranet.sonyericsson.com/documents/emma_user_guide.pdf
(see “Service Types” and “Aspects of large files”)
1286-9337 Rev 2
Sony Mobile Communications AB – Company Internal
5(8)

Customization (Build Swap)
Customization Workflow
2.2 Power on unit
Press the Key Power to power on the unit, place unit on the flat desk and wait until system boot up
has been completed.
Please DO NOT move the unit during starting up until “Select Language” menu is shown on
the display!
1286-9337 Rev 2
Sony Mobile Communications AB – Company Internal
6(8)

Customization (Build Swap)
Customization Workflow
2.3 Customize to Ship or Build Swap
Is the unit a customized unit to be shipped?
Yes – proceed to 2.3.1 Customize to Ship
No – go to 2.3.2 Build Swap
2.3.1 Customize to Ship
2.3.1.1 Label Unit (Label or Laser printed part)
Place product unique information, Barcode and IMEI etc. on the phone as described in the products
Working Instructions – mechanical.
2.3.1.2 Customize Mechanics
If necessary, apply the proper custom mechanical parts (co-branding, keyboard, etc.) for the variant
being created in accordance with the Cross Reference List by following the instructions of the products
Working Instructions – mechanical
2.3.2 Build Swap
2.3.2.1 Label Unit
Using a red marker, label the unit with the correct Exchange Unit number.
Refer to the Cross Reference List for the appropriate variant, which should be based on the non-
customizable mechanics of the unit.
2.3.2.2 De-Customize Unit
Remove any co-branding as described in the products Working Instructions – mechanical
1286-9337 Rev 2
Sony Mobile Communications AB – Company Internal
7(8)

Customization (Build Swap)
Rev
Date
Changes / Comments
3 Revision History
1 2014-Apr-01 Initial release
2 2014-Apr-25 Added L50u
1286-9337 Rev 2
Sony Mobile Communications AB – Company Internal
8(8)
 Loading...