How it Works
Log In / Sign Up
Buy Points
How it Works
FAQ
Contact Us
Questions and Suggestions
Users
Sony
Loading...
C
CMTCX5IPB.CEL
CMTG1IP
21
CMTM-11-C
CMTSBT100
9
CMTSBT20
24
CMT-U1BT - Micro Hi-fi Component System
CMT-V10iP
31
CMT-V10IPN
3
CMT-V11IP
18
CMT-V3
CMT-V50iP
25
CMT-V75BTIP
5
CMT-V9
2
CMT-V9B
CMT-VC1
CMT-VP1
2
CMT-VP100
4
CMT-VP11
3
CMT-WS2D
8
CMT-X3
CMT-X3CD
21
CMT-X3CDB
3
CMT-X3CDW
CMT-X5
CMT-X5CD
25
CMT-X5CDB
27
CMT-X5CD-BC
CMTX5CDB.CEL
CMT-X5CDW
2
CMT-X7CD
45
CMT-X7CDB
45
CMT-X7CDW
CMT-Z100DIR
6
CMT-Z100IR
6
CMU-BR100
10
CMU-BR200
4
CMZ100
CMZ100PRC
CMZ200
CN145
CN195
CN250
2
CN2M
CN350
CN366T
CN550H
CN566H
CNA-1
2
Color Graphic Display
COM-1
4
COM-1 1
COM-1/B
3
COM-1/B - Mylo™ Personal Communicator
2
COM-1/B - Mylo&trade
COM-1-W
2
COM-1/W - Mylo™ Personal Communicator
COM-1/W - Mylo&trade
2
COM-2
7
COM-2BLACK - Mylo&trade
COM-2WHITE - Mylo™ Internet Device
COM-P-AC1
Compact disc player
CompactPictureStation
COM-P-BC1KIT
COM-P-CR1
Compressor
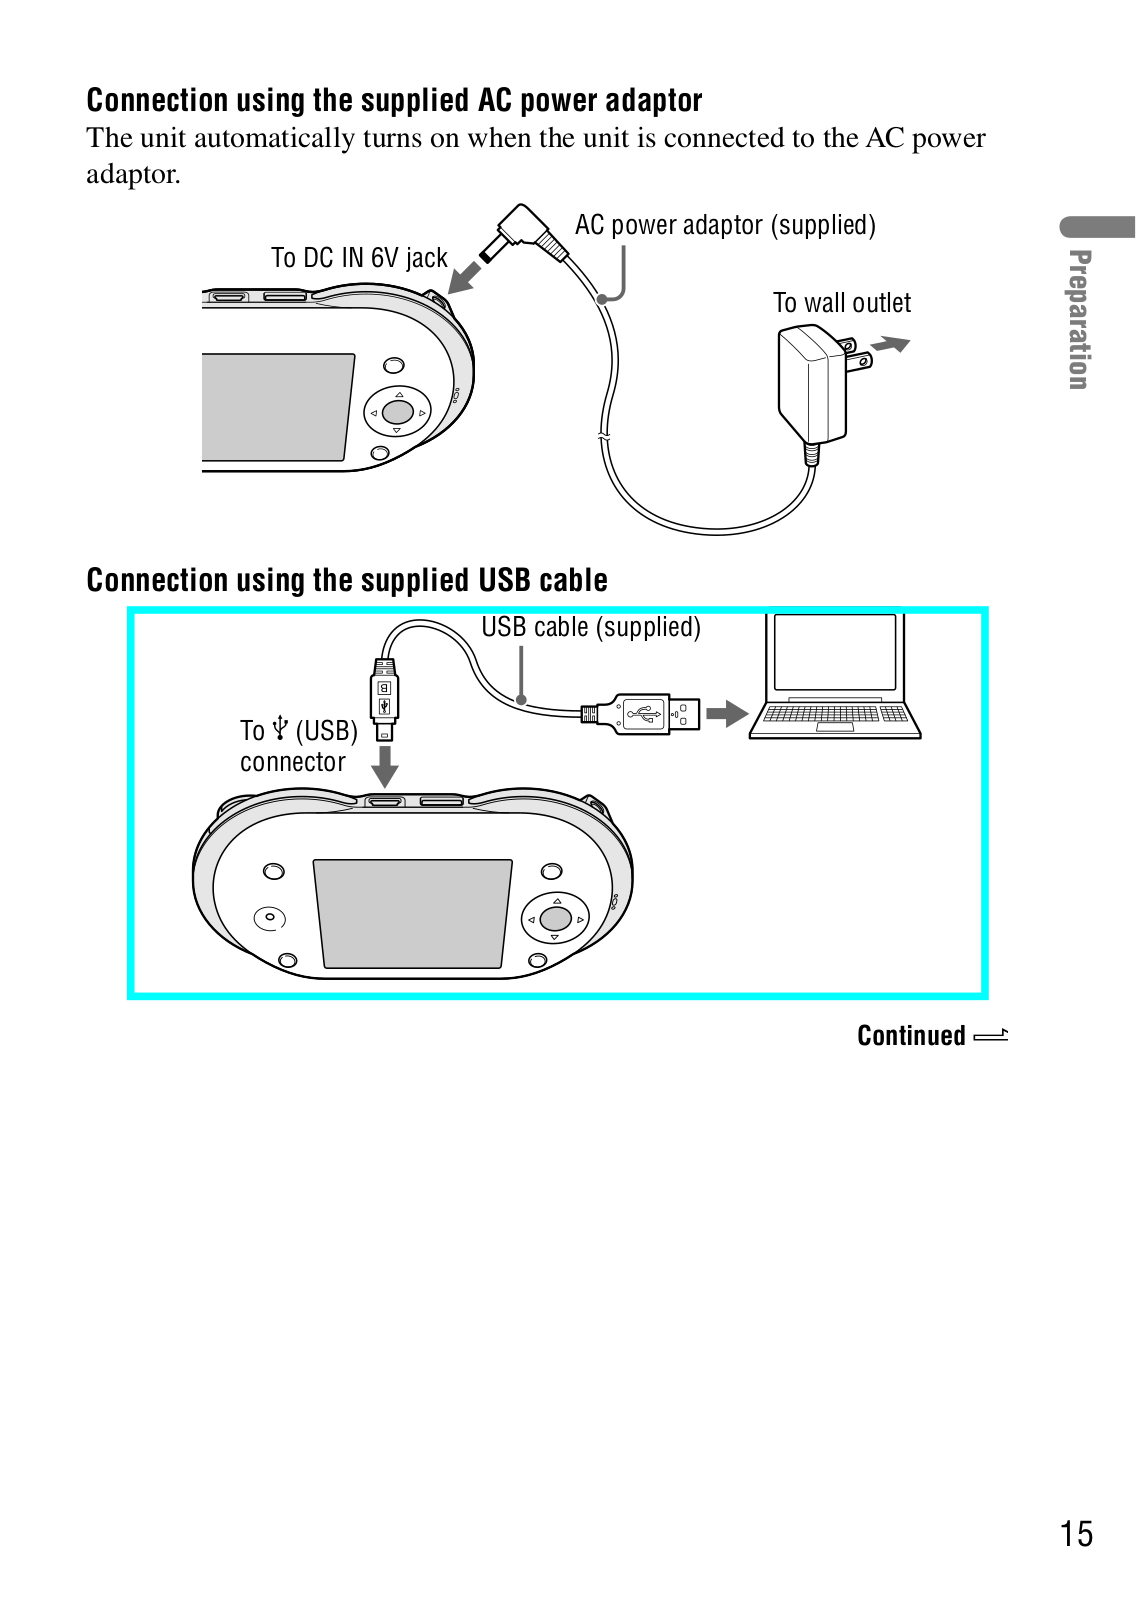
Connections
5
CP-A2L
3
CP-A2LS
CP-AD2M2-W
CP-AD2M4-W
CP-AD2-W
CP-AD3-W
CP-AL
CP-B20-B
CP-C7000
CP-CADM2-B
CP-E3
CP-E5
2
CP-E6-B
CP-E6-BL
CP-E6-W
CP-EL
3
CP-EL 0904-220-01903
CP-ELS
3
CP-F10L
CP-F1LS
2
CP-F2LS
3
CP-S15
CP-S15-S
CP-S20
2
CP-S20-B
CP-V10
CP-V10A-B
CP-V10B-B1
CP-V20
CP-V5
CP-V5A-B
CP-V5A-W
códigos de avaria
Loading...
Loading...
Nothing found
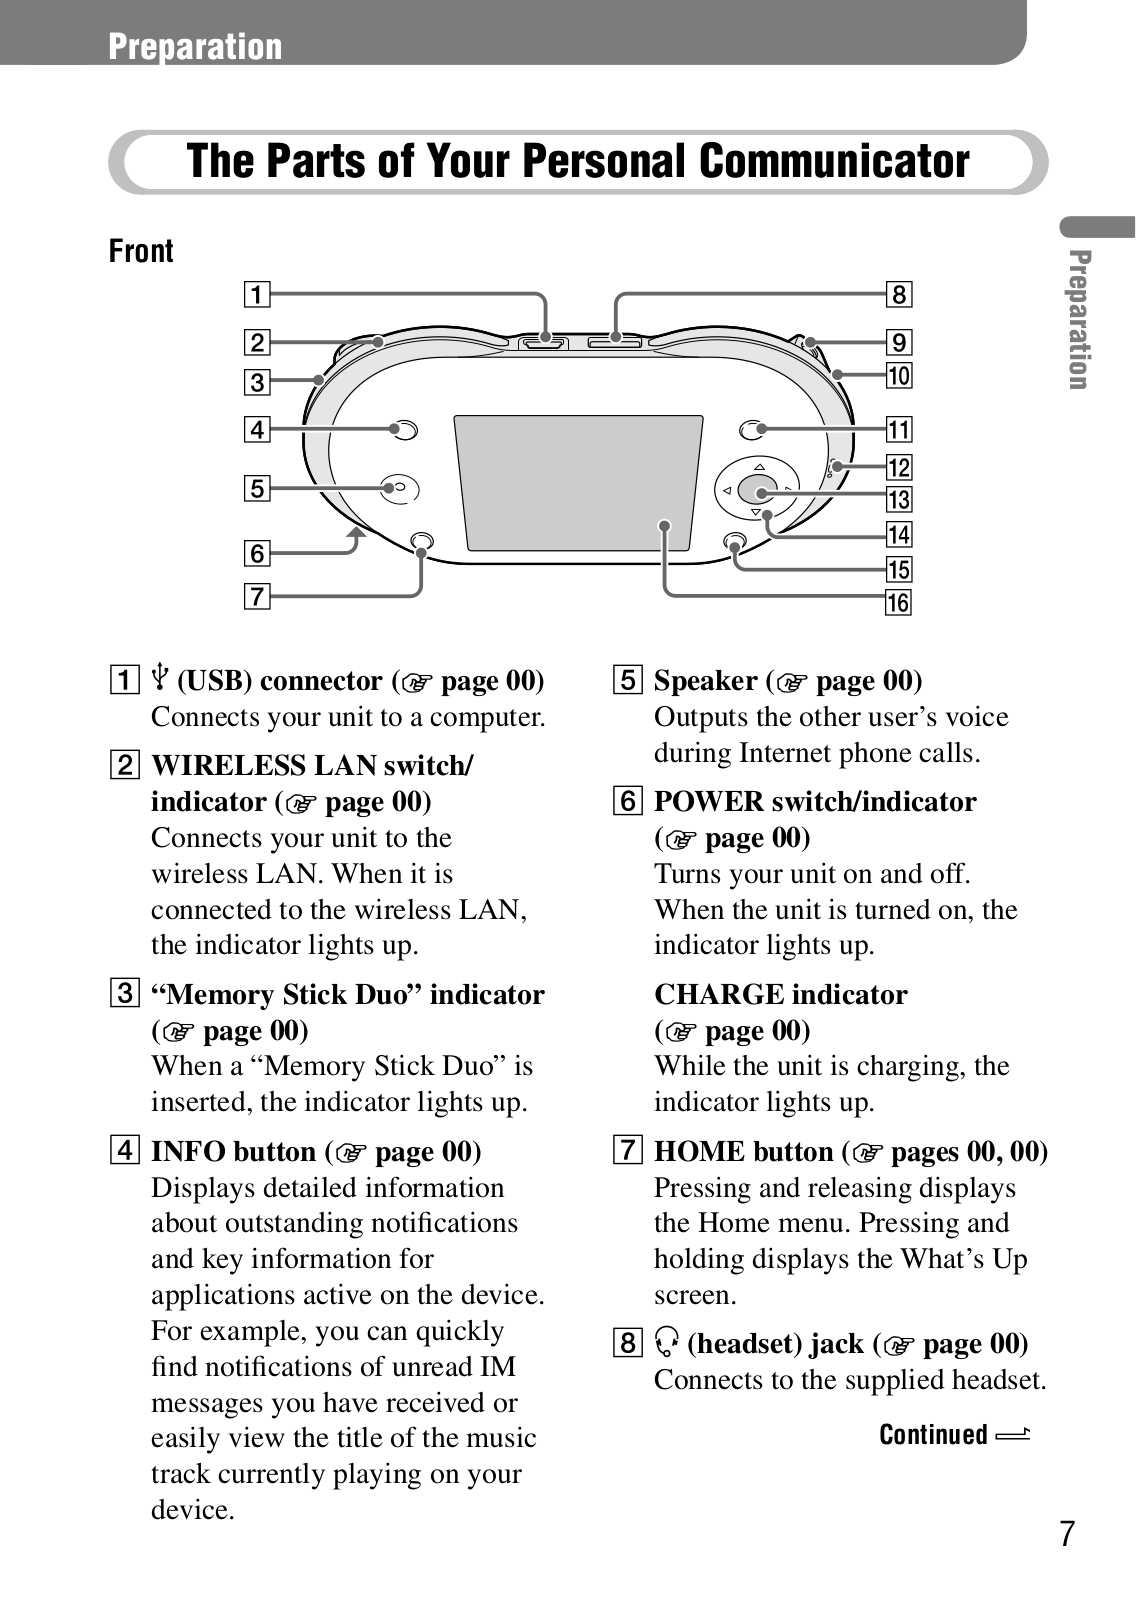
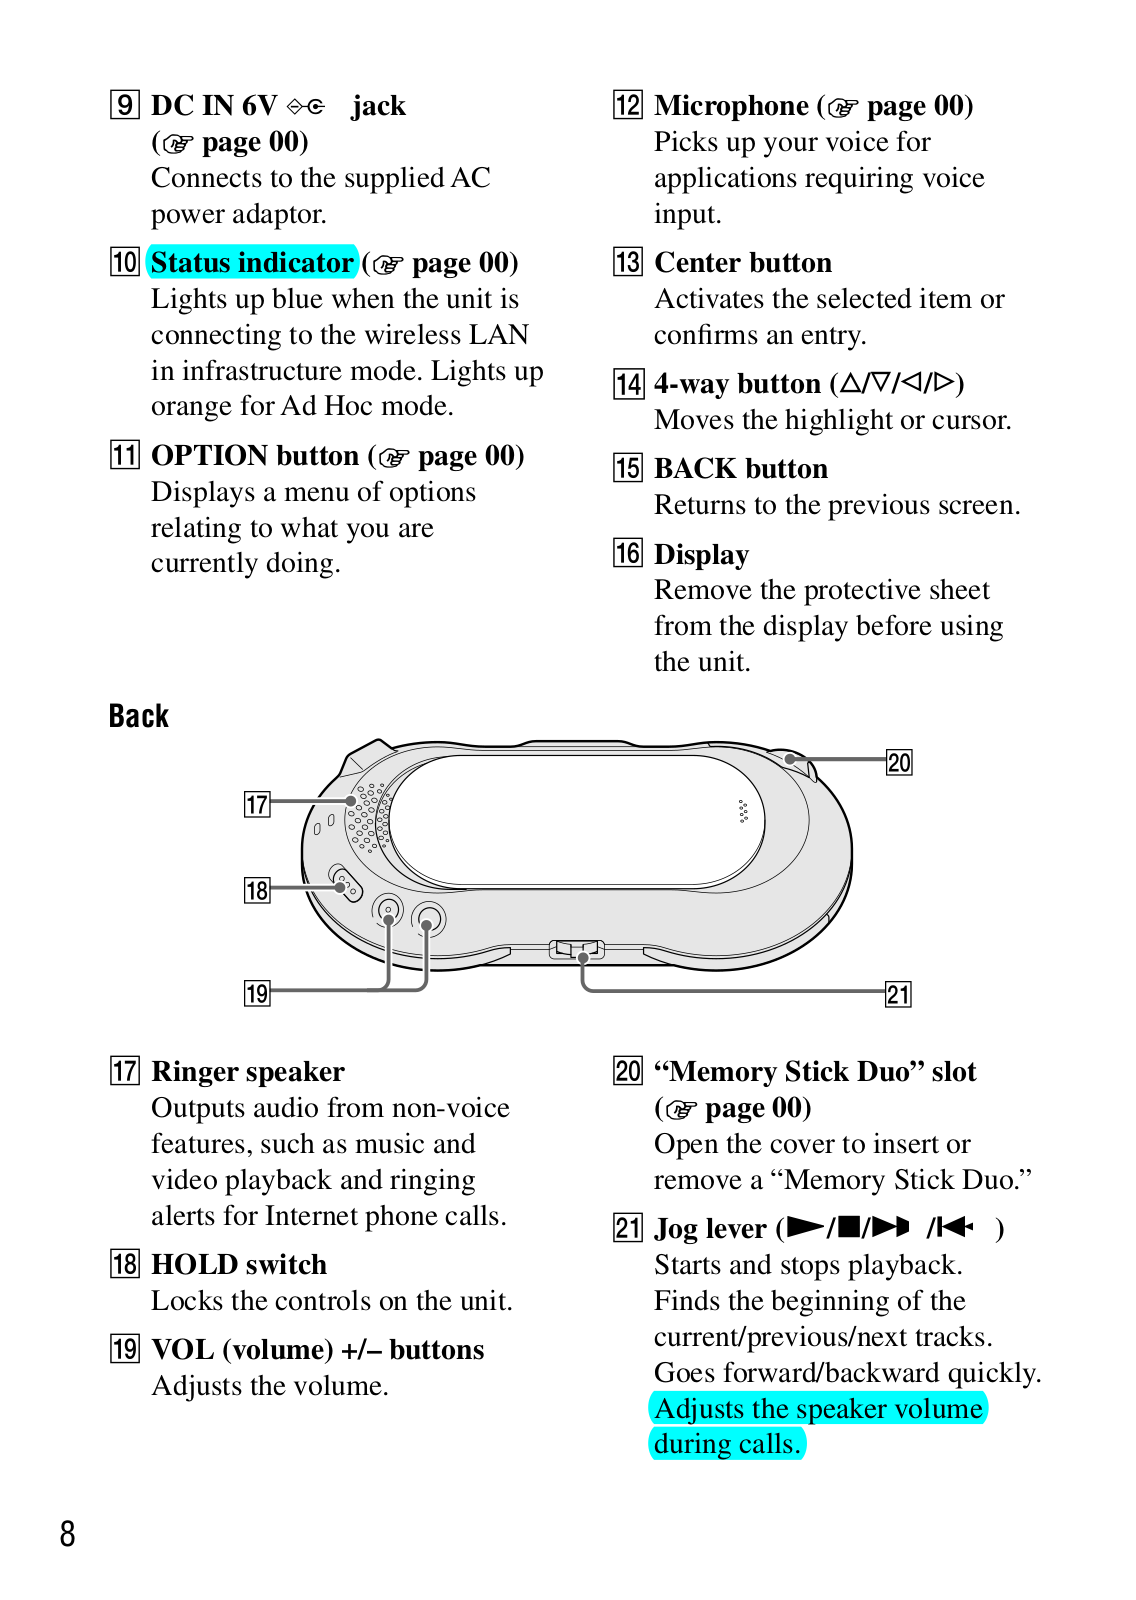
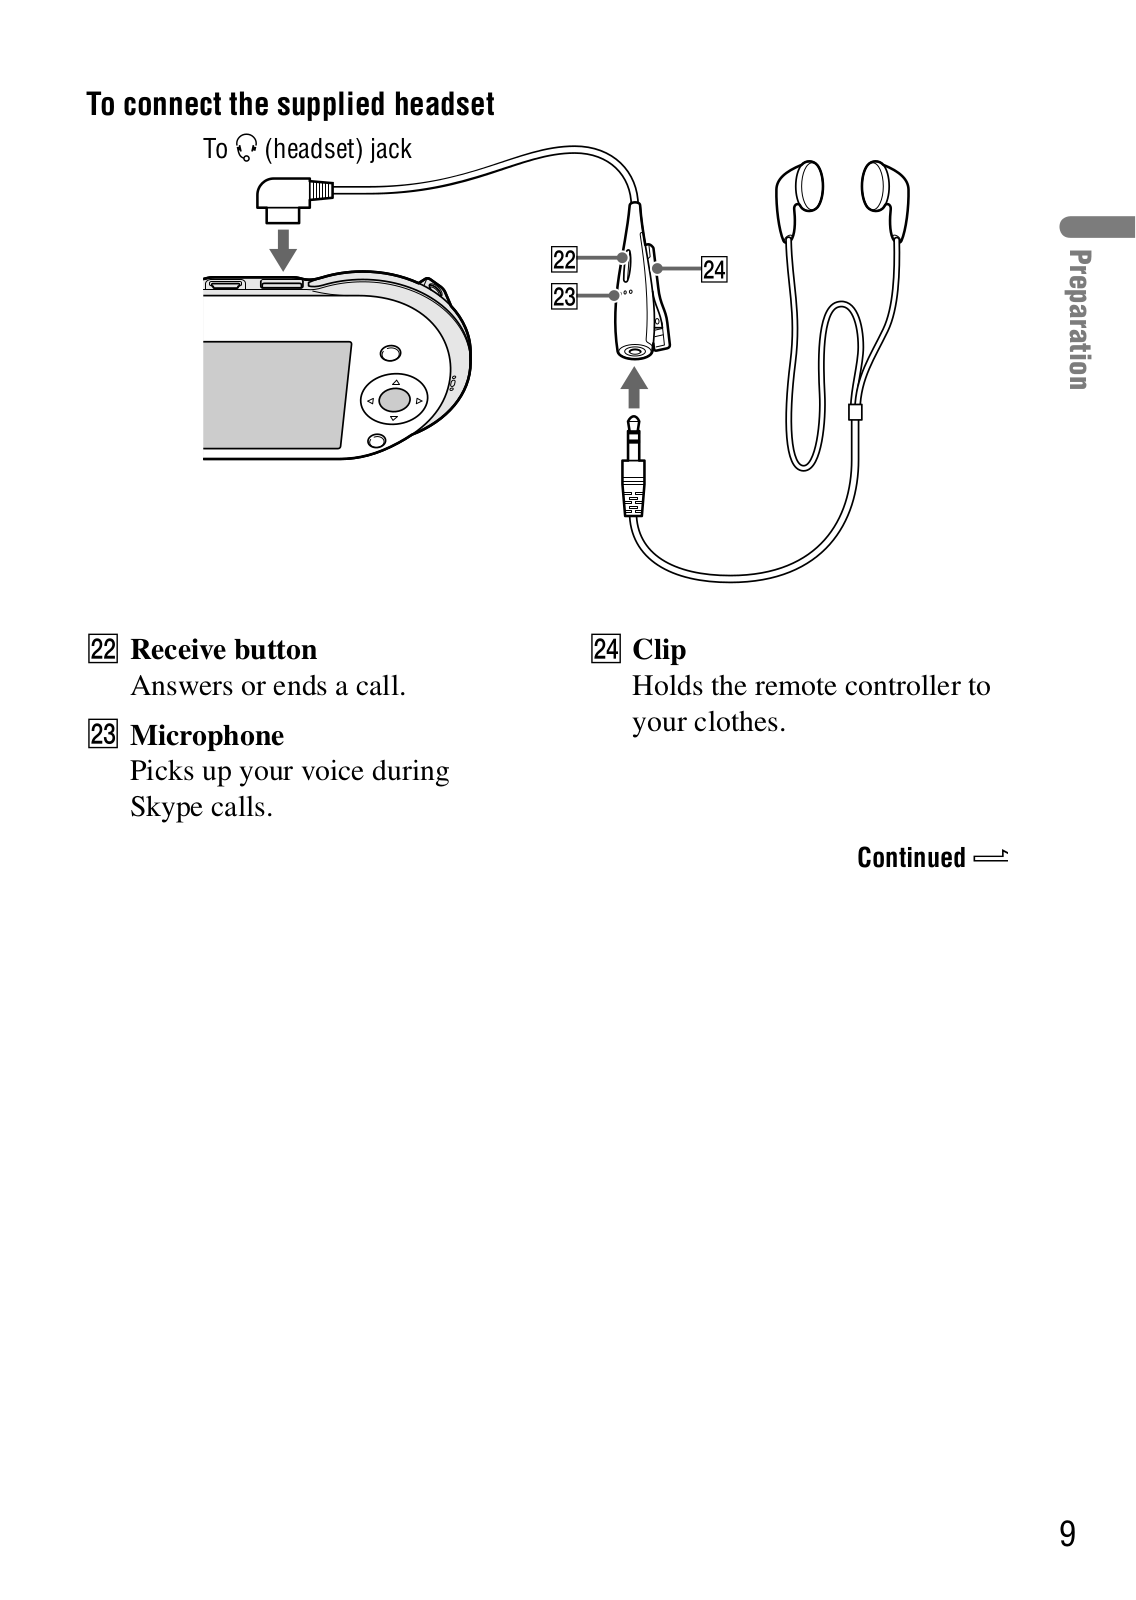
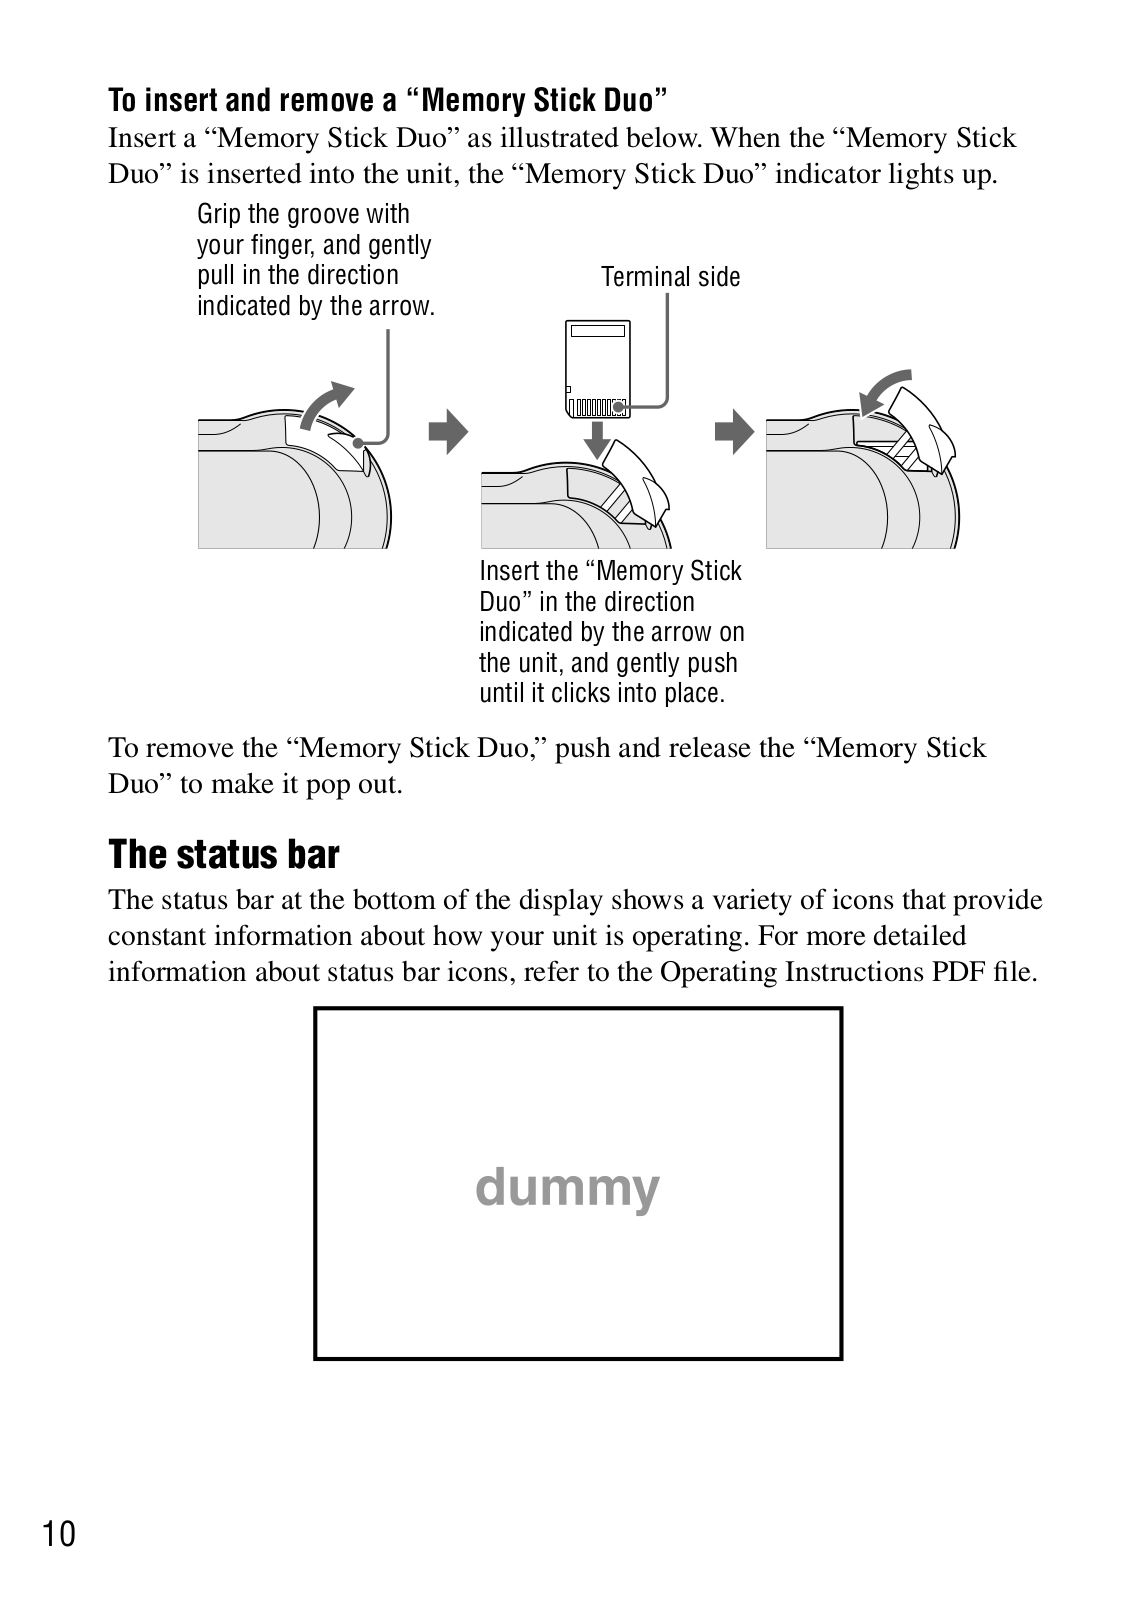
COM-1
STARTUP GUIDE
56 pgs
1.01 Mb
0
Users Manual
48 pgs
932.49 Kb
0
User Manual
252 pgs
4.98 Mb
0
User Manual
24 pgs
141.97 Kb
0
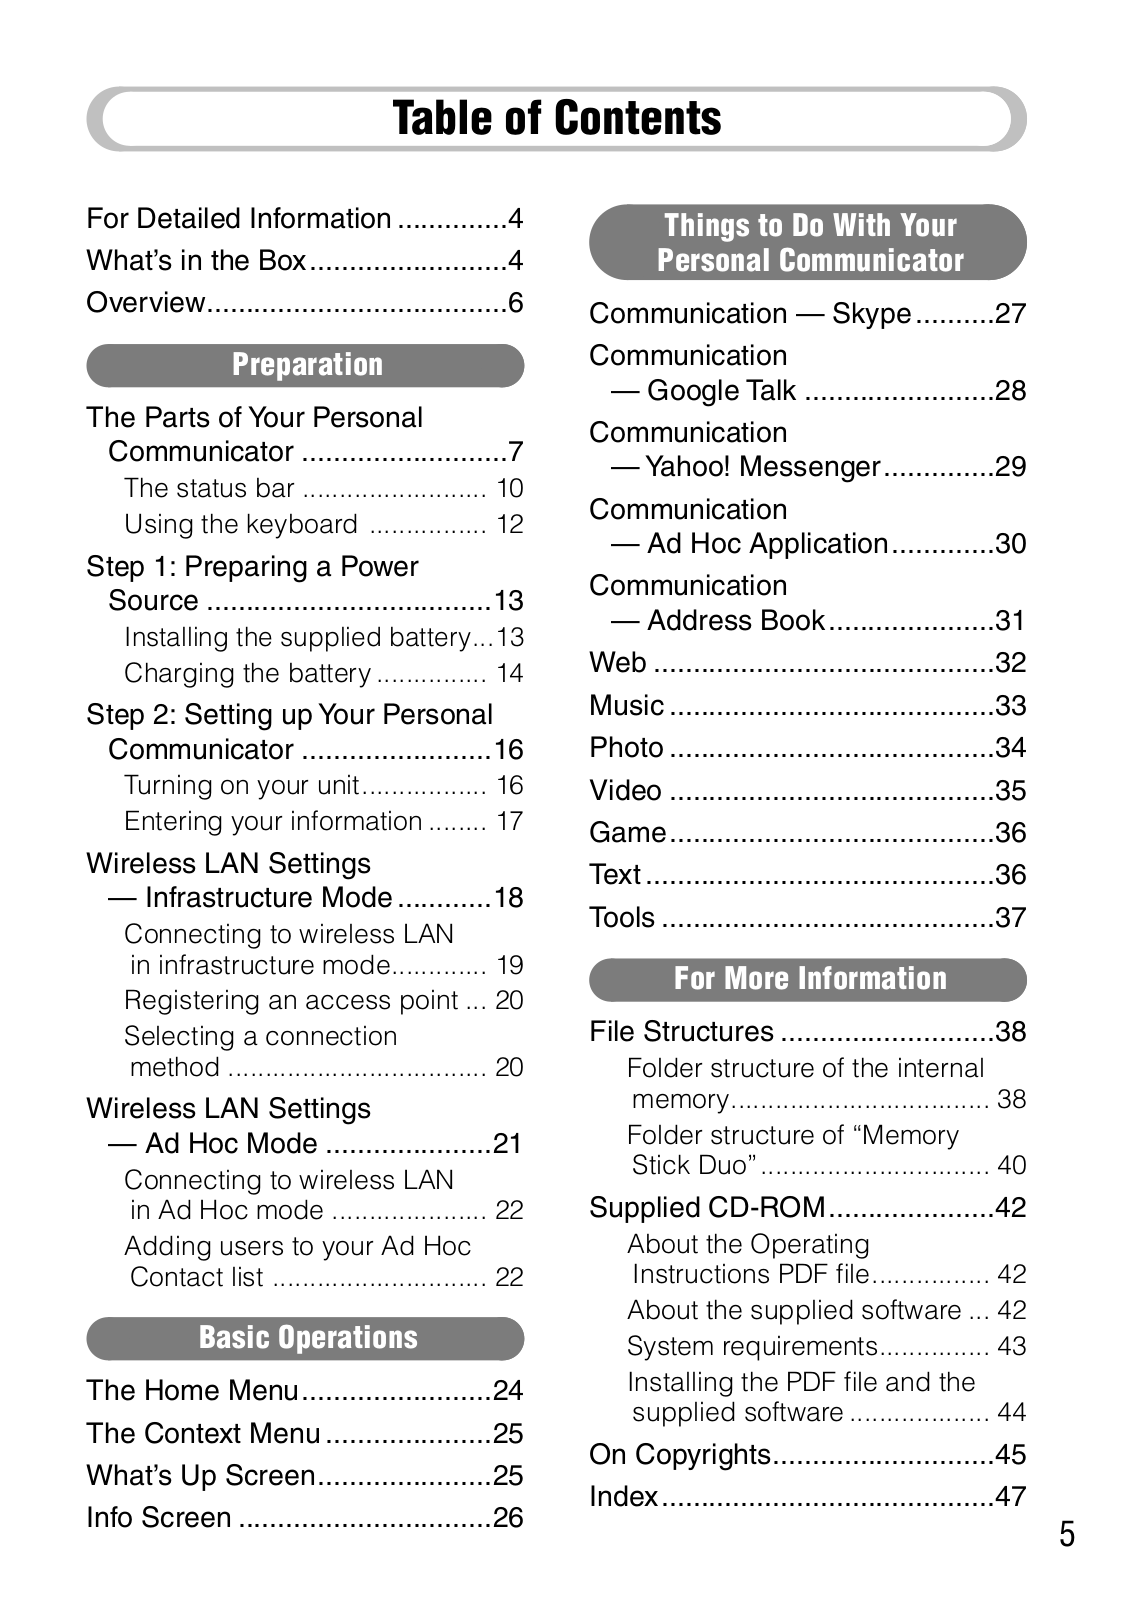
Table of contents
Loading...
Sony COM1 Users Manual
...
Sony Users Manual
Download
Specifications and Main Features
Frequently Asked Questions
User Manual
Download
Loading...
+
33
hidden pages
Unhide
You need points to download manuals.
1 point = 1 manual.
You can buy points or you can get point for every manual you upload.
Buy points
Upload your manuals
 Loading...