

Page 1
3-859-341-12(1)
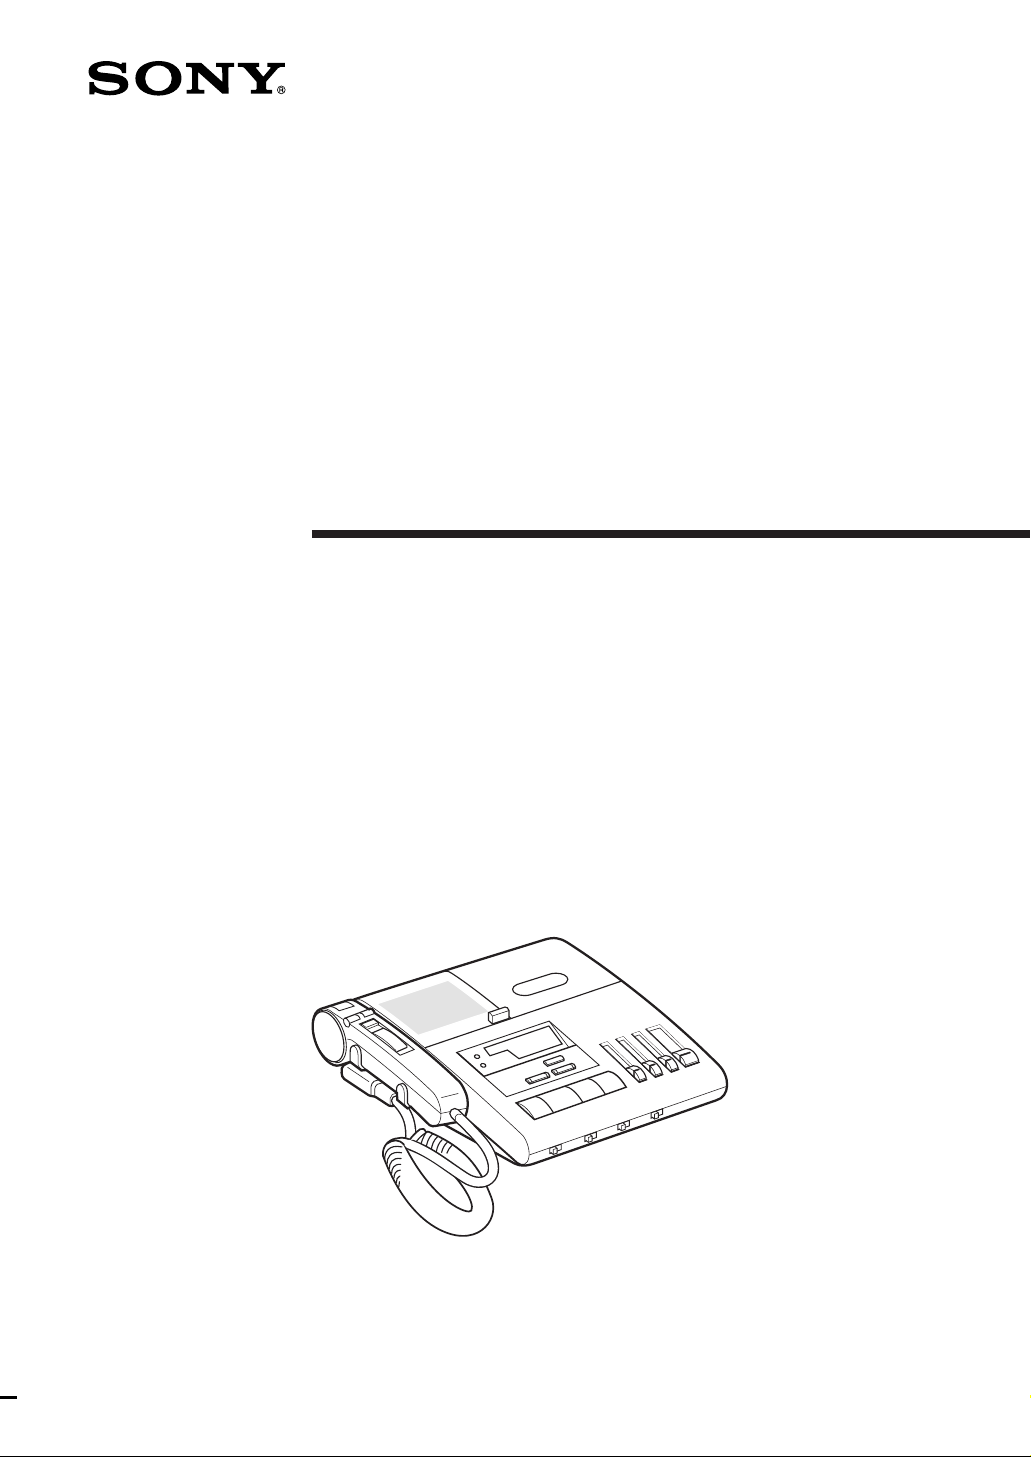
Microcassette
Dictator/Transcriber
Operating Instructions
BM-845D
1996 by Sony Corporation
BM-845
Page 2

WARNING
To prevent fire or shock hazard, do not expose the
unit to rain or moisture.
To avoid electrical shock, do not open the cabinet.
Refer servicing to qualified personnel only.
CAUTION
This equipment has been tested and found to
comply with the limits for a Class A digital device,
pursuant to Part 15 of the FCC Rules. These limits
are designed to provide reasonable protection
against harmful interference when the equipment
is operated in a commercial environment. This
equipment generates, uses, and can radiate radio
frequency energy and, if not installed and used in
accordance with the instruction manual, may
cause harmful interference to radio
communications. Operation of this equipment in a
residential area is likely to cause harmful
interference in which case the user will be required
to correct the interference at his own expense.
This device complies with Part 15 of the FCC
Rules. Operation is subject to the following two
conditions: (1) This device may not cause harmful
interference, and (2) this device must accept any
interference received, including interference that
may cause undesired operation.
On power sources
• Operate the unit only on 9 V DC.
• For AC operation, use the AC power adaptor
supplied with this unit. Do not use any other AC
power adaptor as it may cause malfunction.
• Unplug the AC power adaptor from the wall outlet
when it will not be used of an extended period of
time. To disconnect the adaptor, pull it out by
grasping the adaptor. Never pull it by the cord.
• The AC power adaptor which has been supplied
becomes hot if it is connected to an AC outlet for a
long period of time. But, this will not cause any
trouble.
On placement
• Do not install the unit in a location near heat
sources, such as radiators or airducts, or in a place
subject to direct sunlight, excessive dust,
mechanical vibration, or shock.
• Allow adequate air circulation to prevent internal
heat build-up. Do not place the unit near materials
(curtains, draperies) that may block the ventilation
holes.
If you have any question or problem concerning
your unit that is not covered in this manual, please
consult the Sony dealer from whom you purchased
the unit.
Table of Contents
You are cautioned that any changes or
modifications not expressly approved in this
manual could void your authority to operate this
equipment.
Owner’s Record
The model and serial numbers are located on the
bottom. Record these numbers in the spaces
provided below. Refer to them whenever you call
upon your Sony dealer regarding this product.
Model No. BM-845 Serial No.
Precautions
On safety
• Should any solid object or liquid fall into the
unit, unplug the unit and have it checked by
qualified personnel before operating it any
further.
Introduction
About This Manual ......................................... 3
Features ............................................................ 3
Operation Flow Chart .................................... 4
Setting Up
Power Connection........................................... 6
Setting Up the Unit ......................................... 6
Operations
Dictation ........................................................... 8
Transcription.................................................... 12
Erasing .............................................................. 15
Example of Dictation and Transcription ..... 16
Additional Information
Troubleshooting Guide .................................. 17
Alarm System .................................................. 17
Specifications ................................................... 18
Maintenance..................................................... 18
Location and Function of Controls ............... 19
Introduction
2
Page 3

About This Manual
Features
The instructions in this manual are for the BM845D. The main unit is the BM-845. You can use the
BM-845D as a dictator since the BM-845D is
supplied with accessories for dictating. You can also
use the BM-845D as a transcriber if you buy the
accessories for transcribing such as the foot control
unit (not supplied).
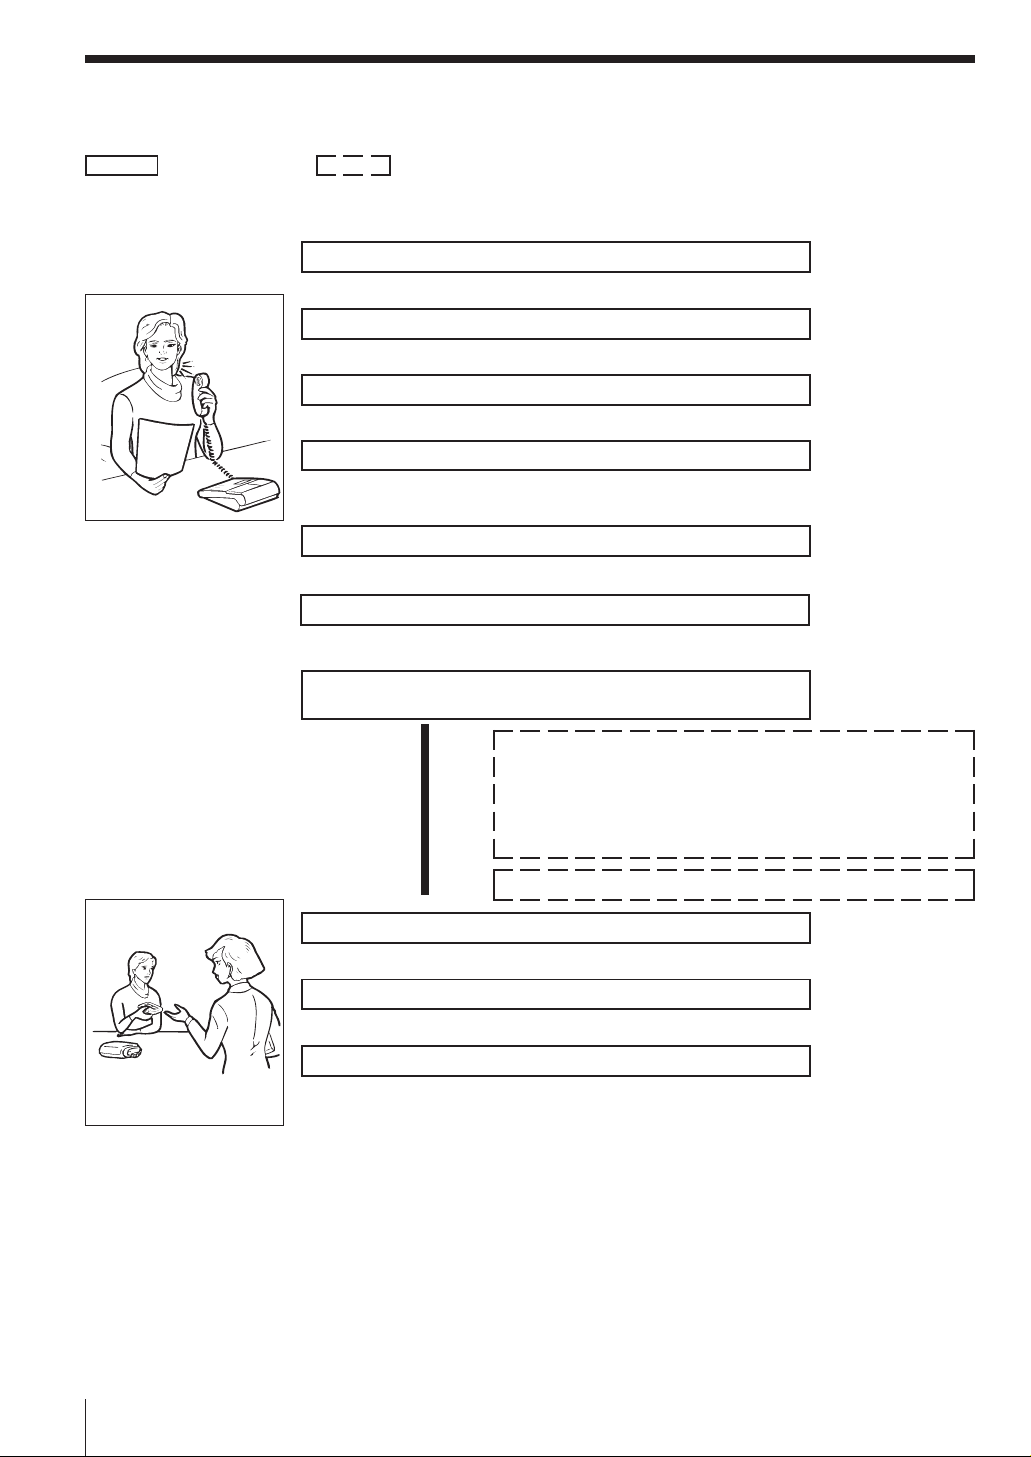
As a dictator
• The hand control unit remotely controls the BM-
845.
• The electronic indexing function signal—“LTR”
(end of letter) signal—can be recorded on a tape
during dictating, listening or in the stop mode.
• The REC/ERASE lamp for checking that the
recording or erasing is done.
• Alarm sound and indication on the display
window informs recording error.
• With the use of the DE-45 or MDR-U10M
earphones (not supplied), you can monitor the
sound with the desired sound level during
recording.
Dictation
Hand control
unit
BM-845
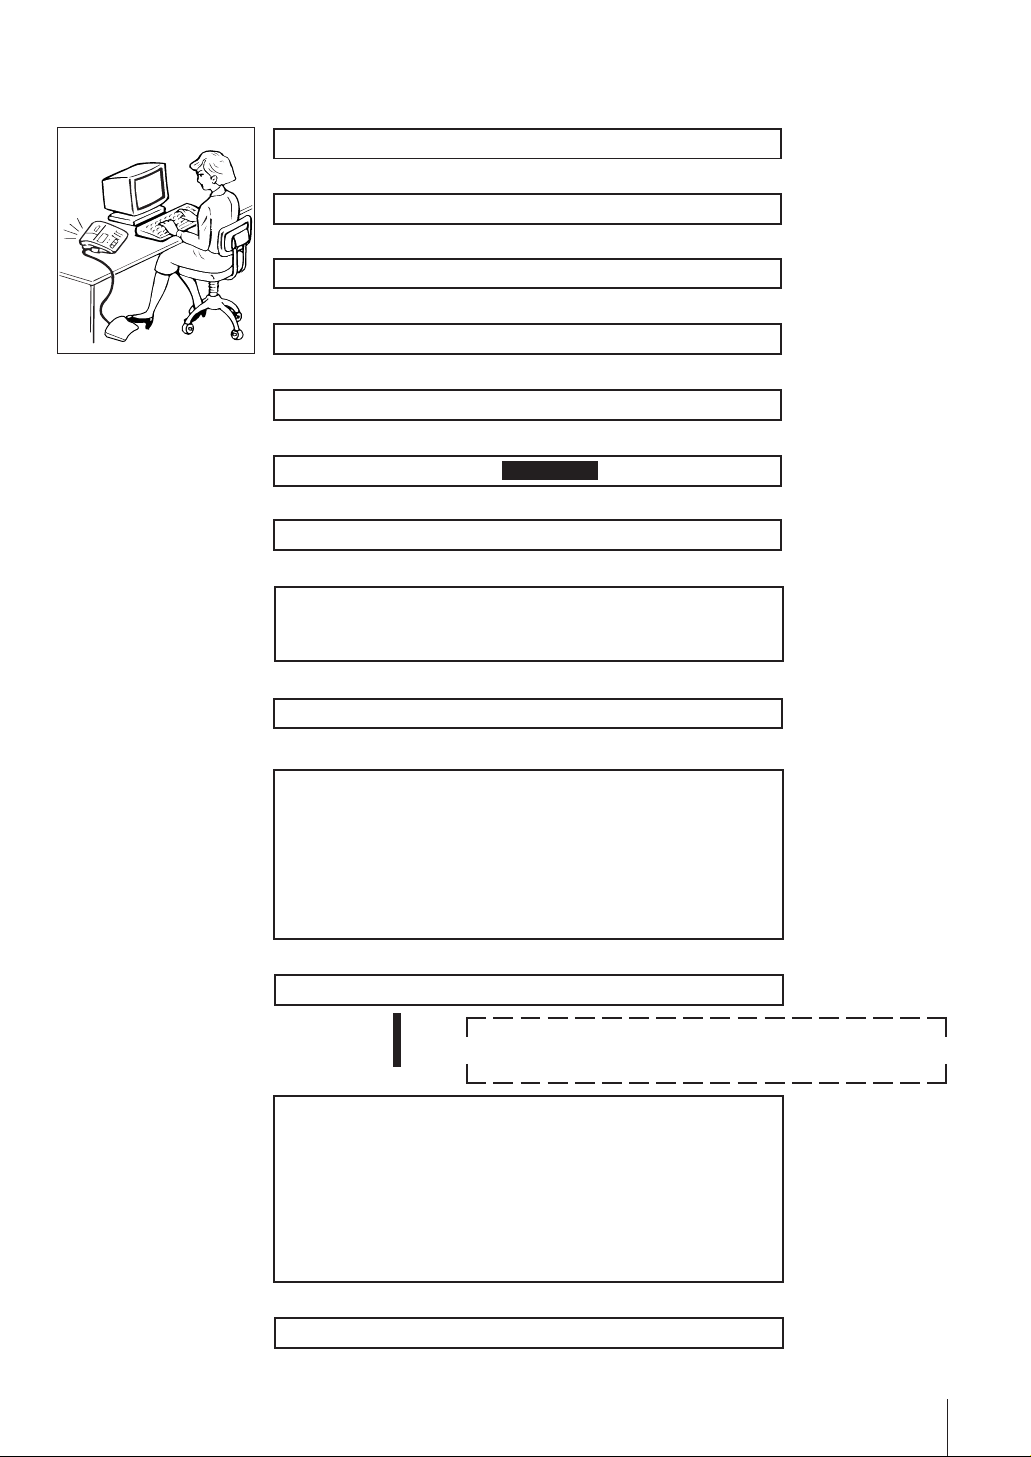
As a transcriber
• The foot control unit (not supplied) allows you to
move the tape without using your hands.
• Auto-stop function quickly accesses instructions
and documents.
• Auto backspace function with the REVERSE
TIME control makes transcribing easy by
enabling the reviewing of the last recorded words
each time listening is resumed.
• Two tape speeds (2.4 cm/sec. and 1.2 cm/sec.)
can be selected according to the user’s needs.
• Rapid erasing function with ERASE and REW
buttons.
• The index signals which were recorded using a
Sony Professional Dictating Machine are used in
the AUTO STOP mode.
Transcription
BM-845
Foot control unit
Introduction
3
Page 4
Operation Flow Chart
For details, refer to the pages in ( ).
: Necessary step : Optional step
Dictation
Connect the AC power adaptor to the unit and to an AC outlet (6).
.
Connect the hand control unit (6).
.
Set POWER to ON.
.
Insert a cassette (7).
.
Set TAPE SPEED.
.
Press RESET to set the digital counter to zero.
.
Set the function selector of the hand control unit to DICT.
Speak into the microphone.
Quick review playback and correct the dictated material.
Keep the function selector of the hand control unit pressed
down toward B. SPACE to rewind the tape until the desired
point on the tape is reached. Release the selector and playback
of the dictation begins. When the reviewing is completed, set
the function selector to DICT to proceed with dictation.
.
Set the function selector of the hand control unit to STOP.
Record the LTR signal at the end of each document (9).
.
Press the eject button to remove the cassette.
.
Hand the cassette to your secretary or transcriptionist.
.
Introduction
4
Page 5
Transcription
.
Disconnect the hand control unit.
.
Connect the foot control unit (not supplied) (6).
.
Set POWER to ON.
.
Insert the cassette (7).
.
Set SPEAKER to BUILT-IN or connect earphones.
.
Press AUTO STOP to make the AUTO STOP indication disappear (13).
.
Set TAPE SPEED.
.
Press REW.
When the tape reaches the beginning of the dictated material, a
beep tone is heard and the unit automatically shuts off (12).
.
Press RESET to set the digital counter to zero.
.
Keep the right side of the pedal depressed.
(When the foot control unit (not supplied) is connected.) (14)
or
Set the function selector of the hand control unit to LISTEN.
(When the hand control unit is connected.) (14)
or
Press LISTEN.
(When the BM-845 is used for operation.) (14)
.
Adjust VOLUME and TONE.
Adjust the starting point for playback with the use of
REVERSE TIME. (When the foot control unit is used.)
.
After transcribing, stop the tape.
Release the pedal. (When the foot control unit (not supplied) is
used.) (14)
or
Set the function selector to STOP. (When the hand control unit
is used.) (14)
or
Press STOP. (When LISTEN on the BM-845 is pressed to play
back the tape.) (14)
Set SPEED CONTROL to ON and adjust SPEED.
.
Erase the tape (15).
Introduction
5
Page 6
Power Connection
Note on the AC power
adaptor
Use only the AC power adaptor
supplied. Do not use any other AC
power adaptor.
Porarity of the plug
Setting Up the Unit
Connecting the Hand Control Unit
For operation, refer to “Dictation” on page 8.
Rear
to a wall
outlet
to DC IN 9 V
AC power adaptor
(supplied)
BM-845
to
CONTROL
Attaching the cradle
Attach the cradle to the left or right side of the unit. Place the hand control
unit on the cradle while not in use. Insert the cradle into the slots and slide
to secure it.
Left side Right side
UNIT
Hand control unit
Connecting the Foot Control Unit (not supplied)
For operation, refer to “Transcription” on page 12.
BM-845
Setting Up
6
to
CONTROL
UNIT
Foot control
unit
Page 7

Cassette Insertion
4
1
5
3
Microcassette
]
2
1 Take up any slack in the tape.
2 Set POWER to ON.
3 Press the eject button to open the cassette holder.
4 Insert a cassette into the cassette holder with the side to
be recorded on or played back facing upward.
Push the cassette into the holder completely.
5 Close the cassette holder.
This unit uses only standard
Microcassettes.
Non standard cassettes cannot be
used because their “L” dimension
(see illustration) is different.
Standard
Non standard
Only standard
Microcassettes have
a small indentation
on side A.
Approx. 5 mm
L
Approx.
L
2.5 mm
Notes on the Microcassette
To protect cassettes from accidental
erasure
When a recording is made, the previous
recording is automatically erased.
To prevent erasure, break the cassette tabs.
To reuse a cassette
To record on a cassette with removed tabs,
cover each slot with a piece of plastic tape.
Break out and
remove the tab.
Plastic tape
Setting Up
7
Page 8

Dictation
To use the unit as a dictating
machine, connect the hand
control unit.
For connection, see page 6.
Tips for More Efficient
Dictation
Before you start dictation
• Organize your thoughts.
• Make notes or an outline of
what you want to dictate.
• Check that the cassette is erased.
(See page 15.)
When you dictate
• Identify yourself. (Name,
department, phone number)
• Indicate the type of dictation.
(Memo, letter, etc.)
• Give transcribing instructions.
(Type of stationery, number of
copies and who they are for,
envelopes, etc.)
• Specify distribution. (Names,
addresses, etc.)
During dictation
• Relax and speak clearly, at
normal speed.
• Short sentences are best.
• Include punctuation.
• Spell difficult or unusual words.
• At the end of each document,
record an LTR signal.
Microphone
DICT lamp
(SEC button)*
FWD SPACE
REC/ERASE
LTR lamp
2
5
Function selector
LTR
Hand
speaker
Hand control unit
1
4
3
* The SEC button
does not function
with the BM-845.
1 Set POWER to ON.
2 Insert a cassette. (See page 7.)
3 Set TAPE SPEED to the desired tape speed, 2.4 or 1.2 (cm/
sec.).
4 Press RESET to set the digital counter to zero.
5 Set the function selector to DICT.
Recording starts. Speak into the microphone. ( appears on the
display window. The DICT lamp on the hand control unit lights up
and REC/ERASE lamp on the BM-845 blinks when the microphone
picks up sound.
Note
Keep the hand control unit away
from the BM-845 during recording.
Otherwise, noise may be recorded.
Operations
8
To stop the tape
Set the function selector to STOP.
Page 9

Digital Counter While Dictating
1
1 Tape counter: Numerical reference for recording and listening.
Note
• The numbers on the digital
counter are memorized even
when the POWER switch is set
to STANDBY or a cassette is
being removed.
Notes
• The LTR signal should be
recorded with the intervals of
more than 6 seconds.
• Playback sound is muted while
the LTR signal is recorded.
However, the recorded material
will be protected.
• While the LTR signal is being
recorded with the SPEED
CONTROL selector set to ON,
the tape will run at normal tape
speed.
To set the digital counter to zero
We recommend that you press the RESET button before starting dictation.
Keep the RESET button pressed for about one second to reset the tape
counter to zero.
Convenient Functions
LTR (letter) signal
You can record electronic index signals on the tape while the unit is set in
recording (dictation), stop or playback (with the hand control unit) mode.
LTR (letter=end of document) signal: Record at the end of each
document.
When the AUTO STOP function (see page 13) is activated (AUTO STOP:
ON), the tape automatically stops at each index signal when it is rewound
or rapidly advanced. Documents can be located without the user’s having
to listen to the entire tape.
• Before dictating, press RESET to reset the counter to zero.
To record the LTR signal
Press LTR on the hand control unit.
Each time the button is pressed, the LTR lamp
on the BM-845 lights up for about three seconds.
Recording time
Select the desired tape speed for recording with the use of the TAPE
SPEED selector.
2.4 cm:For optimum sound (recommended for normal use)
A 60-minute recording can be made using both sides of the MC60BM Microcassette.
1.2 cm:For longer recording time
A 120-minute recording can be made using both sides of the MC60BM Microcassette.
LTR
Continued on next page.
Operations
9
Page 10

Dictation (continued)
Monitoring while dictating
The recording can be monitored through earphones. Connect a Sony DE45 or MDR-U10M earphones (not supplied) to the EARPHONE jack
located on the left side of the unit. Adjust VOLUME if required.
to EARPHONE
Quick reviewing (playback)/correcting the dictated material
You can easily listen to the dictated material and correct it if required.
VOLUME
1 Keep the function selector of the hand
control unit pressed down toward
B. SPACE to rewind the tape.
to B. SPACE
2 Release the selector. Playback of
the dictation begins.
LISTEN
10
Operations
3 When the reviewing is completed,
set the function selector to DICT to
proceed with the dictation.
to DICT
Page 11

For fast winding of the tape
Keep the FWD SPACE button of the hand control
unit pressed until the desired portion is reached.
When you have finished dictating
Hand the cassette to your secretary without rewinding the tape.
FWD SPACE
Operations
11
Page 12

Transcription
To use the unit as a
transcribing machine, connect
the foot control unit (not
supplied).
For connection, see page 6.
Fast forward
8
Rewind Start/Stop
(Listen)
Foot control unit
2
4
7
1
69
5
3
Tip on Transcription
Erase the tape when
transcription is finished.
Notes
If you play back in the AUTO
STOP mode and the cassette was
not recorded using a Sony
Professional Dictating Machine
(BM-531, 560, 570, 577, 820, 845,
850, 880, 890, etc.),
– an audio signal may be detected
as an electronic index signal
during fast foward or rewind
and the unit will automatically
stop with a beep.
– the auto back space function
may not operate correctly.
– the switching time of the
operation modes during fast
forward or rewind may be
delayed.
1 Set POWER to ON.
2 Insert a cassette. (See page 7.)
3 Set SPEAKER to BUILT-IN.
4 Press AUTO STOP to make AUTO STOP disappear (AUTO
STOP function is off). (See page 13.)
5 Set TAPE SPEED to the same tape speed as that used for
recording (dictation).
6 Press REW to rewind the tape.
When the tape is completely rewound, a beep is heard and the unit
automatically shuts off.
7 Press RESET to set the digital counters to zero.
12
8 Keep the right side of the foot control unit pedal
depressed to listen to the tape.
9 Adjust VOLUME and TONE.
To stop the tape
Release the pedal.
Operations
Page 13

To rewind the tape
Keep the left side of the foot control unit pedal depressed.
To rapidly advance the tape
Keep the center top of the foot control unit pedal depressed.
Convenient Functions
You can use some convenient functions if you dictate using the BM-845 or
Sony other models which can record electronic index signal, or if you play
back a tape which was recorded with electronic index signal.
AUTO STOP
Notes
• The tape does not stop at the
LTR signal even if the AUTO
STOP function is on while the
FF or REW button is
continuously pressed.
• When AUTO STOP is
displayed, the tape
automatically stops at each
electronic index signal (LTR,
SEC or E-INDEX) previously
recorded on the tape with the
Sony Professional Dictation
Machine (BM-577, 850, 890, etc.);
however, the unit does not
recognize the difference
between the LTR and SEC
signals.
Notes
• E-INDEX signal of the Sony
conventional models BM-577
and so on corresponds to the
LTR signal of the model BM-845.
• LTR, SEC and E-INDEX signal
do not correspond to the cue
signals used for consumer type
tape recorder.
EARPHONE
0 REW
p STOP
SPEED CONTROL
SPEED
REVERSE TIME
) FF
SPEAKER
( LISTEN
AUTO STOP function
This function is useful when you use the tape on which the LTR signal is
recorded using the BM-845 or electronic index signal is recorded using
other Sony Professional Dictation Machine.
With the AUTO STOP function, recorded documents can be located
without the user’s having to listen to the entire tape.
This function activates only in rewind or fast forward mode.
When the AUTO STOP button is pressed, AUTO STOP appears on the
display window and the tape automatically stops at each LTR signal
previously recorded on the tape. (See “LTR (letter) signal” on page 9.)
When the AUTO STOP function is off, the tape does not stop even if the
electronic index signals have been previously recorded.
Controlling the speed
Set the SPEED CONTROL switch* to ON to adjust the speed only by the
SPEED control. The tape can be played back at higher or lower speed than
normal.
When the SPEED CONTROL switch is set to OFF, the tape moves at the
normal speed regardless of the position of the SPEED control.
* Tape speed can be changed in the range of about –10% to +50% with the use of
the SPEED control.
Continued on next page.
Operations
13
Page 14

Transcription (continued)
Auto backspace function
This control operates only when the foot control unit is connected.
With the use of the REVERSE TIME control, the tape is rewound a little
each time it is stopped. Then, the last few recorded words can be reviewed
when you resume listening. Adjust the REVERSE TIME control to
determine the length of tape to be rewound.
At “9” position, the tape is rewound so that the dictated material can be
reviewed for about 5 seconds*. At “0” position, the tape stops without
being rewound at all.
Set the REVERSE TIME control to the desired position and keep the right
side of the pedal depressed to listen to the tape.
* Measured at some point near the middle of the tape. The reverse time will vary in
Note
• If the LTR or SEC signal is
detected while the tape is being
rewound with this function, the
length of the reverse time may
be longer than the setting you
have selected.
REVERSE TIME : at “9” position
REVERSE TIME : at “0” position
accordance with the remaining length of the tape.
STOP is pressed at this point.
Playback
Tape
approx. 5 seconds
playback
Next playback will start from this point.
STOP is pressed at this point.
Playback
Tape
playback
Next playback will start from this point.
Tape transport operation
To BM-845 Hand control unit Foot control unit
Rewind Press 0 REW. Keep the function Keep the left side of the
selector pressed down pedal depressed.
toward B.SPACE.
Stop Press p STOP. Set the function Release the pedal.
selector to STOP.
Listen Press ( Set the function Keep the right side of
LISTEN. selector to LISTEN. the pedal depressed.
Fast Press ) FF. Keep the FWD SPACE Keep the top center of
forward button pressed. the pedal depressed.
Private listening
Connect a Sony DE-45 or MDR-U10M earphones (not supplied) to the
EARPHONE jack. The sound will be heard through the earphones and
speaker sound will be disconnected.
14
Operations
Selecting the speaker
You can listen to the dictated material through the built-in speaker or the
speaker on the hand control unit by switching the SPEAKER selector to
BUILT-IN or HAND.
Page 15

Erasing
The recording can be erased
rapidly.
REC/ERASE
p STOP
1
2
1 Insert the cassette with the side to be erased up. (See page
7.)
Be sure not to rewind the tape after transcribing. The end portion of
the dictated material to be erased should be positioned at the
recording head.
2 Keep ERASE pressed and then press 0 REW.
The REC/ERASE lamp lights up and 0 appears on the display
window.
The portion of the tape being rewound is erased.
To stop the tape
Press p STOP.
Operations
15
Page 16

Example of Dictation and Transcription
Example of Dictation
Set the function selector of the hand control unit to DICT.
.
Press LTR.
“This is a letter. Type it up and send it by express.”
“Today’s date is July 4, 1996.
This letter is for Mr. Alan R. Jefferson
Pyrene House, Sunbury on Thames,
Middlesex, TW16 7AT, U.K.
Dear Sir,
We received your order for”
.
Press LTR.
“under line
POI-L-5049-D3581”, “quantity 270,000 today.
Shipment can be made within two weeks by Air.
Please accept our thanks for your order.
Faithfully yours,
John S. Smith
Sales Manager
U.K.G. Ltd.”
.
Press LTR.
.
Set the function selector of the hand control unit to STOP.
LTR lamp lights for approx. 3
seconds.
LTR lamp lights for approx. 3
seconds.
LTR lamp lights for approx. 3
seconds.
Example of Transcription
Insert the cassette.
.
Press AUTO STOP to make AUTO STOP disappear.
.
Press REW to rewind the tape.
The unit automatically shuts off when the tape reaches the tape
top.
.
Press RESET to set the digital counter to zero.
.
Keep the right side of the foot control unit pedal depressed.
Tape playback starts.
.
Stop the tape when the transcription is finished.
If desired, keep ERASE pressed and then, press 0 REW to
erase the cassette.
Operations
16
Page 17

Troubleshooting Guide
Should any problem occur, conduct the following
simple tests to determine whether or not servicing is
required. If the problem persists after you have
conducted these tests, consult the nearest
Sony Dictation Systems dealer.
The unit does not operate.
• The AC power adaptor is not plugged into a wall outlet.
• The POWER switch is set to STANDBY.
No sound from the built-in speaker
• The SPEAKER selector is set to HAND.
• The VOLUME control is set in the MIN position.
• An earphone is plugged in.
• The cassette is not inserted properly.
The tape speed is too fast or too slow.
• The TAPE SPEED selector is set incorrectly.
• The SPEED control is set incorrectly.
• The SPEED CONTROL switch is set to ON.
The tape stops in the rewind or fast forward mode
and the alarm sounds.
• The entire tape has been wound.
• The AUTO STOP switch is activated and a tape with
electronic index signal recorded is used.
• If the BM-845 is used as a transcriber while
AUTO STOP is displayed and a tape which was
recorded with a dictator other than Sony’s is used , the
BM-845 will detect an audio signal as an electronic index
signal and the tape will automatically stop in the rewind
or fast forward mode. Be sure to turn off the AUTO
STOP function (see page 12).
Recording functions (Dict, Erase, LTR) do not
activate.
• The tape is completely rewound.
• The cassette tabs have been removed.
The hand control unit or the foot control unit does
not operate.
• The plug is not connected to the CONTROL UNIT
connector firmly.
• The BM-845 is operated with the tape operation buttons
on the BM-845. Press STOP and proceed with the
operation on the hand control unit or the foot control
unit.
Sound dropouts, loss of high frequency sounds, or
excessive noise
• The heads are dirty. See “Maintenance”.
Erasing is unsatisfactory.
• The erase head is dirty. See “Maintenance”.
The reverse time of the auto backspace function is
not correct.
• A cassette which was not recorded using a Sony
Professional Dictating Machine (BM-531, 560, 570, 577,
820, 845, 850, 880, 890 etc.) is played back in the AUTO
STOP mode (see page 12).
• The reverse time of the auto backspace function may
become longer when the LTR or SEC signal is detected
on the tape.
The switching time of the operation modes is
delayed.
• When a cassette which was not recorded using a Sony
Professional Dictating Machine (BM-531, 560, 570, 577,
820, 845, 850, 880, 890 etc.) is rewound or fast forward in
the AUTO STOP mode, the switching time to other
operation modes is delayed (see page 12).
AUTO STOP does not appear even if you press the
AUTO STOP button.
• Remove the AC power adaptor from the AC outlet for
more than 5 seconds, and then, connect the adaptor
again.
Alarm System
An alarm sounds and an indication appears on the display window in the following situations.
Alarm system Situation To release alarm system
When you press a button.
m A beep is heard and †
blinks.
The unit shuts off.
m A beep is heard and †
blinks.
When you press a button.
m A beep is heard.
The unit shuts off.
m A beep is heard in the AUTO
STOP mode during the FF or
REW mode.
• No cassette is inserted.
• The cassette’s safety tabs have been
removed.
• End of tape
• The tape is torn.
• When you put the hand control unit
in the dictating mode during the FF,
REW or ERASE mode.
• The LTR or SEC signal is
detected.
First, release the button, then
• Insert a cassette.
• Insert a new cassette or cover the
safety slot.
• Rewind the tape.
• Insert a new cassette.
• To start recording, put the BM845 in the stop mode first and
then start recording.
Additional Information
17
Page 18

Specifications
Tape
y (normal position type)
Recording system
4-track 2-channel monaural
(L channel for electronic index signals, R channel for
sound signals)
Tape speed
2.4 cm/s (15⁄16 in./s), 1.2 cm/s (15⁄32 in./s)
Fast winding time
Approx. 1 min. 50 sec. (2.4 cm/s) with Sony
microcassette MC-60BM
Frequency response
200 – 4,000 Hz (at 1.2 cm/s)
200 – 6,000 Hz (at 2.4 cm/s)
Speaker
Approx. 5.7 cm (21⁄4 inches) dia.
Power output
350 mW (at 10% distortion)
Output
EARPHONE (minijack)
for 8 – 300-ohm earphones
CONTROL UNIT connector
for hand control unit or foot control unit
Power requirements
9 V DC
DC IN 9 V jack accepts the supplied AC power
adaptor for use on 120 V AC, 60 Hz
Power consumption
14 W (with the supplied AC power adaptor)
Dimensions
Approx. 200 x 70.5 x 245 mm (w/h/d) (77⁄8 x 27⁄8 x 93⁄4
inches)
including projecting parts and controls
Mass
Approx. 1.2 kg (2 lb 11 oz)
Accessories supplied
AC power adaptor (1)
Hand control unit (1)
Cradle for the hand control unit (1)
Design and specifications are subject to change without
notice.
Optional accessories
Hand control unit HU-80
Foot control unit FS-85
Earphone DE-45
Headphones MDR-U10M
Cleaning kit KK-41
Maintenance
Pinch roller
Erase head
Record/playback head
Cleaning the heads
To produce optimum sound, clean the tape heads
after every 10 hours of use.
First, disconnect the AC power adaptor. Press EJECT
to open the cassette compartment lid. Moisten a
cotton swab or a soft cloth with alcohol, and wipe
the parts shown on the left.
Cleaning the cabinet
Clean the cabinet with a soft cloth slightly moistened
with a mild detergent solution. Never use strong
solvents, such as thinner or benzine, since they may
damage the finish.
Capstan
Your dealer may not handle some of the above listed
optional accessories. Please ask the dealer for detailed
information about the optional accessories.
Additional Information
18
Page 19

Location and Function of Controls
For details, refer to the pages indicated in ( ).
1
2
3
4
5
6
!∞
!§ !¶
7
8
9
!º
!¡
!™
!£
!¢
1 Eject button
Press to eject the cassette.
2 Display window (Back cover)
3 Built-in speaker
4 REC (record)/ERASE lamp (8, 15)
5 LTR (letter) lamp (9)
6 POWER switch
7 Cassette holder
8 SPEED control (13)
9 VOLUME control
0 TONE control
!¡ REVERSE TIME control (14)
!™ SPEAKER selector (14)
!£ TAPE SPEED selector (12)
!¢ SPEED CONTROL switch (13)
!∞ AUTO STOP button (13)
!§ RESET button (9)
!¶ r ERASE button (15)
!• 0 REW (rewind)
!ª p STOP
@º ( LISTEN
@¡ ) FF (fast forwad)
Left side
Rear
!• !ª @º @¡
Left side
@™ CONTROL UNIT connector (6)
@£ EARPHONE jack (10, 14)
@™ @£
Rear
@¢ DC IN 9 V (6)
@¢
Additional Information
19
Page 20

Display Window
123 4
56
1 ( indicator
Displayed while the tape is being transported
in the forward direction.
2 0 (rewind) indicator
Displayed while the cassette is being rewound.
3 ) (fast forward) indicator
Displayed while the tape is advanced rapidly.
4 AUTO STOP indicator
Displayed when the AUTO STOP button is
pressed (AUTO STOP function is on).
5 Tape counter
6 † (cassette) indicator
Normally this indicator is not displayed.
However, the indicator blinks in the following
cases:
• One of the LTR and ERASE buttons is
pressed or the function selector is set to
DICT when no cassette is inserted or when
the cassette’s safety tabs have been removed.
• A tape reaches the end.
• A tape is torn while being rewound.
Notes
• It may be difficult to read the liquid crystal counter
display due to the watching angle.
• If you play back a cassette which was not recorded using
a Sony Professional Dictating Machine, press AUTO
STOP to make AUTO STOP disappaear (AUTO STOP
function is off) (see page 13).
Sony Corporation Printed in Japan
Additional Information
20
 Loading...