

Sony BM-845 User Manual
3-859-341-11(1)
Microcassette
Dictator/Transcriber
Operating Instructions
BM-845D
1996 by Sony Corporation
BM-845
BM-845D. 3-859-341-11. U. E

WARNING
To prevent fire or shock hazard, do not expose the
unit to rain or moisture.
To avoid electrical shock, do not open the cabinet.
Refer servicing to qualified personnel only.
CAUTION
This equipment has been tested and found to
comply with the limits for a Class A digital device,
pursuant to Part 15 of the FCC Rules. These limits
are designed to provide reasonable protection
against harmful interference when the equipment
is operated in a commercial environment. This
equipment generates, uses, and can radiate radio
frequency energy and, if not installed and used in
accordance with the instruction manual, may
cause harmful interference to radio
communications. Operation of this equipment in a
residential area is likely to cause harmful
interference in which case the user will be required
to correct the interference at his own expense.
This device complies with Part 15 of the FCC
Rules. Operation is subject to the following two
conditions: (1) This device may not cause harmful
interference, and (2) this device must accept any
interference received, including interference that
may cause undesired operation.
On power sources
• Operate the unit only on 9 V DC.
• For AC operation, use the AC power adaptor
supplied with this unit. Do not use any other AC
power adaptor as it may cause malfunction.
• Unplug the AC power adaptor from the wall outlet
when it will not be used of an extended period of
time. To disconnect the adaptor, pull it out by
grasping the adaptor. Never pull it by the cord.
• The AC power adaptor which has been supplied
becomes hot if it is connected to an AC outlet for a
long period of time. But, this will not cause any
trouble.
On placement
• Do not install the unit in a location near heat
sources, such as radiators or airducts, or in a place
subject to direct sunlight, excessive dust,
mechanical vibration, or shock.
• Allow adequate air circulation to prevent internal
heat build-up. Do not place the unit near materials
(curtains, draperies) that may block the ventilation
holes.
If you have any question or problem concerning
your unit that is not covered in this manual, please
consult the Sony dealer from whom you purchased
the unit.
Table of Contents
You are cautioned that any changes or
modifications not expressly approved in this
manual could void your authority to operate this
equipment.
Owner’s Record
The model and serial numbers are located on the
bottom. Record these numbers in the spaces
provided below. Refer to them whenever you call
upon your Sony dealer regarding this product.
Model No. BM-845 Serial No.
Precautions
On safety
• Should any solid object or liquid fall into the
unit, unplug the unit and have it checked by
qualified personnel before operating it any
further.
Introduction
About This Manual ......................................... 3
Features ............................................................ 3
Operation Flow Chart .................................... 4
Setting Up
Power Connection ........................................... 6
Setting Up the Unit ......................................... 6
Operations
Dictation ........................................................... 8
Transcription.................................................... 12
Erasing .............................................................. 15
Example of Dictation and Transcription ..... 16
Additional Information
Troubleshooting Guide .................................. 17
Alarm System .................................................. 17
Specifications ................................................... 18
Maintenance..................................................... 18
Location and Function of Controls ............... 19
Introduction
2
BM-845D. 3-859-341-11. U. E
About This Manual
Features
The instructions in this manual are for the BM845D. The main unit is the BM-845. You can use the
BM-845D as a dictator since the BM-845D is
supplied with accessories for dictating. You can also
use the BM-845D as a transcriber if you buy the
accessories for transcribing such as the foot control
unit (not supplied).
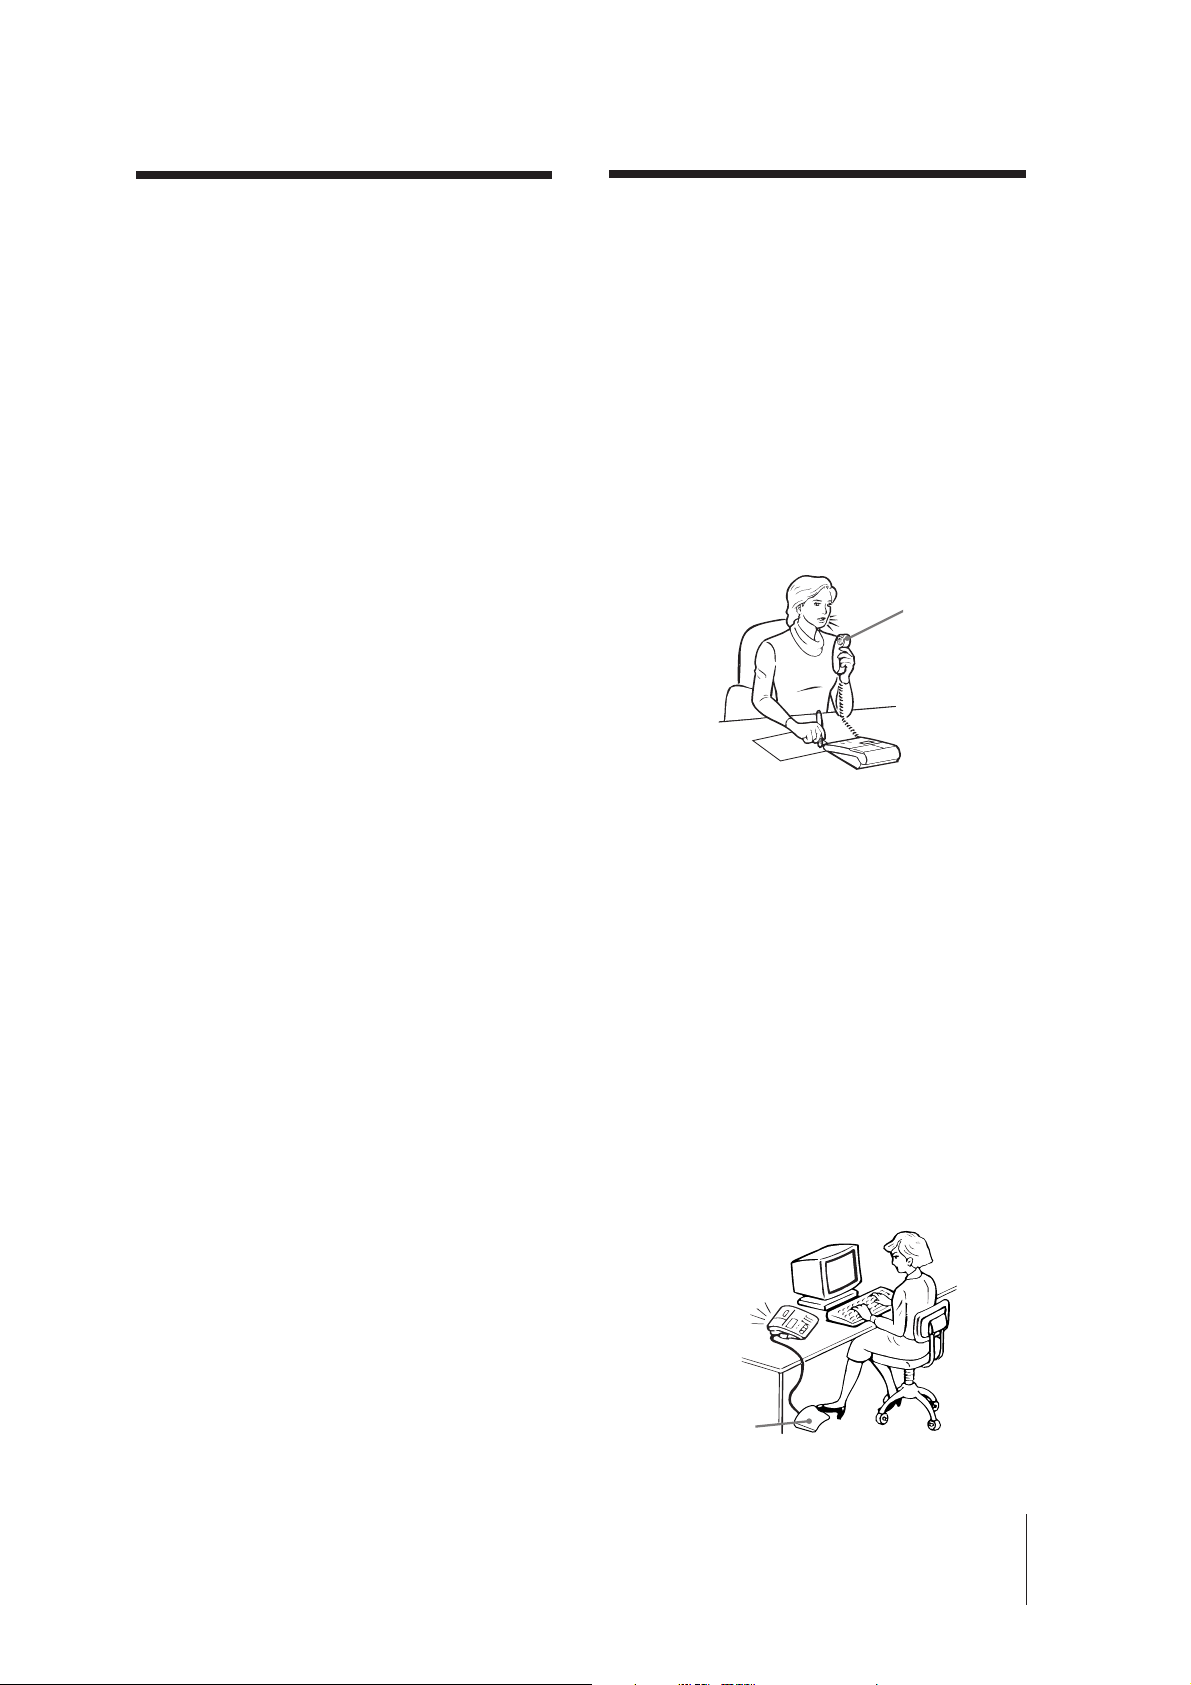
As a dictator
• The hand control unit remotely controls the BM-
845.
• The electronic indexing function signal—“LTR”
(end of letter) signal—can be recorded on a tape
during dictating, listening or in the stop mode.
• The REC/ERASE lamp for checking that the
recording or erasing is done.
• Alarm sound and indication on the display
window informs recording error.
• With the use of the DE-45 or MDR-U10M
earphones (not supplied), you can monitor the
sound with the desired sound level during
recording.
Dictation
Hand control
unit
BM-845
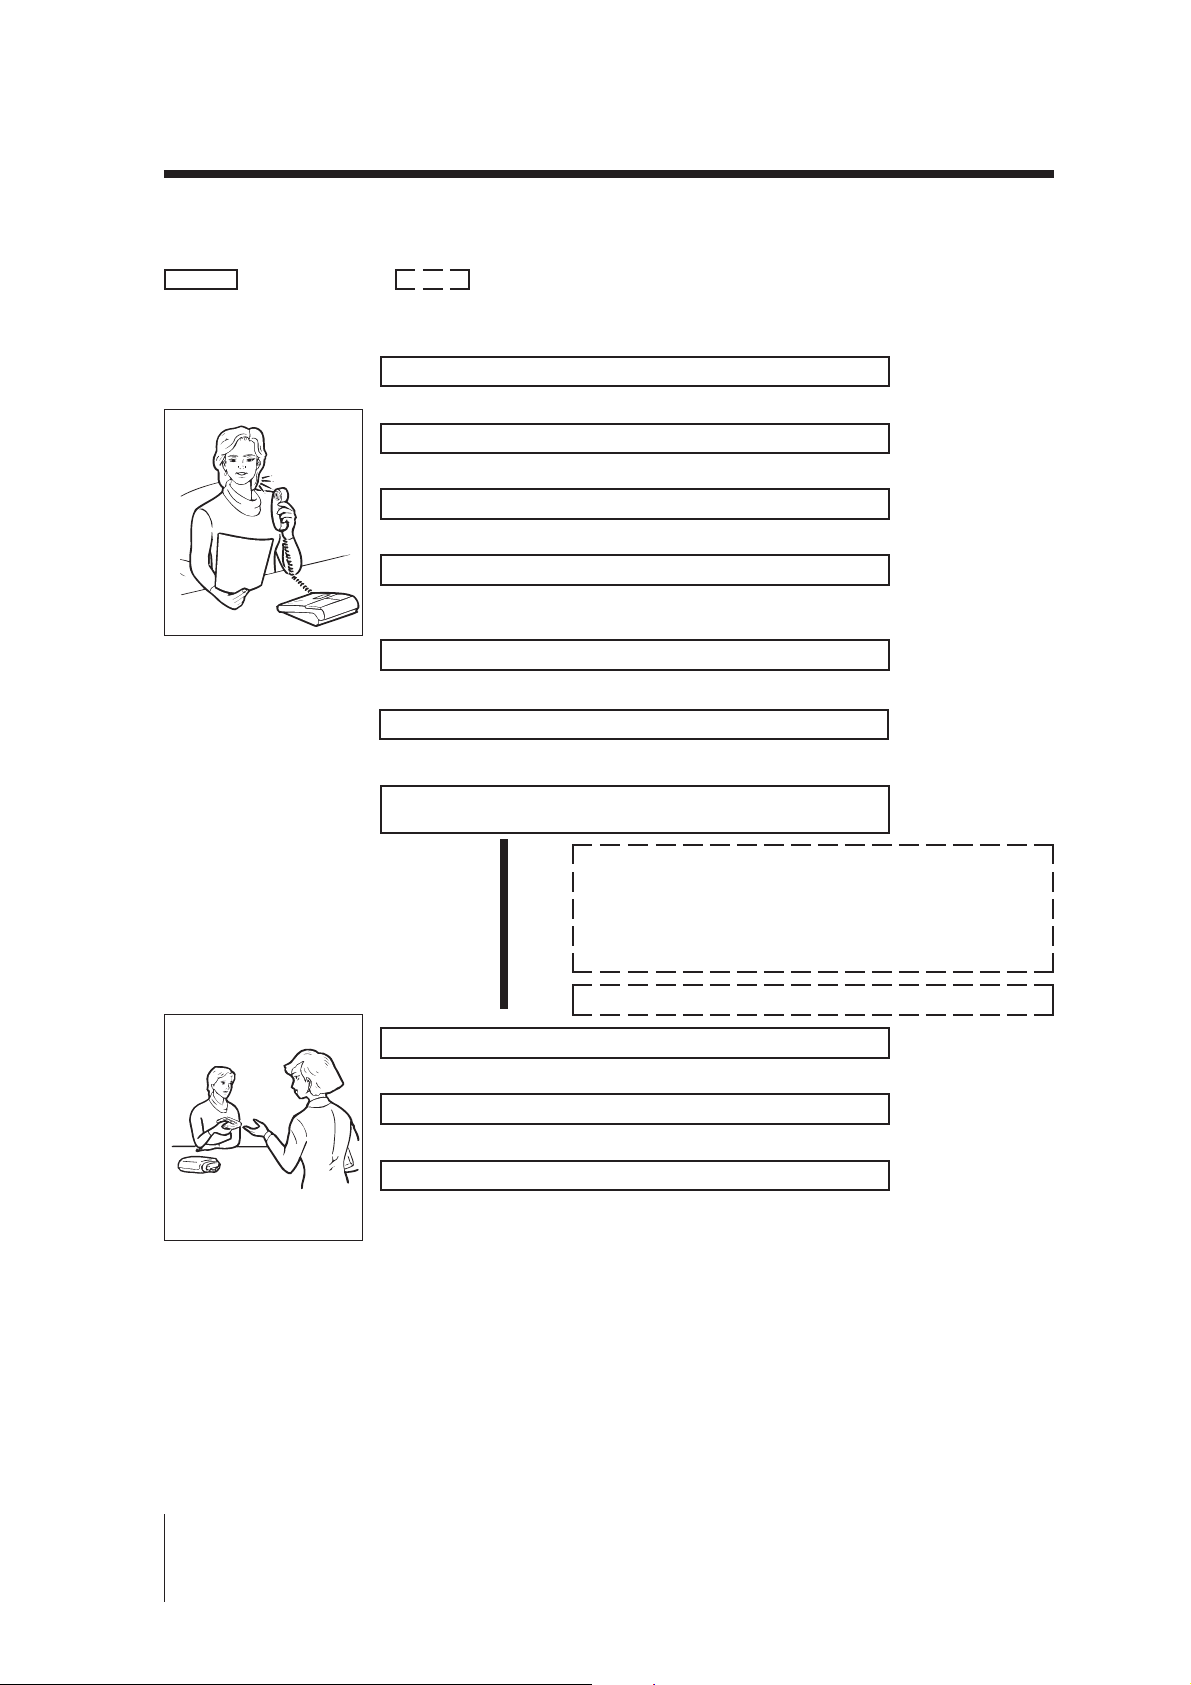
As a transcriber
• The foot control unit (not supplied) allows you to
move the tape without using your hands.
• Auto-stop function quickly accesses instructions
and documents.
• Auto backspace function with the REVERSE
TIME control makes transcribing easy by
enabling the reviewing of the last recorded words
each time listening is resumed.
• Two tape speeds (2.4 cm/sec. and 1.2 cm/sec.)
can be selected according to the user’s needs.
• Rapid erasing function with ERASE and REW
buttons.
• The index signals which were recorded using a
Sony Professional Dictating Machine are used in
the AUTO STOP mode.
Transcription
BM-845
Foot control unit
BM-845D. 3-859-341-11. U. E
Introduction
3
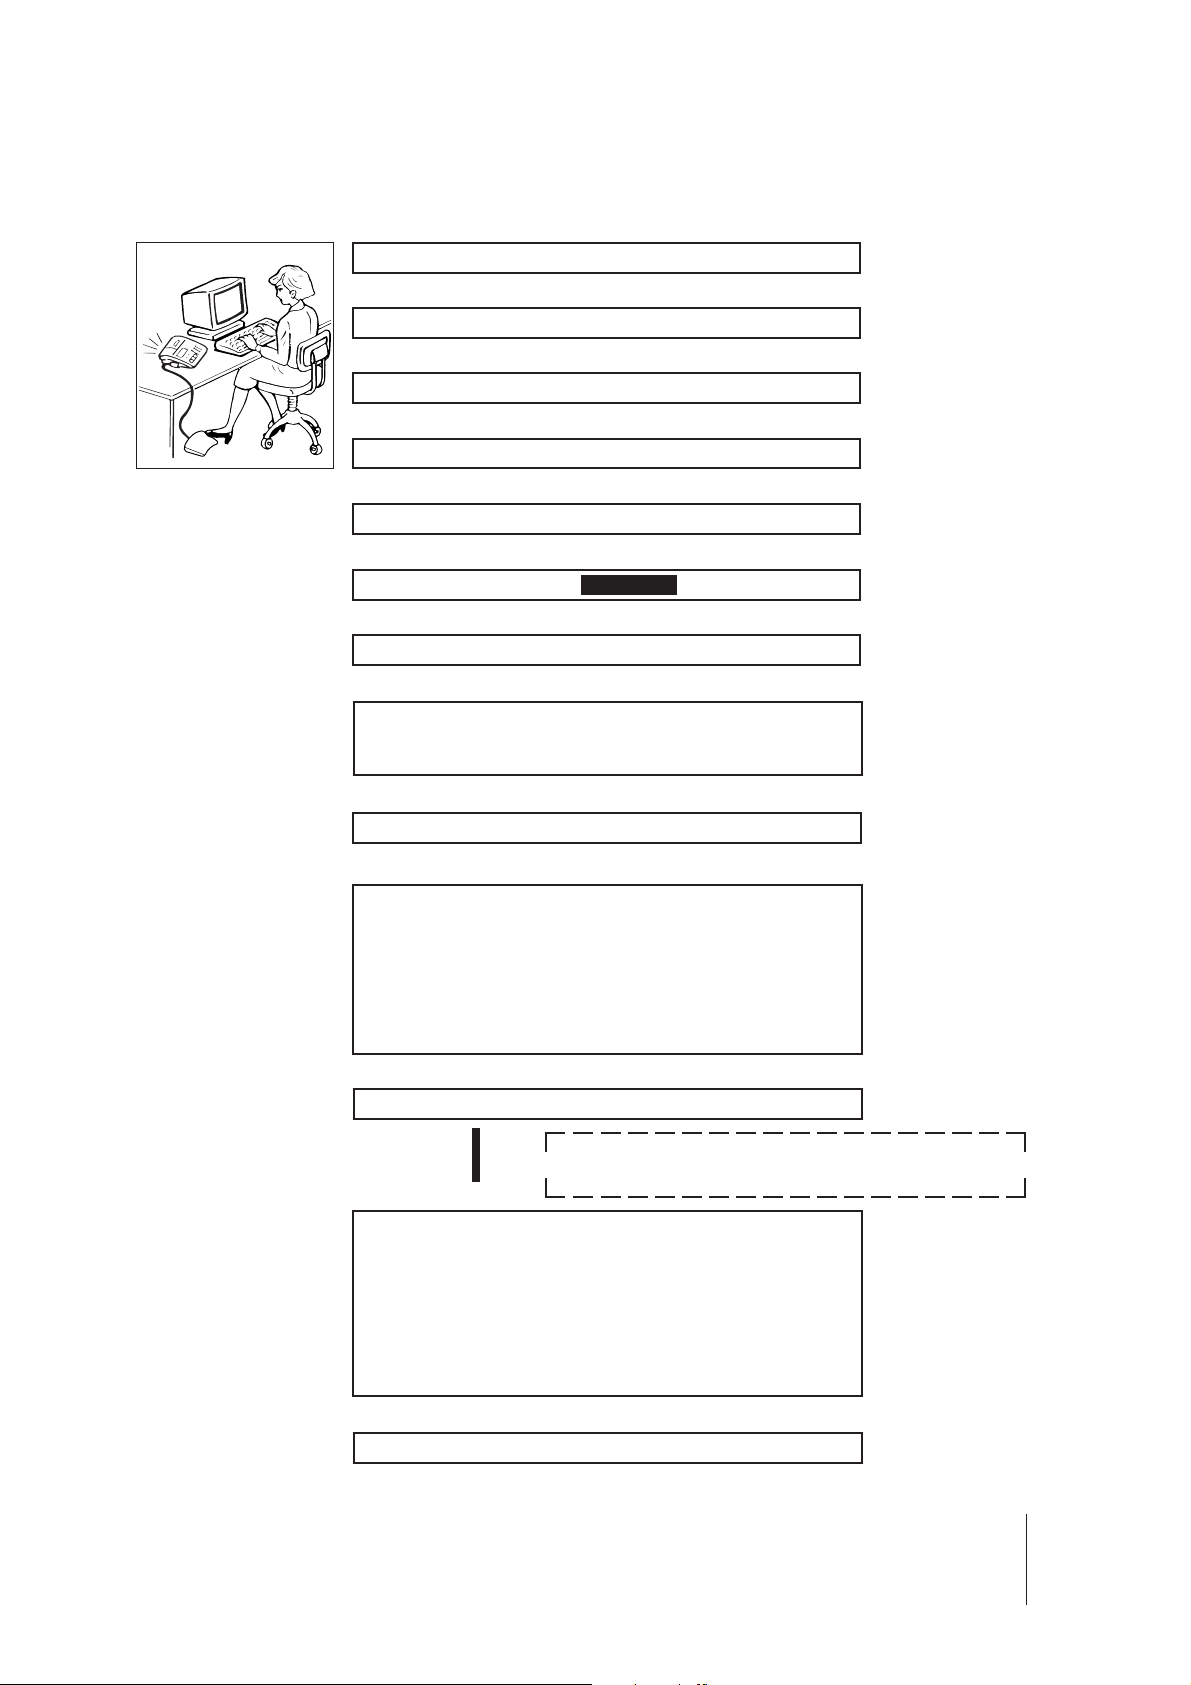
Operation Flow Chart
For details, refer to the pages in ( ).
: Necessary step : Optional step
Dictation
Connect the AC power adaptor to the unit and to an AC outlet (6).
.
Connect the hand control unit (6).
.
Set POWER to ON.
.
Insert a cassette (7).
.
Set TAPE SPEED.
.
Press RESET to set the digital counter to zero.
.
Set the function selector of the hand control unit to DICT.
Speak into the microphone.
Quick review playback and correct the dictated material.
Keep the function selector of the hand control unit pressed
down toward B. SPACE to rewind the tape until the desired
point on the tape is reached. Release the selector and playback
of the dictation begins. When the reviewing is completed, set
the function selector to DICT to proceed with dictation.
.
Set the function selector of the hand control unit to STOP.
Record the LTR signal at the end of each document (9).
.
Press the eject button to remove the cassette.
.
Hand the cassette to your secretary or transcriptionist.
.
Introduction
4
BM-845D. 3-859-341-11. U. E
Transcription
.
Disconnect the hand control unit.
.
Connect the foot control unit (not supplied) (6).
.
Set POWER to ON.
.
Insert the cassette (7).
.
Set SPEAKER to BUILT-IN or connect earphones.
.
Press AUTO STOP to make the AUTO STOP indication disappear (13).
.
Set TAPE SPEED.
.
Press REW.
When the tape reaches the beginning of the dictated material, a
beep tone is heard and the unit automatically shuts off (12).
.
Press RESET to set the digital counter to zero.
.
Keep the right side of the pedal depressed.
(When the foot control unit (not supplied) is connected.) (14)
or
Set the function selector of the hand control unit to LISTEN.
(When the hand control unit is connected.) (14)
or
Press LISTEN.
(When the BM-845 is used for operation.) (14)
.
Adjust VOLUME and TONE.
Adjust the starting point for playback with the use of
REVERSE TIME. (When the foot control unit is used.)
.
After transcribing, stop the tape.
Release the pedal. (When the foot control unit (not supplied) is
used.) (14)
or
Set the function selector to STOP. (When the hand control unit
is used.) (14)
or
Press STOP. (When LISTEN on the BM-845 is pressed to play
back the tape.) (14)
Set SPEED CONTROL to ON and adjust SPEED.
.
Erase the tape (15).
BM-845D. 3-859-341-11. U. E
Introduction
5
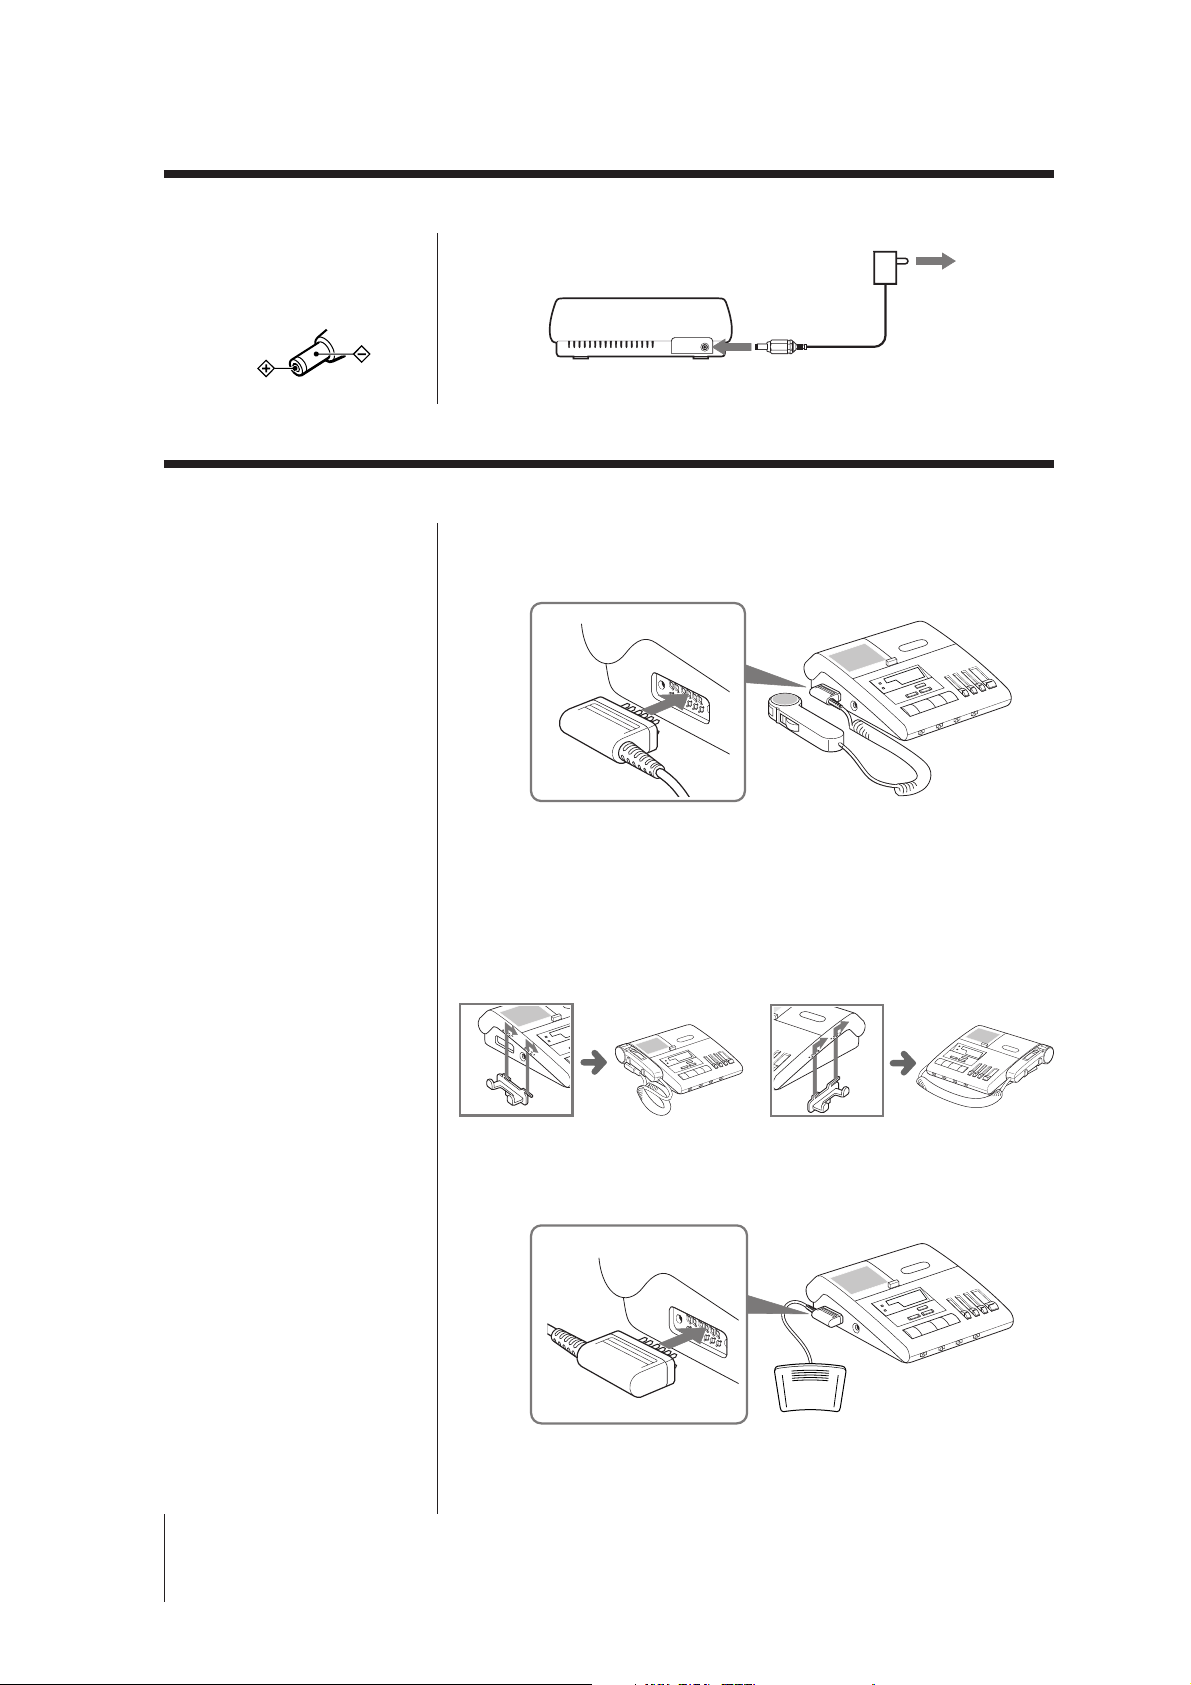
Power Connection
Note on the AC power
adaptor
Use only the AC power adaptor
supplied. Do not use any other AC
power adaptor.
Porarity of the plug
Setting Up the Unit
Connecting the Hand Control Unit
For operation, refer to “Dictation” on page 8.
Rear
to a wall
outlet
to DC IN 9 V
AC power adaptor
(supplied)
BM-845
to
CONTROL
Attaching the cradle
Attach the cradle to the left or right side of the unit. Place the hand control
unit on the cradle while not in use. Insert the cradle into the slots and slide
to secure it.
Left side Right side
UNIT
Hand control unit
Connecting the Foot Control Unit (not supplied)
For operation, refer to “Transcription” on page 12.
BM-845
Setting Up
6
to
CONTROL
UNIT
Foot control
unit
BM-845D. 3-859-341-11. U. E
 Loading...