

Sony 1270Q CRT Setup And Operation Manual
Sony 1270Q Setup and Operation Manual
February, 2002
Wes Hill

Sony 1270Q CRT Projector Setup Manual.
Table of Contents :
1. Thoughts and Experiences with the Sony 1270Q
1.1. Scan Lines and Resolving Power
1.2. Refresh Rate
1.3. Screen Size
2. Projector Setup
2.1. Mechanical Setup
2.1.1. Throw Distance
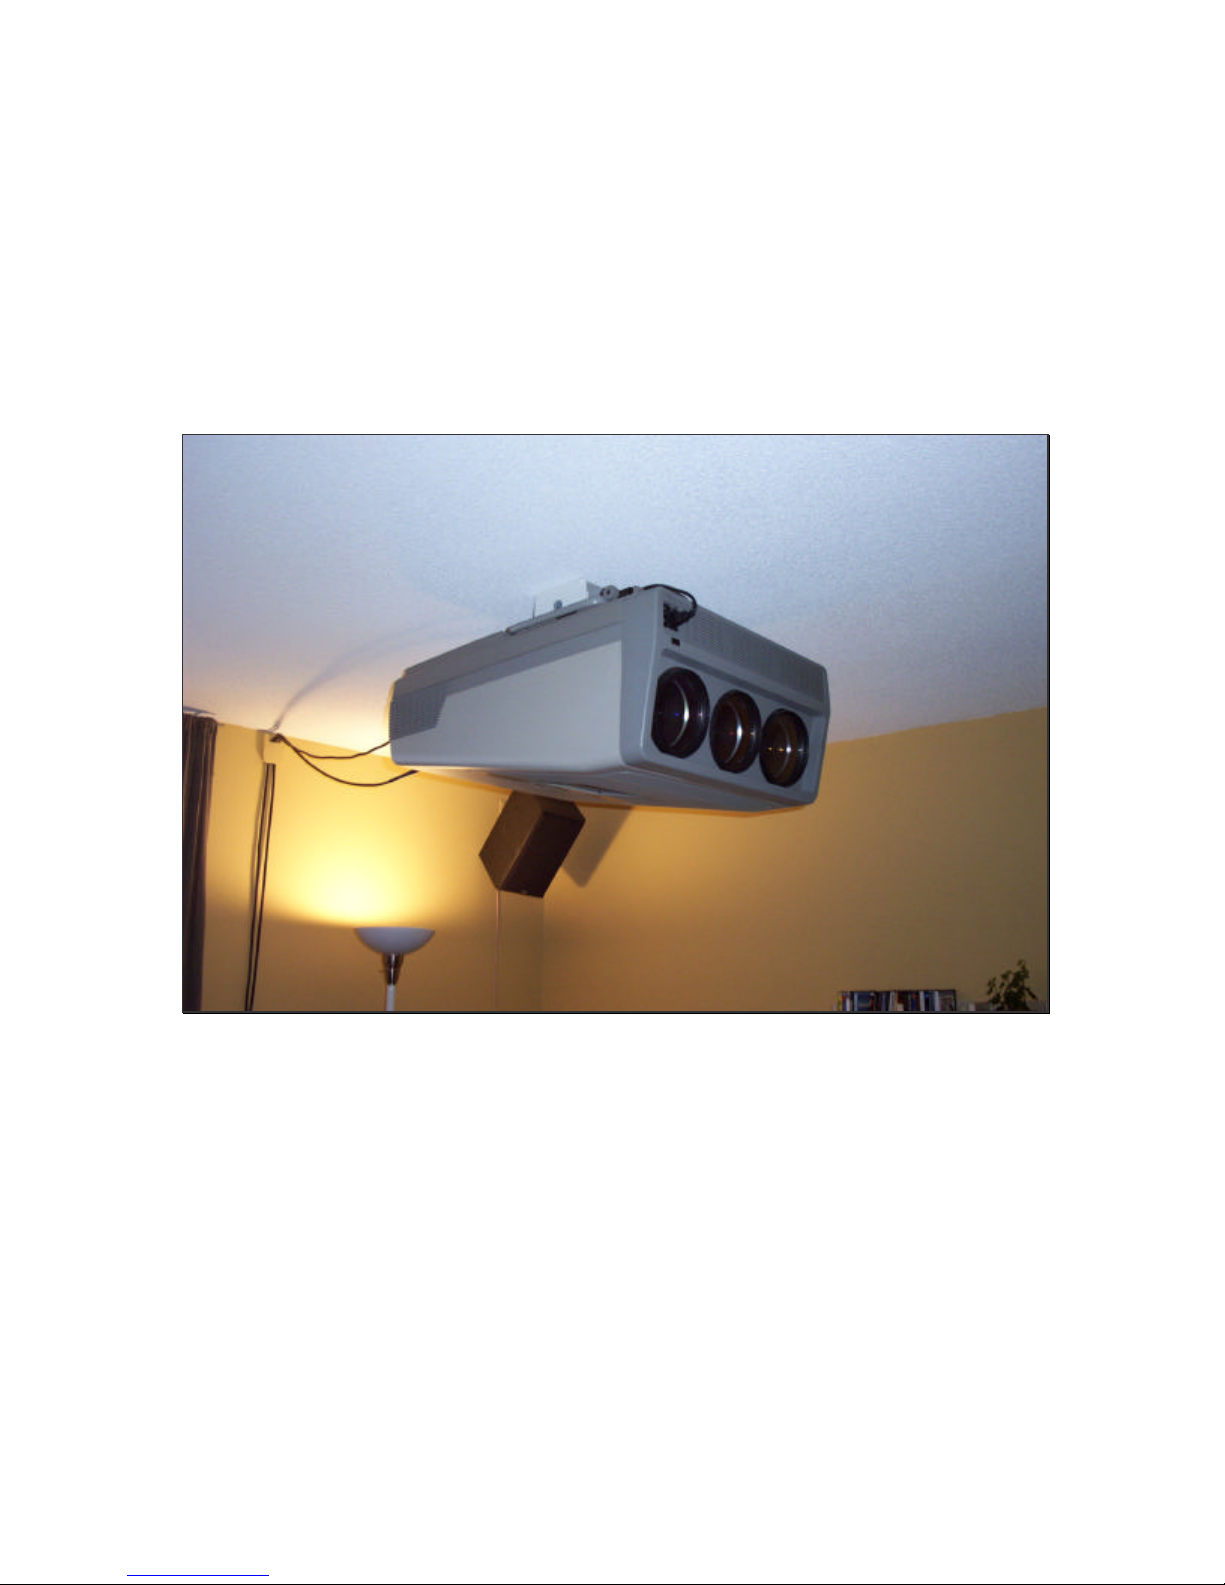
2.1.2. Mount Setup
2.1.3. CRT Mechanical Setup
2.2. Electrical Setup
2.2.1. 2/4 Pole Adjustment
2.3. Focus (by Wes Hill)
2.4. Convergence
2.4.1. Convergence for all Inputs
2.4.2. Individual Convergence Settings
2.5. Setting the G2 Adjustments
3. The Sony 12xx FAQ that (separate doc)
3.1. Focus (by Guy Kuo)
3.2. Cleaning Lenses
3.3. DIY Screen

1. Thoughts and Experiences
I’ve been playing with this projector for some time now and have come to a
few conclusions. First, this is a great projector for the price. Second,
electron beam focus is paramount to the quality of the image. And third, the
lower the video bandwidth that you put through the PJ, the better the picture
will be, relatively speaking.
1.1. Scan Lines and Resolving Power
There has been some discussion about the maximum resolution that the
Sony 1270Q, or the entire 12xx series, can resolve. The resolving power of a
CRT PJ is controlled by a lot of factors, but the principal factor on the Sony
1270Q is the electron beam focus. The electron beam is focused by 2 sets of
magnets, a 2 pole set and 4 pole set. This isn’t the most accurate way to
control the electron beam, higher end projectors use a combination of
magnets and Electromagnetic beam focusing, which allows for a much
smaller beam, allowing for much higher resolutions. This is the reason that
some PJ’s with the same Sony 07MP tubes that the 1270Q uses can resolve
more scan lines.
The projector has a limited amount of phosphor in which to draw the image.
The number of lines which can be resolved is, in theory, the phosphor height
divided by the beam diameter. This number is the number of lines that the
projector can resolve without overlapping scan lines. Anything above this
number of scan lines will not be resolved and the picture will begin to appear
soft.
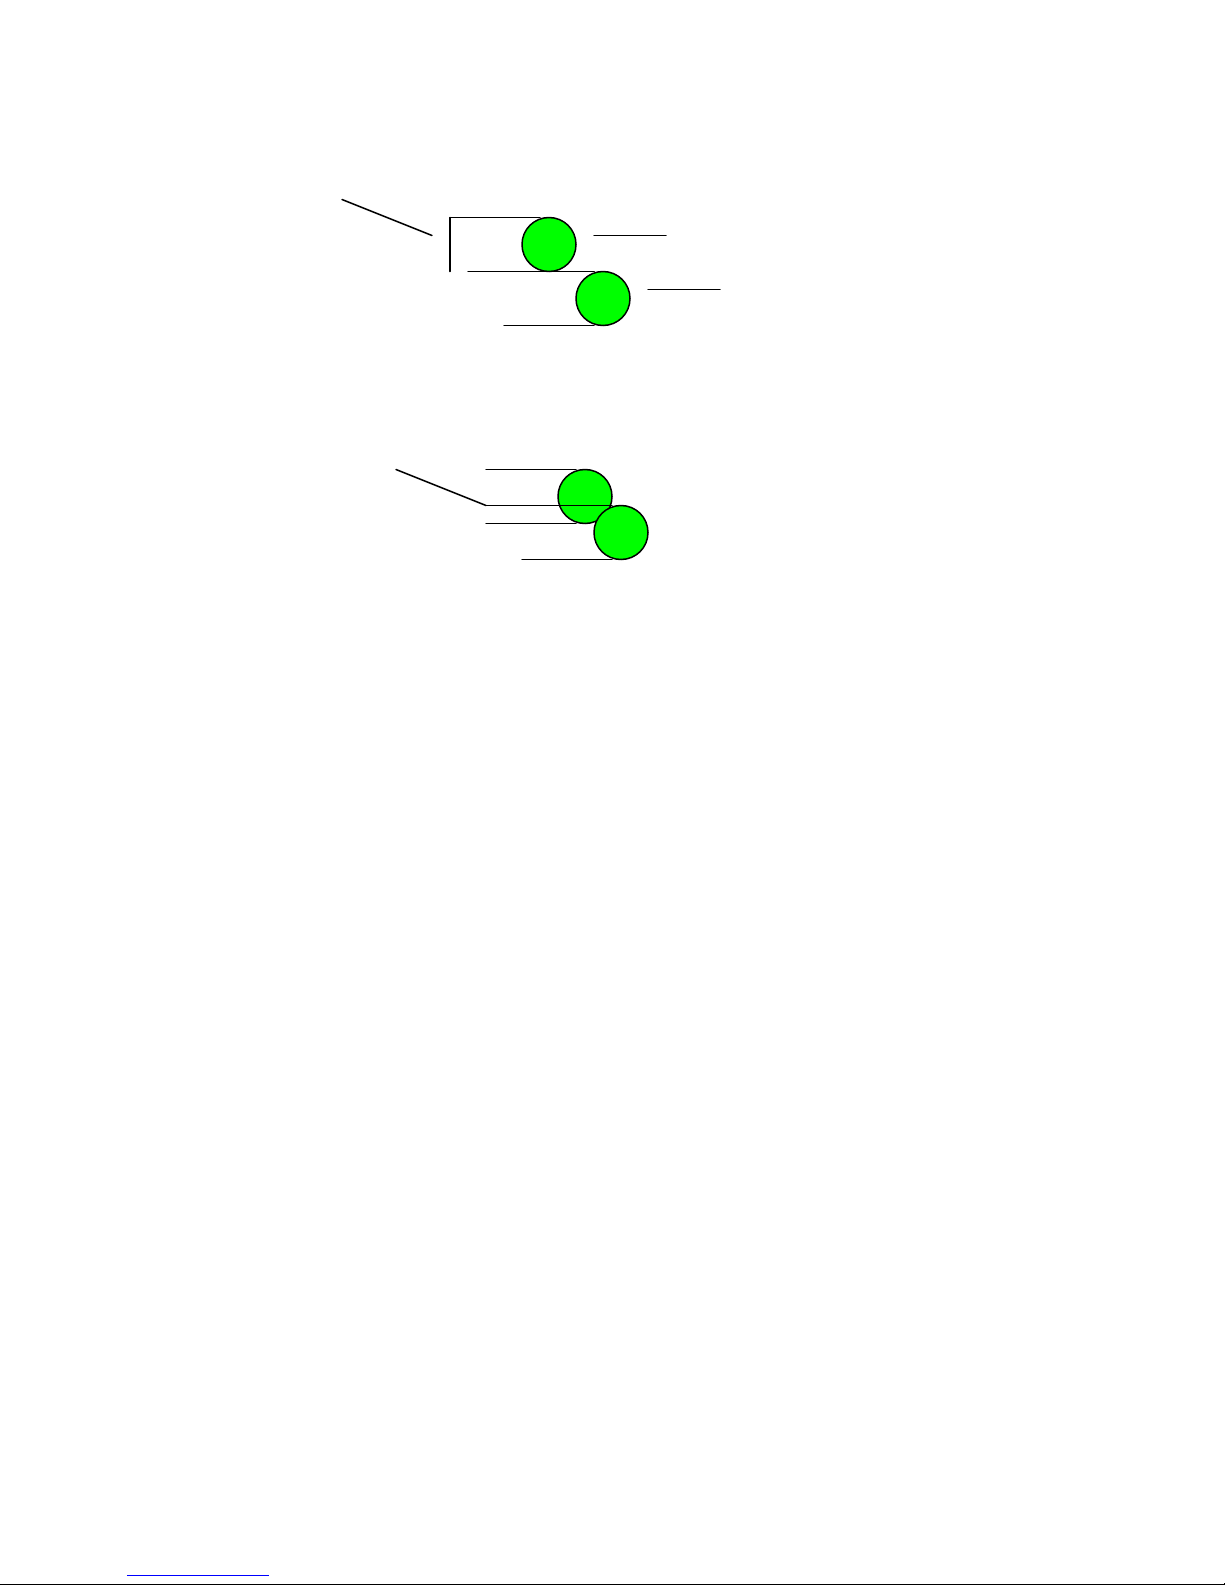
Scan Line
Ideal Situation (0 overlap, 0 gaps)
Scan Line
Excessive Scan lines (overlap)
Overlap
Some people prefer this “soft” picture, but I have found that 600P-666P
looks very sharp and 3 dimensional. Keep in mind that when displaying 16:9
material, you are using a smaller phosphor area than a 4:3 image and
therefore can resolve 25% less scan lines.
With my projector setup the best that I have been able to do, it can resolve
666 scan lines or 666P. I can see scan lines if I am less than about 6 feet
away from the screen and the picture is very sharp. I have run at 540P,
600P, 666P, 720P and 768P, with 666P being the highest resolution I can
make it resolve. There has been some discussion on the AVS Forum which
gives a mathematical solution to this exact topic with the verdict being about
600 to 700 scan lines being the maximum(in 16:9 mode). This depends on a
lot of things, one being how close the projector is to the screen (this is
covered later).

1.2. Refresh Rate
Most of the video material which I watch, and that most people watch, is
DVD. This video material has a native refresh rate of 23.997 frames per
second, or fps. The logical, and best way to display such material is at some
multiple of the native refresh rate. This refresh rate is the equivalent of a
computer monitor refresh rate. Naturally, one would think that a higher
refresh rate would be better. Most people run their HTPC refresh rates at 72
Hz, or 3 times the video fps. What some people, including me, are doing
now is running the refresh rate at 48 Hz, or 2 times video refresh rate. If
you are familiar with computers you know that 48 Hz looks terrible on a
computer monitor, very flickery. I believe this is due largely due to the
properties of the phosphor of the computer CRT monitor. The computer
monitor phosphor returns to it’s non-excited state very quickly and therefore
goes from light to dark very quickly and hence the appearance of flicker.
Movie theatres (also 48 Hz, I believe) are different than this as they are
passing light through a translucent media and therefore doesn’t appear to
flicker very badly. A CRT projector (well, Sony 12xx anyway) seems to be
somewhere in the middle, as 48 Hz refresh does not flicker, with the
exception of a bright static windows desktop. We all know that a bright
static image on a CRT projector is a very bad thing to do, so in my opinion is
a moot point.
The result of running a lower refresh rate is a lower video bandwidth going to
the projector. With all of the electronics being taxed so much less (1/3rd
less), th ey operate in a more predictable and stable fashion, resulting in a
more stable, higher quality image. When I first ran my Sony 1270Q at 48Hz,
it was the first time I had really seen the 3D effect that I hear people with
higher end projectors speak of. The improvement was drastic and my
opinion of my projector increased drastically also. Any of the problems I had
before with drifting convergence and a flickering Red tube disappeared
completely.

1.3 Screen Size
The output of the Sony 1270Q is noted to be 650 lumens, or about 200 ANSI
lumens. ANSI refers to a measurement standard, eliminating the bogus
values you sometimes see in literature. I’ve read that a screen brightness of
10-12 foot lamberts is a good value to shoot for, giving good brightness in a
light controlled environment. The calculation of this is quite simple:
Ft – Lamberts = (ANSI lumens * Screen Gain) / Screen Square Feet
Example: My Setup (200 * 1.3) / (45/12 * 80/12) = 10.4 ft-lamberts
As you can see, my screen/PJ is on the low end of the brightness spectrum,
so to speak. I would really like to go to a 54 x 96 screen, with a 1.5 gain
screen material. I’ve been looking at screen materials and have seen
absolutely no hot spotting and a very wide field of view with a Stewart 1.5
gain. This will be my screen of choice with my new projector, which will be a
9” with at least an output of 275 ANSI lumens to reach 11.5 or so
ft-lamberts.
2. Projector Setup
There are at least five major/separate general setup procedures. They are
as follows:
• Mechanical Setup
• Electron Beam Focus (astigmatism)
• Mechanical and Electrical Focus
• Geometry adjustments / Convergence
• Grey Scale (I won’t touch this one)

Optimizing each of these in the order stated will result in the easiest, and I
believe the best setup (with my limited knowledge and skill).
2.1. Mechanical Setup
Setting up the projector physically is likely the most important step in setting
up a CRT PJ as the quality of all subsequent setup hinges on this.
2.1.1. Throw Distance
First, the proper distance must be determined. PJCalc (use version 1.8) will
give you the throw distance for your PJ for whatever screen width you desire.
The consensus with most Sony 12xx owners, the people who set them up
and me is that 80” wide is about as big as you should go, without sacrificing
brightness and sharpness. This results in a throw distance of approximately
109” from the screen to the green tube.
I’ve moved my projector closer to the screen to use more of the phosphor
area. This gives a brighter image and allows for a larger number of scan
lines to be resolved. The following is the method I used to maximize my
phosphor use:
• Set the projector on a table
• Center the image on the green (see later notes)
• Project an image with the projector
• Set it up roughly (focus)
• Cut off the red and blue tube (as you move the PJ they’ll need to
reconverged anyway)
• Look into the lenses and set the width of the image so it’s close to the
edge of the phosphor area. Ensure you have at least 1/4” of unused
phosphor on each side.
• Move the projector so that the image fills the screen with a slight
amount of over scan; say 1” on edge side of the screen.
 Loading...