

Page 1

2.1 Soundbase with bluetooth
MODEL-HB413
HOTLINE
AUSTRALIA :1300765 663
NEW ZEALAND:0800 100 236
www. so ni q. co m
MD140522-01
Printed in China
Page 2

Features .... .. .. .. .. .. .. .. .. .. .. .. .. .. .. .. .. .. .. .. .. .. .. .. .. .. .. .. .. .. .. .. .. .. .. .. .......2
For your Att en ti on .. .. .. .. .. .. .. .. .. .. .. .. .. .. .. .. .. .. .. .. .. .. .. .. .. .. .. .. .. .. .. .. .. ...3
Pane l. .. .. .. .. .. ......... .. .. .. .. .. .. ........... .. .. .. .. .. .. ........... .. .. .. .. .. .. .....4-5
Co nn ec ti on s. .. ......... .. .. .. .. .. .. ........... .. .. .. .. .. .. ......... .. .. .. .. .. .. .....6-7
Remote Co nt ro l. .. .. .. .. .. .. .. .. .. .. .. .. .. .. .. .. .. .. .. .. .. .. .. .. .. .. .. .. .. .. .. .. .. .. 8- 9
Tro ub le s ho ot in g. .. .. .. .. .. .. .. .. .. .. .. .. .. .. .. .. .. .. .. .. .. .. .. .. .. .. .. .. .. .. .. .....10
Sp ec if ic at io ns ......... .. .. .. .. .. ......... .. .. .. .. .. .. ......... .. .. .. .. .. ......... .. .. 11
Cont ents
-1-
Page 3
For Your At tenti on
IMPO RTANT NOTE S:
The lightning flash is intended to alert the user to the
presence of dangerous voltage within the product's
enclosure, and touching the internal components may
result in a risk of electric shock to persons.
The exclamatory mark is intended to alert the user to the
presence of important operating instructions.
To reduce the risk of electric shock or fire, do not open the
cover. Refer servicing to qualified service personnel.
RISK OF ELECTRIC SHOCK
DO NOT OPEN
CAUTION
CAUT ION
-3-
Feat ures
Thanks for your purchase of our product. Please read through this
manual before making connections and operating this product.
Retain this manual for future reference.
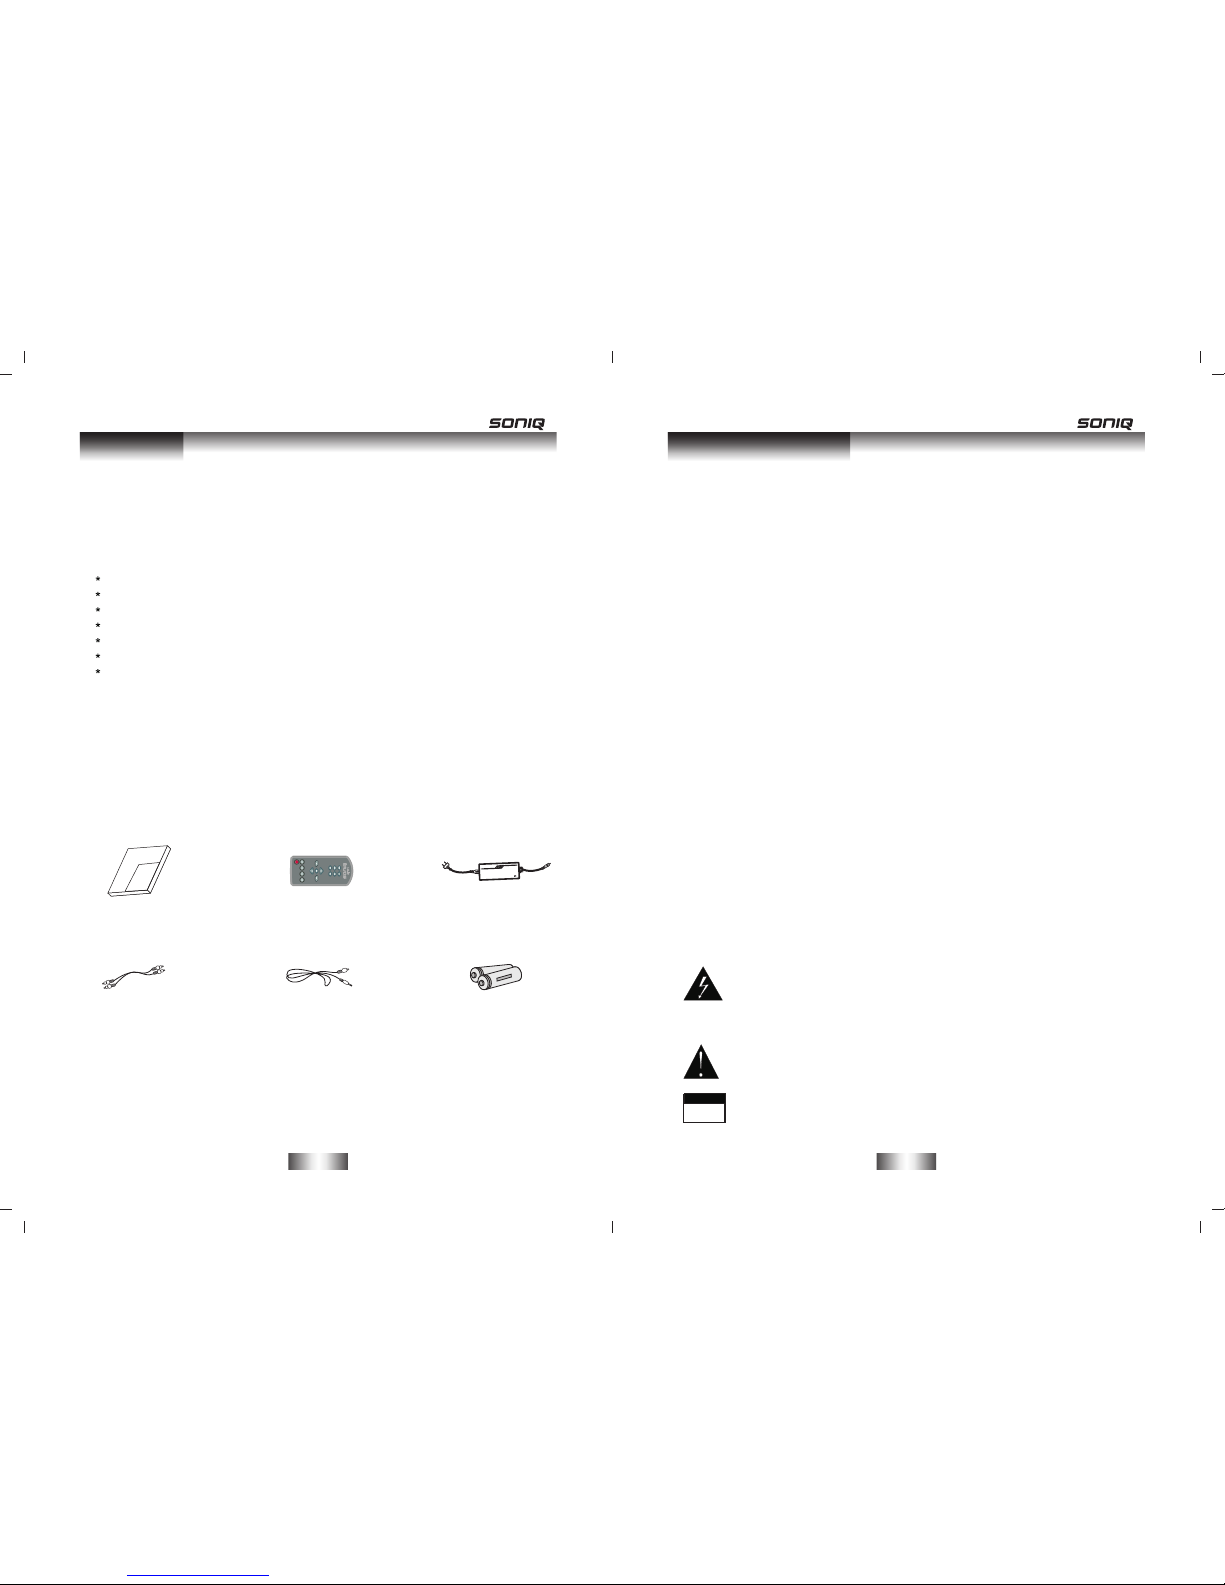
Pack age Con tents :
User manual
RCA Cable
U
s
e
r m
an
u
al
Remote control
Line In Cable
DC Adapter
Batteries
-2-
*
*
*
*
*
*
*
*
*
*
*
*
*
Please read through this manual before making connections and
operating this product. Retain this manual for future reference.
Don't open the cabinet of this unit. No user-serviceable parts
inside. Refer servicing to qualified personnel only.
Switch off th e un it w he n yo u do n' t us e it . Sw it ch o ff t he u ni t an d
disconnect it from the AC power supply when it is not being used
for a long time.
Don't install the unit in a place exposed to heating sources or
direct sunshine.
Don't install the unit in a place exposed to moisture or rain.
The apparatus shall not be exposed to dripping or splashing and
any object filled with liquids, such as vases shall not be placed on
it.
Install the unit on a horizontal, flat and firm surface with good
ventilation. Never block the vents which will cause malfunction
resulted from overheating.
Use a soft and clean rag to clean the outside of the unit . Never
clean it with chemicals or detergent.
This book is only a guide for user's operation, not a criterion for
configuration.
Only use attachments/accessories specified by the manufacturer.
Where the Mains plug is used as the disconnect device, the
disconnect device shall remain readily operable.
WAR NI NG : The batteries shall not be exposed to excessive heat
such as sunshine, fire or the like.
CAUTION: Danger of explosion if battery is incorrectly
replaced.Replace only with the same or equivalent type.
Line input
AUX input
Optical input
Coaxial audio input
Full function remote control
Bluetooth playback
Sound base without Dolby function,please set TV d ig it al a ud io
output to PCM output when you connected to TV.
Page 4

Pane l
REAR PANE L:
1. DC INPUT
2. LINE INPUT
3. AUX INPUT
4. COAXIAL DI GI TAL AUD IO I NP UT
5. OPTICAL IN PU T
1
3
4
2
5
-5-
Pane l
-4-
FRON T PAN EL:
SPEAKER
STAN DB Y
Press to switch on the sound base; Press it again to put the
sound base in standby mode.
(STAND BY--red indicator, BLUETO OT H- -r ed a nd b lu e in di ca to r
is ready for pairing enabled device, blue indicator flahing
means has connected to the sound base.)
INPUT
Press repeatedly to switch among BLUETO OT H, L IN E IN , AUX
IN, OPTICAL IN an d CO AX IA L IN mo de .
(BLUETO OT H- -r ed a nd b lu e in di ca to r, LI NE I N- -r ed a nd g re en
indicator, AUX IN--red indicator, OPTICAL IN -- ye ll ow i nd ic at or,
COAXIAL IN- -g re en i nd ic at or )
VOLUME+/Press to turn up/down the volume.
EQUALIZER
Press to switch the equalizer modes among MUSIC, MOVIE,
GAME and NEWS.
2
4
3
5
1 1
1.
2.
3.
4.
5.
Page 5

Conn ectio ns
AUX IN /LINE I N
This sound base has an extra group of audio input terminals. You
can input the analogue stereo audio signals from extra devices
such as VCD, CD, VCR, DVD player, etc.
Use the audio cable to connect the stereo audio output terminals of
a VCD, CD, VCR,DVD player to the stereo input terminals AUX
IN/LINE IN of this sound base.
Its corresponding signal source is AUX IN/LINE IN which can be
available by pressing [AUX]/[LINE] on the remote control.
Coax ial Dig ital Audio
Use a coaxial cable to connect the coaxial input of this sound base
to the coaxial output of VCD, CD, VCR, DVD player .
Opti cal Inp ut
Use the optical cable to connect the optical input of this sound
base to the optical output of VCD, CD, VCR, DVD player.
Digital Audio Input
Digital Audio Output
COA XIAL
COA XIAL
OPTICAL
Opt ical In put
Opt ical Ou tput
AUX Output
AUX Input
R
L
L
R
Lin e Outpu t
LIN E IN
Lin e Input
AUDIO INPUT
AUDIO OUTPUT
-6-
Conn ectio ns
-7-
BLUE TO OTH
Power on the sound base, When the red indicator and the blue
indicator flashing alternately, th e so un d ba se i s in s ea rc hi ng
bluetooth signal status, use your smart phone to search the
bluetooth signal of the sound base, select HB413 on your list, the
sound base will synchronize to play songs on your smart phone
while they connected successfully.
The blue indicator keeps flashing once per 2 seconds means
bluetooth was connected, disconnected the bluetooth on the smart
phone to switched off t he b lu et oo th c on ne ct io n.
Disconnected the previous paired bluetooth device before you
connect new bluetooth device.
Bluetooth
Model:HB413
Bluetooth connection range is 10 meters.
The model HB413 in your smart phone was not deleted.
In bluetooth mode,[PLAY/ PAU SE ], [N EX T] , [P RE VI OU S] ,
[VOLUME+/-] etc. are also active.
The sound base needs to input the password 0000 when the
matching bluetooth device is under version 2.1.
Note :
Page 6

Remo te cont rol
-9-
Remo te cont rol
-8-
1
2
4
6
3
7
5
8
STAND BY
Press to switch on the sound base. Press it again to
put the sound base in standby mode.
1.
EQ
Press to switch the equalizer modes among
MUSIC, MOVIE, GAME and NEWS.
2.
Press [VOLUME+] to turn up the volume.
3.
Press to temporarily pause a playback. Press it
again to resume the playback.
4.
Press to return to the previous track;
Press to skip to the next track.
5.
Press [VOLUME-] to turn down the volume.
6.
OPT COAX
LINE
AUX
BT
Select LINE IN, AUX IN, OPTICAL IN , CO AX IA L or
BLUETOO TH m od e.
7.
Press to temporarily switch off t he s ou nd . Pr es s it
again to switch it on.
8.
Remo te Cont rol Ope ratio n
Insert two AAA/1.5V batteries into the remote control. Point the
remote control at the remote sensor on the front panel. The r em ot e
control works within a distance of about 8 metres from the sensor
and within an angle of about 30 degrees from the left and right side.
Batt ery Ins talla tion
Remove the battery compartment cover on the back of the
remote control.
Load the batteries into the battery compartment making sure
that the batteries have been inserted with the correct polarities
matching the symbols +, - as indicated inside the battery
compartment. Load the batteries into the battery compartment
making sure that the batteries have been inserted with the
correct polarities matching the symbols +, - as indicated inside
the battery compartment.
Replace the cover.
Remove the batteries when you do not intend to use the remote
control for a long time.
Do not mix new and used batteries, or diffe re nt t yp es o f
batteries.
Wea k ba tt er ie s ca n le ak a nd s ev er el y da ma ge t he r em ot e
control.
Batteries shall not be exposed to excessive heat such as
sunshine, fire or the like.
Be environmentally friendly and dispose of batteries according
to your government regulations.
1.
2.
3.
Note :
Page 7

Power supply
Power supply
Wor ki ng
environment
Power output (Max)
Frequency response
Temperature
Relative humidity
DC ~18V,3. 6A
AC ~100-240V,5 0/ 60 Hz
-10~+35℃
5%~90%
15WX2+25W
±3dB(20Hz~20kHz)
Spec ifica tions
-11-
Tro ubles hooti ng
-10 -
Before resorting to maintenance service, please kindly check
by yourself with the following chart.
Cause(s)Symptom
Remedy
No Power
Sound
There is no
sound or
the sound
is
distorted.
The
buttons
on the unit
doesn't
work.
The remote
control
does not
function.
The DC power cor d is
not con necte d to the
power s upply o r is not
conne cted to a p ower
upply s ecure ly.
*
Pleas e check t hat the
DC po we r cord is
conne cted se cu rely.
*
The audio cables aren't
connected securely.
The volume is set to the
minimum level.
The sound is switched
off .
*
*
*
Connect the audio
cables securely.
Tur n up t he v ol um e.
Press [MUTE] on the
remote control to
switch on the sound.
Press[PLAY/PA US E] .
*
*
*
*
Switch off an d un pl ug
the unit. The n
connect the plug to
the power supply and
switch it on again.
*
The unit is being
interfered with static
electricity etc.
*
There is no battery in the
remote control.
The batteries are out of
charge.
The remote control isn't
pointed to the remote
sensor.
The remote control is
out of its operating area.
The unit is shut down.
*
*
*
*
*
Install two AAA/1.5V
batteries in it.
Replace the batteries
with new ones.
Make sure that the
remote control is
pointed to the remote
control sensor.
Make sure the remote
control is within the
operating area.
Switch off th e un it
and connect it from
the DC outlet. Th en
power on the unit
again.
*
*
*
*
*
Page 8

 Loading...