

Page 1
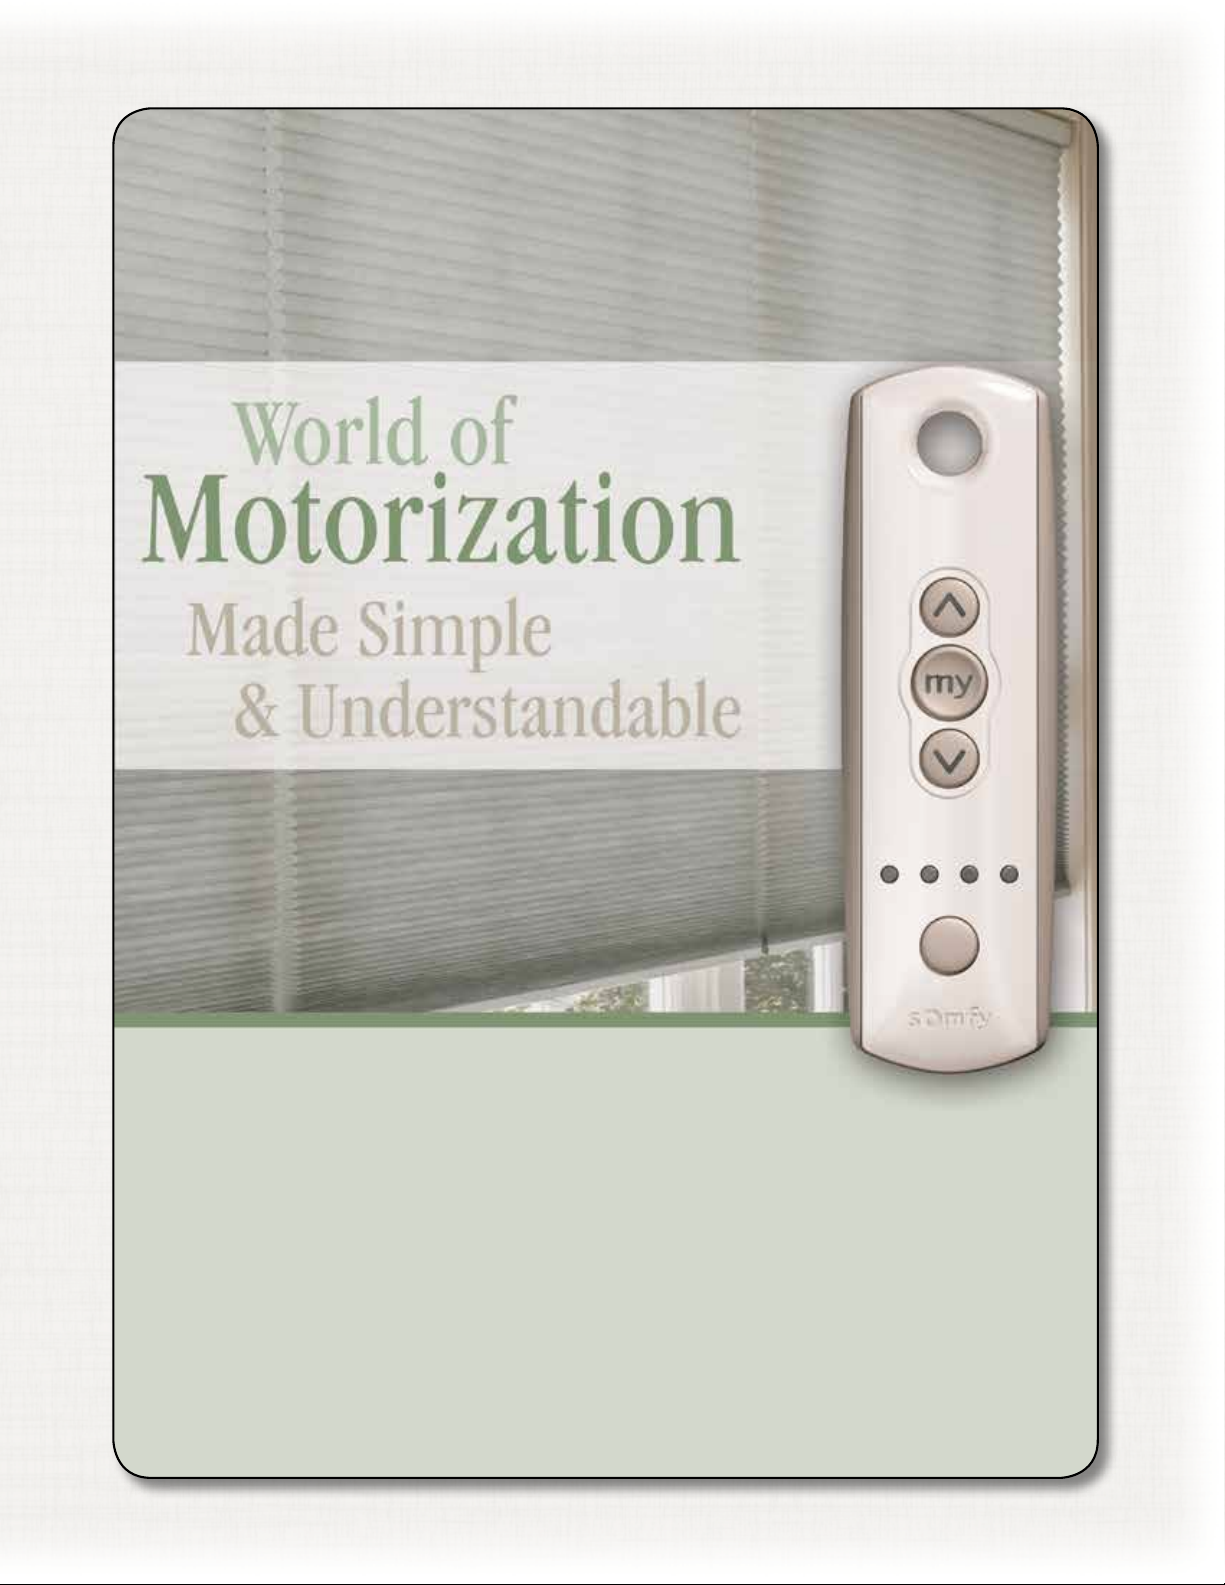
How To Operate
Your Somfy Motorized
Cellular Shades
Page 2
Getting Started
For your Somfy Motorized Cellular Shades
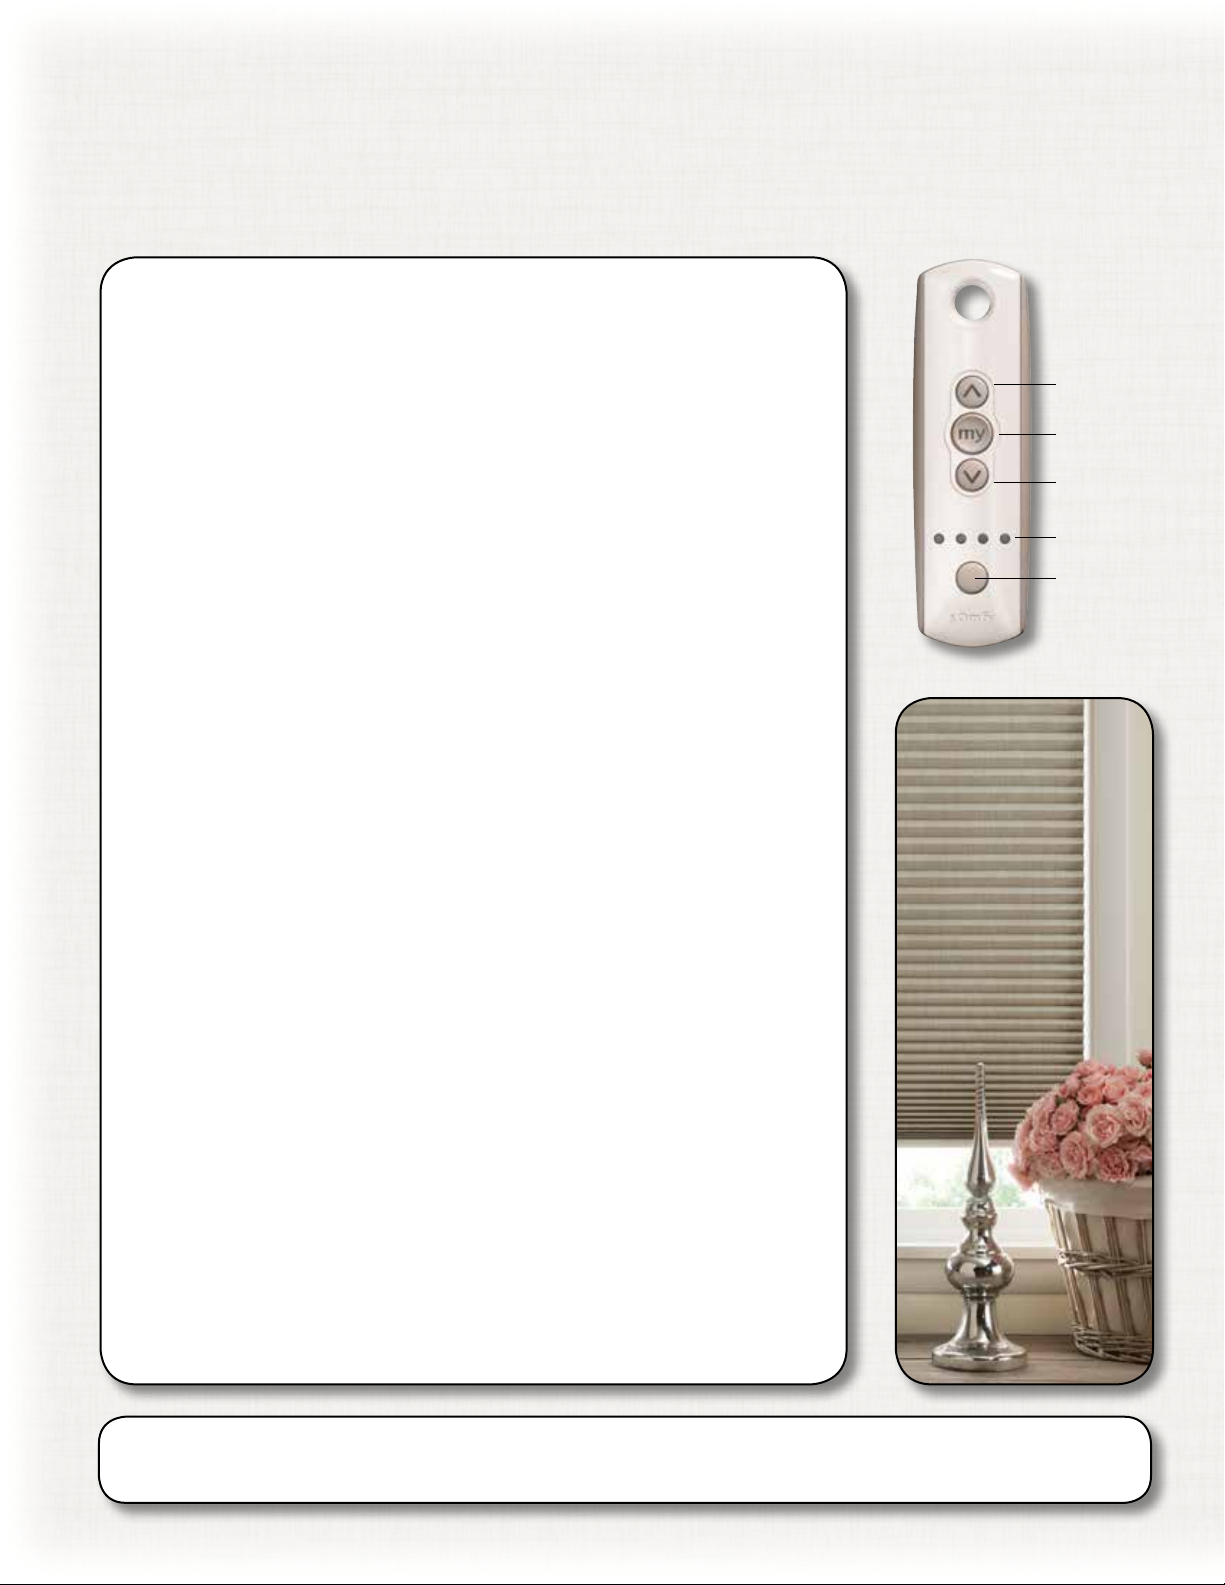
Operating Your Shade With
A Multi Channel Remote
• STEP 1: Select a channel using the “Channel” button.
(Lights will illuminate to indicate what channel you are on.
All 4 lights will illuminate for the fifth channel.)
Up
MY/Stop
Down
• STEP 2: Press and release the “Down” button to lower
the shade or press and release the “Up” button to raise
the shade.
• STEP 3: Press the “MY” button and release to stop the
.
shade while in motion
Changing The Factory Programmed
Auto Stop Positions
To Change DOWN Stop Position:
• STEP 1: Press and release the “Down” button. Once the
shade stops, at the pre-set lower position, press and hold
the “Up” and “Down” buttons at the same time, until the
shade jogs.
• STEP 2: Now press and hold the “Up” or “Down” button
to move the shade to a new lowered position.
• STEP 3: Then release the button when the shade is at
the position you want. You may press the “Up” or “Down”
buttons to re-adjust the position.
Channel
Lights
Channel
Selector
• STEP 4: Press and hold the “MY” button until the shade
jogs. You have now set your new lower position.
To Change UPPER Stop Position:
• Follow Steps 1-4 above using the “Up” button instead of the
“Down” button in Step 1.
WHAT IS JOGGING? Jogging refers to the shade shifting up and down.
Page 3

Trouble Shooting “Quick” Guide
For your Somfy Motorized Cellular Shades
For More Advanced Programming, See Installation Instructions
PROBLEM: Shade will not raise or lower.
SOLUTION: • Check battery wand and motor connections are tight.
PROBLEM: Shade raises when I press the “Down” button and lowers when
I press the “Up” button.
SOLUTION: 1) With shade in up position press the “Down” button (or visa verse).
2) Press the “MY” button to stop the shade between the upper and
3) Press the “Up” and “Down” buttons at the same time (shade will jog).
4) Press the “MY” button (shade will jog signalling the polarity change).
PROBLEM: Nothing I do seems to work.
• Confirm that all the batteries are inserted in the wand in the
correct direction.
• Replace the batteries in the wand with new AA Lithium batteries.
• Make sure the antenna wire is fully exposed.
• Make sure the cords in the head rail are not tangled.
lower limits.
SOLUTION: See back page.
Page 4

Reprogram From Factory Setting
• STEP 1: Using a paperclip, press and hold the
PROGRAM BUTTON, located on the back side of
the motor casing until window covering jogs 3
times, then release button. All transmitters and
limits will be erased (motor is now reset to Factory
Mode.) Motor limits will need to be reestablished.
Please return back to Programming Mode to initiate
programming process.
• STEP 2: Select the desired channel on the remote.
• STEP 3: Press and hold the “Up” and “Down” buttons simultaneously until the
shading jogs.
• STEP 4: Press and hold the “Down” button to move the shading to the desired
lower limit. (Shading will move in 3” increments).
• STEP 5: When the shading nears your desired lower limit, press and hold the
“My” (stop) and “Up” buttons simultaneously until the shading begins to move up,
then release.
• STEP 6: Press the “My” (stop) button when the shading reaches the desired
upper limit.
h
• STEP 7: Push the “Up” or “Down” button to adjust your shadings to the precisely
• STEP 8: When the shading has reached the desired location, press and hold the
• STEP 9: Once the shading stops at the lower limit, press the “My” (stop) button
• STEP 10: Using a paper clip, press and hold the “Program” button on the back
152134 Rev 03/15
desired upper limit.
“My” (stop) and “Down” buttons simultaneously until the shading begins to move
down, them release.
for 2 seconds until the shading jogs. This confirms both limits.
of the transmitter until the shade jogs. The transmitter is now programmed.
 Loading...