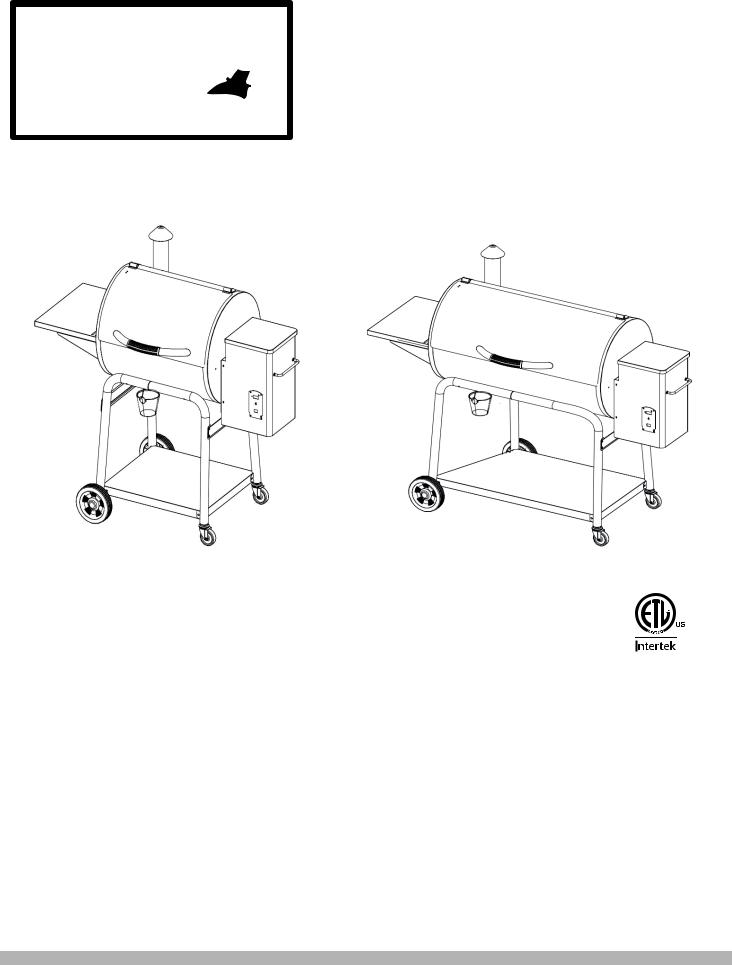
Smoke PS2415, PS3615 User Manual

Owner’s Manual
Pellet Smoker Grill
Models PS2415 & PS3615
|
|
Model PS2415 |
Model PS3615 |
4010637
FOR OUTDOOR USE ONLY
WARNING!
DO NOT STORE OR USE COMBUSTIBLE MATERIALS NEAR THIS APPLIANCE! USE ONLY PREMIUM 100% HARDWOOD BBQ PELLETS WITH THIS SMOKER GRILL.
Please read this entire manual before installation and use of the pellet fuel-burning appliance. Failure to follow these instructions could result in property damage, bodily injury or even death. Contact local building or fire officials about restrictions and installation inspection requirements in your area.
SAVE THESE INSTRUCTIONS

Introduction
Congratulations on your purchase of your new Smoke Chef Pellet Smoker Grill. With proper set-up, operation and maintenance, this appliance
will provide you with years of delicious food and cooking enjoyment.
IMPORTANT
When you un-pack your grill, remove all parts and packaging material from the box and inside the grill. Make sure you have all the items in the parts list. Carefully check the unit and make sure there is no damage.
IF YOU HAVE ANY PROBLEMS WITH THIS PRODUCT OR THERE ARE MISSING OR DAMAGED PARTS , PLEASE CALL CUSTOMER SERVICE TOLL FREE 1-866-475-5180 (Monday–Friday, 8:30 am–4:30 pm, CST).
NOTE : DO NOT RETURN UNIT TO THE STORE BEFORE CALLING THE TOLL FREE NUMBER. Do not dispose of your cartons until you are completely satisfied with your new pellet smoker grill.
WARNING
CALIFORNIA PROPOSITION 65 Combustion by-products produced when using this product contain chemicals known to the State of California to cause cancer, birth defects, and other reproductive harm.

A MAJOR CAUSE OF FIRES IS FAILURE TO MAINTAIN REQUIRED CLEARANCES (AIR SPACES) TO COMBUSTIBLES MATERIALS. IT IS OF UTMOST IMPORTANCE THAT THIS PRODUCT BE INSTALLED ONLY IN ACCORDANCE WITH THESE INSTRUCTIONS.
HAZARDOUS VOLTAGE! |
CAN SHOCK, BURN OR |
CAUSE DEATH. |
DISCONNECT POWER CORD |
BEFORE SERVICING. |
SEE OWNER’S MANUAL |
DANGER! Hazardous voltage is present which can shock, burn or cause death. Disconnect the power cord before servicing the Grill unless otherwise noted in the Owner’s Manual.
DANGER! Never use or store flammable liquids near the Grill.
DANGER! Never use gasoline or lighter fluid to manually light your Grill. Use ONLY Alcohol Gel for this procedure AND according to the instructions in the Owner’s Manual.
WARNING! When operating this Grill, maintain a MINIMUM distance of 12 inches from the Grill to combustibles. WARNING! Do not use this appliance on floor surface that is combustible. We recommend installation on noncombustible floors or floors protected with non-combustible surfaces where the protective surface has been approved for such use by the authority having jurisdiction.
WARNING! Do not use this appliance under overhead combustible ceiling or overhang.
WARNING! Assemble and operate this Grill ONLY per the instructions in this Owner’s Manual.
WARNING! This Grill is intended for OUTDOOR USE ONLY.
WARNING! Never use heating fuel pellets in the Grill, due to potential hazardous contaminants and additives that may be present.
WARNING! Use ONLY PREMIUM 100% HARDWOOD BBQ WOOD PELLETS, which are specifically made to work in our Grills. Smoke Hollow wood pellets are
rated for 8500 BTU per LBS with an ash content of 2%.
CAUTION! Always store wood pellets in a dry location, away from heat-producing appliances and other fuel containers.
CAUTION! Keep the Grill clean - See the cleaning instructions in this Owner’s Manual.
CAUTION! Do not use accessories not specified for use with this Grill.
" 12
 12"
12" 
MINIMUM DISTANCE FROM THE BACK AND THE ENDS OF THE GRILL TO COMBUSTIBLE MATERIALS IS
12 INCHES.

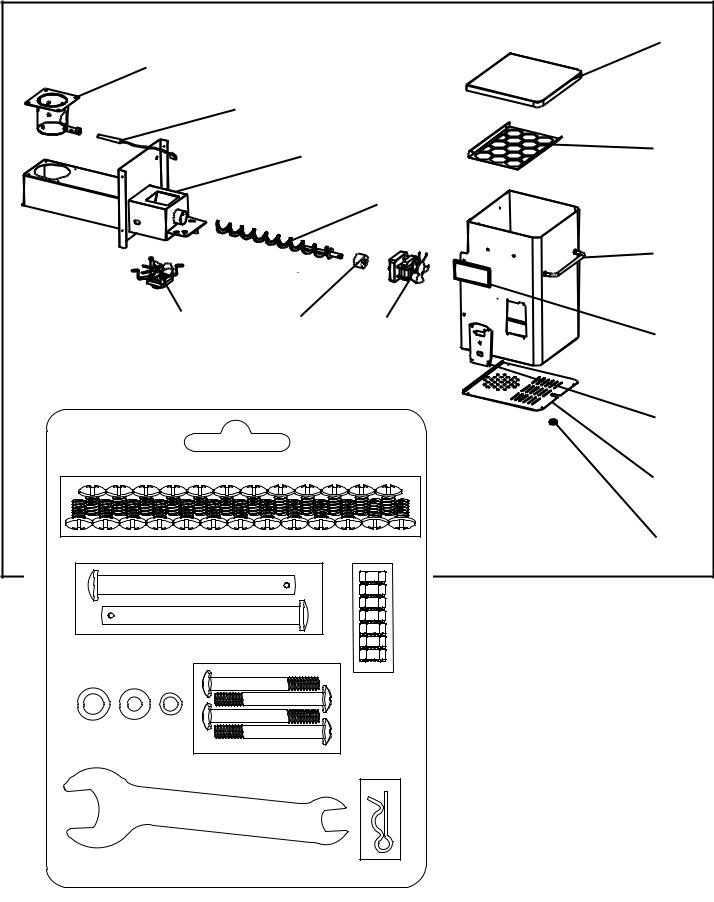
Parts and Tool List
|
|
54 |
|
|
|
48/49 |
6/52 |
|
|
5/51 |
|
53 |
82 |
4 |
9 |
|
|||
|
|
46 |
|
56/57 |
|
7 |
|
47 |
|
|
|
42 |
|
|
|
76 |
|
67/68 |
69/70 |
|
|
 71/72
71/72
55
|
|
36 |
|
76 |
74/75 |
|
|
|
|
|
65/66 |
14 |
|
81 |
|
|
37 |
64 |
|
73 |
77

Hopper / Burner Assembly Components |
|
||||
|
|
16 |
|
|
61 |
|
|
|
|
|
|
|
|
|
17/58 |
|
|
|
|
|
18/59 |
|
39 |
|
|
|
|
|
|
|
|
|
|
19/60 |
|
|
|
|
|
|
62 |
|
|
20 |
21 |
22 |
63 |
|
|
|
|||
|
|
|
|
|
26 |
43 |
|
|
|
|
40 |
|
|
|
|
|
|
|
|
77 |
|
44 |
41 |
|
|
|
|
||
|
|
|
80 |
|
|
34 |
78 |
79 |
|
|
|
|
|
|
|
|
Hardware Kit |
|
|
|
|
|
Components |
|
|
|
|
81 |
|
|
|
|
45 |
|
|

Parts and Tool List
Note: For assistance, including missing or damaged parts, call
toll free 1- 866-475-5180 from 8:30 am - 4:30 pm Central Time, Monday - Friday
Part# |
|
|
|
|
PS2415 |
PS3615 |
Part Name |
Qty. |
|
|
|
|||
|
|
|
|
|
46 |
46 |
Smoke Stack Cap |
1 |
|
47 |
47 |
Smoke Stack |
1 |
|
48 |
49 |
Lid |
1 |
|
4 |
4 |
Lid Handle |
1 |
|
5 |
|
Cooking Grid |
1 |
|
|
51 |
Cooking Grid |
2 |
|
6 |
52 |
Grease Pan |
1 |
|
7 |
7 |
Temperature sensor Rod Bracket |
1 |
|
7 |
7 |
Temperature sensor Rod |
1 |
|
9 |
9 |
Heat Baffle |
1 |
|
53 |
53 |
Lid Hinge Left |
1 |
|
54 |
54 |
Lid Hinge Right |
1 |
|
55 |
55 |
Side Table |
1 |
|
14 |
14 |
Grease tray Drain Tube |
1 |
|
56 |
57 |
Grill Body |
1 |
|
16 |
16 |
Firebox |
1 |
|
17 |
58 |
Autostart Hot Rod |
1 |
|
18 |
59 |
Auger Housing |
1 |
|
19 |
60 |
Auger |
1 |
|
20 |
20 |
Draft Inducer Fan |
1 |
|
21 |
21 |
Nylon Retainer |
1 |
|
22 |
22 |
Auger Drive Motor |
1 |
|
61 |
61 |
Hopper Lid |
1 |
|
62 |
62 |
Hopper with Handle |
1 |
|
63 |
63 |
Name Plate |
1 |
|
26 |
26 |
Controller Assembly |
1 |
|
64 |
64 |
Grease Bucket |
1 |
|
65 |
66 |
Left Front Leg |
1 |
|
67 |
68 |
Left Rear Leg |
1 |
|
69 |
70 |
Right Rear Leg |
1 |
|
71 |
72 |
Right Front Leg |
1 |
|
Part# |
|
|
|
|
||
PS2415 |
|
PS3615 |
Part Name |
Qty. |
||
|
||||||
|
|
|
||||
|
|
|
|
|
|
|
34 |
|
34 |
Axle Washer |
2 |
|
|
73 |
|
73 |
Wheel |
2 |
|
|
36 |
|
36 |
Locking Caster |
2 |
|
|
74 |
|
75 |
Lower Shelf |
1 |
|
|
39 |
|
39 |
Auger Safety Screen |
1 |
|
|
40 |
|
40 |
Wire Protecting Panel |
1 |
|
|
41 |
|
41 |
Rubber Ring |
1 |
|
|
42 |
|
42 |
Heat Shield - Lid |
1 |
|
|
43 |
|
43 |
1/4-20x.59” Bolt |
25 |
|
|
44 |
|
44 |
1/4x20 Nut |
7 |
|
|
45 |
|
45 |
Wrench |
1 |
|
|
76 |
|
76 |
Leg Support Brackets |
2 |
|
|
77 |
|
77 |
Wheel Axle Pins |
2 |
|
|
78 |
|
78 |
1/4 Flat Washer |
6 |
|
|
79 |
|
79 |
1/4 Spring Washer |
6 |
|
|
80 |
|
80 |
1/4 Bolts |
4 |
|
|
81 |
|
81 |
Axle “R” Clips |
2 |
|
|
82 |
|
82 |
Lid Stop Bracket |
1 |
|
|

Grill Assembly
Step 1: Leg Assembly
right front leg |
caster leg |
caster leg side |
leftwheelfront leg |
axle hole |
Step 2: Attach Legs to the Bottom Shelf
leg assembly |
bottom shelf |
bracket |
screw |
Locate:
•Left front leg
•Left rear leg
•Right front leg
•Right rear leg
Procedure:
Insert left front leg into right front leg as shown here. Insert left rear leg into right rear leg in the same manner.
Note:
The brackets on the lower part of each pair of legs should face the same side.
Locate:
•Bottom Shelf
•(8) 1/4-20 x .59 Bolts
Procedure:
Align the holes in the brackets of the caster legs and wheel legs with the holes in the bottom shelf. Insert the 1/4-20 x .59 Bolts through the holes in each leg bracket, then through the holes in the bottom shelf. Leave the screws loose for now.
 Loading...