

Smeg PASC7801FPX Installation And Operating Instructions Manual
installation
and operating
instructions
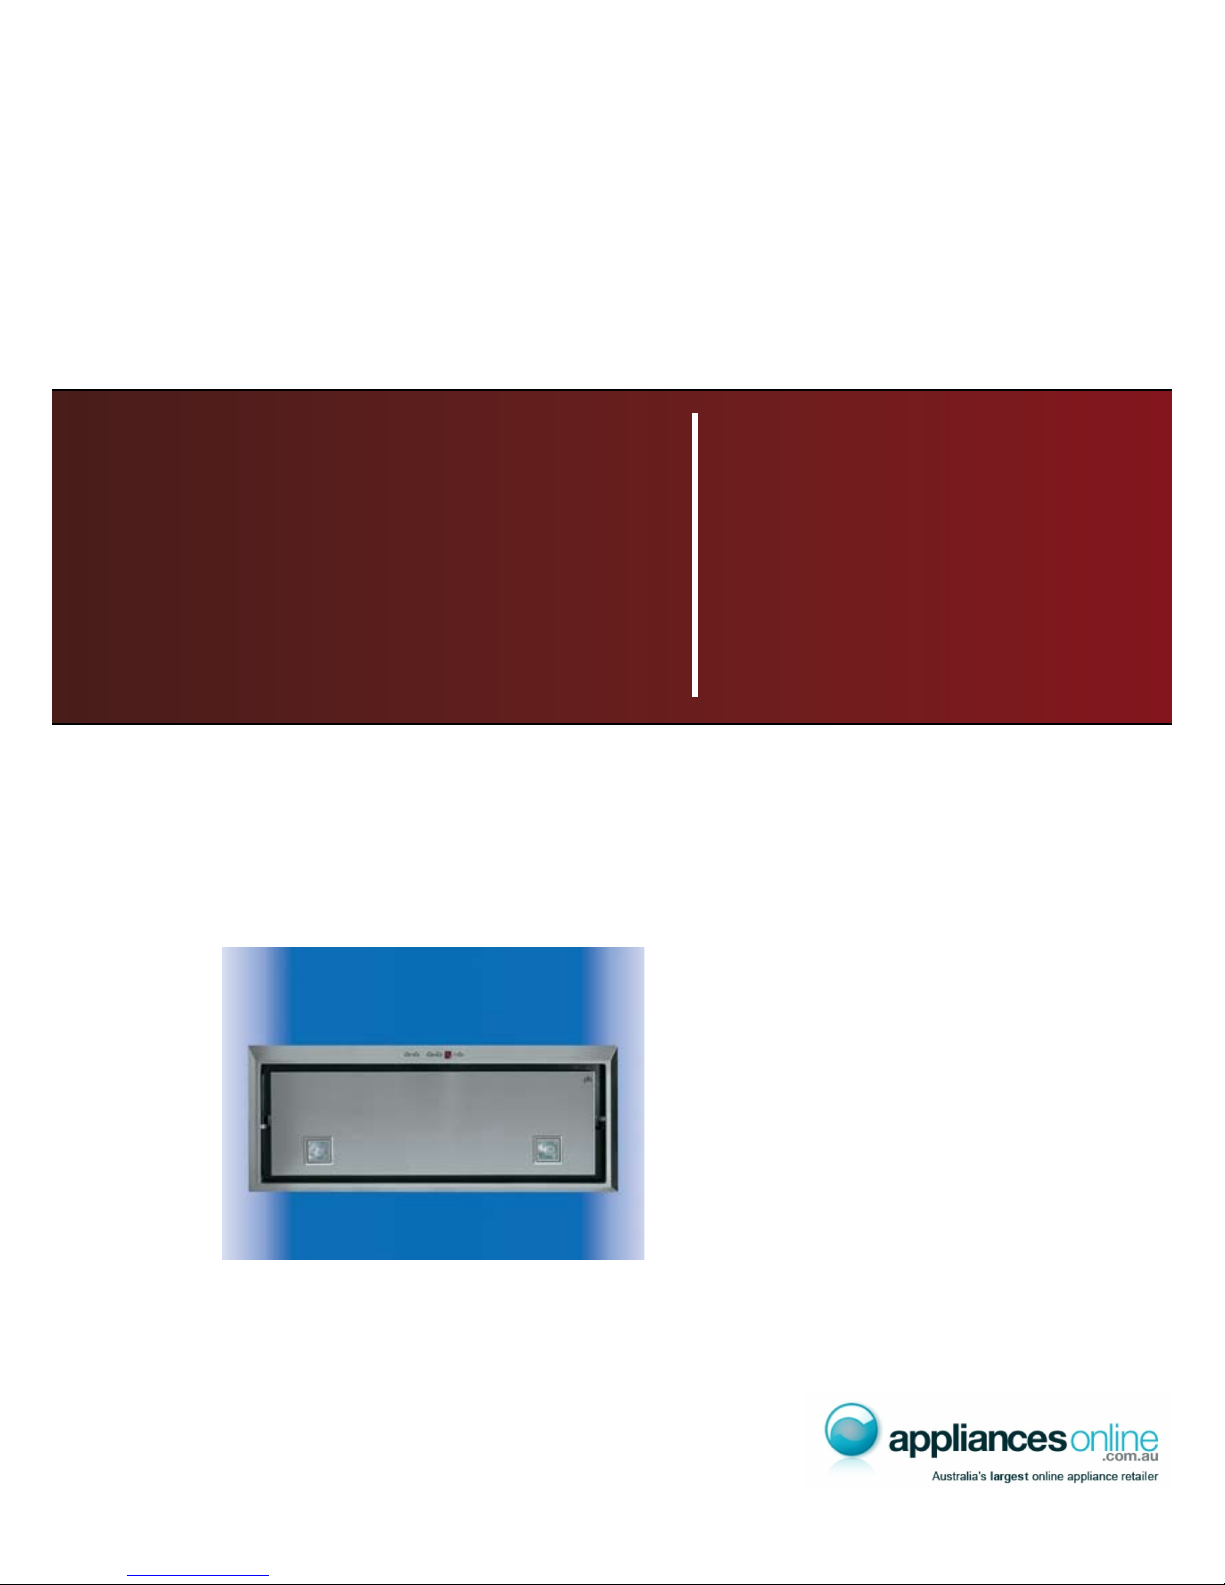
PASC7801FPX
rangehood
smeg
technology with style
���
�
�
�

ENGLISH
DESCRIPTION
The hood may be installed in the filtering or the ducting version. Filtering version (Fig. 1): The hood aspirates the
kitchen air saturated with fumes and odours, purifies it through the grease filters and charcoal filters and returns clean
air into the room. For constant efficiency, the charcoal filters must be replaced periodically. The charcoal filters are not
supplied. Ducting version (Fig. 2): The hood aspirates the kitchen air saturated with fumes and odours, passes it through
the grease filters and expels it to the outside through an outlet pipe. With this version the charcoal filters are not required.
Decide from the outset on the type of installation (filtering or ducting). For greater efficiency, we recommend you install
the hood in the ducting version (if possible).
INSTALLATION
ATTENTION: The appliance should be installed by a qualified operator.
INSTALLATION IN DUCTING VERSION:
1. Before fixing, the disposal duct for air evacuation to the outside must be installed. Use an disposal duct with:
– minimum indispensable length; – minimum possible bends (maximum angle of bend: 90°); – certified material (according
to the State); – an as smooth as possible inside. It is also advisable to avoid any drastic changes in pipe cross-section.
We recommend using a 150 mm diameter pipe. For air evacuation to the outside, follow all the other instructions given
on the “Warnings” sheet.
2. Prepare a suitable power supply. For the electrical connection, follow all the other instructions on the “Warnings”
sheet.
3. Cut a hole in the bottom of the pensile cupboard in order to settle the appliance (Fig. 3). The pensile cupboard
bottom must be 16 mm thick. Check that the fixing tabs (Fig. 4) to the wall unit are positioned at a height suited to the
thickness of the bottom of the wall unit. If this distance is less than the thickness, increase it by unscrewing the 2
corresponding screws inside the hood.
4. Insert the appliance in the hole (Fig. 3).
5. Tighten the 2 screws inside the appliance (Fig. 6) until it fits snug on the bottom of the wall unit. Do not tighten
the two screws strongly to maintain the two metallic clamps in the right position.
6. Connect the disposal duct to the air evacuation pipe of the hood. Use a flexible pipe and lock it to the air evacuation
pipe of the hood with a metal hose clamp (pipe and clamp are not provided). Make the electrical connections.
INSTALLATION IN FILTERING VERSION:
Proceed with installation, making reference to the instructions for the extraction version (see points 2, 3, 4, 5), and
then follow the instructions below.
Connect the hose to the hood air outlet so the air is conveyed to the top of the wall unit; secure the hose with a metal
clamp (hose and clamp are not provided). Make power connections.
Check whether the charcoal filter(or canister) is already installed; if not, assemble it as follows: open the metal panel
and remove the grease filter (Fig. 6); install the charcoal filter: rest the charcoal filter on the motor unit by making the
pins coincide; turn the charcoal filter until this is fast (Fig. 7).
Re-assemble the grease filter and close the metal panel.
DEVICE DISASSEMBLY
During the following operations always support the device.
Tighten the 2 screws inside the device (Fig. 5); moving the 2 small tongues toward the device inside using the right
carvings (Fig. 8); pull out the device from its side.
OPERATION
Depending on the model, the unit is equipped with the following controls:
Controls shown in Fig. 9:
A) Turns the lights off.
B) Turns the lights on.
C) Reduces the motor speed until reaching zero. If pressed for 2" when the Filter Alarm is active, the HOUR counter is
reset.
D) Drives the motor (calling the last speed used) and increases the speed until reaching maximum.
E) Activates/deactivates the sensor (AUTOMATIC or MANUAL mode). In Automatic mode the sensor is active and the
letter “A” appears on the display (L).
L) Display:
- signals the running speed
- signals Automatic mode by displaying the letter “A”. When the motor speed is changed, the running speed is displayed
flashing 3 times, and then the letter “A” reappears.
- signals the filter alarm (with motor off) by displaying the central segment for 30".
FILTER ALARM: Displayed for 30" when the motor is off:
After 30h of operation the central segment lights up on the display; It indicates that the grease filters need to be cleaned.

After 120h of operation, the central segment flashes on the display; It indicates that the grease filters need to be cleaned
and the charcoal filters replaced.
After cleaning the grease filters (and/or replacing the charcoal filters), restart the hour counter (RESET) by pressing the
key C during display of the filter alarm.
GAS SENSOR SENSITIVITY: The sensitivity of the sensor can be modified to suit your requirements. To modify the
sensitivity, the appliance must be in manual mode (i.e. the running speed and not the letter “A” must appear on the display);
If not, press the key E.
Modify the sensitivity by simultaneously pressing the keys D and E. The set sensitivity is indicated on the display. By
means of the buttons C(-) and D(+) the desired sensitivity is set Store the “new” sensitivity by pressing the key E.
ATTENTION: TO PREVENT DAMAGING THE SENSOR, DO NOT USE SILICONE PRODUCTS NEAR THE HOOD!
Controls shown in Fig. 10:
Key A : Turns the lights on/off.
Key B : Reduces and increases lighting intensità.
Key C : reduces the motor speed until reaching minimum. If pressed for about 2", it stops the motor and storse the
speed.
Key D : drives the motor (calling the last speed used) and increases the speed until reaching maximum.
L Display:
- signals the running speed.
- signals the filter alarm (with motor off) by displaying the central segment for 30".
- signals Timer activation with a flashing number.
Key E : activates the TIMER (when the motor is running), so that the hood stops automatically after 5'. Also Zero-sets
hour metering when the Filter Alarm is active (motor OFF).
FILTER ALARM: Displayed for 30" when the motor is off:
After 30h of operation, the central segment lights up on the display; It indicates that the grease filters need to be cleaned.
After 120h of operation, the central segment flashes on the display; It indicates that the grease filters need to be cleaned
and the charcoal filters replaced.
After cleaning the grease filters (and/or replacing the charcoal filters), restart the hour counter (RESET) by pressing
the key E during display of the filter alarm.
Grease filter: particular attention should be given to the anti-grease filter, which must be periodically cleaned when
the filter alarm appears. For any information about the Filter Alarm, please refer to the Commands paragraph.
Disassembly of the anti-grease filter: open the metal panel; push the retainer next to the handle inwards and pull the filter
downwards (Fig. 6). Wash the filter with a neutral detergent.
Charcoal filter: if the machine is used in its filtering version, the charcoal filter must be periodically replaced when
the Filter Alarm appears. For information about the Filter Alarm please refer to the Commands paragraph. Disassembly
of the charcoal filter: open the metal panel; push the anti-grease filter retainer positioned next to the handle inwards, and
pull the anti-grease filter downwards (Fig. 6). Remove the charcoal filter from its relevant housing (Fig. 7).
Replacing the Halogen Bulbs: open the Halogen Bulb hatch by pushing it on one side (on the writing “PUSH”) and
then release (Fig. 11). Replace the bulbs with other bulbs of the same kind. ATTENTION: do not touch the bulb with your
bare hands.
IMPORTANT
In the event of strong vapour concentrations, condensation could form in the lower part of the hood; this is not a defect,
nor does it affect normal operation of the hood.
 Loading...