

Page 1
Instructions for Use
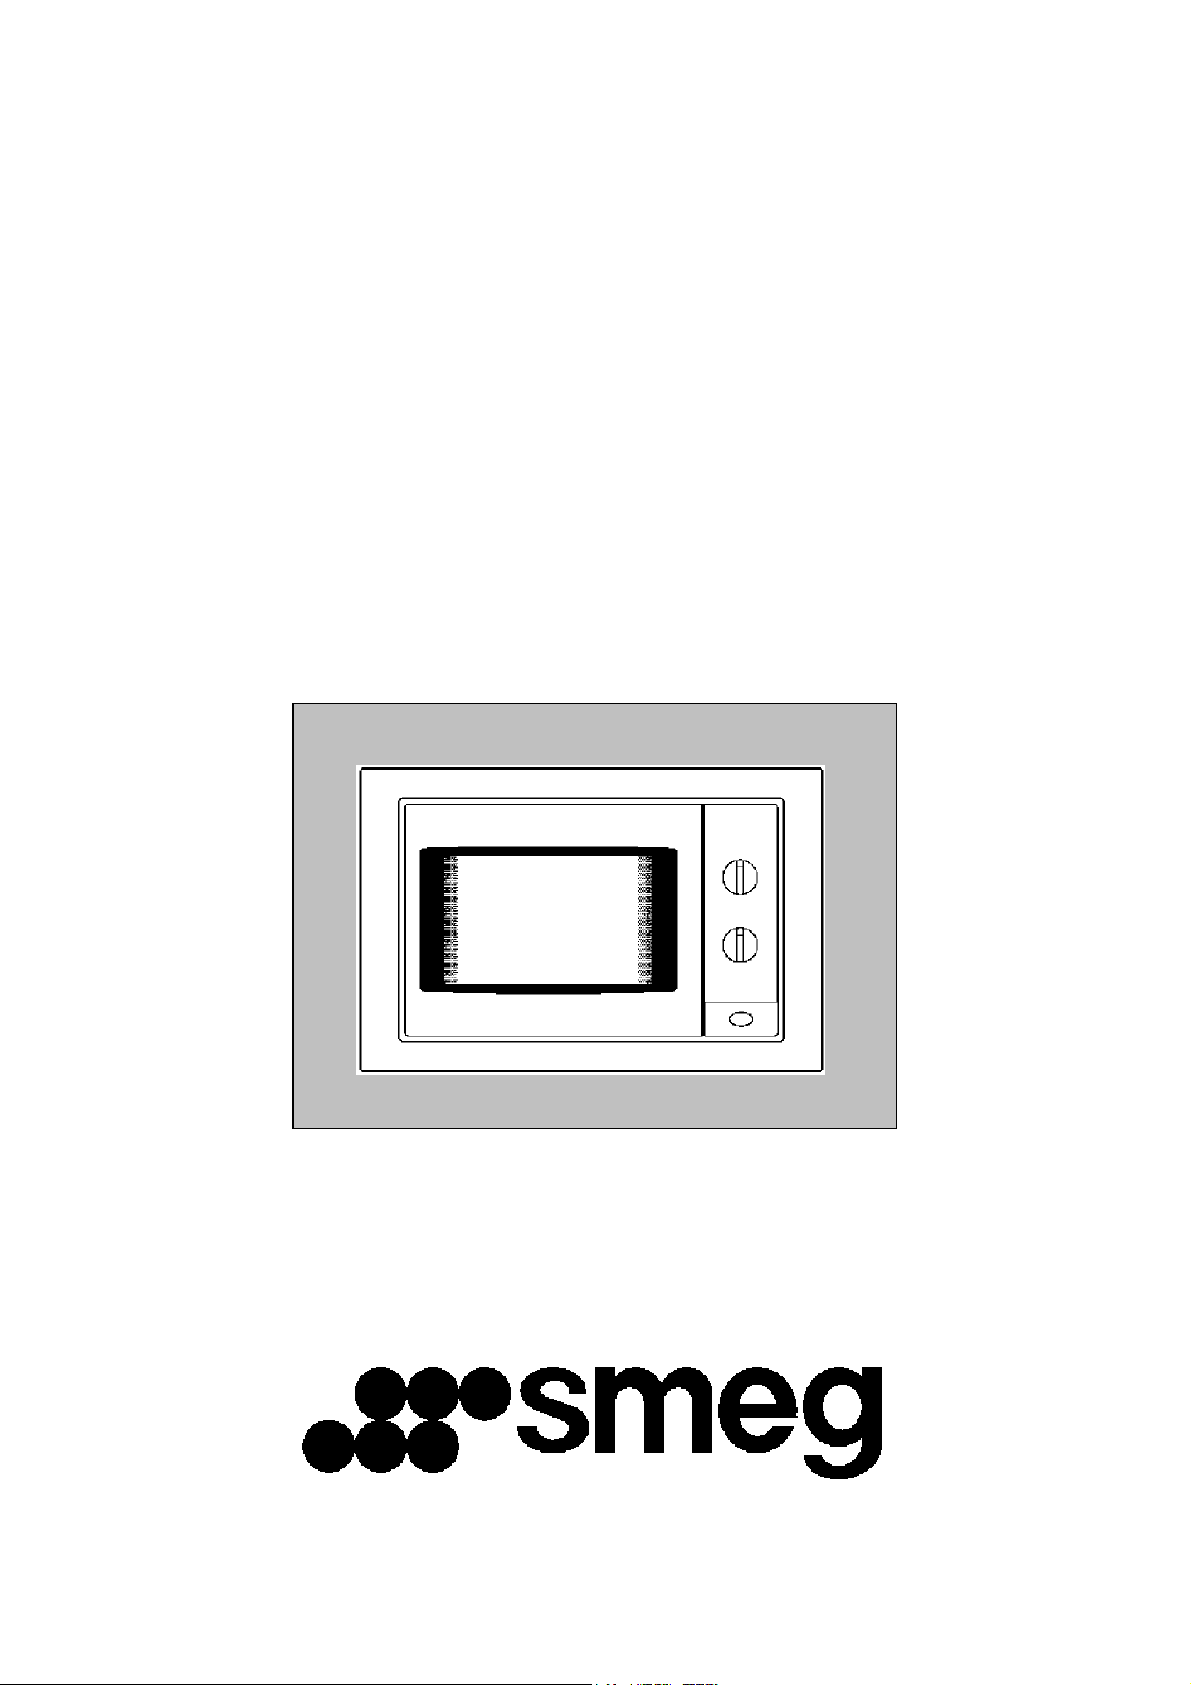
Microwave
Bedienungsanweisung
Mikrowelle
Instructions d’Utilisation
Micro-ondes
Gebruiksaanwijzing
Magnetronoven
Page 2

Page 3

ENGLISH
Dear Client,
Above all, we would like to thank you for choosing our product. We are sure that this modern, functional
and practical microwave oven, manufactured from the best materials, will satisfy your requirements.
You are advised to read our operation manual carefully and the enclosed pamphlet to enable you to get
the best results from your Microwave oven.
PLEASE KEEP THESE DOCUMENTS FOR FUTURE REFERENCE.
NOTE
To benefit from our guarantee, it is vital to present the “Guarantee Certificate” and the receipt of the
purchase, dated and stamped by the selling establishment when you request technical assistance.
Without this requirement the guarantee will not be valid.
1
Page 4

Contents
Installation Instructions...................................................................................................................3
Important Information .....................................................................................................................4
Description of the Microwave Oven ................................................................................................6
The advantages of a microwave oven:.............................................................................................. 6
How the microwave oven works ........................................................................................................ 7
Why does the food heat up?.............................................................................................................. 7
Operating Instruction ....................................................................................................................... 9
Microwave function ............................................................................................................................ 9
Grill Function.....................................................................................................................................10
Microwave and Grill function ........................................................................................................... 10
Functioning Time ..............................................................................................................................11
While Working .................................................................................................................................. 11
Advice for Good Usage of the Oven...............................................................................................13
Working with microwaves ................................................................................................................13
Functioning of the grill .....................................................................................................................14
Advice on the use of Cookware.....................................................................................................15
Metal .................................................................................................................................................15
Glass.................................................................................................................................................. 15
Porcelain ...........................................................................................................................................15
Glazed Ceramic Dishes ....................................................................................................................15
Plastic................................................................................................................................................15
Wood .................................................................................................................................................15
Recipient Test ................................................................................................................................... 16
Lids ....................................................................................................................................................17
Oven Maintenance.........................................................................................................................18
Cleaning ............................................................................................................................................18
Light Replacement ...........................................................................................................................19
Official Technical Assistance Service (T.A.S.)...............................................................................20
Solving Problems.............................................................................................................................. 20
Cord Replacement............................................................................................................................20
2
Page 5

Installation Instructions
Remove oven from packing
Remove all packing materials and accessories from the oven cavity.
Check whether the following parts are in good condition:
- door and hinges;
- front of the oven;
- inside and outside of oven.
Should you find any faults DO NOT USE THE OVEN, and contact your dealer.
Place the oven on a flat stable surface able to support its weight.
- To allow efficient cooling of the microwave, its installation is recommended in a unit with an opening
in the upper part (refer to the installation instructions leaflet enclosed).
The oven should be kept away from heat and vapour sources (electric oven, toasters, etc.).
The oven has been supplied with a mono-phase power supply cord. The appliance must be earthed.
The manufacturers and dealers are not responsible for any breakdowns or personal accidents should
these installation instructions not be followed by the purchaser.
WARNING: THIS APPLIANCE MUST BE EARTHED.
3
Page 6

Important Information
WARNING: If the door or the door hinges are damaged, the oven should not be switched on until repaired
by a qualified technician.
WARNING: It is dangerous for anyone, except a qualified technician, to tamper with the apparatus or try
to repair it in any way by removing any lid or covering which assures protection against the exposure to
microwave energy.
WARNING: Liquids and other food should not be heated in airtight recipients as these can explode.
WARNING: Children should only be allowed to use the oven without adult supervision if they have been
given the appropriate instructions so that they can use the oven safely and understand the dangers of its
incorrect use.
When heating food in plastic or paper recipients, check the oven frequently in case they ignite.
If any smoke is detected, then switch off the oven or disconnect it and keep the door closed in order for
any flame to die out.
After warming up baby bottles or baby food jars, stir or shake its contents and check the temperature
before feeding, to avoid burns.
Warming up drinks in the microwave oven may result in a delayed eruptive boiling, therefore one should
be careful when handling the recipient.
4
Page 7

Eggs with their shell and whole boiled eggs shouldn’t be warmed up in microwave ovens as they may
explode.
Do not use any metal utensils inside the oven unless they were supplied with the oven and for that
purpose.
Do not warm up liquids or other food in closed recipients as they may explode.
Do not warm up pure alcohol or alcoholic drinks. DANGER OF FIRE.
When in doubt, choose short periods to cook, heat or defrost food with microwaves. With long cooking
periods the food may become dry and even begin to burn.
Do not use the oven for anything other than warming, cooking or defrosting food.
Do not operate the oven without its tray nor when empty.
Keep the oven ventilation holes open. Never cover any air vents or openings.
5
Page 8

Description of the Microwave Oven
The advantages of a microwave oven:
In a conventional oven the heat radiated by the resistances or gas burners, slowly penetrates the food
from the outside to the inside. There is, therefore, a great loss of energy in the heating of the air, oven
components and recipients.
On the other hand, in microwave ovens the heat is generated in the interior of the food itself, heating it
from the inside outwards. There is therefore no loss of energy as the air, interior walls of the oven and
recipients (when adequate) do not heat up with microwaves.
In short, microwave ovens have the following advantages:
1. Save on cooking time: in general there is a 3/4 reduction of the cooking time than with conventional
methods.
2. Ultra-quick defrosting which prevents bacteria development.
3. Electricity saving.
4. Maintaining the nutritive value of the food due to the cooking time reduction.
5. Easy cleaning.
6
Page 9

How the microwave oven works
In the microwave oven there is a high voltage valve called "Magnetron" that converts electric energy to
microwave energy. These electromagnetic waves are conducted to the inside of the oven cavity by means
of wave-guide and spread by a mode stirrer or by a turntable.
Inside the oven the microwaves spread out in all directions and are reflected by the metallic walls,
penetrating the food evenly.
Why does the food heat up?
Most food contains water, whose molecules vibrate with microwaves.
The friction between the molecules generates heat, which causes a temperature rise in the food,
defrosting it, cooking it or keeping it warm.
As the heat is formed inside the food:
- It may be cooked with little or no liquid or fat;
- Defrosting, heating or cooking in the microwave oven is quicker than in a conventional oven;
- Vitamins, minerals and nutritive substances are preserved;
- There is no change in the natural food colour and aroma.
7
Page 10

The microwaves travel through porcelain, glass, cardboard or plastic but not through metal. Therefore,
recipients made of or containing metal should not be used in the microwave oven.
The microwaves are reflected by the metal
They travel through glass, porcelain…
They are absorbed by the food.
8
Page 11

Operating Instruction
See picture in enclosed leaflet and do as follows:
1. Plug the microwave oven into a suitable outlet (see installation instructions).
2. Open the door by pressing the Door Open Button (7). In models without this button, you need only pull
the door. The oven light should switch on.
3. Place food in a dish on the tray or on the grill rack.
4. Select function and cooking time according to the following chapters.
5. Shut the door. Models with Start Button (6), press this button.
6. The oven will start working.
Microwave function
Set Function Selector (3) in position corresponding to the required power level in agreement with the
following table.
Position Power Level
A Maximum
B Medium
C Minimum
D Defrost
E Keeping warm
Note: In order to know the numerical value of the different power levels, consult the leaflet.
9
Page 12

Grill Function
Set Function Selector (3) in position K.
The oven has a temperature limit which controls the electric resistances by switching them on and off
within certain limits.
It is advisable to use the grill rack to bring the food closer to the grill and to obtain better results.
Microwave and Grill function
Set Function Selector (3) in position corresponding to the required power level in agreement with the
following table.
Position Power Level
F 5
G 4
H 3
I 2
J 1
Note: In order to know the numerical value of the different power levels, consult the leaflet.
10
Page 13

Functioning Time
Desired functioning time is selected by rotating the Timer Button (5).
For periods shorter than 2 minutes adjust the timer to a higher position and then back to the required
time.
Whenever the timer is in a position other than zero then the oven light should switch on.
When the time is up, the timer will emit a sound signal and oven will automatically be switched off.
While Working ...
The oven door may be opened at any time while in use:
- THE PRODUCTION OF MICROWAVES IS IMMEDIATELY INTERRUPTED;
- The grill will be switched off, however, remaining very hot;
- The timer will stop automatically, indicating the time left.
You may then, if you wish:
- Stir or turn the food, to improve even heating;
- Change the power level on the Power Regulator (4);
- Select another function by setting the Function Selector (3) on another position;
- Change the remaining functioning time by turning the Timer Button (5).
Close the door again and press the Start Button (6) in the models with this button. The oven will start
working.
11
Page 14

CAUTION: at the end of the cooking process turn the Timer Button (5) to zero, otherwise the oven will
start when the door is closed.
Note:
1. To stop the oven before the programmed time, rotate the Timer Button (5) to zero or open the door.
2. While the oven is working, you may change the timer, the power level or the function, by rotating the
respective buttons.
12
Page 15

Advice for Good Usage of the Oven
Working with microwaves
Before using any dish, make sure that it is appropriate for use in microwaves (SEE ADVICE ON THE USE OF
UTENSILS AND RECIPIENTS).
Always make a slit in the food's shell before cooking it.
Whenever heating liquids use a recipient with a large opening to allow the vapour to escape.
Remember that:
1. Larger quantities of food require more cooking time.
2. The lower the food temperature the more cooking time is needed.
3. Less dense foods cook faster.
4. An even distribution of the food in the oven guarantees better results. The cooking of different types
of foods simultaneously is possible by placing the dense food in an outside circle and the less dense
in the centre of the plate.
5. Better results are achieved by allowing the food to stand before serving because it continues to cook
for some time after the oven is switched off.
6. The cooking time may be shortened and the liquids preserved (the food doesn't dry out) by covering
the food. The lids should be transparent to allow the microwaves through and they should have a
small opening for the vapour to escape.
13
Page 16

Functioning of the grill
For best results of the grill, use the grill rack supplied with the appliance.
Do not place the grill rack in contact with the cavity’s metal surface as there may be an electric arc and
consequent damages.
IMPORTANT NOTES:
1. While the grill is being used for the first time, the producting of fumes and odours id normal, due to
the oils used in the manufacturing process.
2. After the first uses of the grill, it is normal for the perforated area that proctets the heating elements
of the grill to deform and to become a golden colour due to the high temperatures that the grill
reaches during use.
3. The glass on the door reaches high temperatures during grilling. Therefore the oven should be
installed at least 80 cm above the floor, SO AS TO BE OUT OF REACH OF CHILDREN.
4. While in operation, the inside walls of the oven and the grill become very hot, therefore the use of
kitchen gloves is recommended.
5. During extended use of the grill it is normal for the heating elements to switch off for short periods
due to the action of the safety temperature limiter.
6. Do not use plastic containers or others that have poor temperature resistance, as these could be
destroyed due to the high temperatures that the grill reaches.
14
Page 17

Advice on the use of Cookware
Metal
Do not use metal dishes, tinned food, food wrapped in tin foil and cutlery inside the microwave oven. The
metal reflects the microwaves and food is not heated.
The food should be removed from its tin foil containers and placed in dishes that are appropriate for use
in the microwave oven. As microwaves don't penetrate tin foil, the food heats only on the surface. By using
appropriate dishes, the heat is evenly distributed throughout the food.
EXCEPTIONS:
To cook or defrost pieces of meat of irregular sizes, you may cover the thinner parts with tin foil, which
should be kept at least 2 cm away from the oven walls, otherwise these may cause an electric arc.
Metal spits may be used as long as they are smaller than the pieces of meat.
Glass
All heat proof glass containers may be used.
Crystal contains a percentage of lead, which may cause it to crack if used in the microwave oven. The
same may happen to glass dishes with jagged edges.
Porcelain
Porcelain dishes may be used but they should not have hollow handles. Humidity may be formed inside
the hollow handles, which will causes an increase in pressure that may cause them to break.
Glazed Ceramic Dishes
This type of dish may heat considerably.
Painted glazed ceramic dishes may be used if the painting is done under the glaze.
Many glazes and colours contain metallic substances. If this is the case they should not be used in the
microwave as they may be damaged.
Recipients with silver and gold glazes may go dark.
Plastic
Plastic dishes should be heat resistant (at least 180° C) or they may be deformed when used in the
microwave. Melamine dishes are not suitable for use in the microwave as they heat up too much.
To cook or heat food in plastic bags, they should be perforated to allow vapour to escape thus preventing
the bag from bursting.
Wood
Wooden recipients should not be used in the microwave. Wood contains water which evaporates and may
cause the recipient to crack.
15
Page 18

Recipient Test
If in doubt about the use of glass, glazed ceramic or porcelain dishes in the microwave oven, do the
following test:
1. Place the empty dish and a glass of water inside the microwave oven;
2. Close the door;
3. Set the Power Level Selector at maximum power;
4. Adjust the timer to 1 minute;
Note: the oven starts
If during this test you hear any noise along with sparks, turn off the oven immediately.
Any kind of cookware that has this kind of behaviour or is very hot when removed from the oven should
not be used in the microwave oven.
EXCEPTIONS:
Glazed ceramic dish recipients contain many water molecules and heat a lot, but can be used in the
microwave oven.
If in doubt, contact the supplier of the cookware, and make sure that they are appropriate for microwaves.
16
Page 19

Lids
The use of glass lids, plastic lids or plastic film is advisable because:
1. They prevent the release of excessive vapours especially when cooking for longer periods.
2. They increase the speed of heating food.
3. They prevent the food from drying up.
4. They prevent the loss of the food aroma.
The lids should have holes to avoid pressure. Plastic film should be perforated.
Baby bottles, baby food jars and other similar recipients should be warmed up without lids as they can
burst.
17
Page 20

Oven Maintenance
Cleaning
MAKE SURE THAT THE OVEN IS UNPLUGGED BEFORE CLEANING THE OVEN.
DON'T USE ABRASIVE CLEANING PRODUCTS.
OUTSIDE
1. Clean the outside surface with a neutral detergent, warm water and dry it with a damp cloth.
2. Avoid water from entering the oven ventilation holes.
INSIDE
1. Clean the oven walls with a damp cloth after each use.
2. Avoid water from entering the ventilation holes in the oven's interior.
3. If some time has passed by since the last cleaning and the oven's interior is dirty, place a glass of
4. The tray can be washed with regular dish washing detergent or in the dishwasher.
DOOR, DOOR SEAL, AND OVEN FRONT
1. These parts should always be clean, especially the contact surface between the door and the oven
2. Use neutral detergent, warm water and dry the surface with a soft cloth.
water on the tray and switch on the oven for 4 minutes on the highest setting. Moisture will form on
the oven walls which will be easily cleaned.
front, to prevent microwave leakage.
18
Page 21

Light Replacement
In some models the light may be replaced by the user. These ovens have a lid on the left-hand side.
To replace the light, do as follows:
1. Unplug the oven;
2. Remove the lid from the light compartment;
3. Replace the light bulb for a new one (25 W);
4. Replace the lid.
WARNING
Assistance Service because special tools are required.
: in the models without the lid to replace the light bulb, this should be done by the Technical
19
Page 22

Official Technical Assistance Service (T.A.S.)
Solving Problems
Repairs or interventions carried out by an unqualified serviceman can cause dangerous situations.
Every and any kind of repair or intervention should be done by the manufacturer, authorised agents or
qualified technicians.
If you detect any abnormalities in the oven, check the following before you contact T.A.S:
1. Check if the outlet into which the oven is plugged has power. To do so, plug another appliance into the
same outlet and check if it works.
2. If the oven lamp switches on, but the food does not heat up, check if the door is well closed (if the
door is not properly closed, no microwaves will be produced).
Cord Replacement
If the cord is damaged, it should be replaced by the manufacturer, authorised agents or qualified
technicians in order to avoid any dangerous situation and also because special tools are required.
20
TEXTO “17G
Page 23

SMEG S.p.A.
VIA CIRCONVALLAZIONE NORD, 36
42016 GUASTALLA RE
ITALIA
Tel.: +39 0522 837 777
Fax: +39 0522 838 384
Cod.: 183813 - a
Page 24

¡PRECAUCIÓN! Durante el funcionamiento del horno
ES
microondas, el marco y la puerta pueden alcanzar
temperaturas que aconsejan tener precaución
durante su utilización.
¡ATENCIÓN! Por motivos de seguridad, el ventilador
ES
comienza a funcionar cuando se abre la puerta, no
generándose microondas mientras la puerta esté
abierta.
FME | 18EX
VORSICHT! Der Mikrowellenherd kann wáhrend der
DE
inbetribnahme na tür und türrahmen bohe
temperaturen erreichen, vorsicht ist empfohlen.
WARNING! During the functioning of the microwave
GB
oven, the frame and the door may reach
temperatures which require care when using the
appliance.
ATTENTION! Lors du fonctionnement du four micro-
FR
ondes, le cadre et la porte peuvent atteindre des
températures élevées qui nécessitent de prendre
desprécautions pendant son utilisation.
ATENÇÃO! Durante o funcionamento do forno micro-
PT
ondas,o aro e a porta podem alcançar temperaturas
elevadas pelo que se aconselha precaução durante a
sua utilização.
WAARSCHUWING! Wanneer de magnetron in werking
NL
is kunnen de rand en de deur heel erg warm worden,
voozichtigheid is dan ook geboden.
PRECAUZIONE! Durante il funzionamento del forno
IT
microonde, la cornice e la porta possono raggiungere
temperature che consigliano di agire con precauzione
durante il suo utilizzo.
ΠΡΟΣΟΧΗ! Κατά την διάρκεια λειτουργίας του
GR
φούρνου µικροκυµµάτων το πλαίσιο και η πόρτα
µπορεί να θερµανθούν υπερβολικά γι’ αυτό και
συνίσταται προσοχή κατά την διάρκεια της χρήσης
του.
ACHTUNG! Sobald sie die tür öffnen, wird aus
DE
Sicherheitsgründen sofort die beluftung aktiv und die
erzeugung von microwellenenergie gestoppt.
ATENTION! For safety purposes, the ventilator starts
GB
working when the door is opened . No microwaves
are produced while the door is open.
ATTENTION! Pour des raisons de sécurité, le
FR
ventilateur se met en marche lors de l’ouverture de la
porte. Aucune micro-ondes n’est produite tant que la
porte est ouverte.
ATENÇÃO! Por motivos de segurança, o ventilador
PT
começa a funcionar quando se abre a porta, não
sendo geradas microondas enquanto a porta estiver
aberta.
OPMERKING! Uit veiligheidsoverwegingen begint de
NL
ventilator te werken zodra de deur wordt
opengedaan, zodoende worden er geen microgolven
voortgebracht terwijl de deur open staat.
ATTENZIONE! Per motivi di sicurezza, il ventilatore
IT
comincia a funzionare quando viene aperta la porta,
non generandosi microonde finché la porta è aperta.
ΠΡΟΣΟΧΗ! Για λόγους ασφαλείας, ο εξαεριστήρας
GR
αρχίζει να λειτουργεί όταν ανοίγει η πόρτα. ∆εν
παράγονται µικροκύµµατα ενόσω η πόρτα παραµένει
ανοιχτή.
Microondas
Mikrowelle
Microwave
Micro-ondes
Magnetronoven
Microonde
Μικροκυµµάτων
1830024
Page 25

z
V
W
W
W
z
m
m
g
Niveles de potencia. Einstellung der leistung. Power Levels.
V
Niveaux de puissance. Níveis de potência
ermogensstanden. Livelli di Potenza. Επίπεδα Ισχύος.
Electrical Diagram
Microondas. Mikrowelle.
Microwave. Micro-ondes.
Microonde. Μικροκύµµατα.
Grill + Microondas.
Grilleistung + Mikrowelle.
Grill + Microwave.
Gril + Micro-ondes.
Grill + Microonde.
Γκριλ + Μικροκύµµατα.
Grill. Grilleistung .
Gril. Grelhador Γκριλ.
P 01 -------- 130W
P 02 ------- 240W
P 03 ------- 440W
P 04 ------- 640W
P 05 ------- 800W
Especificaciones. Leistungsbesschreibung. Specifications. Spécifications. Especificações.
Specificaties. Specifiche. Προδιαγραφές.
• Tension CA. Wechselspannung. AC Line Voltage. Tension CA. Tensão AC. Spanning CA.
Tensione CA. Τάση CA. ---------------------------------------------------------------------------------------------------------------------------------------------- 230 V / 50 H
• Fusible. Sicherung. Fuse. Fusible. Fusível. Zekering. Fusible. Ασφάλεια. --------------------------------------------------------------- 12 A / 250
• Potencia requerida. Aufgenommen Leistung. Power required. Puissance requise. Potência requerida.
Vereist vermogencia. Potenza richiesta. Απαιτούµενη ισχύς. ------------------------------------------------------------------------------------------- 1200
• Potencia del grill. Grilleistung. Grill power. Puissance du gril. Potência do grelhador
Vermogen van de grill. Potenza del grill. Ισχύς γκριλ. -------------------------------------------------------------------------------------------------------- 1050
• Potencia de salida microondas. Mikrowellenausgangsleistung. Microwave output power.
Puissance de sortie micro-ondes. Potência de saída microondas. Uitgangsvermogen magnetron.
Potenza de uscita microonde. Ισχύς εξόδου µικροκυµµάτων. -------------------------------------------------------------------------------------------- 800
• Frecuencia de microondas. Mikrowellenfrequenz. Microwave frequency.
Frequence de micro-ondes. Frequência de microondas. Frequentie van de microgolf.
Frequenza di microonde.
• Dimensiones exteriores (An×Al×F). Außenabmessungen (B×H×T). External dimensions (W×H×D).
Dimensions exterieures (L×H×P). Dimensões exteriores (L×A×P).Buitenafmetingen (BxHxL).
Dimensioni esterne (Larg.xLung.xPr.). Εξωτερικό µέγεθος (Πλ x Υψ x Β). ------------------------------------------------ 480 × 305 × 340 m
• Dimensiones de la cavidad (An×Al×F). Innenabmessungen (B×H×T).
Cavity dimensions (W×H×D). Dimensions de la cavité (L×H×P). Dimensões da cavidade (L×A×P).
Afmetingen van de uitsparing (BxHxL). Dimensioni della cavità (Larg.xLung.xPr).
Mέγεθος χώρου (Πλ x Υψ x Β) ---------------------------------------------------------------------------------------------------------------------- 305 × 210 × 280 m
• Capacidad del horno. Fassungsvermögen. Oven capacity. Capacité du four. Capacidade do forno.
Capaciteit van de oven. Capacità del forno. Χωρητικότητα του φούρνου. ----------------------------------------------------------------------------- 18 l
• Peso. Gewitct. Weight. Poids. Peso. Gewicht. Peso. Βάρος. ------------------------------------------------------------------------------------------------ 21 k
Συχνότης µικροκυµµάτων. --------------------------------------------------------------------------------------------------- 2450 MH
 Loading...