

Page 1

11/22Mbps Wireless
CardBus / PCI Adapters
User Guide
SMC2435W & SMC2402W
V2.0
Page 2

The EZ Connect TURBO Cards are IEEE 802.11b - compliant 11/22
Mbps auto-sensing wireless network adapters. They meet the needs of
small business and corporate users who require backwards
compatibility with a 11 Mbps wireless connection to an existing LAN.
In addition, they provide exceptional scalability to 22 Mbps through
the use of Packet Binary Convolutional Code (PBCC) technology.
These new adapters feature an operating range of up to 1,155 feet
and true plug-and play installation in all notebook computers.
System Requirements
• SMC2435W: Available Cardbus PCMCIA Type II slot
• SMC2402W: Available PCI Bus-Master slot
• Windows 98/Me/2000/XP
• Minimum of 1 MB available hard disk space for utility and driver
installation
• Another IEEE 802.11b compliant device installed in your network,
such as the SMC2404WBR Barricade Turbo Wireless Cable/DSL
Broadband Router, or another PC with a wireless adapter, such as
the SMC2662W EZ Connect Wireless USB Adapter.
Equipment Checklist
After unpacking the EZ Connect TURBO 11/22 Mbps Auto-Sensing
Wireless Adapter, check the contents of the box to be sure you have
received the following components:
• 1 Wireless Cardbus Adapter (SMC2435W) or 1 Wireless PCI Card
(SMC2402W)
• 1 Driver, Utility, & Documentation CD
•Manual
Immediately inform your dealer in the event of any incorrect,
missing or damaged parts. If possible, please retain the carton
and original packing materials in case there is a need to return
the product. The EZ Connect TURBO Wireless Adapters are
covered by a limited lifetime warranty.
SMC2435W: Installation Instructions
Warning:
• Network cards are sensitive to static electricity. To protect the
card, avoid touching its electrical components and always touch
the metal chassis of your computer before handling the card
1) Turn on your computer and insert the Driver, Utility, and
Documentation CD. Run the utility software and then reboot when
requested.
2) Find an available Cardbus slot in your computer.
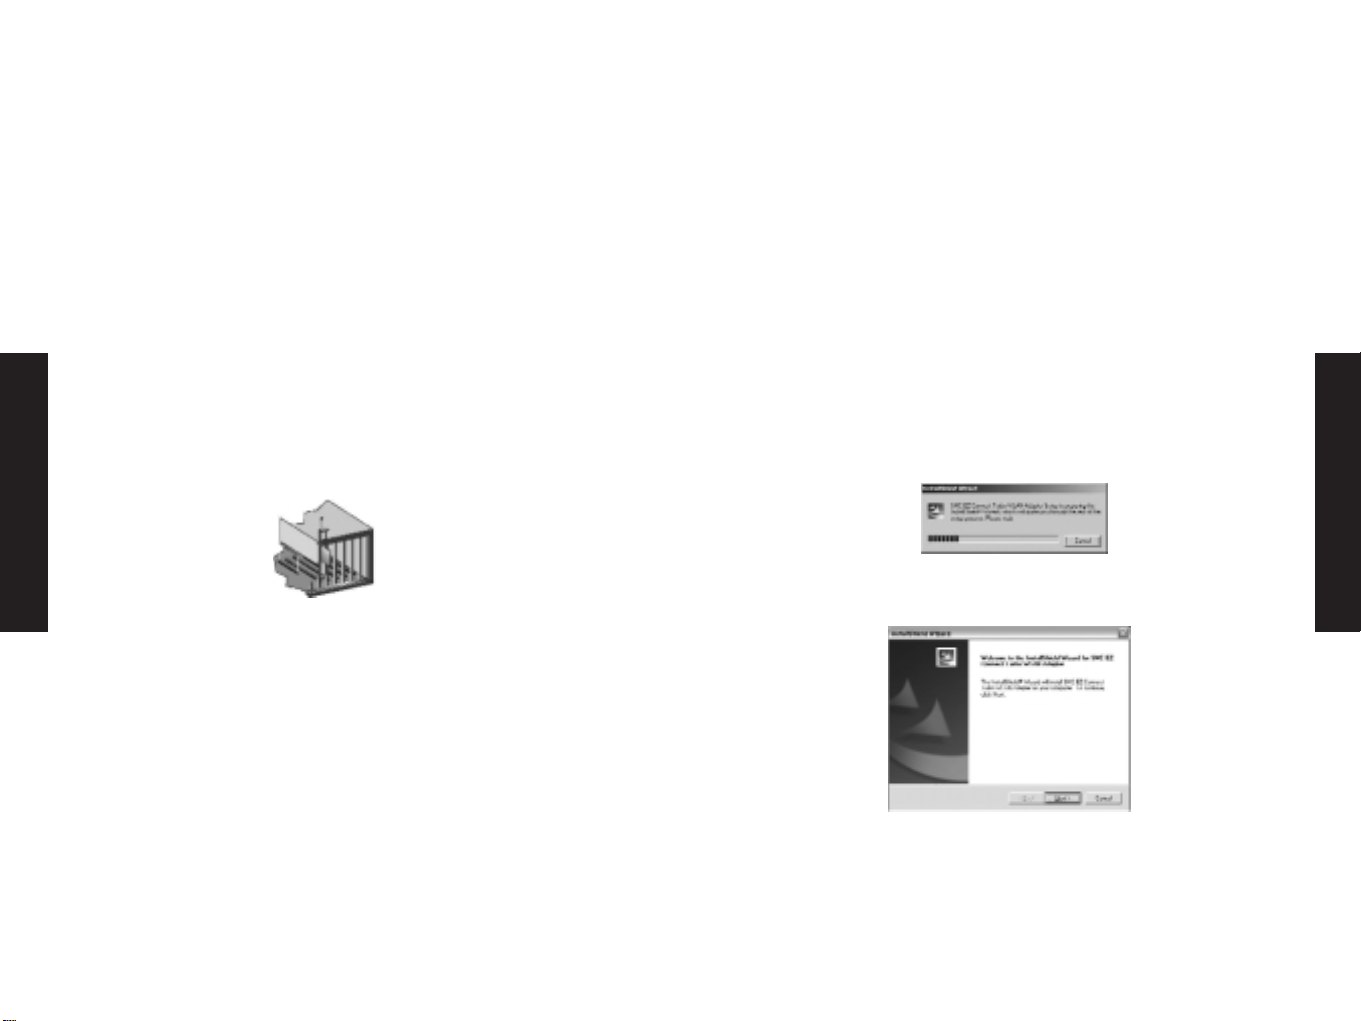
3)With the SMC2435W Wireless Cardbus Adapters 68-pin
connector facing the Cardbus slot, and the “EZ Connect
TURBO”label facing up, slide the card completely into the
Cardbus slot as shown below:
4) For Windows 98/Me/2000, Cardbus specification is required. Please
check the documents for your Cardbus adapter driver before
installing the software driver for the EZ Connect TURBO Wireless
Cardbus Adapter.
English
English
1 2
Page 3
Driver Installation Option #1 (Recommended)
Windows 98/Me/2000/XP
NOTE: Installation processes such as these usually require the use of
your original, licensed copy of Windows. Please have your Windows
CD on hand BEFORE proceeding with the installation.
This Installation method makes the process as simple and Plug-andPlay as possible. Simply run the driver/utility program, reboot your
machine and insert your EZ Connect TURBO Wireless Card. It's as easy
as 1-2-3.
Step 1: Insert the Driver, Utility and Documentation CD.
Step 2: Click [Start], click [Run] and type [?:\Utility\setup.exe]
(Note: The ? equals the letter of your CD-ROM drive. In most cases,
this is D.)
Step 3: The installation wizard will begin.
Step 4: Click [Next >] to continue.
English
English
5) The card will be automatically installed upon insertion. Once
complete, you may take advantage of the wireless functionality
this adapter has to offer.
SMC2402W: Installation Instructions
1) Turn on your computer and insert the Driver, Utility, and
Documentation CD. Run the utility software and then reboot when
requested.
2) Switch off the computer, unplug the power cord, and remove the
computer's cover. Select an unused PCI bus-master slot and remove
its protective bracket.
3) Carefully insert the card and press until all edge connectors are
firmly seated inside the slot. Then, screw the card's bracket
securely into the PC's chassis and put the computer's cover back in
place.
4) Boot up the machine.
5) The card will be automatically installed during the Operating
System's boot-up process. Once complete, you may take advantage
of the wireless functionality this adapter has to offer.
3 4
Page 4
Step 5: You will be given the option to choose the location where
the Configuration Utility will be installed. It is recommended to leave
this at the default value. Click [Next >] to continue.
Step 6: Please set the selection to [Yes] and click [Finish] to reboot
the machine. Then shut down the computer, insert your EZ Connect
TURBO Cardbus Adapter or PCI Wireless Card, and boot up your
machine again.
Step 7: Once the OS is booted up, it will find the new hardware and
automatically install it.
The following are OS specific options that may appear during this
installation procedure:
Windows 98: If you are using Windows 98, you must have your
original Windows CD on hand. The system will request it near the end
of the installation process.
Windows Me: The installation process is fully Plug-and-Play. You will
be asked to reboot when the process is complete.
Windows 2000: Click [Yes] if asked to continue the installation
with-out a Digital Signature.
Windows XP: Select [Install the software automatically] if asked and
click [Next] to complete the installation. Click [Continue Anyway] if a
Logo testing window appears.
Continue to the Utility Configuration section for documentation on
how to use the utility application for your adapter.
Driver Installation Option #2
Click on the icon for your OS to view the directions:
Note: Windows 98, Me, 2000 and XP are registered trademarks of
Microsoft.
English
English
5 6
Page 5

Windows 98 - Driver Installation
NOTE: Installation processes such as these usually require the use of
your original, licensed copy of Windows. Please have your Windows
CD on hand BEFORE proceeding with the installation.
Step 1: After you have inserted the EZ Connect TURBO 11/22 Mbps
Auto-Sensing Wireless Card in your machine, the OS will
automatically recognize the adapter and prompt you for the
appropriate drivers. Click the [Next >] button to begin the
installation.
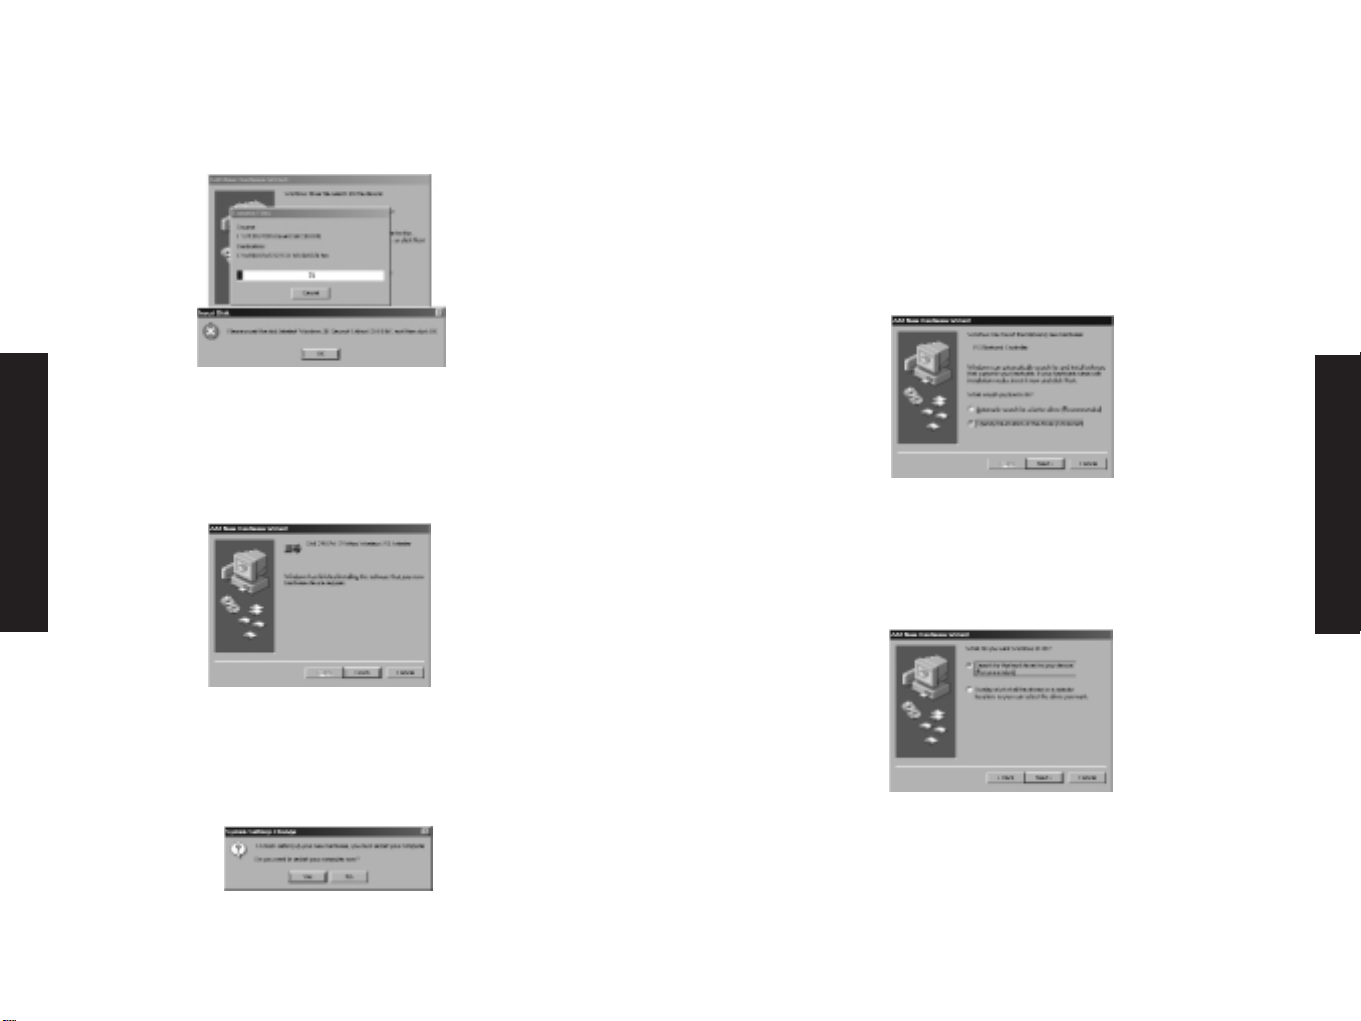
Step 2: Insert the Driver CD and select the [Search for the best driver
for your device] option and click [Next >].
Step 3: Clear all checkboxes except for [Specify a location:]. Then
press the [Browse] button and look for the drivers on your CD-ROM.
Browse to ?:\Driver. (Note: The "?" equals the letter of your CD-ROM
drive. In most cases, this is D.)
Step 4: The system should find the drivers. Now click the [Next >]
but-ton to continue the installation. The wizard will show
"SMC2402W 22Mbps Wireless PCI Adapter" if you purchased the PCI
Card or "SMC2435W 22Mbps Wireless Cardbus Adapter" if you
purchased the Cardbus Adapter.
(Note: If the system could not find the drivers, click the [< Back]
but-ton, and select the [Display a list of all the drivers...] option.
Select [Network Adapters] from the list of devices, press [Have Disk]
and once again browse to the location of the drivers)
English
English
7 8
Page 6
English
English
Step 5: Once the system has copied the SMC drivers from the CD, it
may then request files from your original Windows disk. Please insert
the Windows CD at this time.
Step 6: The system will copy the files. Do NOT press [Cancel].
Step 7: Once all the necessary files are copied from the Windows
disk, the driver install process will be complete. Click [Finish] to exit
the wizard.
Step 8: You will then be prompted to reboot the machine. Please
press [Yes]. Upon reboot, the EZ Connect TURBO Wireless Card will be
initialized and ready for use.
Windows Me - Driver Installation
NOTE: Installation processes such as these usually require the use of
your original, licensed copy of Windows. Please have your Windows CD
on hand BEFORE proceeding with the installation.
Step 1: After you have inserted the EZ Connect TURBO Wireless Card in
your machine and turned it back on, the OS will automatically
recognize the adapter and prompt you for the appropriate drivers.
Select the [Specify the location of the driver] option. Then click the
[Next >] button to begin the installation.
Step 2: Insert the Driver CD and select the [Specify a location:]
option. Clear the [Removable Media] checkbox. Then press the
[Browse] button and look for the drivers on your CD. This should be
located in ?:\Driver. (Note: The ? equals the letter of your CD-ROM
drive. In most cases, this is D.) Then click [Next >].
9 10
Page 7

English
English
Step 3: The system should find the drivers. Now click the [Next >]
button to continue the installation. The wizard will show "SMC2402W
22Mbps Wireless PCI Adapter" if you purchased the PCI Card or
"SMC2435W 22Mbps Wireless Cardbus Adapter" if you purchased the
Cardbus Adapter.
(Note: If the system could not find the drivers, click the [< Back]
but-ton, and select the [Display a list of all the drivers] option.
Select [Network Adapters] from the list of devices, press [Have Disk]
and once again browse to the location of the drivers)
Step 4: Once all the necessary files have been copied, the driver
installation is complete. Click [Finish] to exit the wizard.
Step 5: You will then be prompted to reboot the machine.
Please press [Yes]. Upon reboot, the EZ Connect TURBO Wireless
Card will be initialized and ready for use.
Windows 2000 - Driver Installation
Step 1: After you have inserted the EZ Connect TURBO Wireless
Card in your machine and turned it back on, the OS will
automatically rec-ognize the adapter and prompt you for the
appropriate drivers. Click the [Next >] button to begin the
installation.
Step 2: Insert the Driver CD and select the [Search for a
suitable driver...] option. Then click [Next >].
Step 3: Clear all checkboxes except for [Specify a location].
Then click [Next >].
11 12
Page 8

Step 4: You will then be prompted to enter the location of the
driv-ers. This should be ?:\Driver. (Note: The ? equals the letter
of your CD-ROM drive. In most cases, this is D.) Then click [OK].
You can also click Browse] and browse to the location of the
drivers on the CD for fur-ther verification.
Step 5: The system should find the drivers. Now click the [Next
>] button to continue the installation. (Note: If the system
could not find the drivers, click the [< Back] button, and select
the [Display a list of the known drivers...] option. Select
[Network Adapters] from the list of devices, press [Have Disk]
and once again browse to the location of the drivers)
Step 6: Click [Yes] to continue the installation. Please do NOT click
[No] as this will cancel the driver wizard and the card will not be
installed properly. The wizard will show "SMC2402W 22Mbps Wireless
PCI Adapter" if you purchased the PCI card or "SMC2435W 22Mbps
Wireless Cardbus Adapter" if you purchased the Cardbus Adapter.
Step 7: You have now completed the driver installation. Click [Finish]
to initialize the adapter.
English
English
13 14
Page 9

Windows XP - Driver Installation
Step 1: After you have inserted the EZ Connect TURBO Wireless
Card in your machine and turned it back on, the OS will
automatically rec-ognize the adapter and prompt you for the
appropriate drivers. Click the [Next >] button to begin the
installation.
Step 2: Insert the Driver CD and check the [Include this
location in the search] option. Make sure the [Search removable
media] option is not checked. Click [Browse] and find the
location of the drivers. This should be ?:\Driver. (Note: The ?
equals the letter of your CD-ROM drive. In most cases, this is D.)
Then click [Next >].
Step 3: Click [Continue Anyway] to continue the installation.
Please do NOT click [STOP Installation] as this will cancel the
driver wizard and the card will not be installed properly. The
wizard will show "SMC2402W 22Mbps Wireless PCI Adapter" if
you purchased the PCI card or "SMC2435W 22Mbps Wireless
Cardbus Adapter" if you pur-chased the Cardbus Adapter.
Step 4: This process will be completed once the drivers are
copied to the hard drive and installed. Please click [Finish] to
exit the wizard.
After clicking [Finish], you will see the following message in
your system tray:
English
English
15 16
Page 10

How Do I Know the Card is Installed?
This section will help you verify that the adapter is installed
properly. Click on the icon for your OS to view the directions:
Note: Windows 98, Me, 2000 and XP are registered trademarks of
Microsoft.
Windows 98 - Verification
Step 1: Right-click the My Computer icon on your desktop and click
[Properties].
Step 2: Then go to the [Device Manager] tab and open the [Network
adapters] section. You should see your EZ Connect TURBO Wireless
Adapter in this menu. Highlight it and click [Properties].
Step 3: The Device Status shows that the "This device is
working properly". If there are any error messages displayed
here, you will need to click the SMC adapter and click [Remove].
Then reboot the machine and go through the installation process
again.
Windows Me - Verification
Step 1: Right-click the My Computer icon on your desktop and
click [Properties].
Step 2: Then go to the [Device Manager] tab and open the
[Network adapters] section. You should see your EZ Connect
TURBO Wireless Adapter in this menu. Highlight it and click
[Properties].
Step 3: The Device Status shows that the "This device is
working properly". If there are any error messages displayed
here, you will need to click the SMC adapter and click [Remove].
Then reboot the machine and go through the installation process
again.
English
English
17 18
Page 11

Windows 2000 - Verification
Step 1: Right-click the My Computer icon on your desktop and
click [Properties].
Step 2: Then go to the Hardware tab and click [Device
Manager]. Open the [Network adapters] section. You should see
your EZ Connect TURBO Wireless Adapter in this menu. Rightclick your adapter and click [Properties].
Step 3: The Device Status shows that the "This device is working
properly". If there are any error messages displayed here, you will
need to right-click the SMC adapter and click [Uninstall]. Then reboot
the machine and go through the installation process again.
Windows XP - Verification
Step 1: Click [Start] and click [Control Panel]. Then click the
[Performance and Maintenance] icon and select [System].
Step 2: Then go to the Hardware tab and click [Device
Manager]. Open the [Network adapters] section. You should see
your EZ Connect TURBO Wireless Adapter in this menu. Rightclick the adapter and click [Properties].
English
English
19 20
Page 12

Step 3: The Device Status shows that "This device is working
properly". If there are any error messages displayed here, you will
need to right-click the SMC adapter and click [Uninstall]. Then reboot
the machine and go through the installation process again.
Utility Installation
NOTE: If you completed [Option #1] to install the drivers, then
you have already installed the utility as well. Please skip to the
next sec-tion. If you completed [Option #2], please complete
the steps below to install the utility.
Step 1: Insert the Driver, Utility and Documentation CD.
Step 2: Click [Start], click [Run] and type [?:\Utility\setup.exe]
(Note: The ? equals the letter of your CD-ROM drive. In most
cases, this is D.)
Step 3: The installation wizard will begin.
Step 4: Click [Next >] to continue.
Step 5: You will be given the option to choose the location
where the Configuration Utility will be installed. It is
recommended to leave this at the default value. Click [Next >]
to continue.
Step 6: Please set the selection to [Yes] and click [Finish] to
reboot the machine. Then once the OS is back up and running,
you should see a new icon in your system tray that launches the
wireless card utility
English
English
21 22
Page 13

Continue to the Utility Configuration section for documentation
on how to use the utility application for your adapter.
Utility Configuration
When the utility program is running, there will be a quick launch
icon in the lower right-hand corner of the task bar. The icon will be
GREEN if you have a good connection to a wireless network. If it is
white, you will need to verify the network settings and check to be
sure that the AP is turned on. You may also need to reposition the
AP and possibly place it in a higher position so that you are able to
gain more wireless signal strength.
Double-click the quick launch icon in the system tray to bring
up the Configuration Utility. This provides quick access to
management statistics and adapter settings.
The Configuration Utility includes the following tabs:
Link Info: Allows you to view/monitor network status and
throughput.
Configuration: Allows you to make changes to the wireless card
settings such as the Preamble, BSS Type (Mode), and SSID.
Site Survey: Displays all the Access Points within range of the wireless adapter's signal. Encryption: Provides Wired Equivalent Privacy
(WEP) security control. About: Shows the version information.
Link Info
When the Configuration Utility is initialized, the Link Info
window will be immediately shown. This will show you the
connection status of the wireless adapter. If you are connected
to the network in Infrastructure mode, you should see the
oscillating bars next to Signal Strength and Link Quality. The
Status field will show that it is "Associated" as well.
Settings cannot be changed on this tab. This tab gives you the
data you need to determine which wireless network you are
connected to and your connection speed. It also shows the SSID
and Channel of that network, and it gives you throughput and
link quality statistics.
Configuration
To change the settings, simply enter the new desired values and
click the [Apply] button. Note that when configured in
Infrastructure mode, you cannot change the Channel. The
wireless adapter will automatically sync to the same channel
that the Access Point is using. The SSID should be configured to
the same value as that of the Access Point.
BSS Type: Set the station operation mode to "Adhoc" for
network configurations that do not include an Access Point (i.e.
- Peer-to-Peer networks). Set the operation mode to
"Infrastructure" for configura-tions that utilize an AP for
wireless connectivity to an Ethernet LAN. ("Infrastructure" is
the default setting.)
English
English
23 24
Page 14

Channel: If you are setting up an Adhoc wireless LAN, set the
channel number to the same value on all wireless clients.
However, if you are connecting to a network via an AP, then the
channel will be automati-cally set to the channel of the AP.
SSID: Input an SSID for the wireless network to which you want
to connect. If you will be roaming among multiple Access Points
with different BSSID's, set the SSID to "ANY" to allow
connection to any access point.
Tx Rate: Indicates the data transmission rate. To optimize
perform-ance and range, it is best to set this value at Auto.
Lower speeds will usually allow you to gain more range. When
set to Auto, the adapter will auto-sense the speed and provide
the highest through-put that your environment allows.
Preamble: It is highly recommended that you leave this value at
default.
Power Mode: The choices are "Continuous Access Mode", "Maximum
Power Save", and "Fast Power Save". The Power Mode is set to
Continuous Access Mode by default. When enabled on a laptop, the
power saving mode can reduce power consumption by the wireless PC
card and extend the battery life of your laptop.
Encryption
For more secure data transmissions, set encryption to "256 bits",
"128 bits" or "64 bits". The 256-bit setting gives the highest
level of securi-ty. The setting must be the same for all clients in
your wireless net-work. By default, the WEP is disabled. For HEX
"Key Format", the security is enabled by entering 10-digit keys
for the 64-bit WEP configuration, 26-digit keys for a 128-bit
WEP configuration or 58-digit keys for a 256-bit WEP
configuration. For ASCII "Key Format", the security is enabled by
entering 5-letter keys for 64-bit WEP, 13-letter keys for 128-bit
WEP or 29-letter keys for 256-bit WEP.
Site Survey
The Site Survey tab scans and displays all Access Points in the
wire-less LAN. To choose a network, simply highlight it and click
the [Connect] button on the right. The Site Survey shows the
MAC address of the wireless network, the SSID, the encryption
status, and the channel the network is using. If the "AP" option
shows NO, then this means that there is no Access Point on that
network - or in other words, it is an Adhoc network. If the "AP"
option shows YES, then there is an Access Point on that
particular wireless network.
When you press [Connect], you will be able to verify the
settings and enter the required WEP keys, if any. If the network
does not require WEP, the encryption portion will be grayed out.
You can also set up different Profiles by changing the "Profile
Name". By default, the "Profile Name" is the same as the SSID.
English
English
25 26
Page 15

About
The following screen displays the version information.
Troubleshooting
Common Installation Problems
Problems are often caused by conflicts with other devices installed in
the same computer, or software that has been configured incorrectly.
If you encounter a problem with the EZ Connect TURBO 11/22 Mbps
Auto-Sensing Wireless Adapters, use the following checklists to
identify and correct the problem.
• If your computer cannot find the EZ Connect TURBO Wireless Card,
or the network driver does not install correctly, check the following
items before contacting SMC Technical Support
• Make sure the card is securely seated in the PCMCIA or PCI
slot. Check for any hardware problems, such as physical
damage to the card.
• Try the card in another PCMCIA or PCI slot. If this fails, test
the card in a completely different system or try using a
second EZ Connect TURBO Wireless Card in that particular
slot.
• Check for resource conflicts
• Make sure your computer is using the latest BIOS available.
Contact the manufacturer of the laptop, motherboard for
information on updating the BIOS (e.g. – Dell, Toshiba, etc)
• If there are other network cards in the computer, they may
be causing conflicts. Remove all other cards from the
computer and test the EZ Connect TURBO Wireless Card
separately.
English
English
27 28
Page 16

Network Connection Problems
There may be a network connection problem if the LED on the card
does not light, or if you cannot access any network resources from
the computer. Check the following items before contacting SMC
Technical Support.
• Make sure the correct network card driver is installed for your
operating system. If necessary, try uninstalling and reinstalling the
driver. To do this, first shut down your machine and remove your
SMC adapter. Then boot up and open up your Start Menu, go to
Programs, click the "SMC EZ Connect TURBO WLAN Adapter"
program folder and choose "Uninstall". Reboot the machine when
requested to do so. Then insert your Driver CD and run the
Setup.exe utility again. Then shut down the computer, reinsert
your SMC adapter and boot up the machine. The OS should
properly reinstall the adapter during this time.
• Make sure the computer and other network devices are receiving
power. If you suspect a power outlet to be faulty, plug another
device into it to verify that it is working.
• If your wireless station cannot communicate with a computer on
the Ethernet LAN when configured for Infrastructure mode, try
changing the wireless channel on the AP. Make sure the SSID is
the same as that used by the AP for a station with roaming
disabled, or the same as that used by the AP's in the extended
service set (ESS).
• The Access Point you are trying to attach to is defective or may
not be configured properly to accept your signal. Check with the
administrator of your wireless network for more information on
connecting to the LAN. Also run the necessary diagnostics on the
AP to make sure the unit is fully operational.
• If you cannot access the Internet, be sure to check with the ISP
for further instructions once the drivers for the EZ Connect TURBO
Wireless Card are installed properly.
SMC's Limited Warranty Statement
Limited Warranty Statement: SMC Networks Europe ("SMC")
warrants its products to be free from defects in workmanship and
materials, under normal use and service, for the applicable
warranty term. All SMC products carry a standard 2 year limited
warranty from the date of purchase from SMC or its Authorized
Reseller. SMC may, at its own discretion, repair or replace any
product not operating as warranted with a similar or functionally
equivalent product, during the applicable warranty term. SMC will
endeavour to repair or replace any product returned under warranty
within 30 days of receipt of the product. As new technologies
emerge, older technologies become obsolete and SMC will, at its
discretion, replace an older product in its product line with one
that incorporates these newer technologies
The standard limited warranty can be upgraded to a 5 year Limited
Lifetime * warranty by registering new products within 30 days of
purchase from SMC or its Authorized Reseller. Registration can be
accomplished via the enclosed product registration card or online
via the SMC web site. Failure to register will not affect the
standard limited warranty. The Limited Lifetime warranty covers a
product during the Life of that Product, which is defined as a
period of 5 years from the date of purchase of the product from
SMC or its authorized reseller.
All products that are replaced become the property of SMC.
Replacement products may be either new or reconditioned. Any
replaced or repaired product carries, either a 30-day limited
warranty or the remainder of the initial warranty, whichever is
longer. SMC is not responsible for any custom software or firmware,
configuration information, or memory data of Customer contained
in, stored on, or integrated with any products returned to SMC
pursuant to any warranty. Products returned to SMC should have
any customer-installed accessory or add-on components, such as
expansion modules, removed prior to returning the product for
replacement. SMC is not responsible for these items if they are
returned with the product.
English
English
29 30
Page 17

Customers must contact SMC for a Return Material Authorization
number prior to returning any product to SMC. Proof of purchase
may be required. Any product returned to SMC without a valid
Return Material Authorization (RMA) number clearly marked on the
outside of the package will be returned to customer at customer’s
expense. Customers are responsible for all shipping charges from
their facility to SMC. SMC is responsible for return shipping charges
from SMC to customer.
WARRANTIES EXCLUSIVE: IF A SMC PRODUCT DOES NOT OPERATE AS
WARRANTED ABOVE, CUSTOMER'S SOLE REMEDY SHALL BE REPAIR
OR REPLACEMENT OF THE PRODUCT IN QUESTION, AT SMC’S OPTION.
THE FOREGOING WARRANTIES AND REMEDIES ARE EXCLUSIVE AND
ARE IN LIEU OF ALL OTHER WARRANTIES OR CONDITIONS,
EXPRESSED OR IMPLIED, EITHER IN FACT OR BY OPERATION OF LAW,
STATUTORY OR OTHERWISE, INCLUDING WARRANTIES OR
CONDITIONS OF MERCHANTABILITY AND FITNESS FOR A PARTICULAR
PURPOSE. SMC NEITHER ASSUMES NOR AUTHORIZES ANY OTHER
PERSON TO ASSUME FOR IT ANY OTHER LIABILITY IN CONNECTION
WITH THE SALE, INSTALLATION, MAINTENANCE OR USE OF ITS
PRODUCTS. SMC SHALL NOT BE LIABLE UNDER THIS WARRANTY IF
ITS TESTING AND EXAMINATION DISCLOSE THE ALLEGED DEFECT IN
THE PRODUCT DOES NOT EXIST OR WAS CAUSED BY CUSTOMER'S OR
ANY THIRD PERSON'S MISUSE, NEGLECT, IMPROPER INSTALLATION
OR TESTING, UNAUTHORIZED ATTEMPTS TO REPAIR, OR ANY OTHER
CAUSE BEYOND THE RANGE OF THE INTENDED USE, OR BY ACCIDENT,
FIRE, LIGHTNING, OR OTHER HAZARD.
LIMITATION OF LIABILITY: IN NO EVENT, WHETHER BASED IN
CONTRACT OR TORT (INCLUDING NEGLIGENCE), SHALL SMC BE
LIABLE FOR INCIDENTAL, CONSEQUENTIAL, INDIRECT, SPECIAL, OR
PUNITIVE DAMAGES OF ANY KIND, OR FOR LOSS OF REVENUE, LOSS
OF BUSINESS, OR OTHER FINANCIAL LOSS ARISING OUT OF OR IN
CONNECTION WITH THE SALE, INSTALLATION, MAINTENANCE, USE,
PERFORMANCE, FAILURE, OR INTERRUPTION OF ITS PRODUCTS, EVEN
IF SMC OR ITS AUTHORIZED RESELLER HAS BEEN ADVISED OF THE
POSSIBILITY OF SUCH DAMAGES.
SOME COUNTRIES DO NOT ALLOW THE EXCLUSION OF IMPLIED
WARRANTIES OR THE LIMITATION OF INCIDENTAL OR
CONSEQUENTIAL DAMAGES FOR CONSUMER PRODUCTS, SO THE
ABOVE LIMITATIONS AND EXCLUSIONS MAY NOT APPLY TO YOU. THIS
WARRANTY GIVES YOU SPECIFIC LEGAL RIGHTS, WHICH MAY VARY
FROM COUNTRY TO COUNTRY. NOTHING IN THIS WARRANTY SHALL
BE TAKEN TO AFFECT YOUR STATUTORY RIGHTS.
* Under the limited lifetime warranty, internal and external power
supplies, fans, and cables are covered by a standard one-year
warranty from date of purchase.
Full Installation Manual
Full installation manuals are provided on the Installation CD-Rom.
Manuals in other languages than those included on the CD-Rom are
provided on www.smc-europe.com (section support).
Firmware and Drivers
For latest driver, technical information and bug-fixes please visit
www.smc-europe.com (section support).
Contact SMC
Contact details for your relevant countries are available on
www.smc-europe.com and www.smc.com.
Statement of Conditions
In line with our continued efforts to improve internal design,
operational function, and/or reliability, SMC reserves the right to
make changes to the product(s) described in this document
without notice. SMC does not assume any liability that may occur
due to the use or application of the product(s) described herein.
In order to obtain the most accurate knowledge of installation,
bug-fixes and other product related information we advise to visit
the relevant product support page at www.smc-europe.com before
you start installing the equipment. All information is subject to
change without notice.
English
English
31 32
Page 18

Limitation of Liability
In no event, whether based in contract or tort (including
negligence), shall SMC be liable for incidental, consequential,
indirect, special or punitive damages of any kind, or for loss of
revenue, loss of business or other financial loss arising out of or in
connection with the sale, installation, maintenance, use,
performance, failure or interruption of its products, even if SMC or
its authorized reseller has been adviced of the possiblity of such
damages.
Copyright
Information furnished by SMC Networks, Inc. (SMC) is believed to
be accurate and reliable. However, no responsibility is assumed by
SMC for its use, nor for any infringements of patents or other
rights of third parties which may result from its use. No license is
granted by implication or otherwise under any patent or patent
rights of SMC. SMC reserves the right to change specifications at
any time without notice.
Trademarks
SMC is a registered trademark; and EZ Connect is a trademark of
SMC Networks, Inc. Other product and company names are
trademarks or registered trademarks of their respective holders.
English
English
33 34
 Loading...