

SMC Networks EZ Networking SMC7004VBR V.2 User Manual
SMC7004VBR V.2

Cable/DSL Broadband Router
Built-in 4-Port 10/100Mbps Switch
User Guide
From SMC's Barricade™ line of Broadband Routers
November 2003

TABLE OF CONTENTS
Introduction . . . . . . . . . . . . . . . . . . . . . . . . . . . . . . . 1
Features and Benefits . . . . . . . . . . . . . . . . . . . . . . . . . . . . . . . .2
Package Contents . . . . . . . . . . . . . . . . . . . . . . . . . . . . . . . . . . .3
Minimum Requirements . . . . . . . . . . . . . . . . . . . . . . . . . . . . . . .4
Getting to Know the Barricade™ . . . . . . . . . . . . . . 5
LED Indicators . . . . . . . . . . . . . . . . . . . . . . . . . . . . . . . . . . . . . .6
Getting Connected . . . . . . . . . . . . . . . . . . . . . . . . . 7
Basic Installation Procedure . . . . . . . . . . . . . . . . . . . . . . . . . . . .7
Configuring your Computer . . . . . . . . . . . . . . . . . . 9
Configuring Windows 95/98/Me . . . . . . . . . . . . . . . . . . . . . . . . .9
Configuring Windows 2000 . . . . . . . . . . . . . . . . . . . . . . . . . . . .11
Configuring Windows XP . . . . . . . . . . . . . . . . . . . . . . . . . . . . .13
Configuring a Macintosh Computer . . . . . . . . . . . . . . . . . . . . .14
Configuring the Barricade™ . . . . . . . . . . . . . . . . 15
Browser Configuration . . . . . . . . . . . . . . . . . . . . . . . . . . . . . . .15
Disable Proxy Connection . . . . . . . . . . . . . . . . . . . . . . . . . . . .16
Accessing the Barricade™ Management . . . . . . . . . . . . . . . . .17
Navigating the Web-based Administration . . . . . 19
Making Configuration Changes . . . . . . . . . . . . . . . . . . . . . . . .19
Setup Wizard . . . . . . . . . . . . . . . . . . . . . . . . . . . . . . . . . . . . . .21
Step One: Time Zone . . . . . . . . . . . . . . . . . . . . . . . . . . .21
Step Two: Broadband Type . . . . . . . . . . . . . . . . . . . . . .22
Step Three: Finish Configuration . . . . . . . . . . . . . . . . . .23
Advanced Setup . . . . . . . . . . . . . . . . . . . . . . . . . . . . . . . . . . . .23
System . . . . . . . . . . . . . . . . . . . . . . . . . . . . . . . . . . . . . .24
WAN . . . . . . . . . . . . . . . . . . . . . . . . . . . . . . . . . . . . . . . .27
LAN . . . . . . . . . . . . . . . . . . . . . . . . . . . . . . . . . . . . . . . . .33
NAT . . . . . . . . . . . . . . . . . . . . . . . . . . . . . . . . . . . . . . . . .34
Firewall . . . . . . . . . . . . . . . . . . . . . . . . . . . . . . . . . . . . . .36
i

Table of Contents
DDNS (Dynamic DNS) . . . . . . . . . . . . . . . . . . . . . . . . . . 41
UPnP . . . . . . . . . . . . . . . . . . . . . . . . . . . . . . . . . . . . . . . 42
Tools . . . . . . . . . . . . . . . . . . . . . . . . . . . . . . . . . . . . . . . 43
Status . . . . . . . . . . . . . . . . . . . . . . . . . . . . . . . . . . . . . . . 44
Troubleshooting . . . . . . . . . . . . . . . . . . . . . . . . . .47
Technical Specifications . . . . . . . . . . . . . . . . . . . .53
Compliances . . . . . . . . . . . . . . . . . . . . . . . . . . . . . . i
Legal Information and Contacts . . . . . . . . . . . . . . .v
ii

INTRODUCTION
Congratulations on your purchase of a Barricade™ Cable/DSL
Broadband Router (SMC7004VBR). SMC is proud to provide you
with a powerful yet simple communication device for connecting
your local area network (LAN) to the Internet.
Important Information!
This information is addressed to the DSL-Users without
a flat rate contract**.
With your DSL-router you have received a device of high quality,
which allows you fast and easy access to the Internet.
The factory default settings of this router have been done
in a way to provide you with uninterrupted access and use
of the Internet. With this background for cost reasons we
recommend that you enter into a "flat rate" – contract with
your DSL-line provider.
Why should you do that?
Please consider that a router, an entirely independent working
device, does not switch off automatically when shutting off your PC
You may trigger such an automatic shut-off by setting a so called
"idle-time" (for details consult your manual at PPPoE or PPTP
WAN access configuration). Depending at the set time (1 to 5 min)
the router cuts the DSL-link when idle, indeed. But this still does
not provide for 100% security.
!
1

Introduction
This disconnect only happens if there are no more open requests
received from either the LAN or the WAN side (here this can be
requests from the internet, i.e. initiated through the use of so called
file sharing programs like eMule, eDonkey, etc.) that keep the
router active.
In order to counter such incalculable activity and protect yourself
from higher than expected on-line costs we therefore recommend
again a flat-rate contract for your DSL-connection.
The only safe alternative: Pull the plug!
That is to disconnect your router from the mains.
Please feel free to contact our SMC-hotline if you have further
questions.
** Flat-rate is an offer of your DSL-line provider, which gives you
timely unlimited access to the Internet at a defined (flat-) rate.
Features and Benefits
• Internet connection to DSL or cable modem via
a 10/100 Mbps WAN port.
• Local network connection via 10/100 Mbps Ethernet
switch ports.
• DHCP for dynamic IP configuration, and DNS for domain
name mapping.
• Firewall with Stateful Packet Inspection, client privileges,
hacker prevention, DoS, and NAT.
• NAT also enables multi-user access with a single-user
account, and virtual server functionality (providing protected
access to Internet services such as web, mail, FTP, and Telnet)
2
.

Package Contents
• Virtual Private Network support using PPTP, L2TP,
or IPSec pass-through.
• User-definable application sensing tunnel supports
applications requiring multiple connections.
• Parental controls allows the user to block access to certain
web sites.
• Email alerts when the users network is being compromised.
• Easy setup through a web browser on any operating system
that supports TCP/IP.
• Compatible with all popular Internet applications.
Package Contents
Before installing the Barricade™ Cable/DSL Broadband Router,
verify that you have the items listed under Package Contents.
Also be sure that you have the necessary cabling. If any of
the items are missing or damaged, contact your local SMC
distributor.
• Barricade™ Broadband Router.
• Power adapter.
• One CAT-5 Ethernet cable.
• Four rubber feet.
• One CD-ROM.
If possible, retain the carton and original packing materials
in case there is a need to return the product.
3

Introduction
Minimum Requirements
• Cable or DSL Modem with Ethernet connection and Internet
access from your local telephone company or Internet Service
Provider (ISP) using a DSL modem or cable modem.
• A computer equipped with a 10 Mbps, 100 Mbps, or
10/100 Mbps Fast Ethernet card, or USB-to-Ethernet converter.
• Network adapter with Ethernet (UTP CAT 5) cabling and
TCP/IP protocol installed per PC.
• Internet Explorer 4.0 (or Higher) or Netscape Navigator 4.7
(or Higher) for Web-based configuration of the Barricade™.
4
GETTING TO KNOW
™
THE
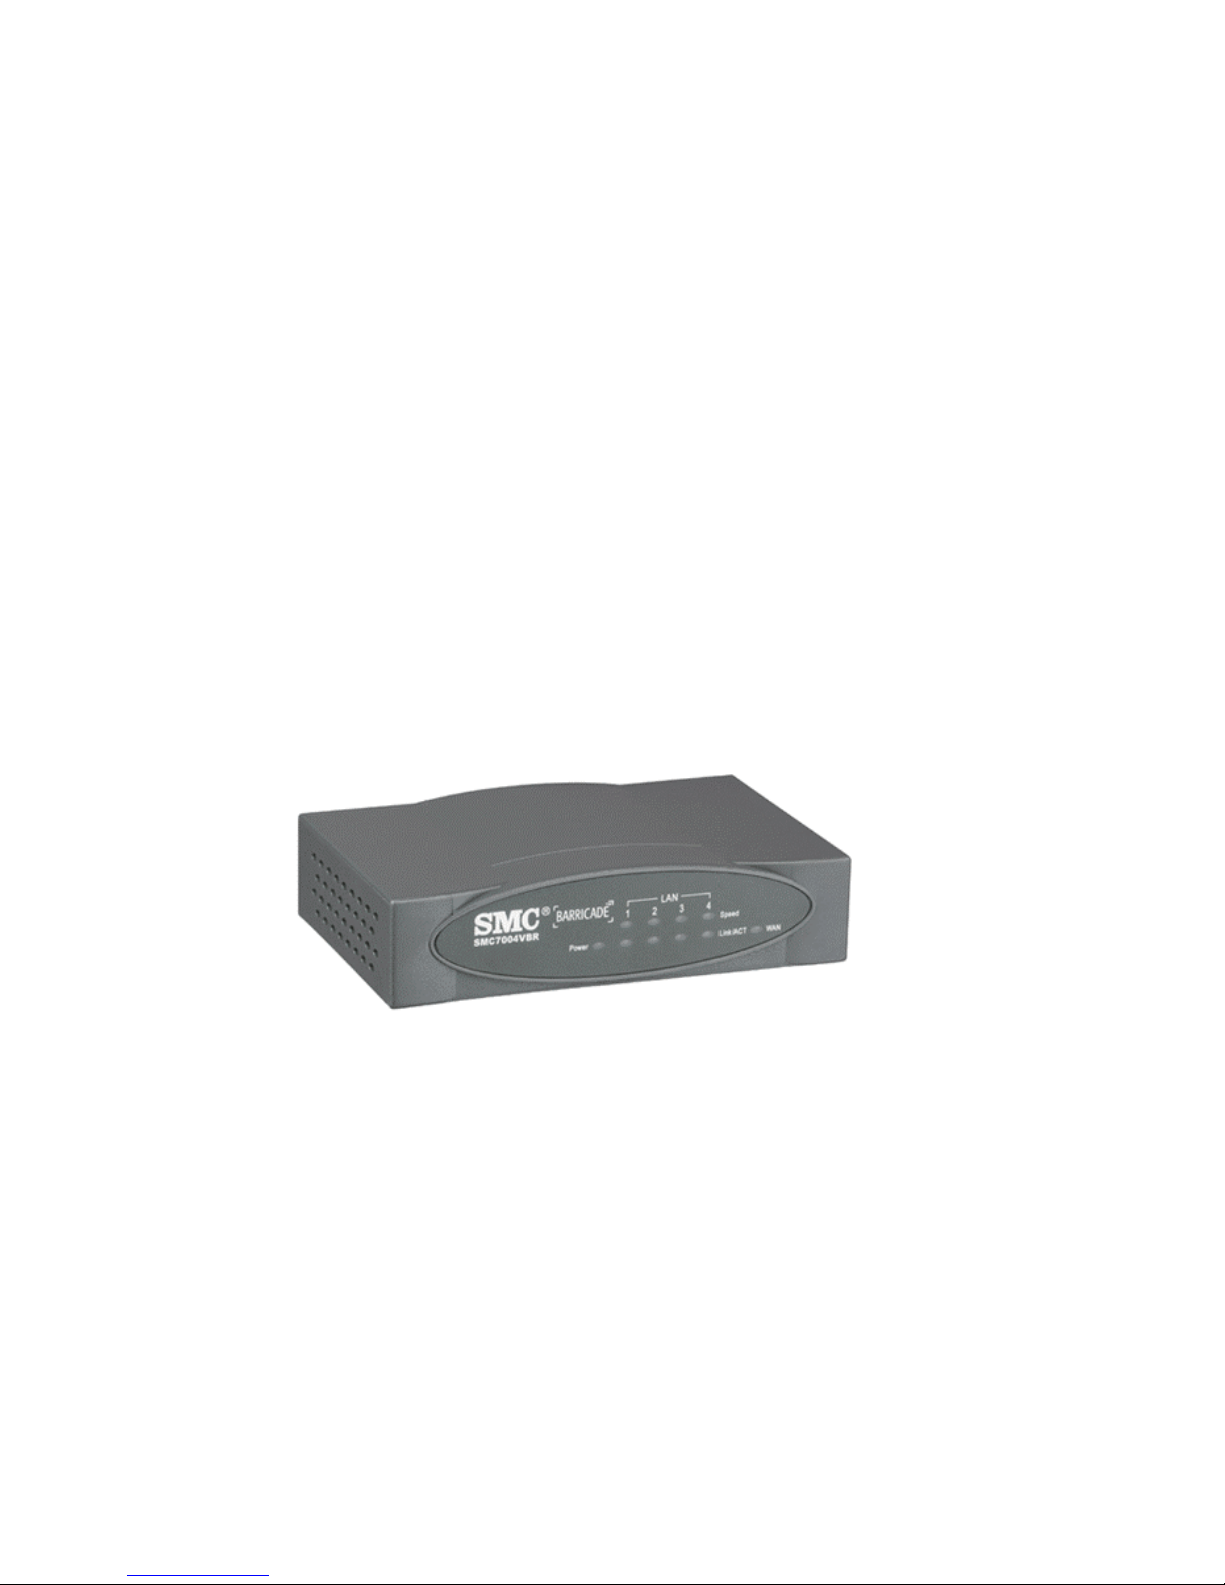
The SMC7004VBR Barricade™ Cable/DSL Broadband Router
is the perfect solution for the home/office environment. This
fullfeatured router offers:
• 4 – 10/100 Mbps Auto-Sensing LAN ports with Auto-MDI
MDIX feature.
• 1 – 10/100 Mbps WAN port with Auto-MDI MDIX feature.
• Comprehensive LEDs for network status and troubleshooting.
• [Reset] Button.
BARRICADE
5

Getting to Know the Barricade™
LED Indicators
The Barricade™ includes LED indicators on the front panel that
simplify installation and network troubleshooting.
LED ON OFF FLASHING
PWR Receiving power Not receiving power N/A
WAN Good WAN
connection detected
LINK/ACT Good LAN
connection detected
10/100 Mbps
Resetting the Barricade™
The [Reset] button is located on the rear panel of the Barricade™
Broadband Router. Use a paper clip or a pencil tip to push the
Reset button.
Reset
If the Router is having problems connecting to the Internet,
simply unplug the router for 3 seconds then plug back in.
LAN port operating
at 100 Mbps
No WAN connection
detected
No LAN connection
detected
LAN port operating
at 10 Mbps
Transmitting or
receiving traffic
Transmitting or
receiving traffic
N/A
Restore Factory Defaults
If resetting the router does not resolve your issue, then you
can follow these steps:
1. Leave power plugged into the router.
2. Locate the [Reset] button on the back panel, press and
hold until WAN LED flashes off.
3. Release [Reset] button.
6

GETTING CONNECTED
The SMC7004VBR Barricade™ Cable/DSL Broadband router is
connected between the Cable/DSL Broadband Modem and your
computers. If you have more then one computer to connect,
simply plug the other computers into the LAN ports on the back
of the router.
MODEM
Basic Installation Procedure
1. Connect the LAN
Run an Ethernet cable from one of the LAN ports on the back
of the Barricade™ to your computer's network adapter.
2. Connect the WAN
Connect an Ethernet cable from your cable or DSL modem
to the Barricade™'s WAN port on the back on the router.
3. Power on
Connect the power cable to the Barricade™.
COMPUTER
Once you have completed connecting all of the hardware, simply
insert the Barricade™ CD-ROM and the EZ 3-Click Installation
Wizard will automatically connect you to the Internet.
For configuration of the PCs, see Configuring your Computer.
For advanced configuration of the Barricade™ Broadband
Router, see Configuring the Barricade™.
7
CONFIGURING YOUR
COMPUTER
The information outlined in this chapter will guide you through
the configuration for the following Operating Systems:
• Windows 95/98
• Windows Me
• Windows 2000
• Windows XP
• Apple Macintosh
Configuring Windows 95/98/Me
1. Access your network settings by clicking [Start],
choose [Settings], and then select [Control Panel].
2. In the Control Panel, locate and double-click the
[Network] icon.
9
Configuring your Computer
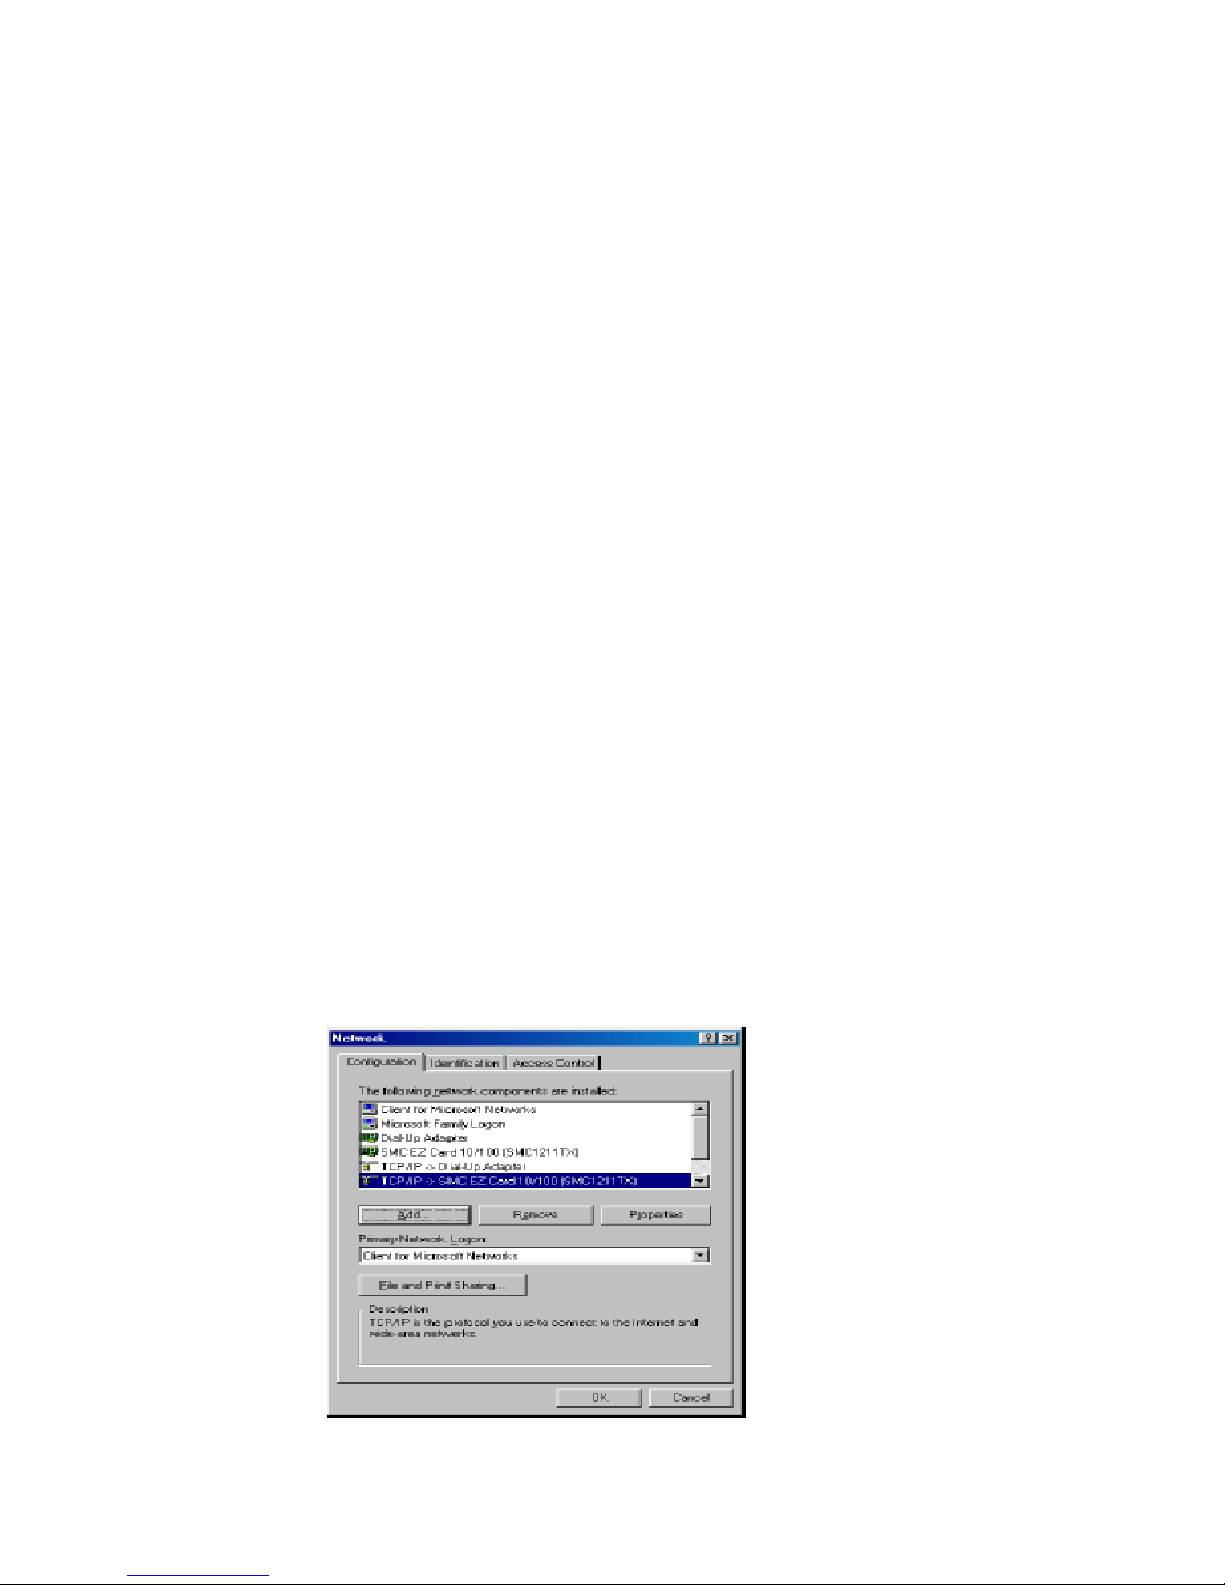
3. Highlight the TCP/IP line that has been assigned to your
network card on the [Configuration] tab of the [Network]
properties window.
4. Next, click the [Properties] button to view that adapter's
TCP/IP settings.
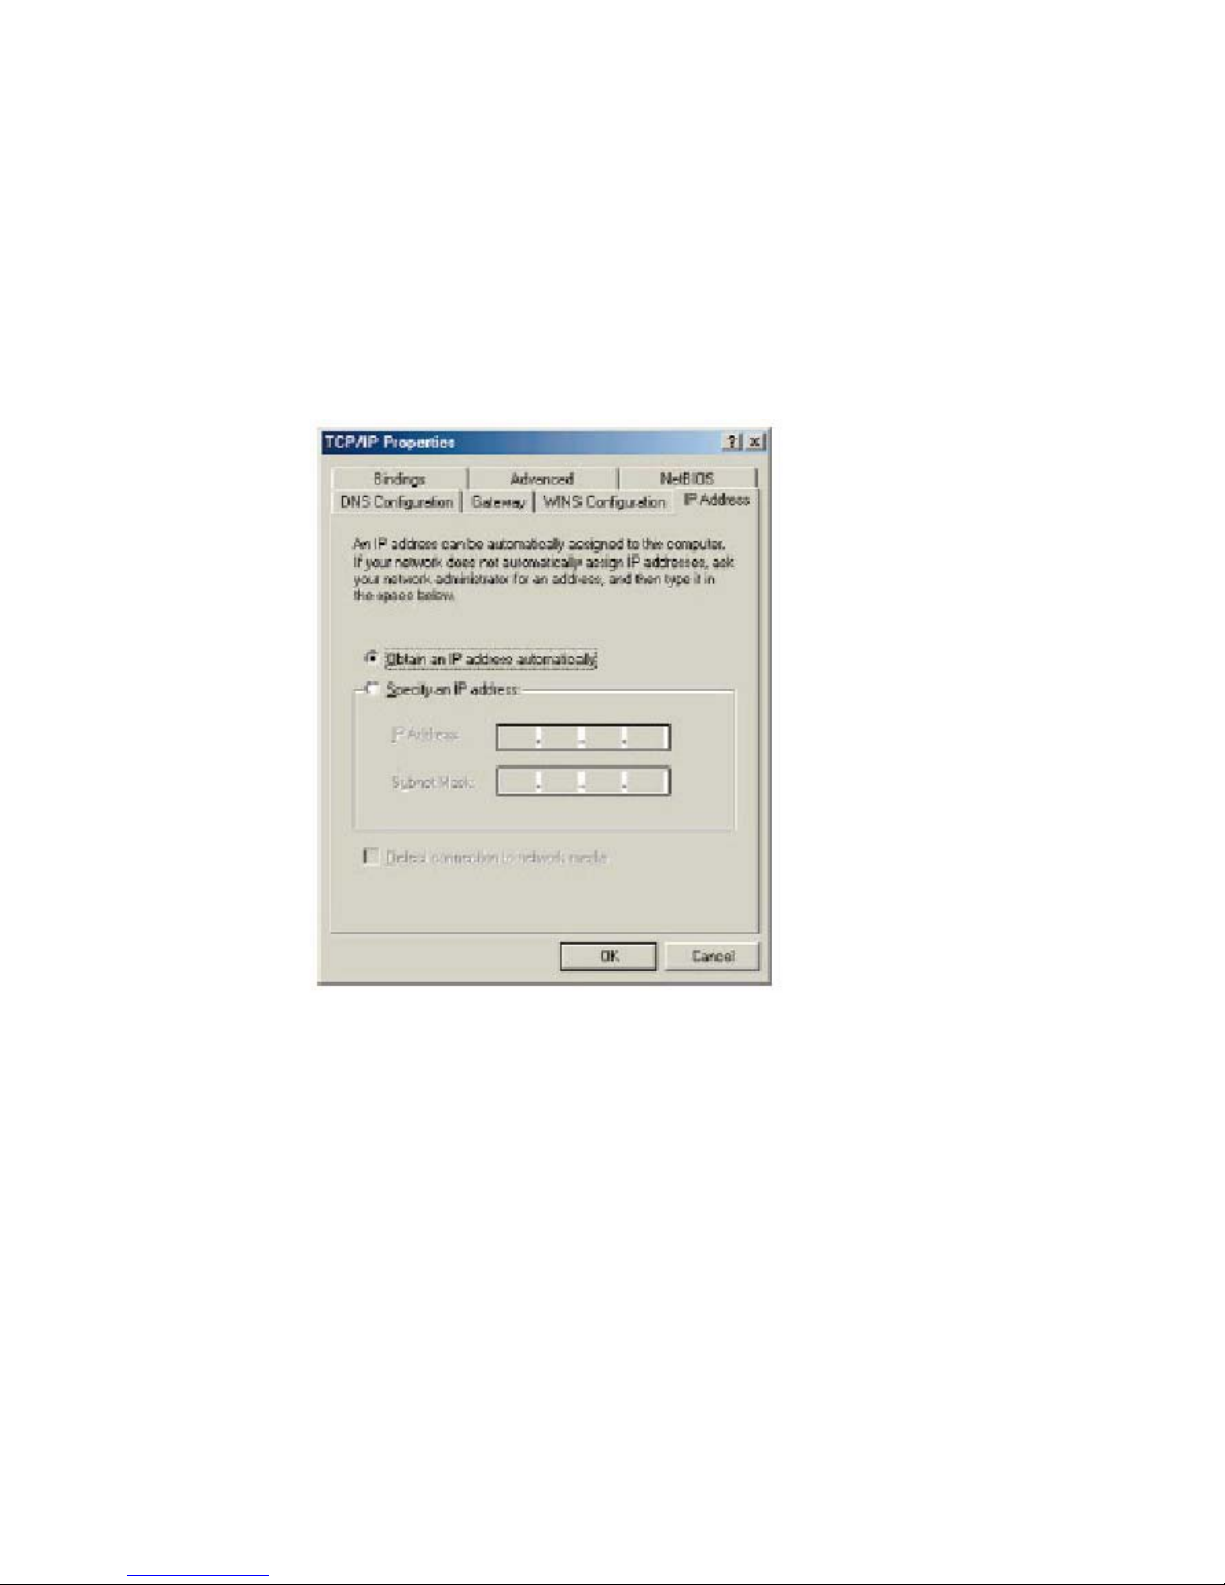
5. From the [TCP/IP Properties] dialog box, click the
[Obtain an IP address automatically] option.
6. Next click on the [Gateway] tab and verify the [Gateway]
field is blank. If there are IP addresses listed in the [Gatew ay]
section, highlight each one and click [Remove] until the
section is empty.
10

Configuring Windows 2000
7. Click the [OK] button to close the [TCP/IP Properties]
dialog box.
8. On the [Network Properties] window, click the [OK] button
to save these new changes.
Note:
9. Windows may prompt you to restart the PC. If so, click the
[Yes] button. If Windows does not prompt you to restart
your computer, do so anyways to ensure your settings.
Windows may ask you for the original Windows
installation disk or additional files. Check for the files
at c:\windows\options\cabs, or insert your Windows
CD-ROM into your CD-ROM drive and check the
correct file location, for example, D:\win98, D:\win9x.
(assume "D" is your CD-ROM drive).
Configuring Windows 2000
1. Access your network settings by clicking [Start],
choose [Settings], and then select [Control Panel].
2. In the Control Panel, locate and double-click the
[Network and Dial-up Connections] icon.
11

Configuring your Computer
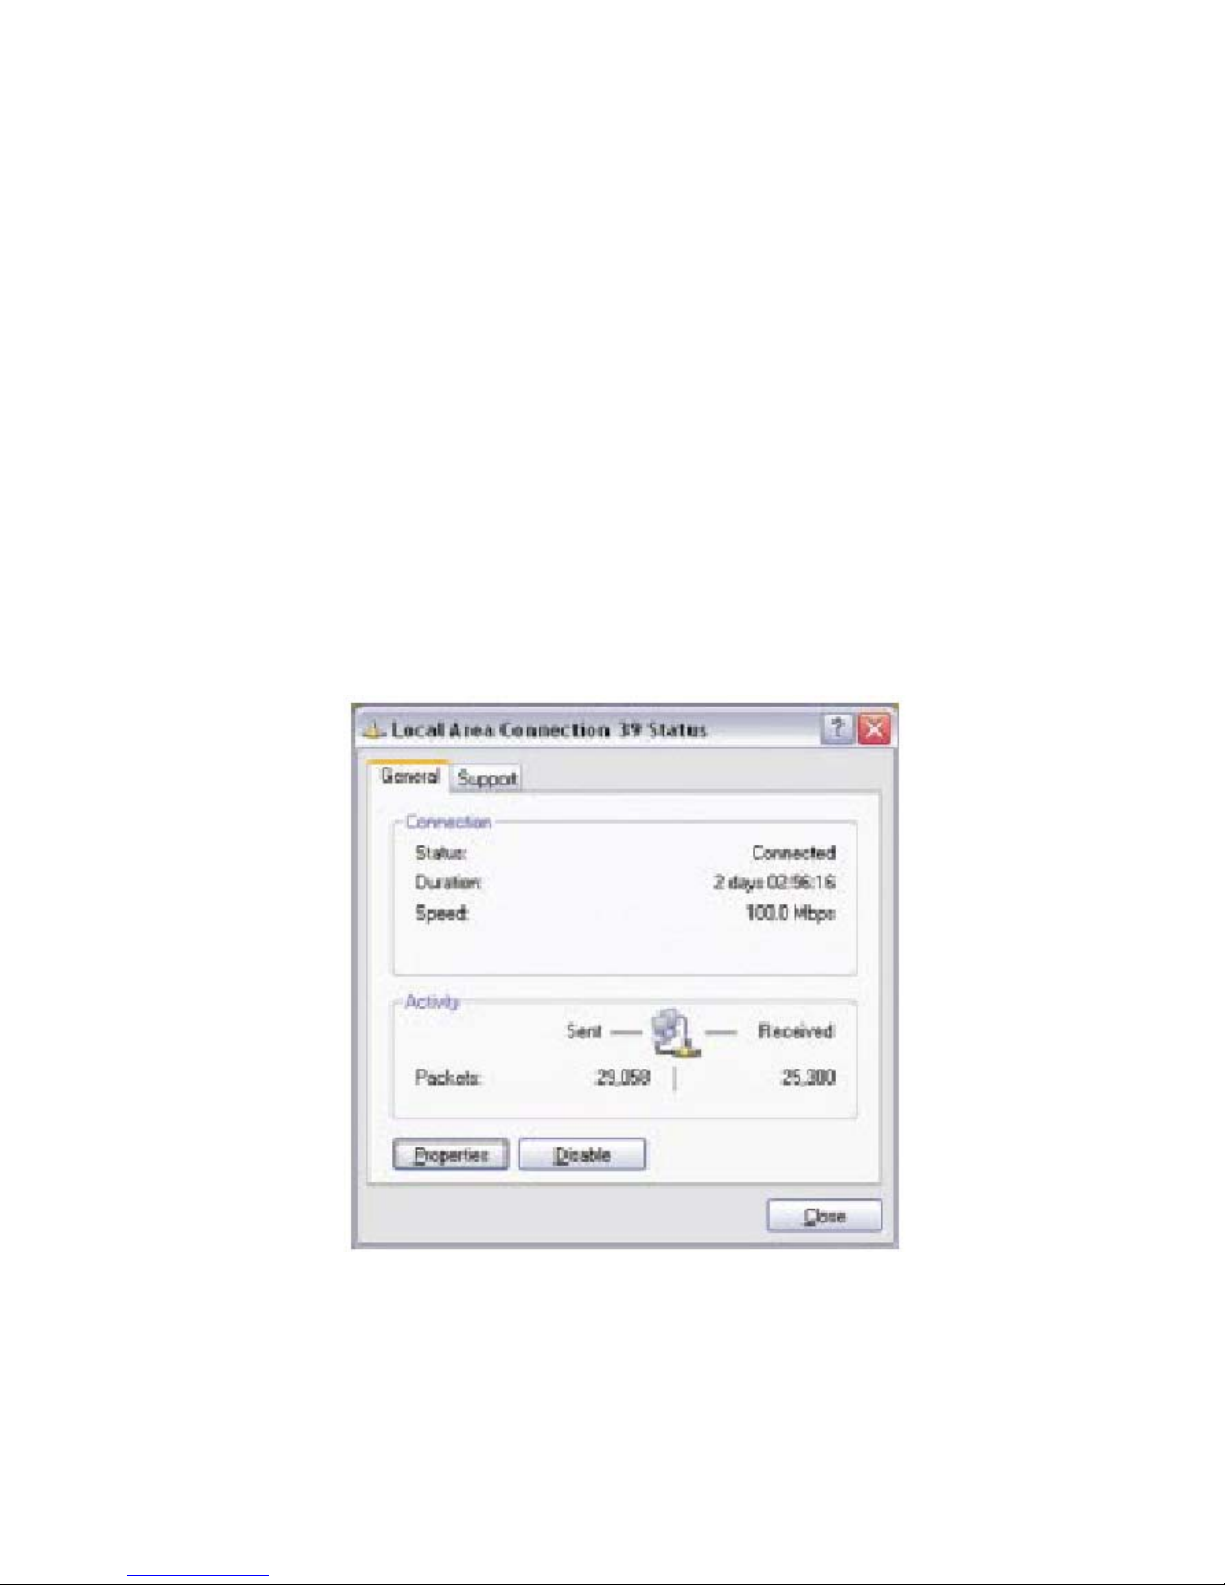
3. Locate and double-click the [Local Area Connection] icon
for the Ethernet adapter that is connected to the Barricade™.
When the [Status] dialog box window opens, click the
[Properties] button.
12
4. On the [Local Area Connection] Properties box, verify the box
next to [Internet Protocol (TCP/IP)] is checked. Then highlight
the Internet Protocol (TCP/IP), and click the [Properties] button.
5. Select [Obtain an IP address automatically] to configure your
computer for DHCP. Click the [OK] button to save this change
and close the [Properties] window.
6. Click the [OK] button again to save these new changes.
7. Reboot your PC.
Configuring Windows XP
Configuring Windows XP
The following instructions assume you are running Windows XP
with the default interface. If you are using the Classic interface
(where the icons and menus look like previous Windows versions),
please follow the instructions for Windows 2000 outlined above.
1. Access your network settings by clicking [Start], choose
[Control Panel], select [Network and Internet Connections]
and then click on the [Network Connections] icon.
2. Locate and double-click the [Local Area Connection] icon
for the Ethernet adapter that is connected to the Barricade™
Router. Next, click the [Properties] button.
3. On the [Local Area Connection] Properties box, verify the box
next to [Internet Protocol (TCP/IP)] is checked. Then highlight
the Internet Protocol (TCP/IP), and click the [Properties] button
.
13

Configuring your Computer
4. Select [Obtain an IP address automatically] to configure your
computer for DHCP. Click the [OK] button to save this change
and close the [Properties] window.
5. Click the [OK] button again to save these new changes.
6. Reboot your PC.
Configuring a Macintosh Computer
You may find that the instructions here do not exactly match
your screen. This is because these steps and screenshots were
created using Mac OS 8.5. Mac OS 7.x and above are all very
similar, but may not be identical to Mac OS 8.5.
1. Pull down the [Apple] Menu. Click [Control Panel] and select
[TCP/IP].
2. In the [TCP/IP] dialog box, make sure that [Ethernet] is
selected in the [Connect Via:] field.
If [Using DHCP Server] is already selected in the [Configure]
field, your computer is already configured for DHCP. Close the
[TCP/IP] dialog box, and skip to Step 2 Disable HTTP Proxy
(bottom of this page).
3. All the information that you need to record is on the [TCP/IP]
dialog box. Use the space below to record the information.
4. Select [Using DHCP Server] in the [Configure] field and close
the window.
5. Another box will appear asking whether y ou want to sav e y our
TCP/IP settings. Click [Save].
14

CONFIGURING THE
BARRICADE
After you have configured TCP/IP on a client computer, use
™
a web browser to configure the Barricade™ Broadband Router.
The Barricade™ can be configured by any Java-supported
browser
Navigator 4.7
you may configure
network activity.
Note:
Before you attempt to log into the Barricade™'s Web-based
Administration, please verify the following:
1. Your browser is configured properly (see below).
2. Disable any firewall or security software that may be running.
including Internet Explorer 4.0 or above, or Netscape
or above. Using the web management interface,
the Barricade™ and view statistics to monitor
Before you attempt to configure your router, if you
have access to the Internet please visit www.smc.com
or www.smc-europe.com
firmware update.
and download the latest
3. Confirm that you have a good "link" LED where y our computer
is plugged into the Barricade™. If you don't have a "link" light,
try another cable until you get a good link.
Browser Configuration
Confirm your browser is configured for a direct connection to the
Internet using the Ethernet cable that is installed in the computer.
This is configured through the options/preference section of your
browser.
15

Configuring the Barricade™
Disable Proxy Connection
You will also need to verify that the HTTP Proxy feature of your
web browser is disabled. If it is disabled, your web browser will
be able to view the Barricade™ configuration pages. The following
steps are for Internet Explorer and for Netscape. Determine
which browser you use and follow the appropriate steps.
Internet Explorer (5 or above)
1. Open Internet Explorer. Click [Tools], and then select
[Internet Options].
2. In the [Internet Options] window, click the [Connections] tab.
3. Click the [LAN Settings] button.
4. Clear all the check boxes and click [OK] to save these
LAN settings changes.
5. Click [OK] again to close the [Internet Options] window.
Netscape (4 or above)
1. Open Netscape. Click [Edit], and then select [Preferences].
2. In the [Preferences] window, under [Category], double-click
[Advanced], then select the [Proxies] option.
3. Check [Direct connection to the Internet].
4. Click the [OK] button to save the changes.
16
 Loading...