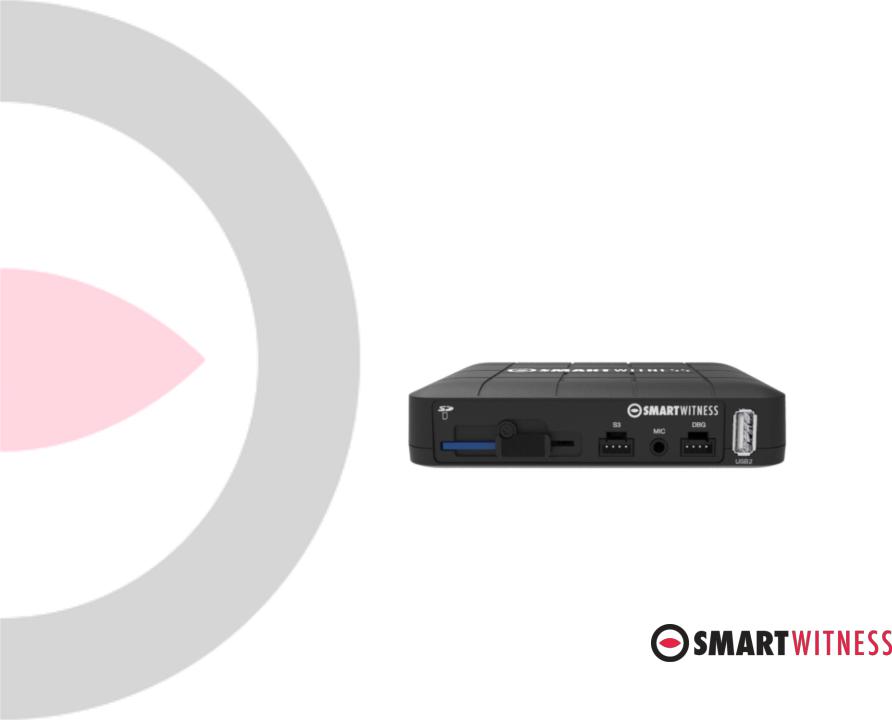
Smartwitness CP4 User Manual

SmartWitness CP4
Device Configuration Guide
This is Video Telematics.

CP4 Setup and Configuration
1.Download the CP4 configuration tool
2.Install and open the configuration tool:
1.Insert SD Card into your PC (Max 128GB SD card supported)
2.Click ‘Initialize SD Card’
3.Select the SD card from File Explorer
4.Click “Start” to initialize
3.Apply your desired settings (or click “Open” to load existing settings)
4.Click “Save to apply to SD card
5.Eject Card safely from your PC
CLICK HERE FOR VIDEO DEMONSTRATION
*SD cards can also be removed from the CP4 to review video and data. For this, the SmartWitness PC viewer software is required which you can download here or visit Support.smartwitness.com

Device Tab
Camera
Enable the desired camera channels.
EXT-Devices
Used to enable S3 port in order to connect an external device (such as RFID reader).
G-Sensor Axis
Set the CP4’s installed position. This is
Important for proper G-Sensor calibration and accurate drive data reporting.
Misc.
•TV Out: enabled to provide signal to the monitor. Event Only option turns off the V/O signal completely unless it’s configured on the event tab
•TV Out Event Only: When enabled, there will be no video signal at all unless event trigger is set (see Liveout Channel setting on Event tab)
•TV Out OSD: set what information is displayed on the LCD monitor (see here for more info)
•Audible Camera Chime: turn audible alert on or off (audible alarms can be individually turned on/off per event).
Delayed Power Shutdown: Amount of time CP4 stays powered on after ignition is turned off.
Wakeup Interval: Time interval in which the CP4 will automatically power up again after shutdown
Register Interval: How long the CP4 stays powered on during the wakeup interval.
*See pg 9 for more details on G-Sensor thresholds.

Record Tab
Resolution: chose from D1, HD (720p) or FHD (1080p) Frame Rate: Choose from 30, 15, 10, 5, 4, 3, 2, or 1 Quality: Standard, High, or Super. (The lower the quality, the more compressed/lossy the video output).
Please refer to SD storage calculator to determine storage times based on the chosen settings here
Record Modes
Event: Only events are recorded, event video duration determined by the pre & post event setting Continuous: Records video continuously, no events (events can still be sent to Smart API server if configured on the Server tab)
Dual Mode: Records continuous at 1FPS + events at the specified FPS
*If Dual Mode is set, you can adjust the SD card partition for event and continuous video here
Audio recording can be turned on or off here
Telematics Data (DRV file) is recorded and stored separately from video and events. Set the local storage duration here.
Parking Mode reduces the FPS to 1 when the vehicle is idle for 5 minutes (Continuous Mode option only)
Tamper Detection ensures that MDT files are not tampered/manipulated. When using SmartWitness PC software, any MDT file which is not an original MDT file will populate a warning. Tamper setting
must also be enabled on the PC software
The settings shown here are recommended for Telematics solutions using Smart API
 Loading...