

Page 1
Remote Control
Model 4B-101
1. INTRODUCTION
The Remote Control allows you to operate the AAA+TM control panel
remotely with a press of a button. You can arm the system, disarm the
system and activate the alarm instantly. You also have the option to use
this remote to operate other devices such as a garage door receiver.
In this package, you should find a remote control, with a 12V alkaline
battery installed.
Remote
12V alkaline battery
(installed)
Please follow the instructions below to program the remote control to the
AAA+TM control panel.
2. LEARN REMOTE CONTROL TO AAA+TM CONTROL PANEL
In order for the remote control to communicate with the control panel
properly, the remote must be programmed to the control panel. Follow
the brief instructions below or refer to the detail instructions from the
AAA+TM User’s Instructions to program the remote control to the control
panel.
Remote controls should be programmed to Device 6 to Device 0 on the
TM
AAA+
control panel.
Follow the instructions below to program remote(s) to remote location(s)
6, 7, 8, 9, or 0, which is the bottom row of the numeric keypad of the
control panel.
Step Keys Function Description Note
1
2
3
[PROG]
[MPIN]
[4]
[6] to [0]
Enter Programming mode
Select learn
remote
programming
Select remote
location
(Max. 5
remotes)
Enter master
password to
programming
mode
Select a remote
location [6], [7],
[8], [9] or [0].
Control
3 beeps for valid
password. 1 long
beep for invalid
password.
After [4] is entered,
some zone LEDs will
f lash or stay off. The
zone LEDs represent
whether that zone is
already occupied by
another remote.
**See Table A below.
After you have
selected the remote
location, that zone
LED will be on.
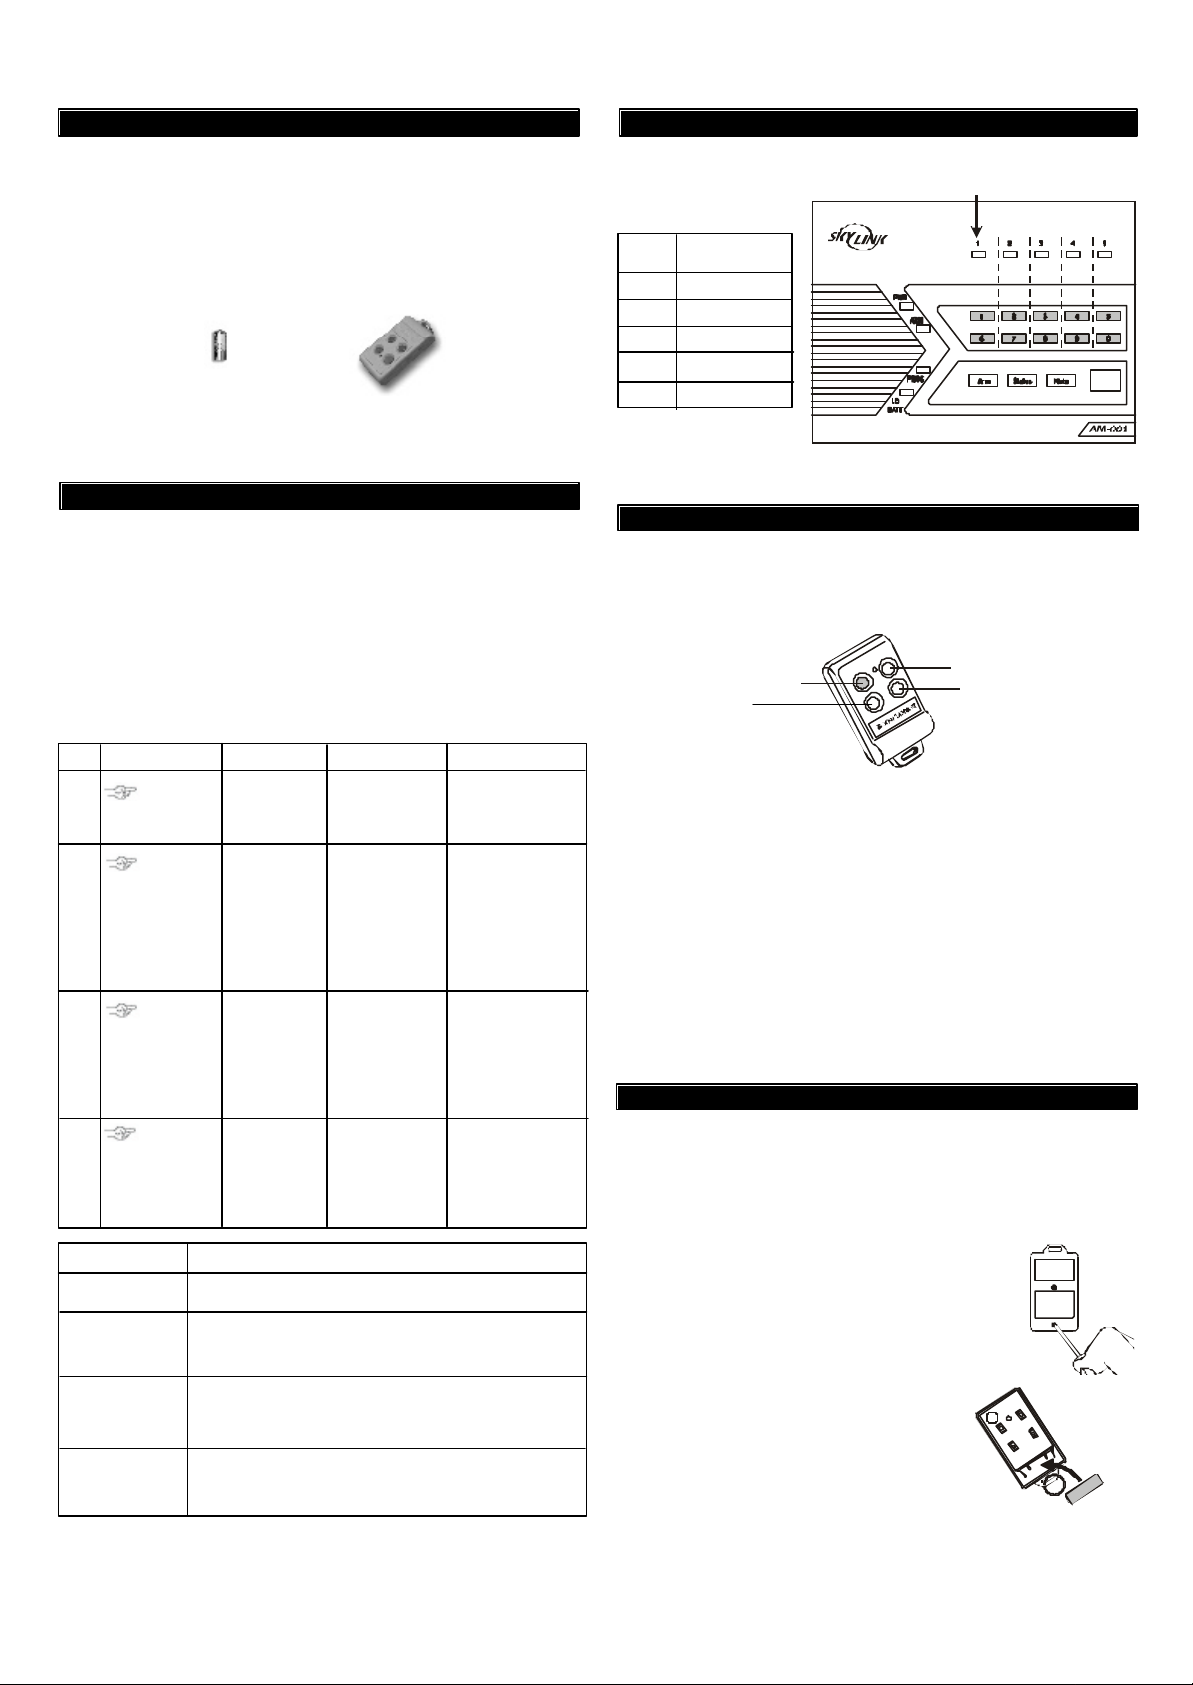
2. LEARN REMOTE CONTROL TO AAA+TM CONTROL PANEL (CONT)
Remote [6] is represented by zone LED 1
ZONE
LED
1 6
2 7
3 8
4 9
5 0
REMOTE
LOCATION
®
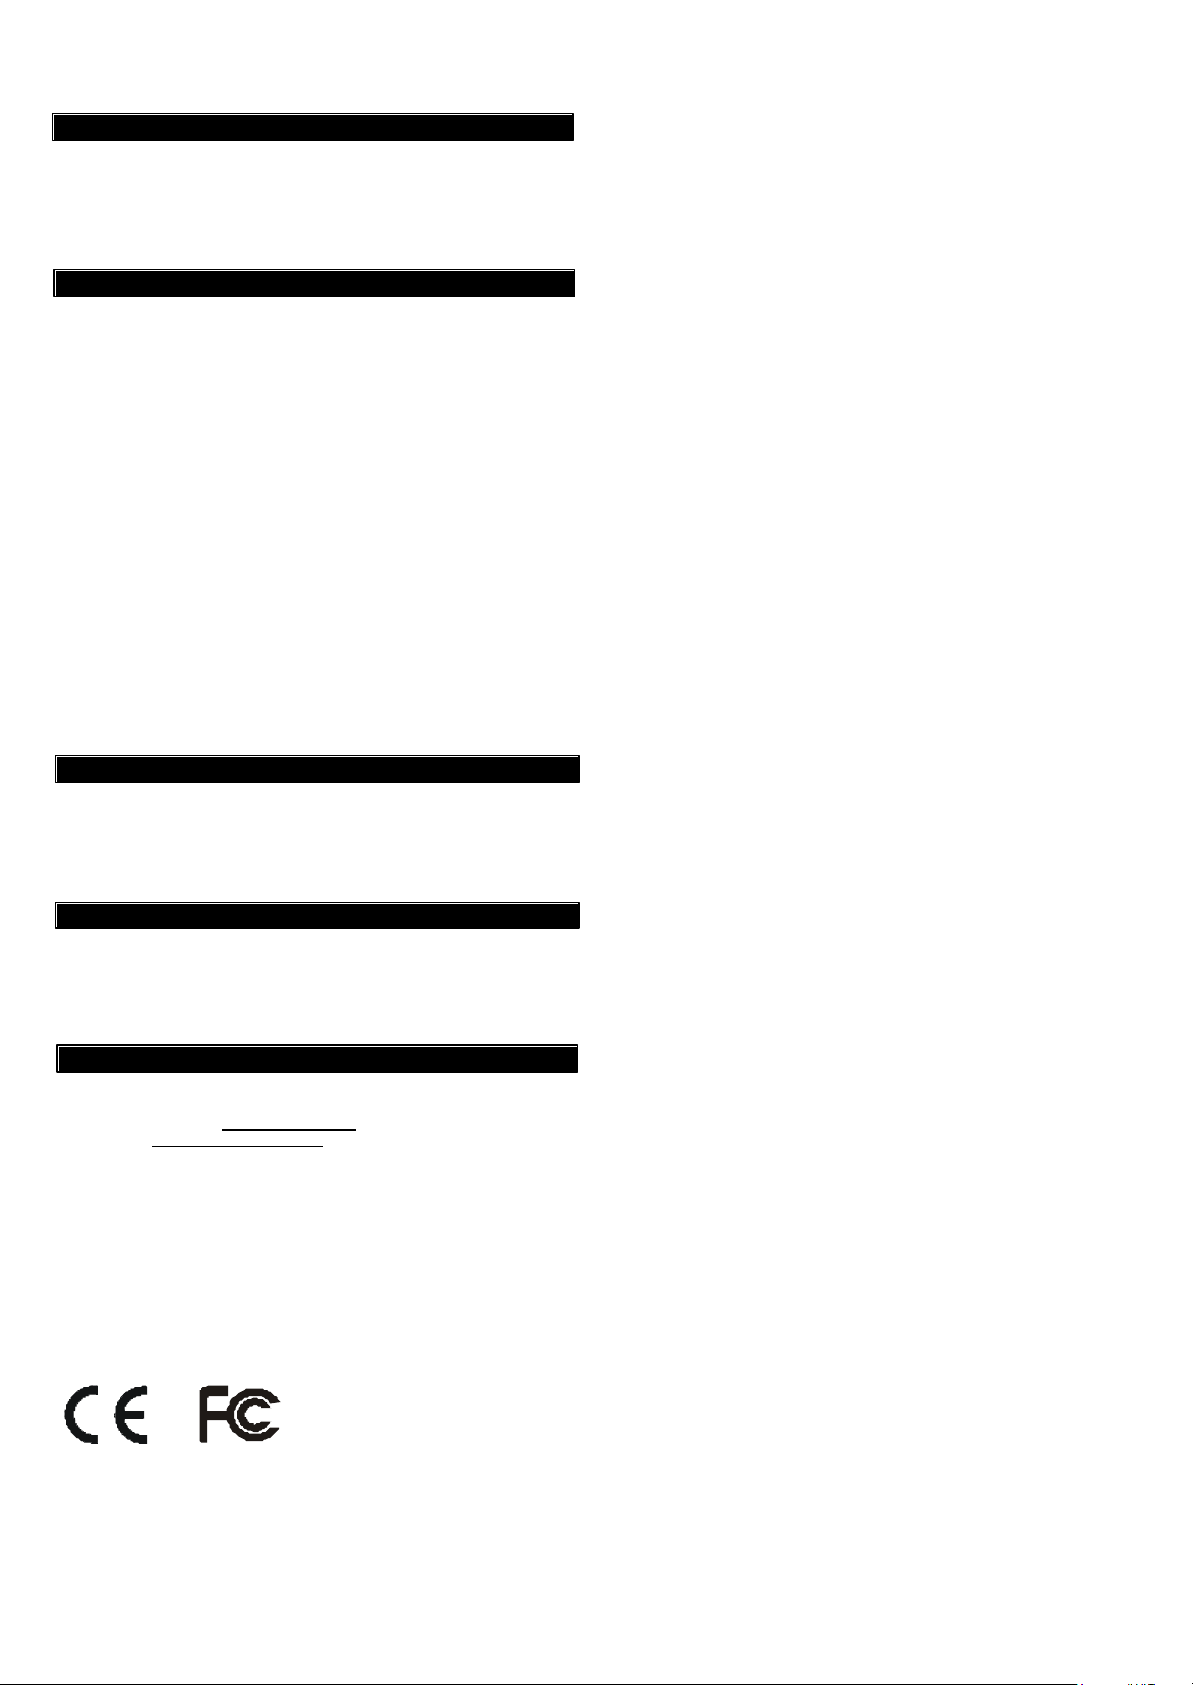
3. OPERATION
The remote can be used to arm, disarm, activate the alarm instantly, plus
control one additional device.
ARM
PANIC
DISARM
AUX
Arm - Pressing the arm button on the keychain remote will arm the system,
which will result in a 45-second exit delay. Arm LED will also be on.
Disarm - Pressing the disarm button on the keychain remote will disarm
the system instantly. Arm LED will also be off.
Panic - Pressing the panic button will cause the siren to sound instantly
and outgoing calls will be made to the preprogrammed phone numbers.
AUX - This button can be used to operate other Skylink’s devices (sold
separately), such as a garage door receiver, which can be used to open
/ close a garage door.
4
ZONE LED DESCRIPTION
Off Zone is not occupied by any remote
Flashes twice This zone is occupied by another remote. Programming
Flashes once This zone is occupied by a control module (Optional).
Flashes once, This zone is occupied by a remote AND a control module.
then twice If you program another remote to this zone, it will overwrite
Activate the
remote by
pressing any
one of the
buttons.
Activate remote
another remote to this zone will overwrite the previous
remote.
You can still program a remote to this zone, and it will not
overwrite the control module you have in this zone.
the previous remote, but not the control module.
Once the signal is
transmitted to the
Control Panel, that
signal which will be
stored.
You will hear [ Device
X Accepted ], where
“X” is the remote
location.
** Table A: Zone LED status for learning remote control(s).
4. BATTERY REPLACEMENT
The battery of the keychain remote (Alkaline, Type 23A, 12V) needs to
be replaced when either one of the followings occurs:
1. The LED on the keychain doesn’t flash or on when a key is pressed; or
2. The operating range starts to decrease.
To replace the battery:
1. Undo the two screws on the back of the
transmitter.
The bottom case will then come off.
2. Using a small screwdriver or pen, pry out
the old battery from one end.
3. Place the new battery in position. A diagram
in the battery compartment indicates which
end is positive and which is negative.
4. Close the battery cover and reinsert
two screws.
+
-
Page 2
5. OTHER AAA+TM ACCESSORIES
The AAA+TM control panel can work with different accessories include:
Garage door monitorTM sensor, Indoor/outdoor motion sensor, Audio
sensor, Remote control, Audio Alarm, etc. Please visit
www.skylinkhome.com or contact us at support@skylinkhome.com for
more information of how to fully utilize your remote control.
6. FCC
This device complies with Part 15 of the FCC Rules. Operation is subject to the
following two conditions: (1) This device may not cause harmful interference, and
(2) This device must accept any interference received, including interference that
may cause undesired operation.
WARNING:
Changes or modifications to this unit not expressly approved by the party
responsible for compliance could void the user’s authority to operate the equipment.
NOTE:
This equipment has been tested and found to comply with the limits for a Class B
digital device, pursuant to Part 15 of the FCC Rules. These limits are designed to
provide reasonable protection against harmful interference in a residential installation.
This equipment generates, uses and can radiate radio frequency energy and, if not
installed and used in accordance with the instructions, may cause harmful interference to radio communications.
However, there is no guarantee that interference will not occur in a particular
installation. If this equipment dose cause harmful interference to radio or television
reception, which can be determined by turning the equipment off and on, the user is
encouraged to try to correct the interference by one or more of the following measures:
- Reorient or relocate the receiving antenna.
- Increase the separation between the equipment and receiver.
- Connect the equipment into an outlet on a circuit different from that to which the
receiver is connected.
- Consult the dealer or an experienced radio/TV technician for help.
7. CE
Declaration of Conformity
This equipment complies with the requirements relating to electromagnetic
compatibility, EN 301489-3:2002, EN300220-3:2000, EN60950-1:2001,
EN50371:2002. This equipment conforms to the essential requirement of the
Directive (1999/5/EC) of the European Parliament and of the Council.
8. WARRANTY
If, within one year from date of purchase, this product should become
defective (except battery), due to faulty workmanship or materials, it will
be repaired or replaced, without charge. Proof of purchase and a Return
Authorization are required.
9. CUSTOMER SERVICE
If you would like to order Skylink’s products or have difficulty getting them to
work, please :
1. visit our FAQ section at www.skylinkhome.com , or
2. email us at support@skylinkhome.com , or
3. call our toll free at 1-800-304-1187 from Monday to Friday, 9 am to 5 pm EST.
Fax (800) 286-1320
CUSTOMER SERVICE
17 Sheard Avenue, Brampton, Ontario, Canada L6Y 1J3
Email:support@skylinkhome.com
http://www.skylinkhome.com
P/N. 101A362
©2005 SKYLINK GROUP
 Loading...