

Page 1
Manual Addendum; Wireless Connection. (optional!)
The Sitecom Wireless IP Camera can be connected to your network, via Network cable, or via
WiFi. If the camera should be used wirelessly, the device has to be configured for your network.
If you are using a WPS-enabled router, such as the Sitecom 150N and 300N routers, you can
follow ‘option 1’ to connect the camera. For other routers, please follow ‘option 2’.
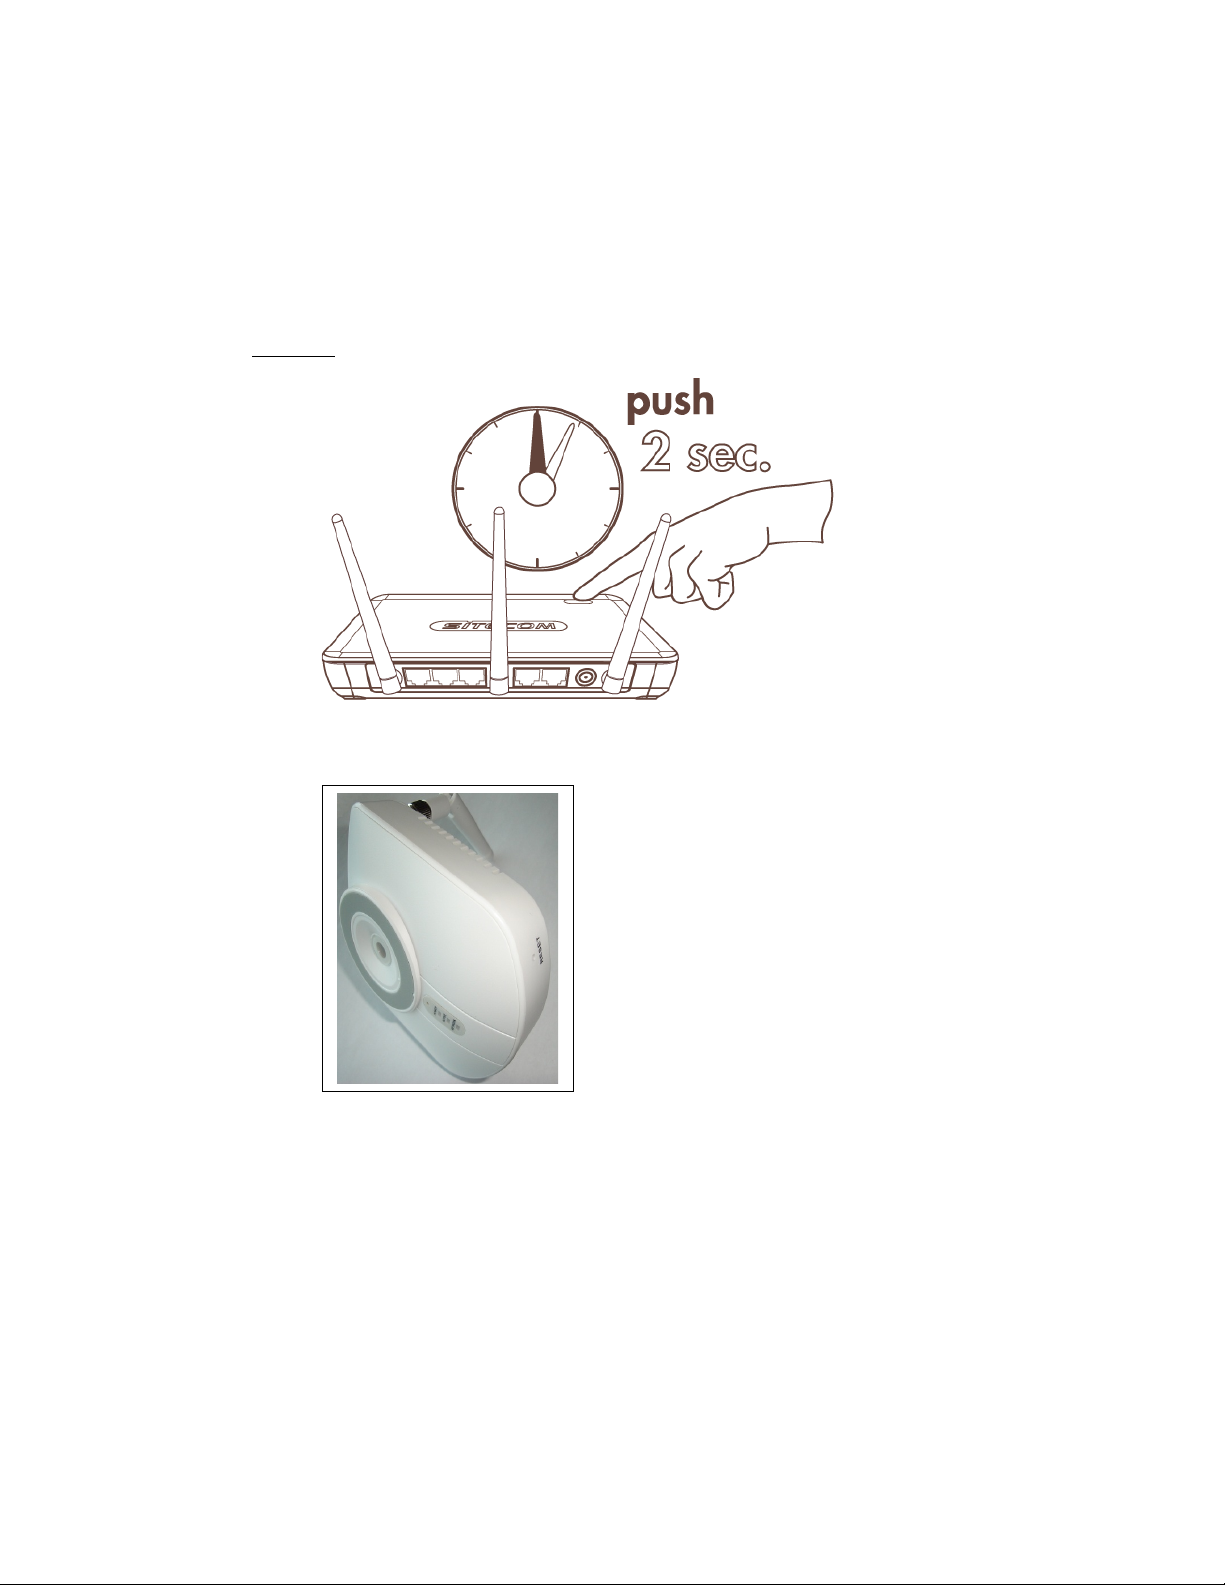
Option 1. Wireless Connection using WPS.
- Press the WPS button on your router for about 2 seconds.
- Use a paper-clip to press the Reset-/WPS-button on the IP-camera, for 2 seconds.
- Wait until the “power-LED”, and “Network LED” are lit again. This could take up to
2 minutes.
COMPLETED
You should now be able to view the camera images via your network. For more information about
this camera, please consult the Full Manual on CDROM.
Page 2
Option 2. Manual Configuration Wireless Connection
In order to configure the wireless interface of the WL-404, the following data is required:
- Networkname for the wireless network (SSID)
- Encryption settings (WEP or WPA encryption, and the encryption key for your network).
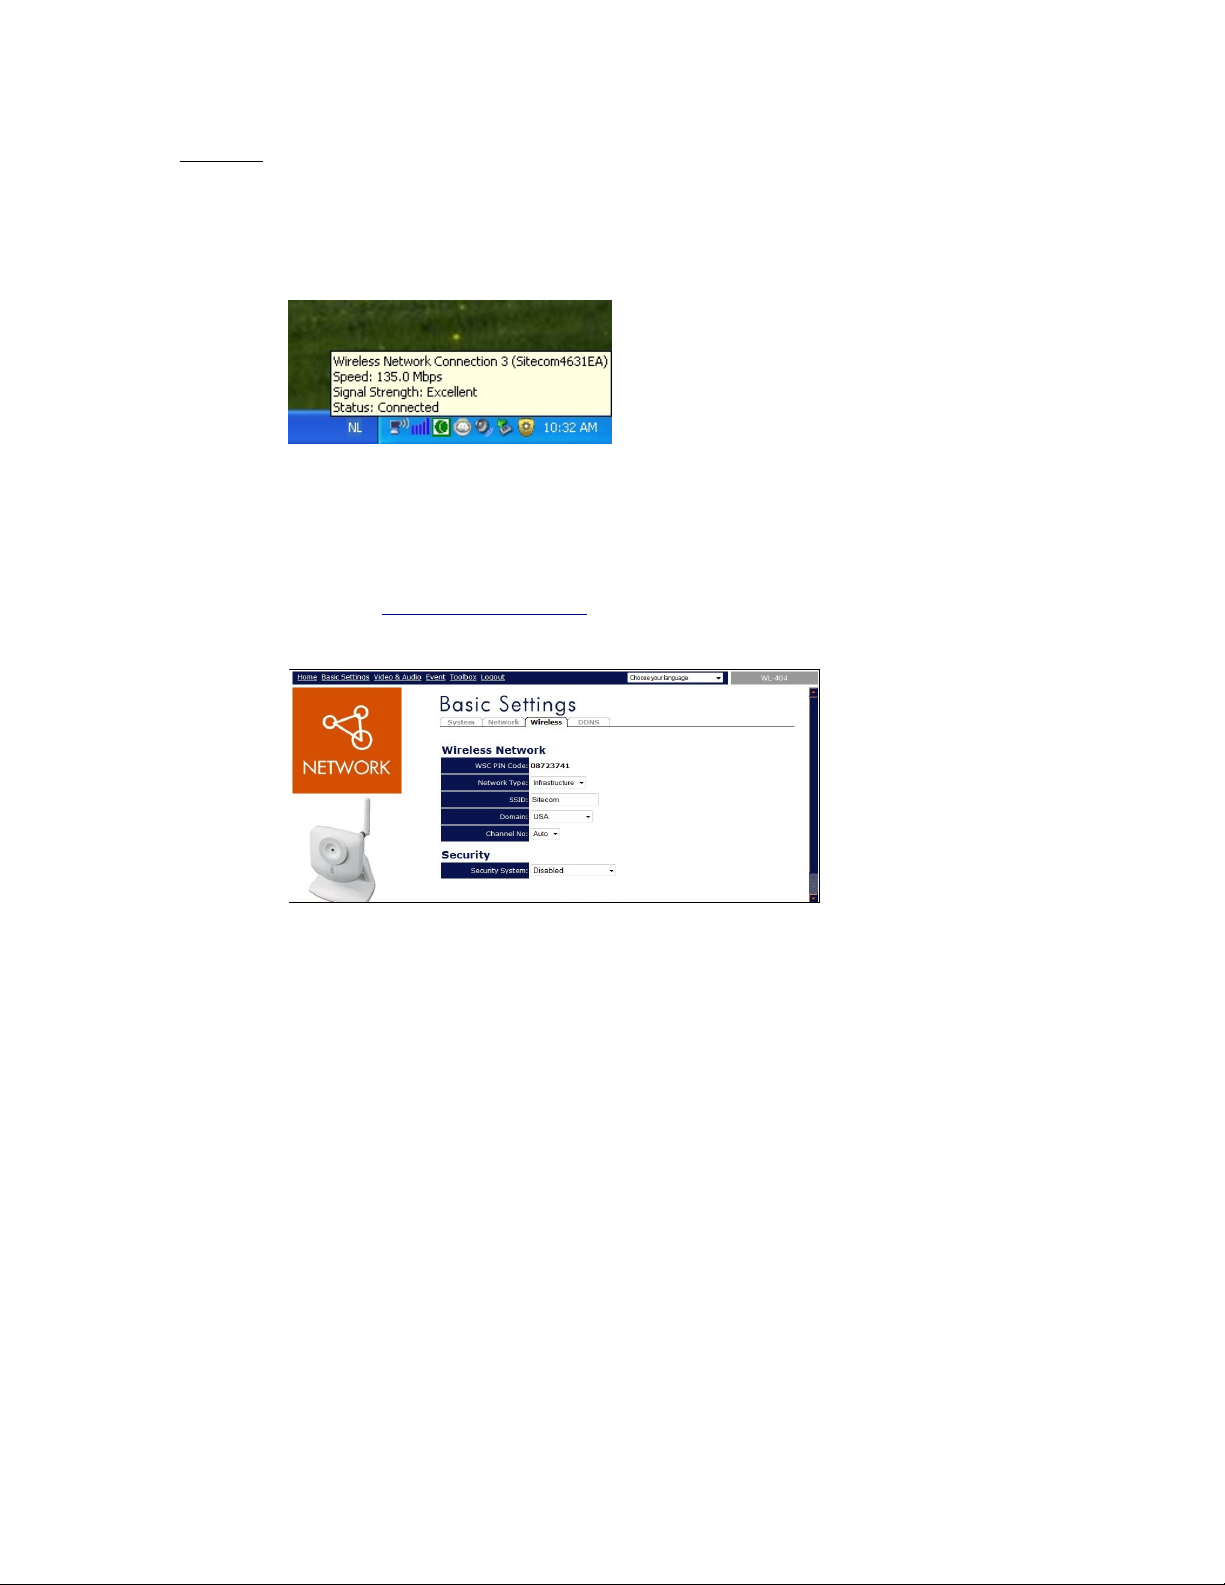
The Networkname can be found by checking the network status of one of the wireless computers.
Example; Windows XP Network status shows that it’s connected to “Sitecom4631EA”.
The encryption settings can often be found in the configuration of your router or Access-point. If
these settings are unknown, please consult the manual for your device.
1. The Wireless settings of the IP Camera can be changed by opening the camera web-interface
(by default http://192.168.0.230 ) in your browser.
2. Enter the administrator username and password (default username: admin, default
password: admin).
3. Open the “Basic Settings” menu, and click on the “Wireless” tab. Here, you can input your
wireless configuration settings.
- Enter the Networkname in the SSID-textbox
- Select Network Type “Infrastructure” when the camera has to connect to a modem,
router, or access-point.
- Choose the appropriate encryption settings in the “Security System” dropdown menu,
and if required, type your encryption code in the “(Pre-shared) Key” textbox.
4. Click “Save” to save the settings.
5. Wait 30 seconds, before the camera can be rebooted.
- Unplug the network cable, and power supply.
- Reconnect the power supply after a few seconds to start the camera with the new
configuration. The camera should now automatically connect to your wireless network.
COMPLETED
You should now be able to view the camera images via your network. For more information about
this camera, please consult the Full Manual on CDROM.
 Loading...