

Page 1
Setup your internet connection
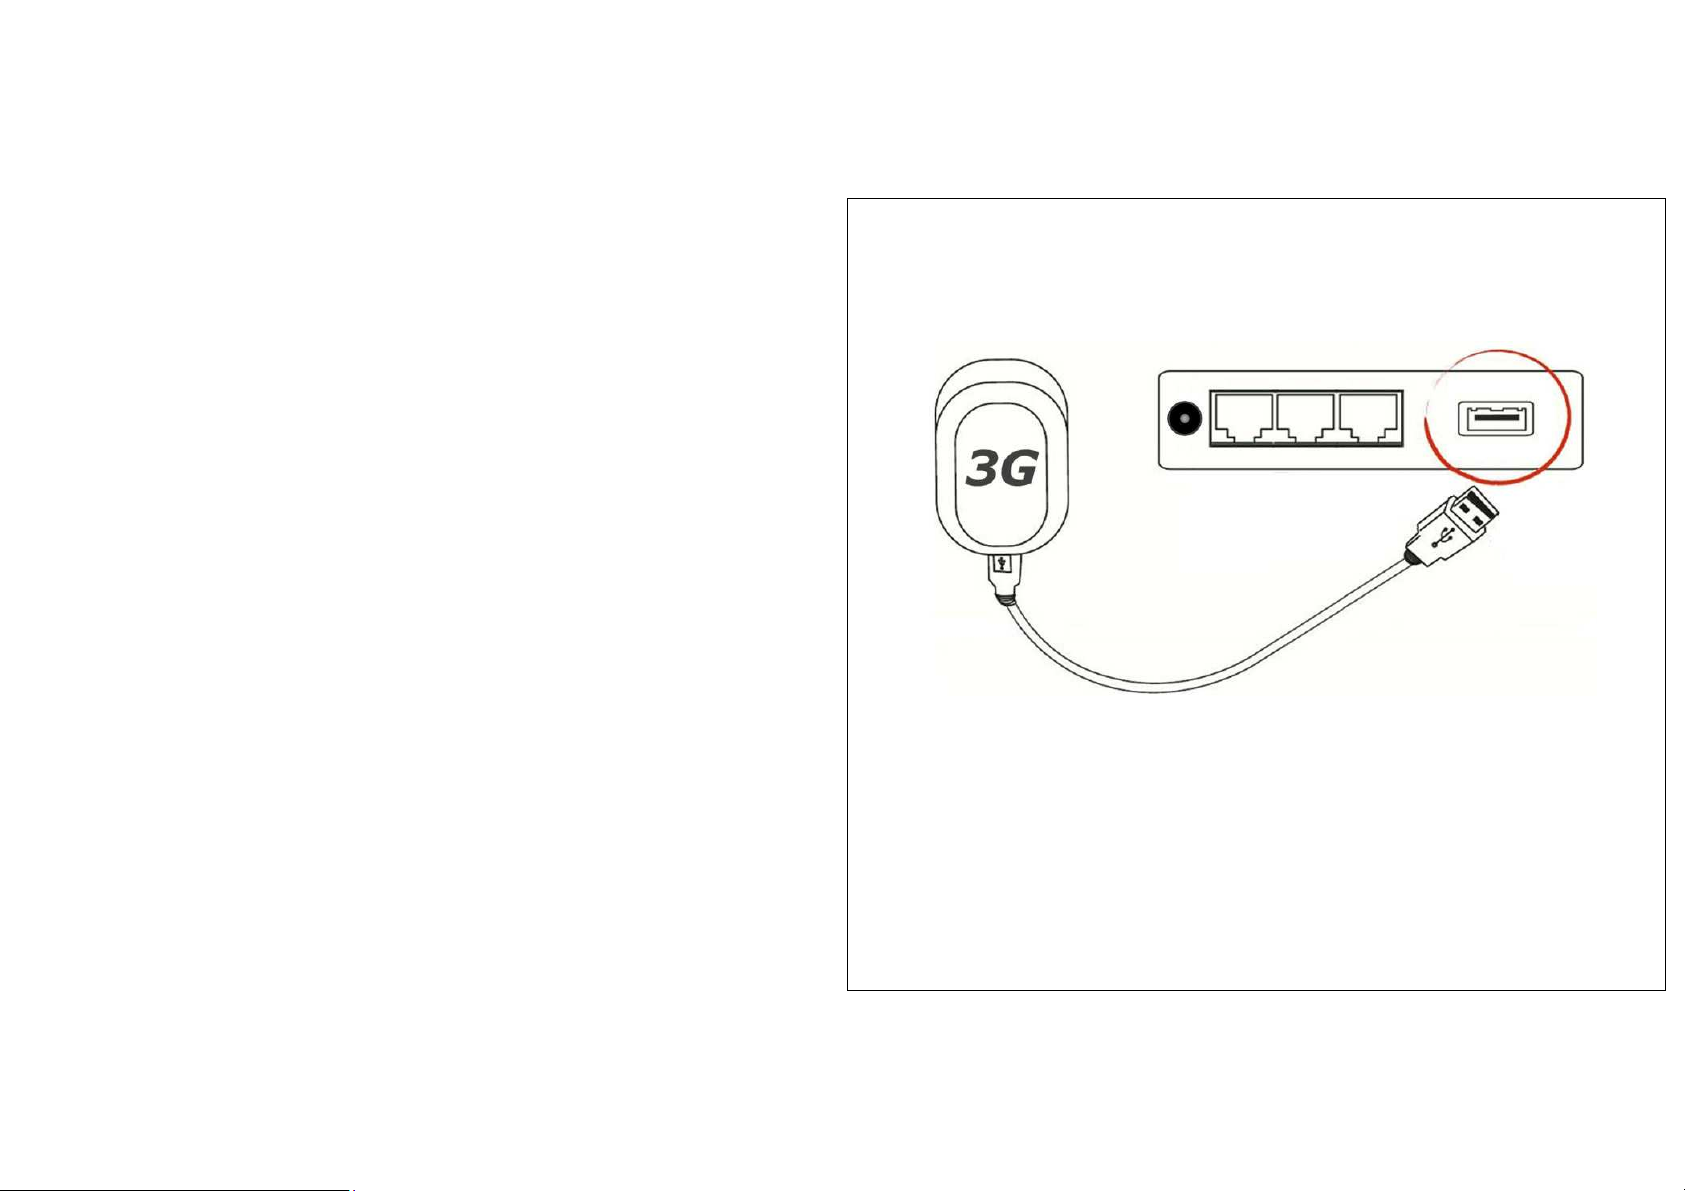
Step 1. Connect the router.
1. Make sure, before you start, that there is no power supply connected to your Router, and
switch your PC off.
2. Connect the cable from your 3G modem to the USB-connector on your Router. (The name of
the connection is given on the Router)
3. Insert the power cable plug for your Router into the power supply.
4. If you use a wired connection; connect a cable between one of the LAN-connections on your
Router, and the PC.
5. Start your PC now.
6. If you use a wireless connection; connect to the network 'Sitecom' (before you do this, read
the User Guide for your wireless network card on how to connect to a router/access point)
Page 2

Step 2. Setup TCP/IP.
Windows 2000/XP
1. Go to START > Control panel > (Network and Internet connections >) Network
connections.
2. Click on your network connection with the right hand mouse button and select
‘Properties’.
3. Click on ‘Internetprotocol (TCP/IP)’, and click on the button ‘Properties’.
4. Select ‘Obtain an IP address automatically’, and ‘Obtain DNS server address
automatically’.
5. Click on ‘OK’, then on ‘Close’, and restart your PC.
Windows Vista
1.
Click the Windows (Start) button.
2.
Right-click with the mouse on ‘Network’, and select ‘Properties’.
3.
Cick ‘status’ of your network connection, and select ‘Properties’ in the new window.
4.
In User Account Control click ‘continue’.
5.
Click ‘Internet Protocol Version 4 (TCP/IPv4)’, then click ‘Properties’.
6.
Select ‘Obtain an IP address automatically’.
7.
Click OK, then close all windows and restart your PC.
Page 3

Note: For other operating systems, please read the manual of your operating system, on how
to setup an automatic (dynamic) IP-address.
Page 4

Step 3. Open the router interface.
1. Start your web browser (e.g. Internet Explorer).
2. Type in de address bar: 192.168.0.1 and press [Enter].
3. Enter your username as: admin, and for your password: admin, and click OK.
4. You will now see the start page for your router.
Page 5

Step 4. Setup your internet connection.
1. Click on ‘Wizard’ in the upper left hand of your screen.
2. Click on ‘Next’, and select your country and “Mobile 3G”.
3. Click on ‘Next’ again, and fill in your username, password and PIN Code (depending on your
provider). (If you’re not sure about the settings you need to use, please contact your ISP.)
4. Click on ‘Apply’, and then on ‘Apply’ again.
5. Click OK when the router has restarted. You will see the start screen again. Wait about 20
seconds and the Router will reconnect to the Internet.
You can now enjoy your internet connection.
COMPLETED
Your computer should now be able to make a connection with the Internet, use the Wireless
network.
For more information about advanced functions, settings, and security, please consult the full
manual on CDROM.
 Loading...