

Page 1
Step 1
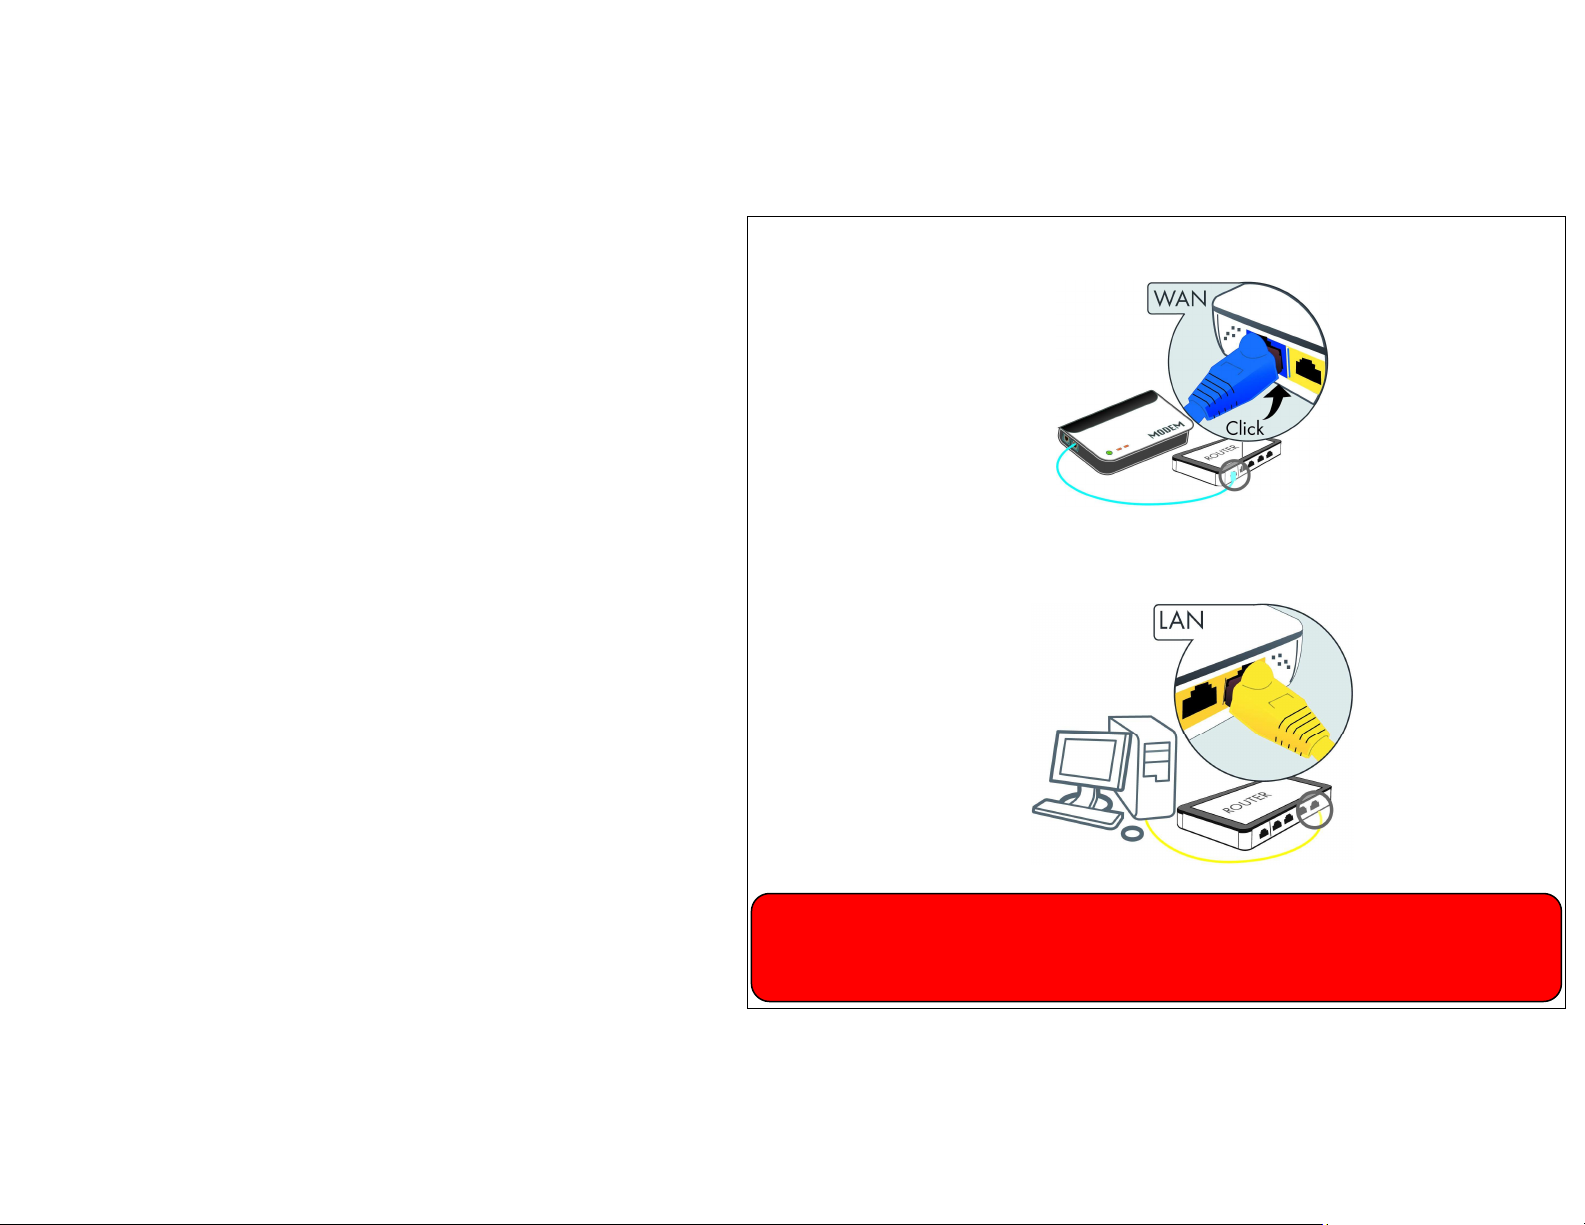
1. Connect the modem cable to the router's modem/WAN port.
2. Connect the adaptor to the router and insert the plug in the plug socket.
3. Connect to the wireless ‘Sitecom’ network (see the instructions provided with your
wireless network card) or connect a cable to one of the router's LAN ports (yellow).
Note: A firewall installed on your PC may block the connection with the router. See your
firewall's instruction manual or turn it off temporarily.
Page 2
Step 2
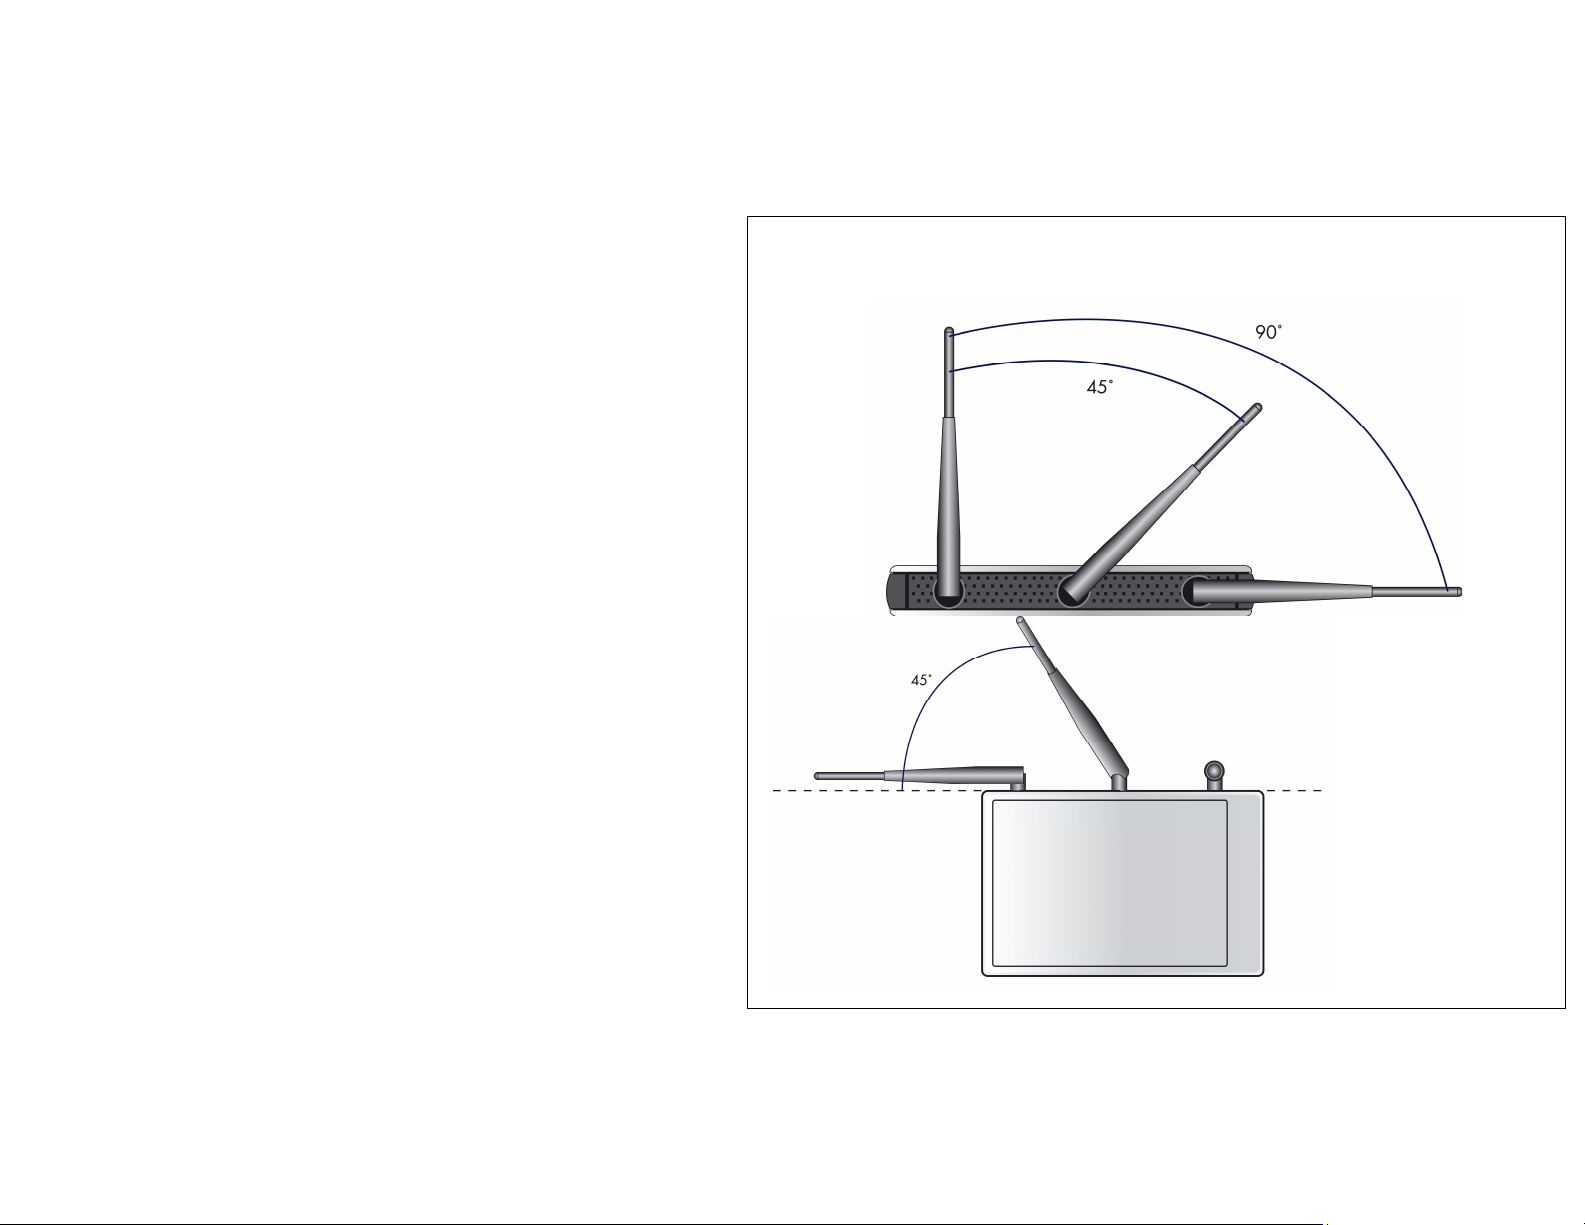
If the aerials are not positioned correctly, then the performance may be reduced.
1. Position the aerials as shown:
Page 3
Step 3
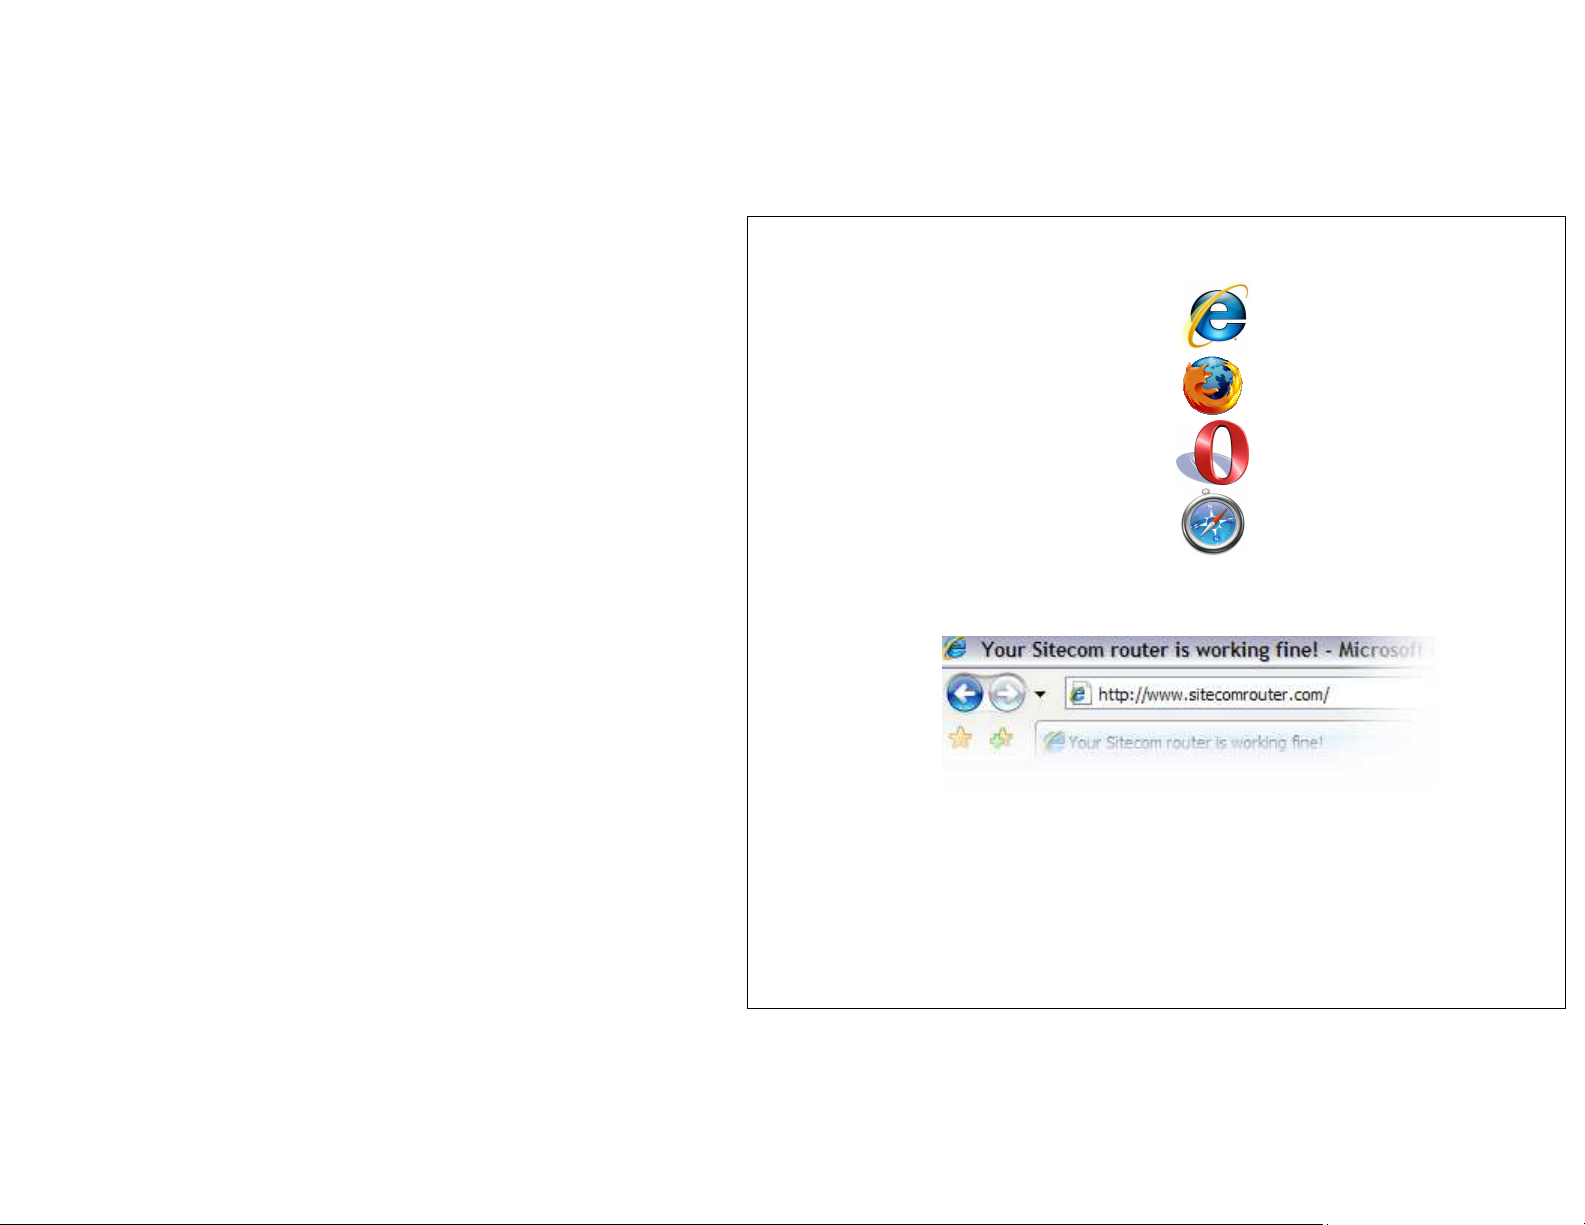
1. Start your web browser.
- Internet explorer
- Firefox
- Opera
- Safari
2. Type http://www.sitecomrouter.com in the address bar and press [Enter].
If the page is displayed, then your router has already been configured for the Internet and you
can continue from step 6. If the page is not displayed, continue from step 4.
Page 4

Step 4
1. Type 192.168.0.1 in the address bar and press [Enter].
NB: If the window shown above is not displayed and you receive an error message saying that
the page cannot be displayed, see Appendix A.
2. Enter admin as the User name and admin as the Password and click OK.
3. The router's status page will now be displayed.
Page 5

Step 5
1. Click ‘Wizard’ in the top left-hand corner of the window.
2. Click ‘Next’ and select the country in which your provider and/or modem is located.
a. Click ‘Next’ again and (depending on your Internet Service Provider) enter your
user name and password, clone your MAC address or enter your host or computer
name.
b. Click ‘Next’ and then click ‘Apply’.
c. The status page will be displayed again when the router has restarted. Wait 20
seconds before connecting the router to the Internet.
Page 6

Step 6
Follow the instructions given in the Sitecom Wireless-N-client instruction manual if you wish to
protect your network or read the instruction manual included on the CD-ROM if you use a
different wireless adaptor and wish to turn on the protection.
If you use WPS with a Sitecom Wireless-N-client, then the router is protected automatically. If
you wish to create a connection from a wireless network that does not support WPS, then you
can find the code in the router's menu.
1. Open de router status page as described in step 3 of these instructions.
2. Click 'Wireless Settings' in the top left-hand corner of the window.
3. Click the 'WPS' tab. The code is given in the 'Passphrase Key' field.
READY
Your computer should now be able to connect to the Internet via the wireless network.
See the instruction manual included on the CD-ROM for information about the advanced
functions, settings and security options.
Page 7

Appendix A
Note: For other operating systems, please see the documentation provided with your
operating system for instructions on how to set your IP settings to DHCP.
Check whether your network settings have been configured correctly.
Windows 2000/Windows XP
1. Click START > Control Panel > (Network and Internet Connections >) Network
Connections.
2. Right-click your network connection and select ‘Properties’.
3. Click ‘Internet Protocol (TCP/IP)’ and click ‘Properties’.
4. Select ‘Obtain an IP address automatically’.
5. Click 'OK' and then 'Close'. Restart your computer.
Page 8

Windows Vista
6. Click the Windows (Start) button.
7. Right-click ‘Network’ and select ‘Properties’.
8. Click ‘Status’ for your network connection and select ‘Properties’ in the new window.
9. Click 'Continue' for User Account Control.
10. Click ‘Internet Protocol Version 4 (TCP/IPv4)’ and then click ‘Properties’.
11. Select ‘Obtain an IP address automatically’.
12. Click 'OK' and then 'Close'. Restart your computer.
Page 9

Mac OSX
1. Click the Apple logo and select 'System Properties'.
2. Click 'Network' in the window that is displayed.
3. Select your network adaptor and select 'Using DHCP' for 'Configure IPv4'.
 Loading...