


Wireless Network 2,4Ghz
PCI Card adapter MiMoXR
WL-151
Quick Installation Guide
1. Software/Hardware Installation
Please install the software before inserting the Wireless adapter in
the system!
Step 1.
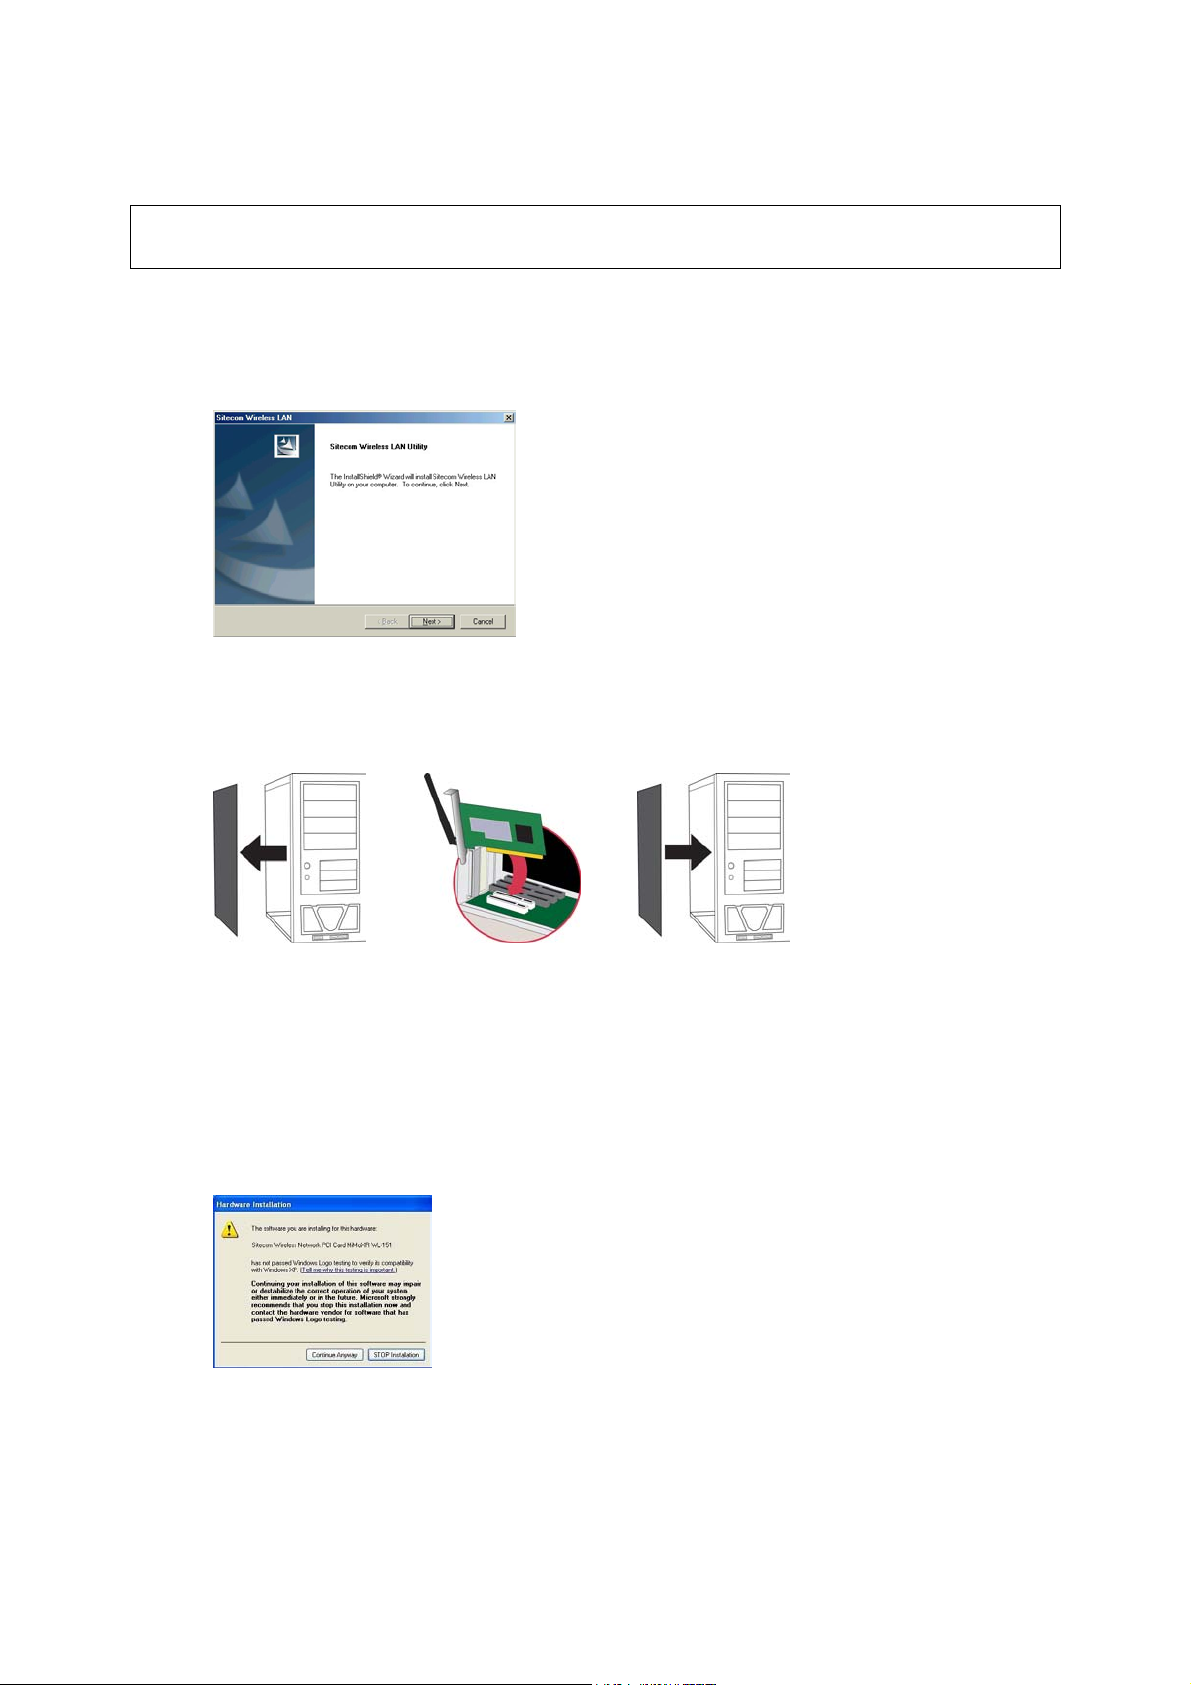
1. Insert the installation CD in the CD-ROM drive, open My Computer/CD-ROM drive and run the
setup.exe file located in the ‘Utility’ directory.
2. Click Next to start the installation and follow the instruction on your screen.
3. After the setup wizard has finished remove the CD-ROM and shut down the computer.
Step 2.
1. Insert the WL-151 wireless PCI adapter into a free PCI slot.
2. Start the computer.
Step 3.
1. After Windows has restarted it will detect new hardware (the WL-151).
2. Follow the Windows New Hardware Wizard and let Windows automatically search for the appropriate
drivers.
Note: Windows 98SE users may need the Windows 98SE CD-ROM to complete the
installation.
3. Depending on the Windows version you are using, it is possible you will see a warning concerning the
Microsoft Logo Test.
4. Click ‘Continue anyway’ (Windows XP) or ‘Yes’ (Windows 2000) to complete the installation.
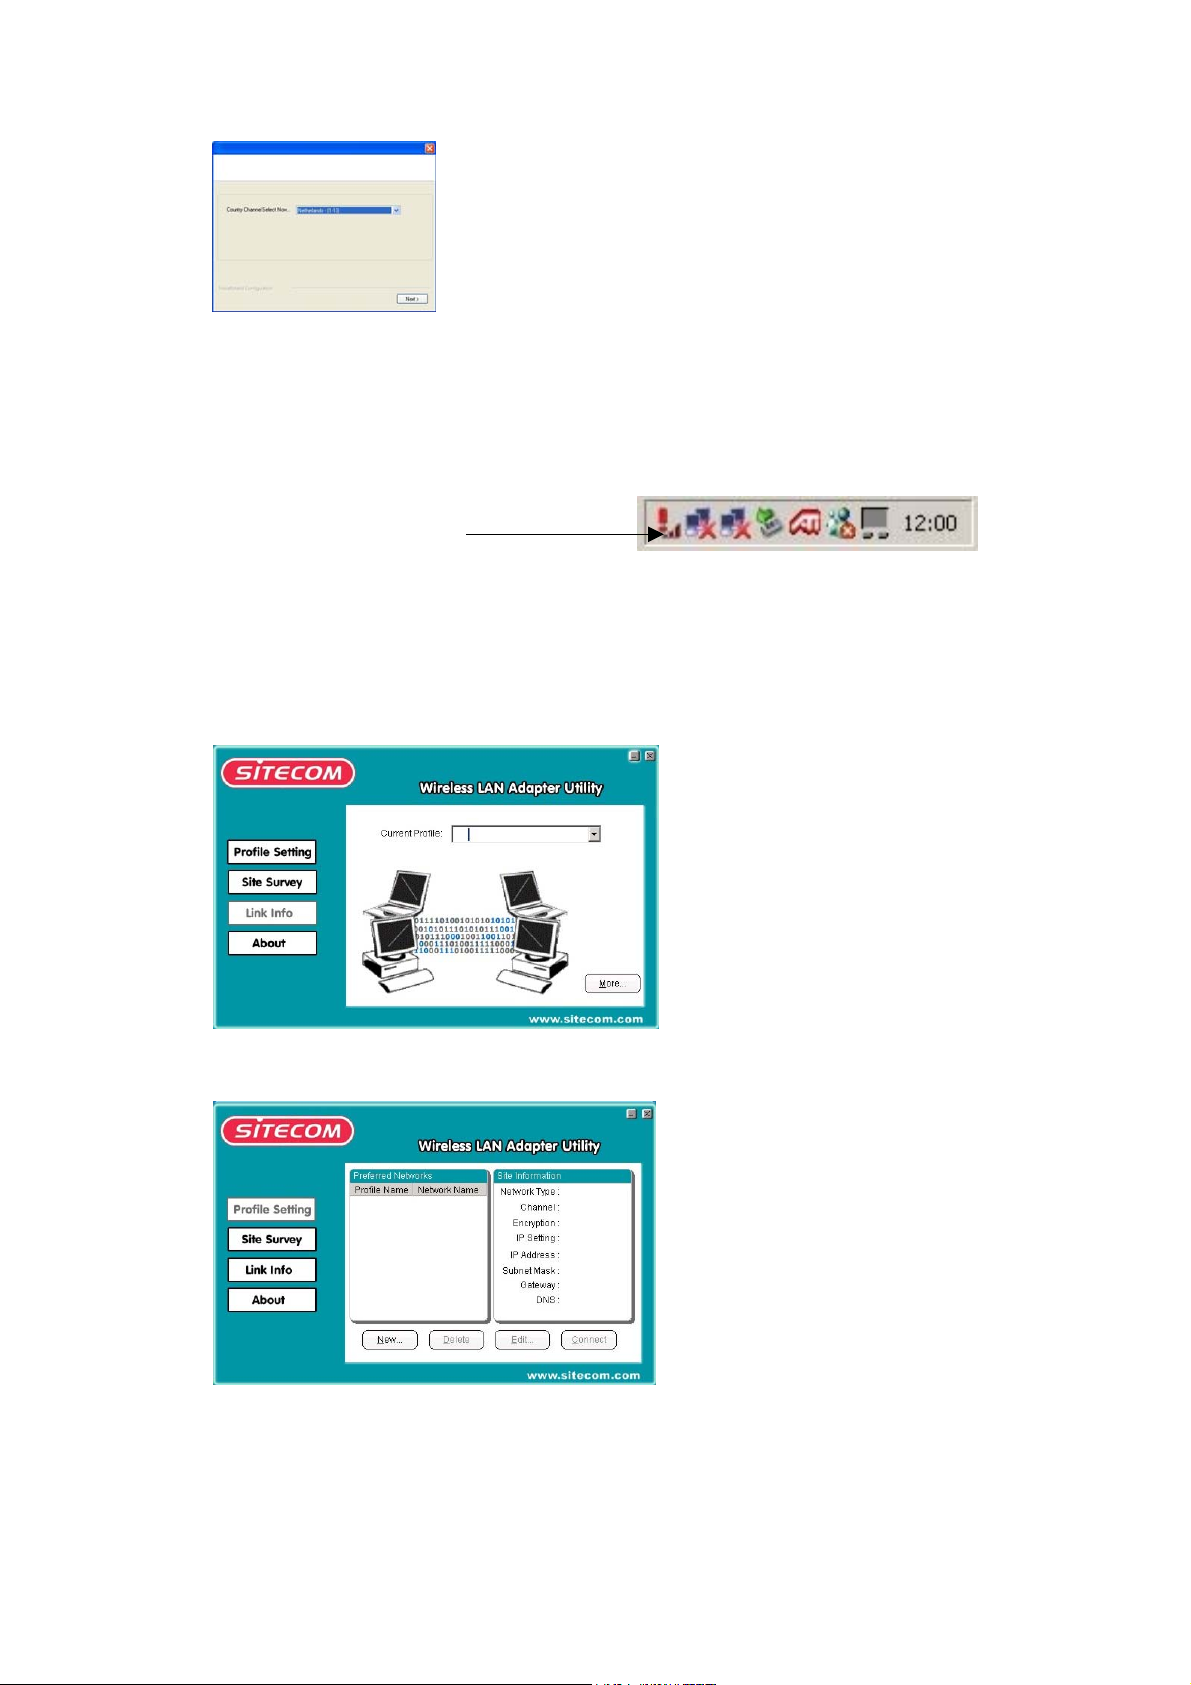
5. When prompted to select your country, select your country and click ‘Next’.
2. Wireless Configuration Peer to Peer (Ad-Hoc)
After installing the software the wireless configuration utility icon will show in the icon
tray.
Sitecom Wireless Utility
The wireless utility icon should be blue if the icon is red then the wireless LAN
configuration is invalid or incomplete. When the wireless utility icon is yellow then the
wireless connection strength is low.
• Please double click on the icon or go to Start/Programs/Wireless Network and click
the Sitecom Wireless Utility.
• Select the 'Profile Setting' tab and click the 'New' button.
• Fill in a Profile Name (i.e. Sitecom) and click 'Next'.

• Fill in the Network Name (i.e. Sitecom), make sure the Network name, also called
SSID, is the same on all wireless adapters.
Set the Network Type to 'Peer to Peer', set the Transfer Rate to 'Automatic' and
choose a Channel. For a Peer to Peer connection the same channel and Network
Name are required. Click 'Next'.
• Leave ‘Security’ unchecked until the wireless connection is established and click
'Next'.
• Enable the 'IP Setting' and click 'Next'.

• Disable the DHCP Status. Set the 'IP Address' (i.e. 192.168.1.1), incrementing the
last digit of the IP Address for each machine. Therefore the IP address of the
second machine should be 192.168.1.2. The 'Subnet Mask' should be the same
(255.255.255.0) for all of the machines. The 'Default Gateway' and the 'DNS
Server' do not have to be filled in. Click 'Next'.
• Click ‘Finish’ to complete the configuration.
• Select the Profile Name and click 'Connect'.

• Check the wireless utility icon in the icon tray and you will see the colour of the
wireless utility icon change, blue means it’s connected.
• Close the wireless utility by clicking the 'X'. The wireless utility will stay visible in
the icon tray.
• Go to
chapter 4 to enable File & Printer sharing.
3. Wireless Configuration Infrastructure
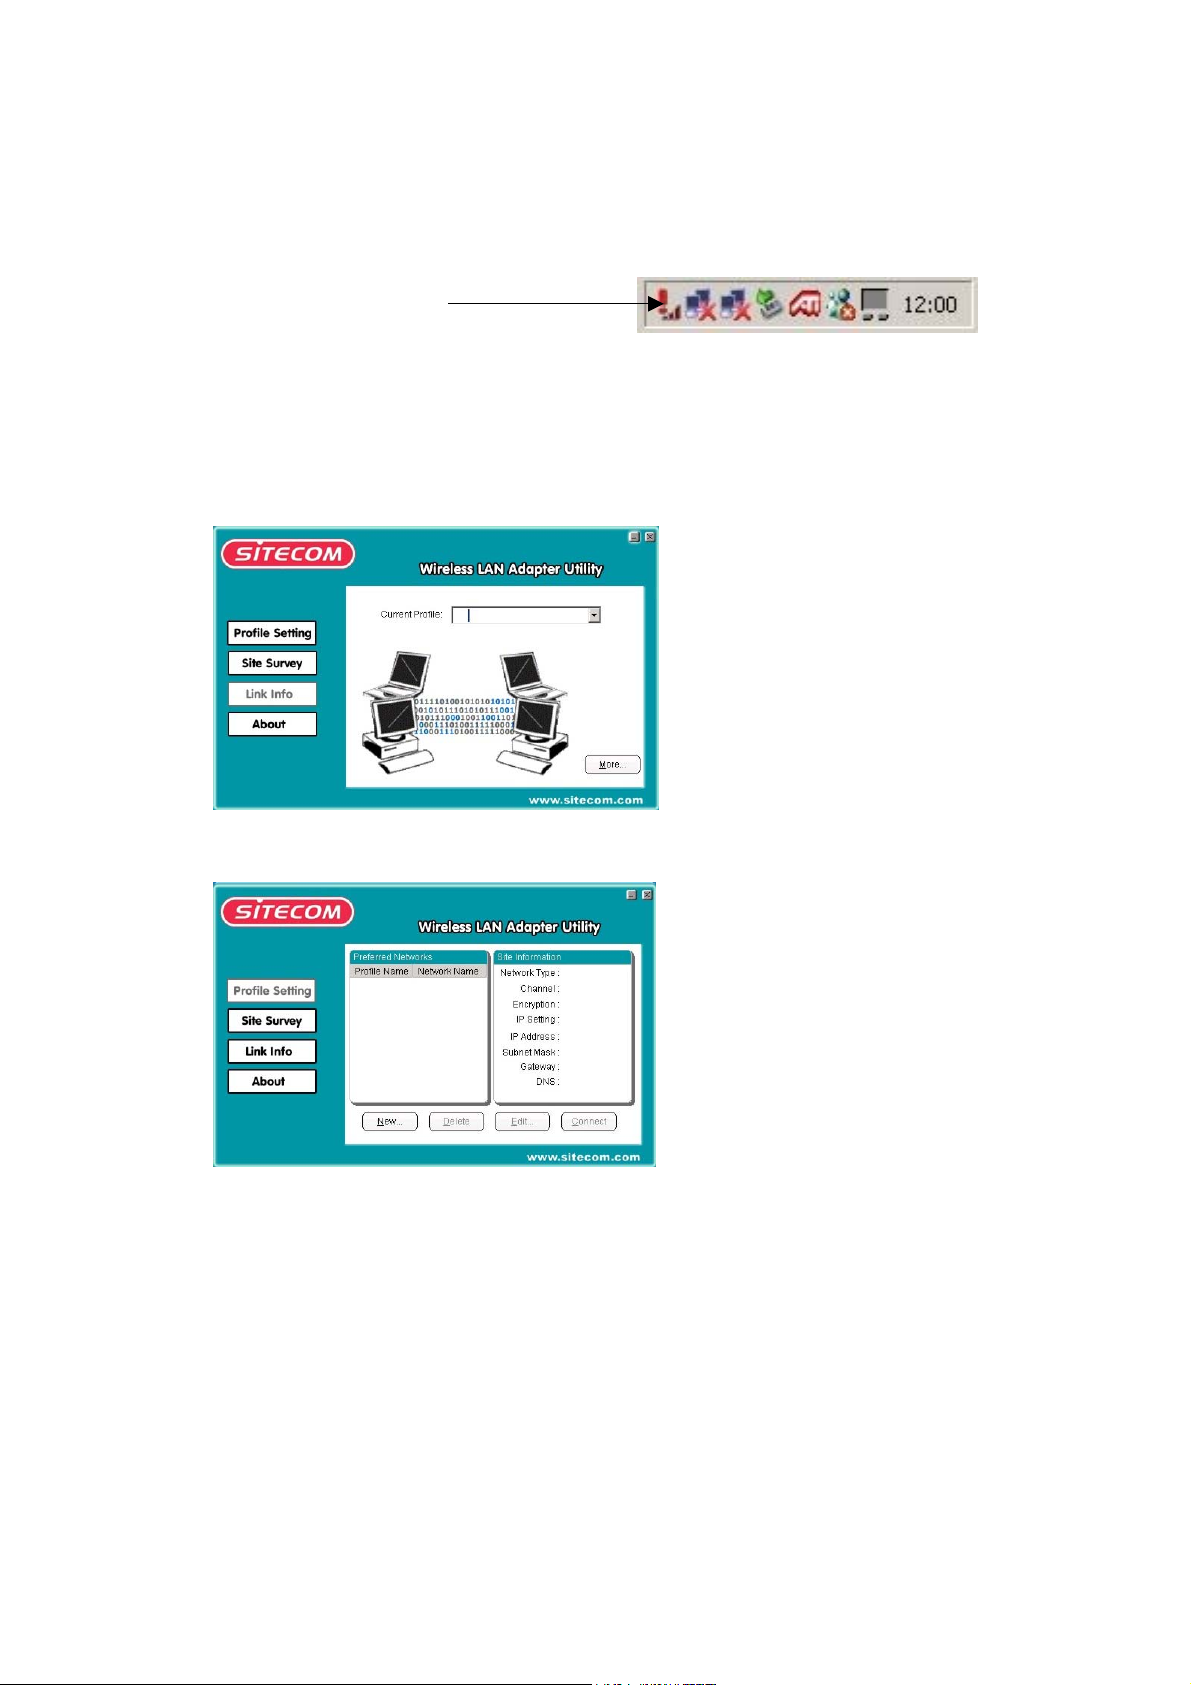
After installing the software the wireless configuration utility icon will show in the icon
tray.
Sitecom Wireless Utility
The wireless utility icon should be blue if the icon is red then the wireless LAN
configuration is invalid or incomplete. When the wireless utility icon is yellow then the
wireless connection strength is low.
• Please double click on the icon or go to Start/Programs/Wireless Network and click
the Sitecom Wireless Utility.
• Select the 'Profile Setting' tab and click the 'New' button.
• Fill in a Profile Name (i.e. Sitecom) and click 'Next'.

• Fill in the Network Name (i.e. Sitecom), make sure the Network name, also called
SSID, is the same on all wireless adapters and Access Points.
Set the Network Type to 'Access Point', set the Transfer Rate to 'Automatic' and
click 'Next'.
• Leave ‘Security’ unchecked until the wireless connection is established and click
'Next'.
• Enable the 'IP Setting' and click 'Next'.

• When using a Sitecom Wireless router or other DHCP server in the network, set
DHCP Status to Enable. In all other situations, disable the DHCP Status. Set the
'IP Address' (i.e. 192.168.1.1), make sure the IP address is in the same range as
the Access Point. The 'Subnet Mask' should be the same (255.255.255.0) for all of
the machines. The 'Default Gateway' and the 'DNS Server' do not have to be filled
in. Click 'Next'.
• Click ‘Finish’ to complete the configuration.
• Select the Profile Name and click 'Connect'.

• Close the wireless utility by clicking the 'X'. The wireless utility will stay visible in
the icon tray.
• Go to
chapter 4 to enable File & Printer sharing.

4. File and Printersharing
Windows 98/ME
To enable File and Printersharing on your network, Right click the icon 'Network
Neighbourhood' on the desktop, choose 'properties'. Click the ‘file and
printersharing” button. Simply click the two boxes you see in the resulting dialog box,
then click OK. But before you reboot your computer, you'll need to check a few other
settings.
• Click the Identification tab in the Network Control Panel. Enter a unique
COMPUTERNAME, and a brief description of your computer in the Computer
Description slot. The WORKGROUP name you assign to each computer must be
exactly the same for every computer on your network.
• Sharing Files and folders:
When you want to share a hard drive (or any other storage device) on one
machine with all of the other machines on the network, simply right-click the drive
letter or folder you wish to share, then select Sharing from the pop-up menu.
After you select Sharing, you'll be presented with a dialog box containing several
options. Type in the Share Name, add a comment, and set the access type. If you
choose Read Only, other computers on the network will be prevented from
copying files into the shared drive or folder. If you select Full, any machine on the
network will be able to write to them as well.
• Sharing printers:
Click ‘start’, ‘settings’, and ‘printers’. Right click the printer you want to share on
the network and choose “sharing”. In the following screen enable sharing and fill
in a sharename, the printer is now shared. To use the network printer on other
PCs in the network, it has to be installed on the other PCs first. Click ‘start’,
‘settings’, and ‘printers’. Click the ‘Add New Printer’ icon. The ‘New Printer Wizard’
starts. Choose ‘network printer’. In the following screen browse to the correct
printer via network environment. The printer will now be installed. Repeat this
steps for all PC’s in the network. The printer can now be used from every PC in
the network.
Windows 2000/XP
File and Printer sharing will be installed automatically under Windows 2000/XP. Sharing
files, folders and printers is the same as under Windows 98/ME, however assigning the
computer and workgroup name as in step one is different.
Windows 2000
Right click the ‘My Computer’ icon on the desktop, choose ‘properties’. Click the
‘computer name’ tab. Fill in the COMPUTERNAME and the WORKGROUPNAME by the
same specifications as Windows 98/ME
Windows XP
Click ‘start’. Right click the ‘My Computer’ icon, choose ‘properties’. Click the
‘computer name’ tab. Fill in the COMPUTERNAME and the WORKGROUPNAME by the
same specifications as Windows 98/ME.
Guest Account Windows 2000
When you want to reach a shared file or folder in the network on a Windows 2000
machine, most of the time you are requested for a password. This is due to the fact the

so called 'Guest account' in Windows 2000 is disabled by default. You can enable the
guest account:
• Right-click 'My Computer', and then click 'Manage'.
• Under 'System Tools', double-click 'Local Users and Groups' to expand it, and then
click 'Users'. In the right screen, right-click the 'Guest' account, and then click
'Properties'. Click to clear the 'Disable this account' check box and click OK.
• Click 'start/settings/control panel/Users and Passwords'.
• Select 'Guest' and click the 'set password' button.
• Make sure the password is set to null (blank).

5. Security
To prevent unauthorized accessing the transmitted data over your network, the WLAN
Utility offers sophisticated security options. To activate the security options, click the
checkbox next to Security.
5.1 Small Office – Home (SoHo)
WEP (Wired Equivalent Privacy)
This is the first and most used encryption mode for wireless networks and can be used in
peer to peer networks and networks which use a Accesspoint.
Make sure the same key is used on all wireless stations. Choose either Open or Shared
for Authentication Mode and WEP for Encryption Mode.
Open key authentication involves supplying the correct SSID. With shared key
authentication, the AP sends the client device a challenge text packet that the client must
then encrypt with the correct WEP key and return to the AP. If the client has the wrong
key or no key, authentication will fail and the client will not be allowed to associate with
the AP. Shared key authentication is considered less secure, because a hacker who
detects both the clear-text challenge and the same challenge encrypted with a WEP key
can decipher the WEP key.
With open key authentication, even if a client can complete authentication and associate
with an AP, the use of WEP prevents the client from sending data to and receiving data
from the AP, unless the client has the correct WEP key.
Next configure the Pre-configured key (WEP) section
Choose the format for entering the key, either Hexadecimal, Alphanumeric (ASCII) or
PassPhrase.

Choose the key number you want to use.
Choose the encryption length, 128 bits is best
Enter the Network Key. Depending on the type you choose (ASCII or Hexadecimal, 64 or
128 bits), the length of the key could be 5,10,13 or 26 characters.
alphanumeric 5 characters A-Z & 0-9 64 bit
hexadecimal 10 characters A-F & 0-9
alphanumeric 13 characters A-Z & 0-9 128 bit
hexadecimal 26 characters A-F & 0-9
The PassPhrase is a convenient way to generate a key. You can a normal sentence. The
utility will convert this into a security key. (Only use this option when all wireless
products are from the same manufacturer).
WPA-PSK (Wi-Fi Protected Access-Pre Shared Key)
WPA is a big improvement for Wireless security compared to WEP and can be used in
networks which use an accesspoint. WPA normally use a Authentication server in the
network for secure access. For home use WPA-PSK was developed. There is no need for
an authentication server.
With WPA-PSK the client authenticates to the Accesspoint with the pre shared key (just
like WEP). When the connection is approved the data is transmitted encrypted with a key
derived from the pre shared key. The final encryption key is therefore different from the
pre shared key.
Choose WPA-PSK or WPA-NONE for Authentication and TKIP for Encryption Mode.
Enter the Network Key in the Pre-configured key (WPA) section. It should be an
alphanumeric password phrase between 8 and 63 characters.

5.2 Enterprise organisations
Please refer to the manual on CD-Rom.
Large organisations sometimes demand extra safety requirements for wireless network
connections. Most of the time an Authentication server (Radius server) is used in such a
network.
The WL-022 supports two options for this kind of security: 802.1x and WPA. Contact your
network administrator for the correct settings.
IEEE 802.1x Authentication
802.1x is an enhancement for the traditional WEP security. If the Authentication mode is
either Open or Shared it’s possible to enable IEEE 802.1x authentication for this network.
Depending on the information from the network administrator choose the correct EAP
(Extensible Authentication Protocol) type.
If the Authentication mode is set to Open you’ll have the possibility to enable Keys will be
generated automatically for data privacy. When disabled or if the Authentication mode is
set to Shared you’ll need to fill in the Pre-configured key [WEP] (See chapter 5.1 WEP).

WPA
WPA is a big improvement for Wireless security compared to WEP. WPA use an
Authentication (radius) server in the network for secure access.
Choose WPA for Authentication and TKIP for Encryption Mode.
Depending on the information from the network administrator choose the correct EAP
(Extensible Authentication Protocol) type.
Certificate Information
With 802.1x and WPA Certificate Information is needed. After configuration of 802.1x or
WPA, click Next.
The configuration depends on the EAP type and information from your Network
Administrator.
TLS requires the entry of Certificate Information and Login Information for mutual
authentication. When security requires TLS, you should select the appropriate
information in the following field using drop-down menu:
User Certificated: select one of user certificates you have enrolled.
Certificate Authority: select one of certificate authorities you have registered.
Login Information: this menu lets you enter a Server Name and Login Name to
authenticate

PEAP requires the use of certificates with a Certification Authority server. Click the up
and down arrows to the right of this list to display all the Certification Authority types.
Highlight one of certificate authority to select it. You also need to input the User
Information and the Login Information in the appropriate fields.
LEAP requires the mutual authentication between client adapters and access points. You
must present a User Name and Password that will be verified by a LEAP-capable
RADIUS server. This mutual authentication ensures that only authorized users are
allowed access to the network.

6. Wireless Configuration Utility
You can easily navigate through the sheets by clicking the different tabs.
6.1 Link Information
Click 'More…' for more information about the wireless connection.
Connected to Network
This field is used to display the current status of the wireless connection. When the utility
shows 'Connected to network' it means that the network is available in Infrastructure or
Peer to Peer mode. If the utility shows 'Scanning' it means that the node is searching for
available access points or wireless adapters.
Network Type
Infrastructure mode: The driver will scan all available channels continuously until it finds
one or more Access Points that match the Network Name (SSID). At that point it will try
to authenticate and associate with the Access Point.
Peer to Peer mode: The driver will scan for 5 seconds looking for an existing Ad Hoc
network using the same Network Name (SSID).
Channel, Link Speed & Encryption
The channel and the transmit rate used to connect to an active wireless network.
Encryption shows the status of the encryption level.

Signal Strength
The Signal Strength bar graph is only active when the node is in Infrastructure Mode. The
bar graph displays the signal strength between the node and the Access Point.
Link Quality
The Link Quality bar graph is only active when the node is in Infrastructure Mode. The
bar graph displays the quality of the link between the node and the Access Point.
6.2 Available Networks
The Available Networks tab shows the current status of all available wireless networks.
Select a Network Name (SSID) from the list, click 'Connect' to connect to the wireless
network.
The 'Refresh' button will rescan the network and it will detect and list all available
wireless networks.
5.3 Profile Setting
The Profile Setting allows users to create profiles for different network environments.
Click the 'New' button to create new profiles. Click 'Edit' for editing existing profiles. Click
the 'Delete' button for deleting profiles.
Network Type
This allows you to select 'Peer to Peer' mode or 'Infrastructure' mode.

Peer to Peer: All communication is done from client to client without the use of an Access
Point. Ad-Hoc networking uses the same Network Name (SSID) for establishing the
wireless connection.
Infrastructure: This mode requires the presence of an Access Point. All communication is
done via the Access Point which relays packets to other wireless clients in the BSS as well
as to nodes on a wired network.
Transmit Rate
The transmission rate at which clients or Access Points transmit the data packets.
Security
See chapter 5 for additional information
IP Setting
With this option the wireless adapter can be configured with a static or a dynamic IP
address, a default gateway and a DNS Server address.

6.4 About
The 'About' tab shows the Utility Version, Driver Version, Firmware Version and the MAC
Address.
 Loading...