

Page 1

Page 2
Welcome to
This workbook is designed to teach basic and advanced sewing
techniques that you can achieve with your sewing machine.
You will need your manual to provide the exact settings for your
particular machine model. The difficulty or skill level
required for each technique is rated by this symbol:
“Two spools” indicate a more difficult technique.
These techniques require more practice to master
than others. The most important thing to remember is that sewing is a creative art—there are very few absolutes.
So have fun as you learn these exciting
techniques!
Singer is a registered trademark of the Singer Company Limited.
© 2003 Singer Sewing Company. All rights reserved.
Part # 640—505255OFC
Page 3
Straight Stitching 1
Straight Stitch for Topstitching 2
Create Quilted Fabric 3
Speed Basting 4
Making Piping 5
Attaching Purchased Piping 6
Centered Zippers 7
Satin Stitch Applique 9
Lace Insertion 11
Couching a Strand of Pearls 13
Button Sewing 14
Four-Step Buttonholes 16
Four-Step Corded Buttonholes 18
Free-Motion Monogramming 20
Free-Motion Embroidery 22
Blind Hem 24
Attaching Beaded Trims 26
Mending with Multi-Stitch Zigzag 27
Crazy Quilting 28
Straight Stretch Stitch for Woven Fabrics 29
Straight Stretch Stitch for Stretch Fabrics 30
Ribbing Application 31
Overedge Stitching 32
Open Seams with Overedge Stitching 33
Attaching Elastic 34
Sewing with a Wing Needle 35
Twin Needle Sewing 36
Page 4

Applying Ribbon with a Twin Needle 37
Sewing on Leather 38
Narrow Hem 39
Gathering with the Cording Foot 40
Applying Trims, Cords & Braids 41
Shirring with the Gathering Foot 42
Using the Even Feed Foot to Sew Multiple Fabric Layers 44
Using the Even Feed Foot to Sew Plaid Fabrics 45
Using the Even Feed Foot to Sew Pile Fabrics 46
Sewing with the Side Cutter 47
Sewing with the Ruffler 49
Page 5
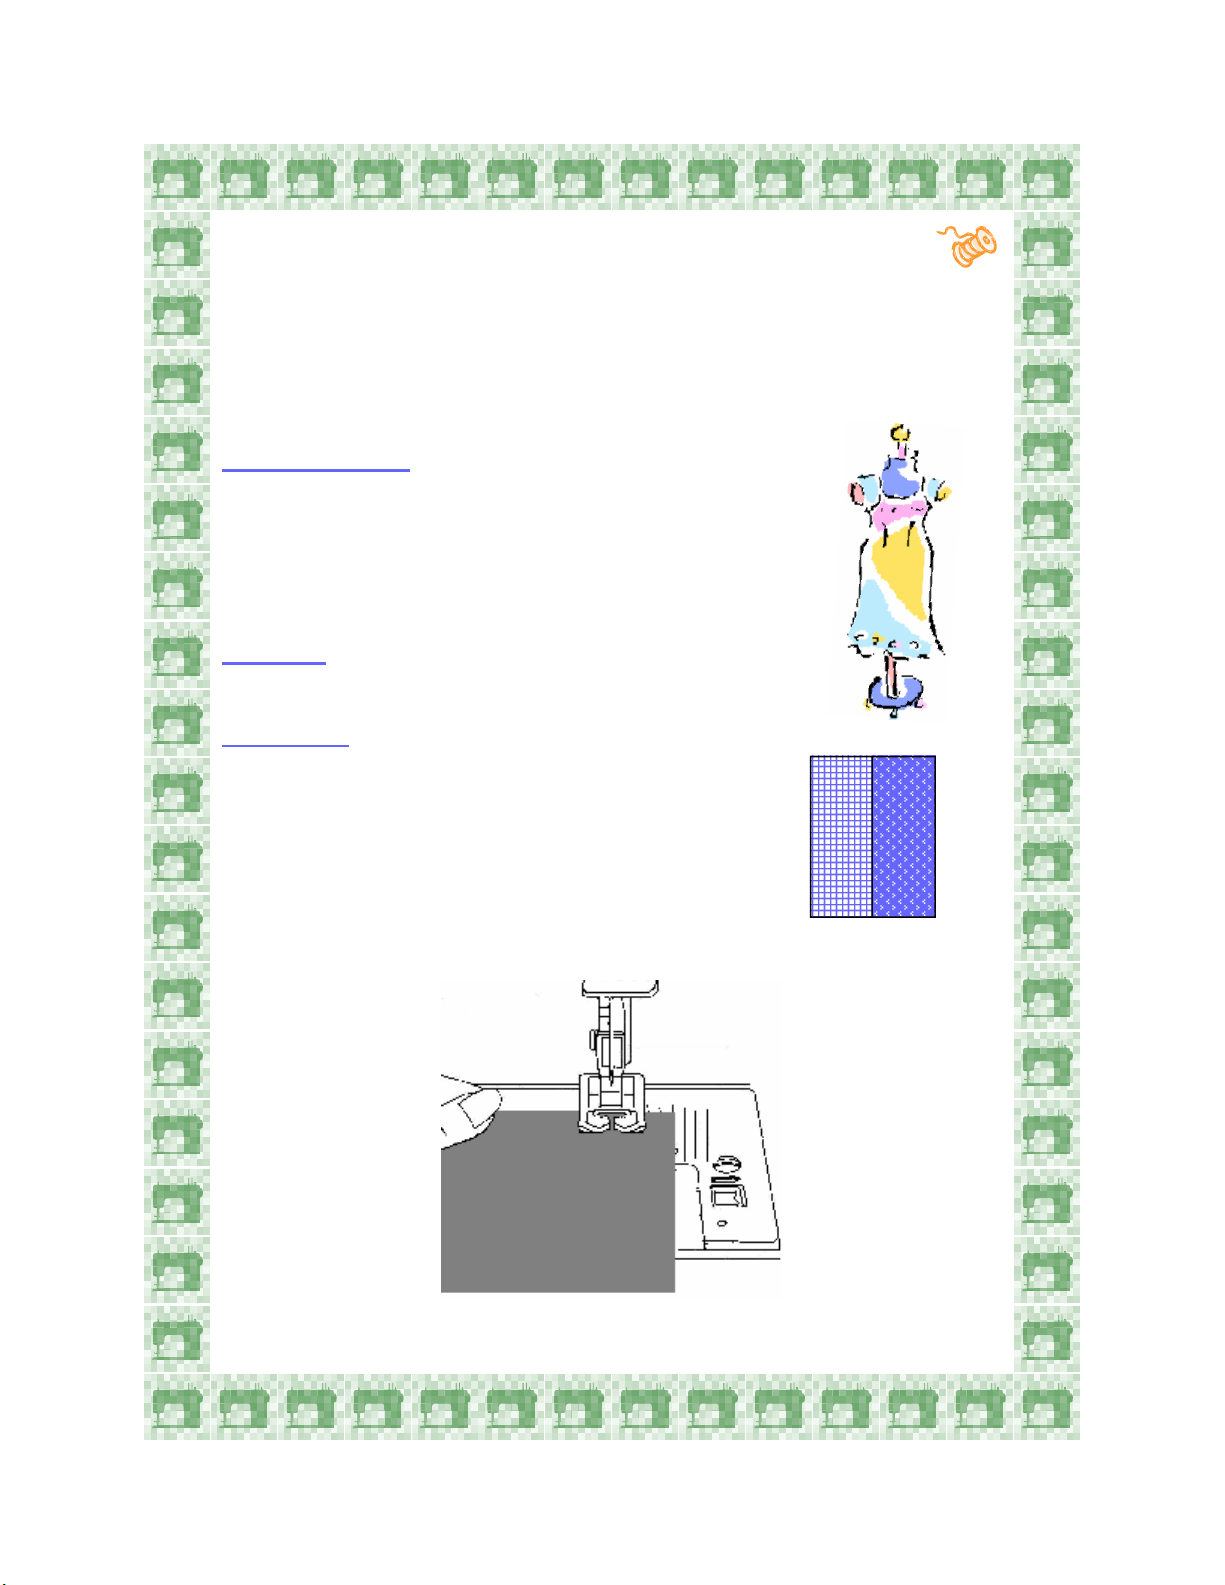
Straight Stitching
The Straight Stitch is generally used to join seams or do topstitching. It is
the most basic of the stitches and is the most commonly used. For a
longer stitch or for thicker fabrics, lengthen the stitch using the Stitch
Length Dial.
Machine Set-Up:
Stitch: Straight Stitch
Stitch Width: 0, no width
Stitch Length: 3-4
Presser Foot: Standard Foot
Needle Position: Center
Materials:
(2) 4” x 4” pieces of cotton, right sides together
Procedure:
Place fabrics under the foot, matching the raw
edges with the 5/8” seam guide.
Sew the length of the fabric.
Use the Reverse Lever to reinforce the seam.
1
Page 6
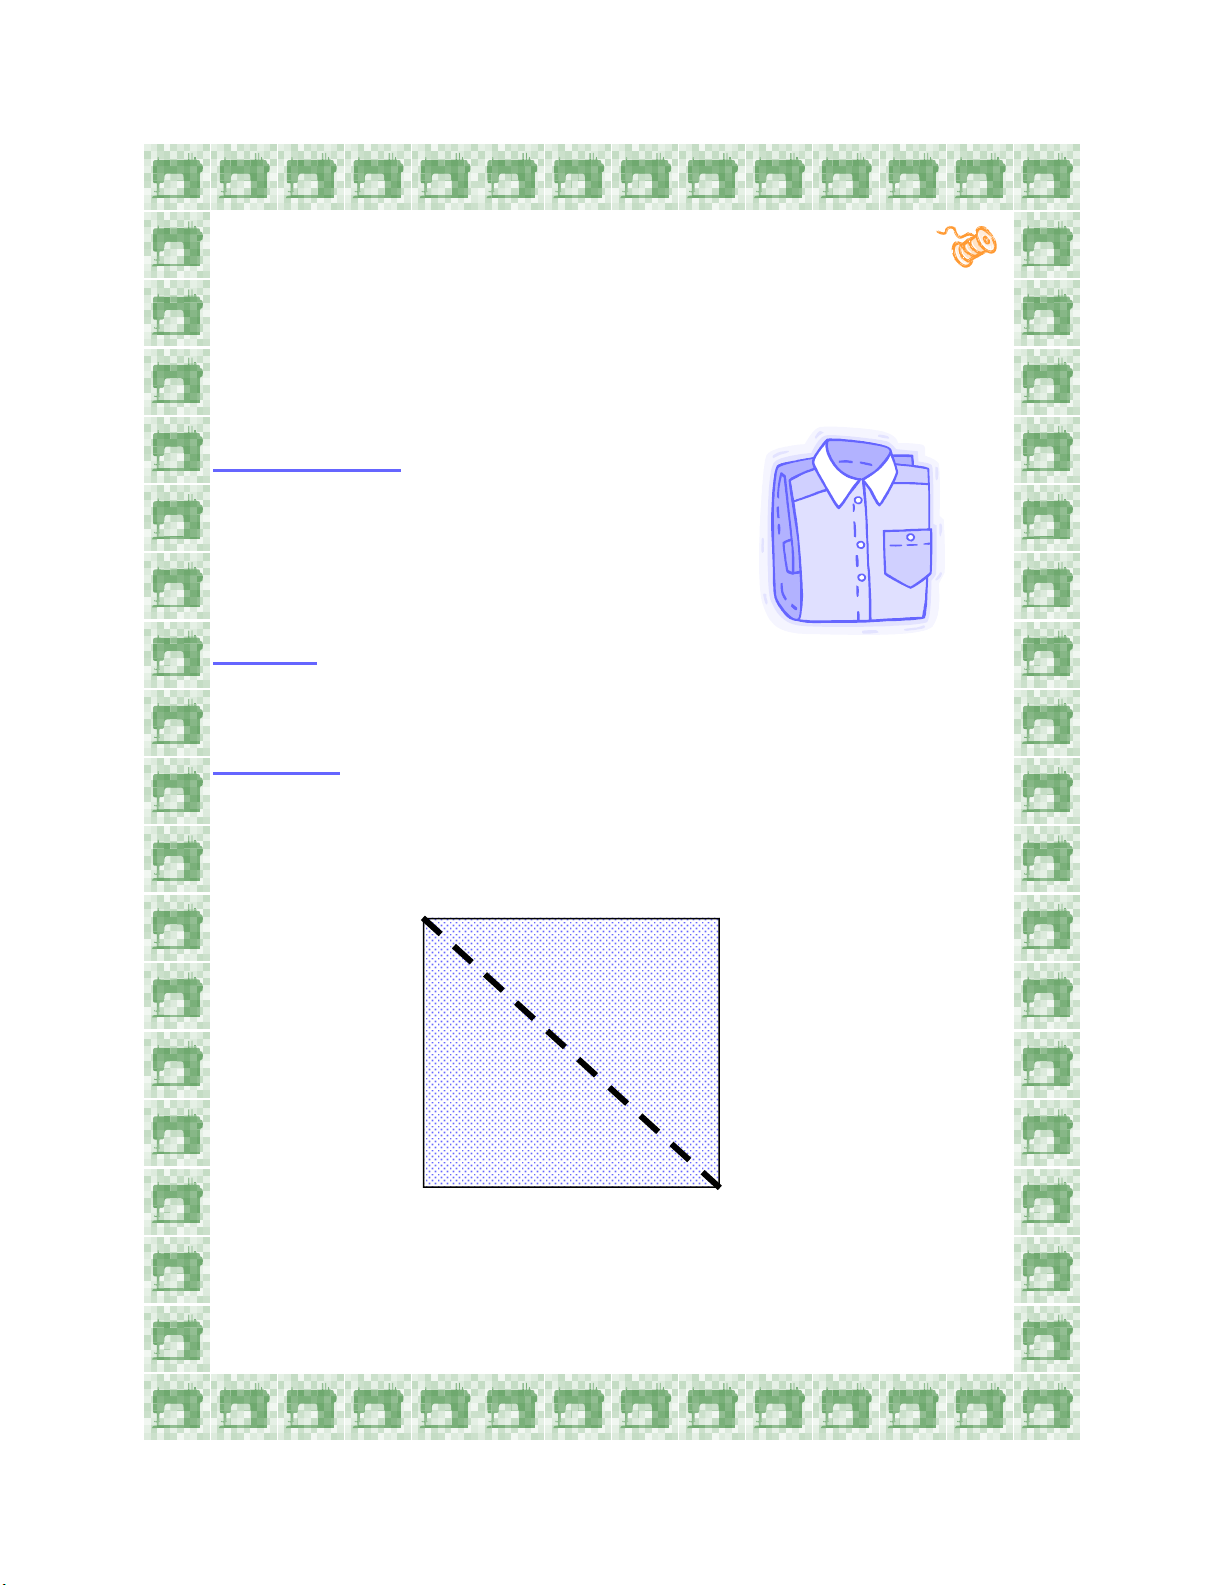
Straight Stitch for Topstitching
The Straight Stitch can be sewn “on top” of the fabric so that the stitches
are visible. This is different from using the straight stitch to join a seam
hidden inside the project. A topstitch provides a decorative touch while
holding the seam allowances flat. It is also sturdy and durable.
Machine Set-Up:
Stitch: Straight Stitch
Stitch Width: 0, no width
Stitch Length: 3-4
Presser Foot: Standard Foot
Needle Position: Center
Materials:
(2) 5” x 5” pieces of cotton with batting between the two fabrics,
creating a quilt-type sample
Procedure:
Sew diagonally from the top left corner to the bottom right corner.
Use the Reverse Lever to reinforce the seam.
2
Page 7

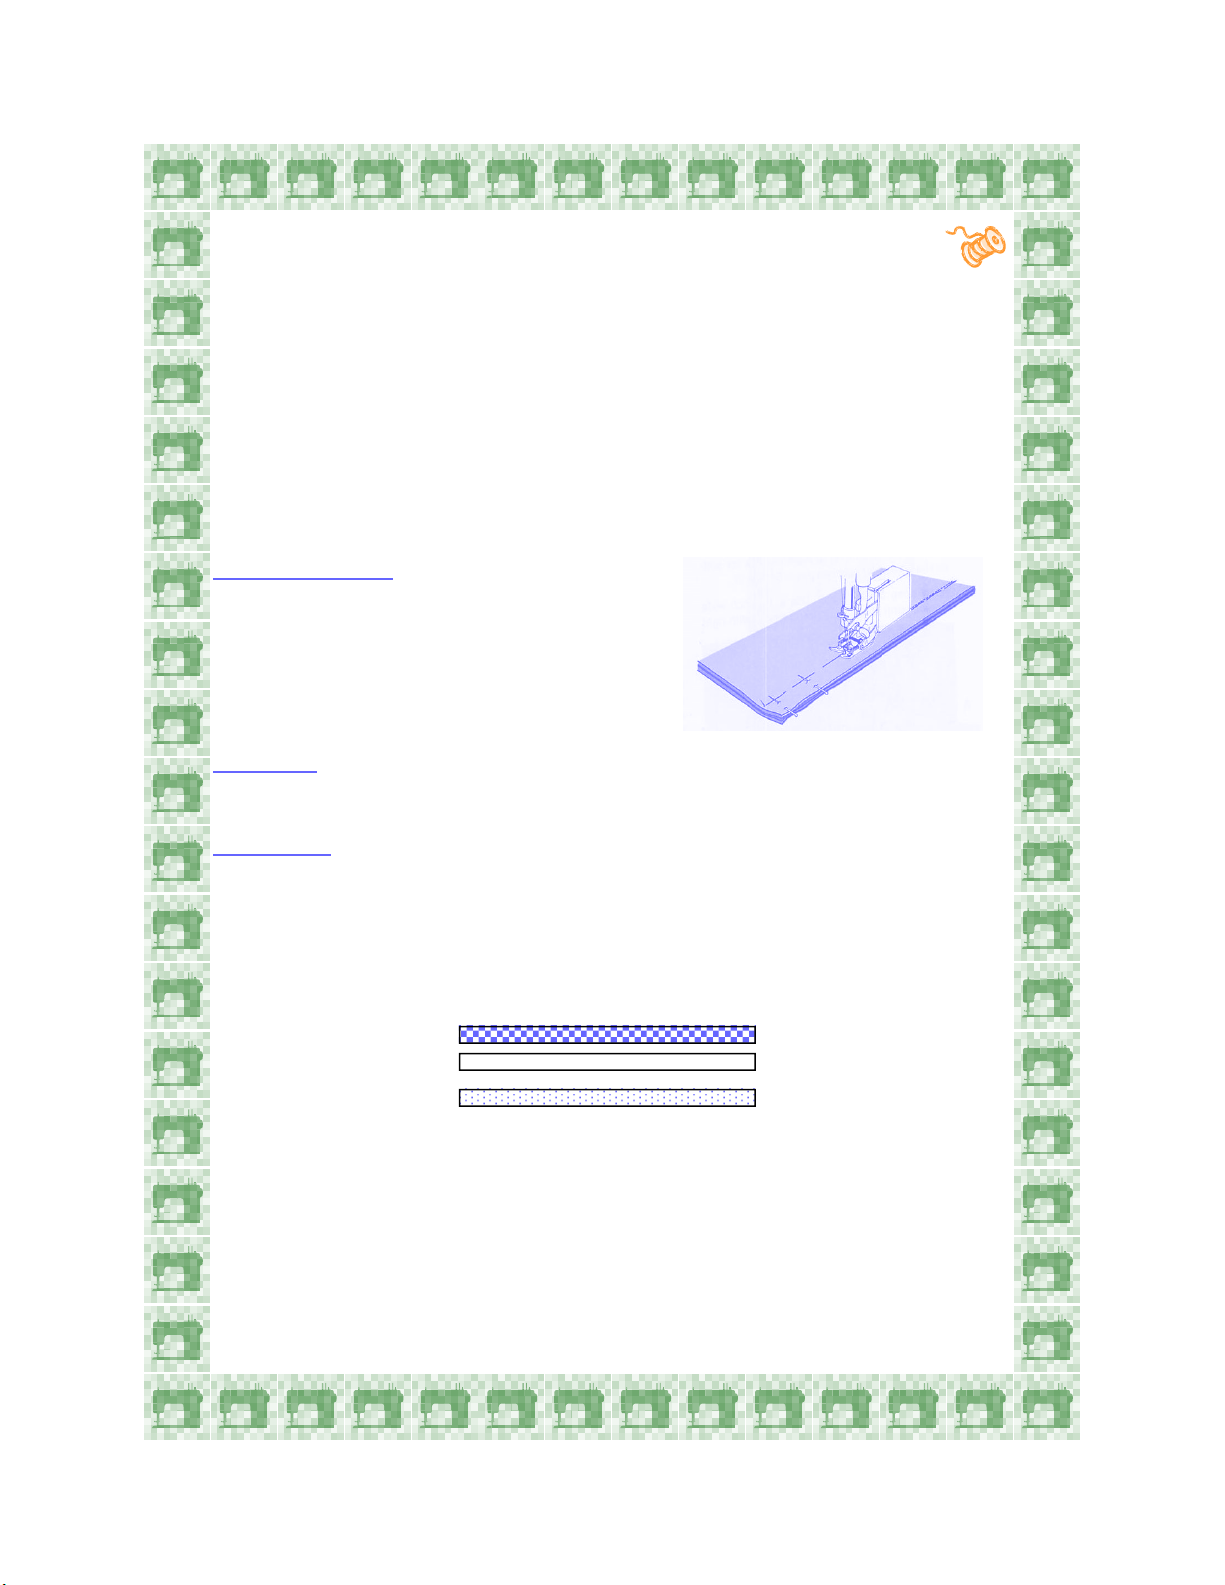
Create Quilted Fabric
Create your own quilted fabric with the Straight Stitch and the Seam/Quilt
Guide. This attachment is great when sewing large projects that cover the
machine’s seam guides.
Machine Set-Up:
Stitch: Straight Stitch
Stitch Width: 0, no width
Stitch Length: 3-4
Presser Foot: Standard Foot
Needle Position: Centered
Materials:
Quilt-type sample that was previously used on the
“Straight Stitch for Topstitching” page
Procedure:
Use the guide to ensure even spacing and
straight lines when large projects cover the machine’s seam guides.
Position fabric approximately 1-2 inches to the right of the previously
sewn straight stitch.
Position the guide so that it rides on the previous row of stitching.
Sew successive rows using the guide.
Change the direction, sew diagonally from the top right corner to the
bottom left corner.
Sew 3 or more rows, using the guide.
*Depending on model, the Seam/Quilt Guide might be optional. Check the instruction
manual.
3
Page 8
Speed Basting
Basting is used to temporarily hold fabrics together. Stitch length and
tension are adjusted to create a looser stitch. This stitch can easily be
removed with a seam ripper or simply pulled out.
Machine Set-Up:
Stitch: Straight Stitch
Stitch Width: 0, no width
Stitch Length: 5
Presser Foot: Standard Foot
Tension: Adjust the tension setting to a smaller number
Needle Position: Center
Materials:
(2) 4” x 4” pieces of cotton, right sides together
Procedure:
Place under the foot, matching the raw edges with the 5/8” seam guide.
Sew the length of the fabric.
Use the seam ripper to remove a portion of the basting or simply pull the
bobbin thread to completely remove basting.
4
Page 9
Making Piping
Piping adds a beautiful finish to projects such as pillows, sleeve edges,
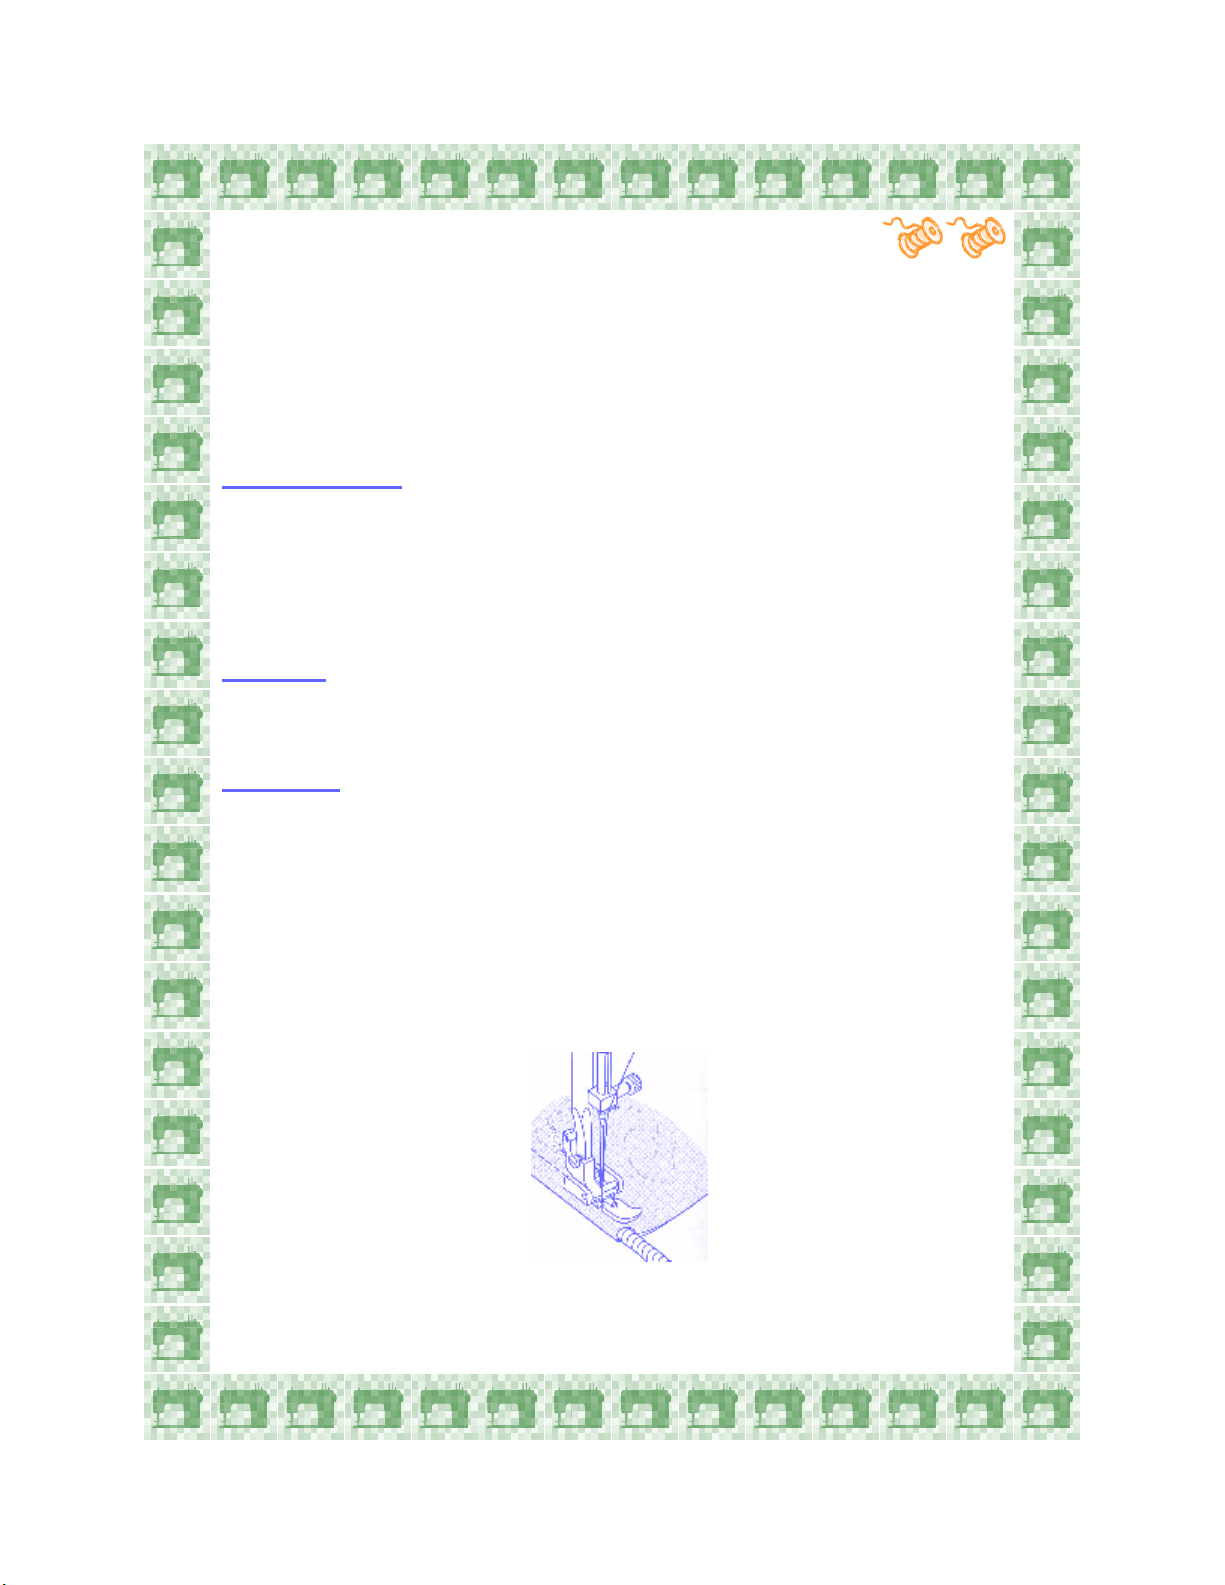
collars and more. The design of the Zipper Foot allows for the needle to
stitch very closely to the edge of the foot. This is important when inserting
zippers, applying piping or when topstitching close to the fabric’s edge.
Only the Straight Stitch can be used when sewing with the Zipper Foot.
Machine Set-Up:
Stitch: Straight Stitch
Stitch Width: 0, no width
Stitch Length: 3-4
Presser Foot: Zipper Foot
Needle Position: Center
Materials:
5” x 6” home décor fabric
7” piping cord
Procedure:
Fold fabric, wrong sides together.
Place piping inside of the fold.
On the right side of the fabric, sew a straight stitch close to the piping.
Note: The Zipper Foot can be attached right or left, allowing for
the piping to be inserted from either side.
5
Page 10
Attaching Purchased Piping
Attach pre-packaged piping to make a bold finish on home decorating
projects, crafts or garments.
Machine Set-up:
Stitch: Straight Stitch
Stitch Width: 0, no width
Stitch Length: 3-4
Presser Foot: Zipper Foot
Needle Position: Center
Materials:
(2) 3” x 6” pieces of home décor fabric
7” pre-packaged piping
Procedure:
Place fabric right sides together.
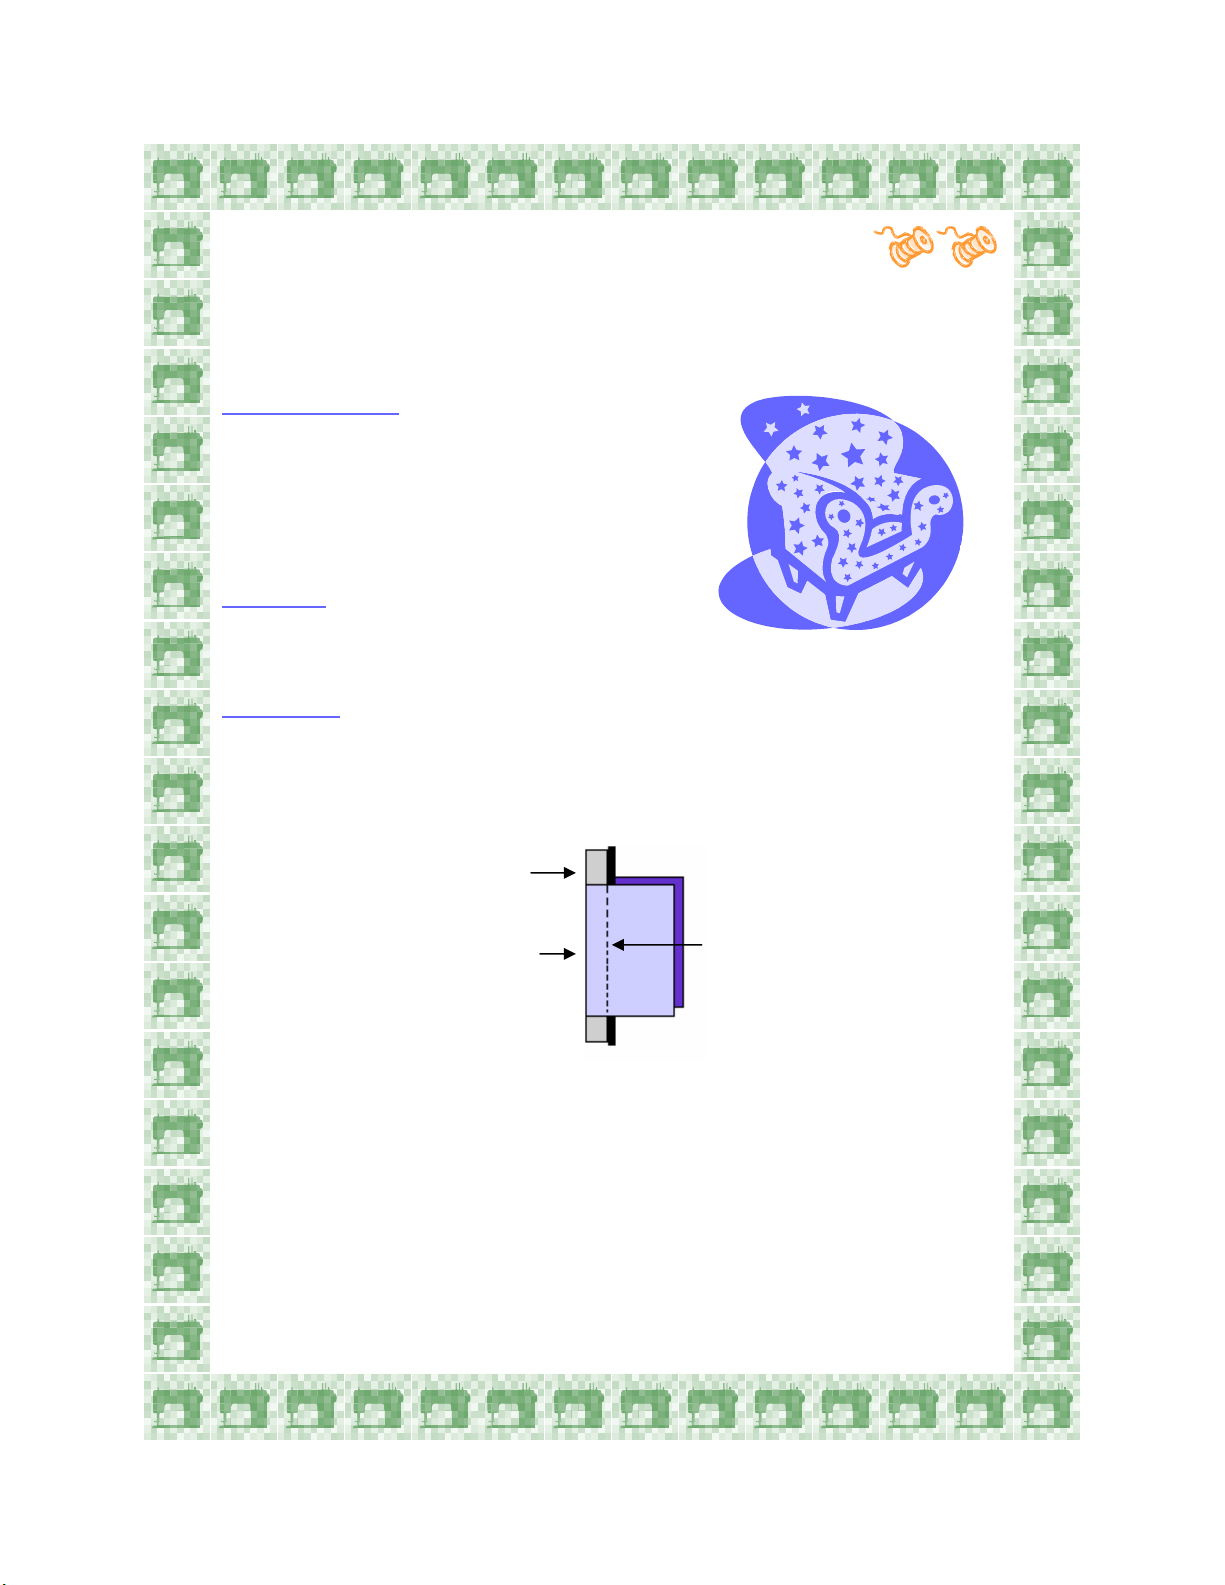
Place piping between the fabrics, matching the piping’s raw edge with
the fabric’s raw edges.
On the wrong side of the fabric sew a straight stitch close to the piping.
Note: The Zipper Foot can be attached right or left, allowing for
the piping to be inserted from either side.
Piping Raw Edges
Fabric Raw
Stitching Line
6
Page 11
Centered Zippers
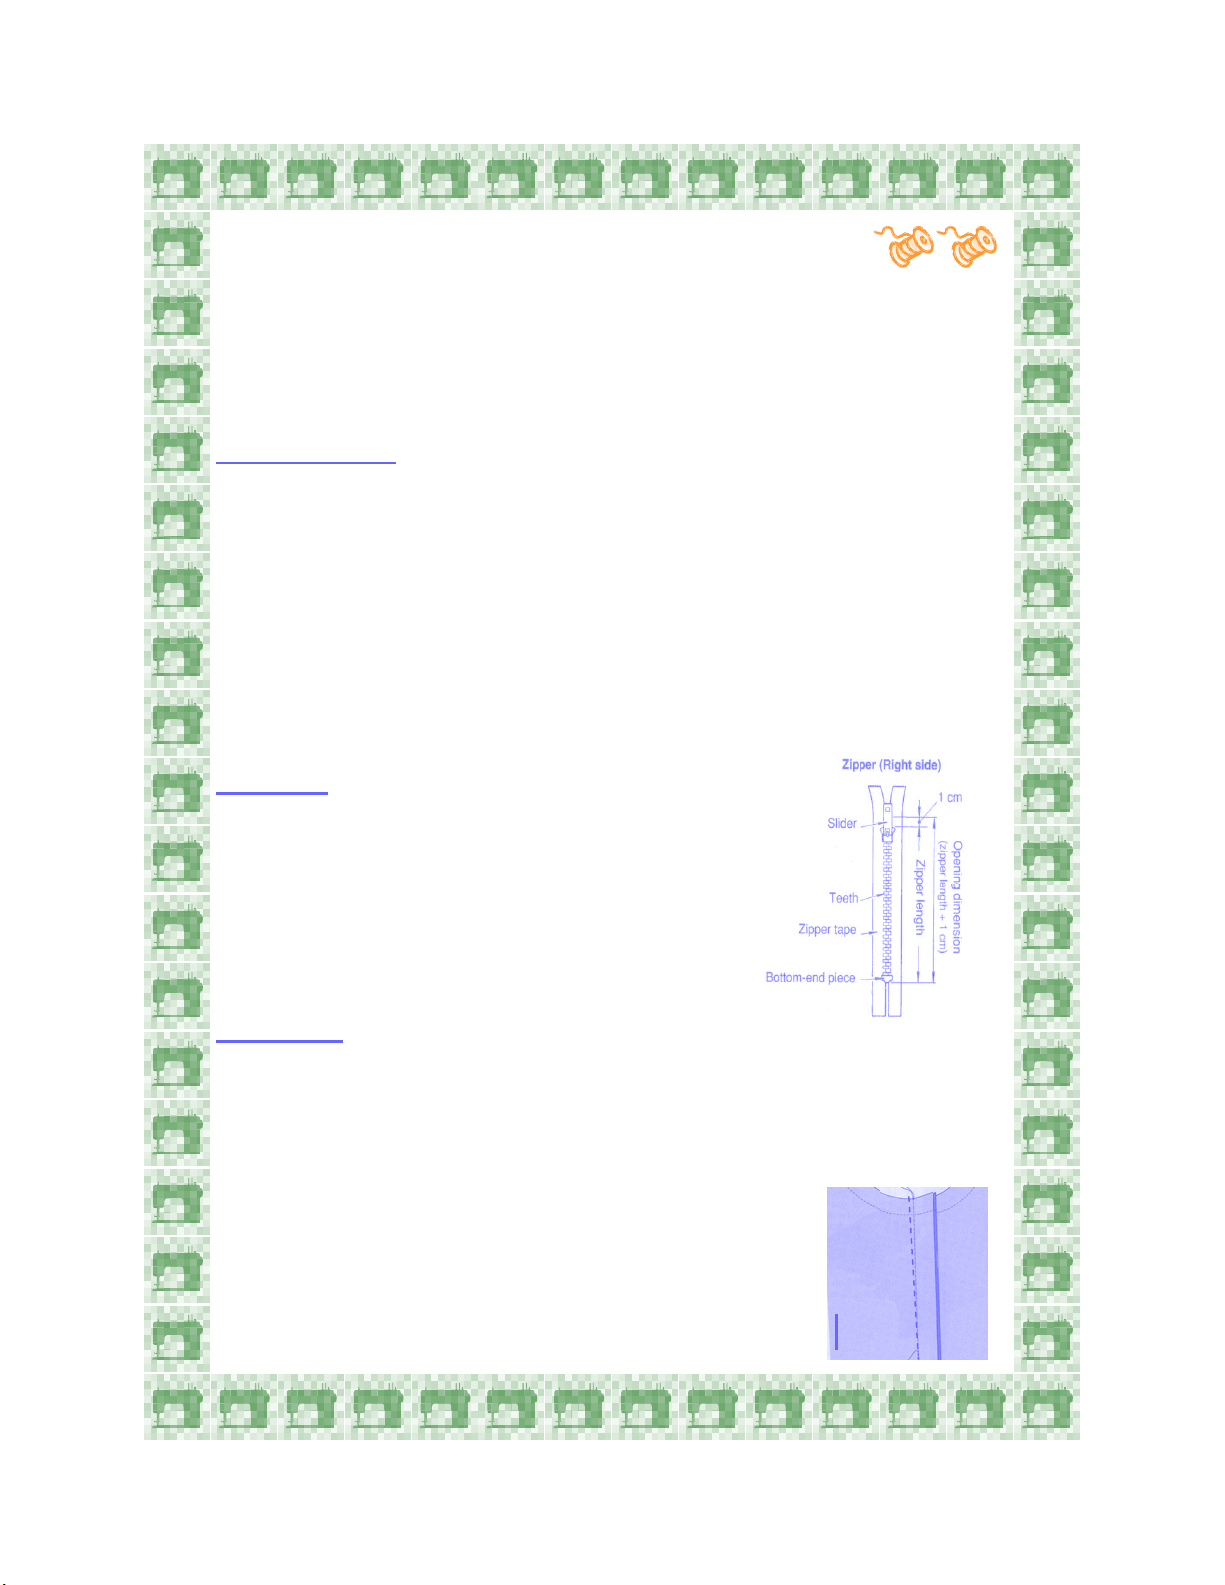
There are several ways of inserting zippers. The pattern envelope of the
project or garment will designate the best type of zipper application, as
well as the length and type of zipper to use. Most applications require a
zipper foot.
Machine Set-Up:
Stitch: Straight Stitch
Stitch Width: 0, no width
Stitch Length: For basting: longest stitch
For stitching: 3-4
Presser Foot: Zipper Foot
Tension: For basting: loosen the tension
For stitching: Auto
Needle Position: Start with needle in left position
The needle can be moved to the left or right. This will allow stitching
closer to the zipper than when the needle is in the center position.
Materials:
(1) 7” zipper
(2) 8” x 4” piece of medium weight fabric
Transparent tape
Fabric glue stick
Procedure:
Place fabric under the foot, matching the raw edges with the 5/8” seam
guide.
Starting at the top of the fabric, baste 7”. Then change the stitch length
to 3 and finish seaming the remaining length of the fabric.
7
Page 12
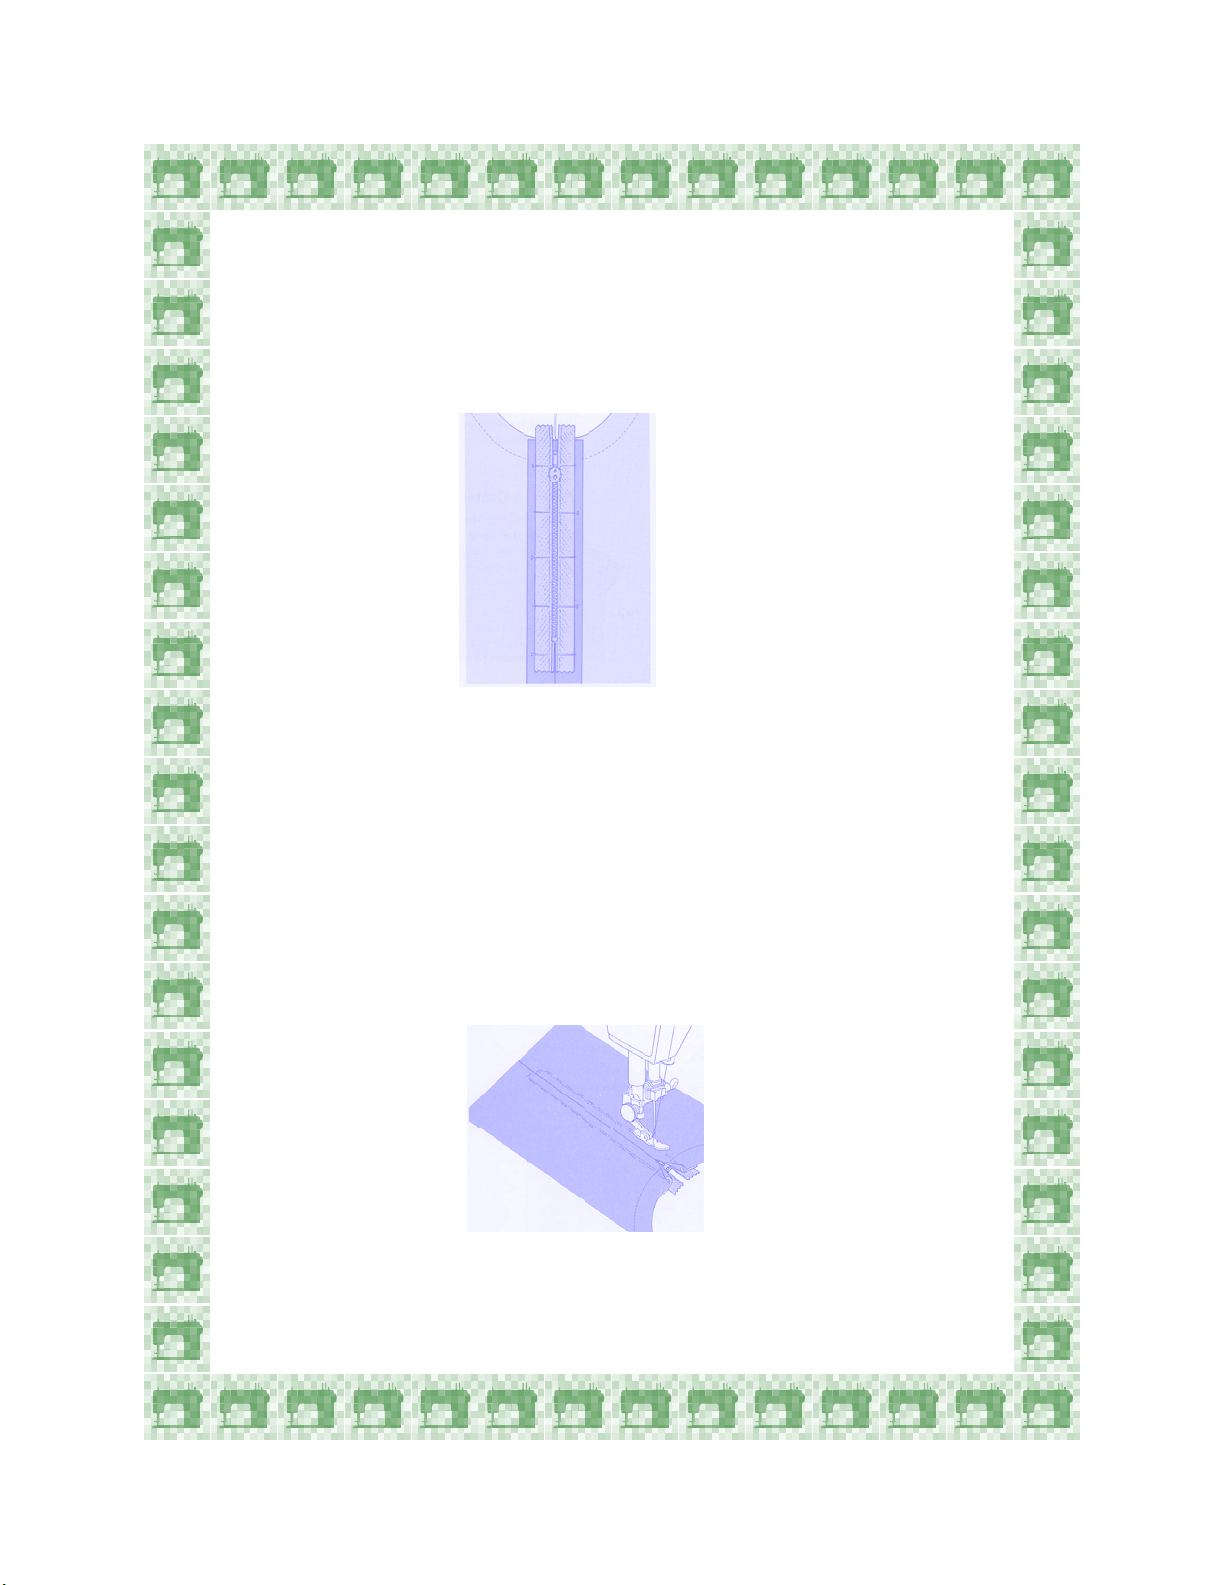
Press the seam open. Finish raw edges if necessary.
Apply glue stick lightly on the right side of the zipper.
Place the zipper face-down, so that the zipper’s coils or teeth are
directly over the machine-basted seam. Pin in place, if necessary.
Spread fabric flat, right side up and place 1/2” wide transparent or
perforated marking tape on top of the centered seam line. The tape
should be the length of the zipper (7” long for this exercise).
Replace the Standard Presser Foot with the Zipper Foot. Adjust the
foot to the left of the needle.
On the right side of the fabric, stitch around the zipper. Pivot the fabric
on the needle at the corners, using the edge of the tape as a guide.
Turn fabric to right side and remove the tape and the basting. Press.
8
Page 13
Satin Stitch Appliqué
A close Zigzag Stitch is called a Satin Stitch. Satin Stitching is a great
way to finish an appliqué on children’s clothes and home decorating
projects. Try a rayon thread for a smoother looking finish.
Machine Set-Up:
Stitch: Zigzag Stitch
Stitch Width: 2-3
Stitch Length: 1-2
Presser Foot: Satin Foot
Needle Position: Center
Materials:
2” x 3” cotton fabric for simple-shaped appliqué
2” x 3” fusible stabilizer
6” x 6” cotton foundation fabric
6” x 6” tear-away stabilizer
Procedure:
Press the fusible stabilizer onto the simple-shaped appliqué.
Fuse the simple-shaped appliqué onto the cotton foundation fabric.
(Fusing the appliqué into place will keep the appliqué from shifting
while stitching.)
Place a tear-away stabilizer underneath the fabric. (This is used to
ensure quality stitching when using dense stitches.)
Place the applique under the foot, so that half of the stitch
will form on the applique and half on the base fabric.
Sew around the applique.
Widen the stitch width to 4 and change the stitch length to below 1.
.
*Depending on model the Satin Foot might be optional. Check the instruction manual.
9
Page 14
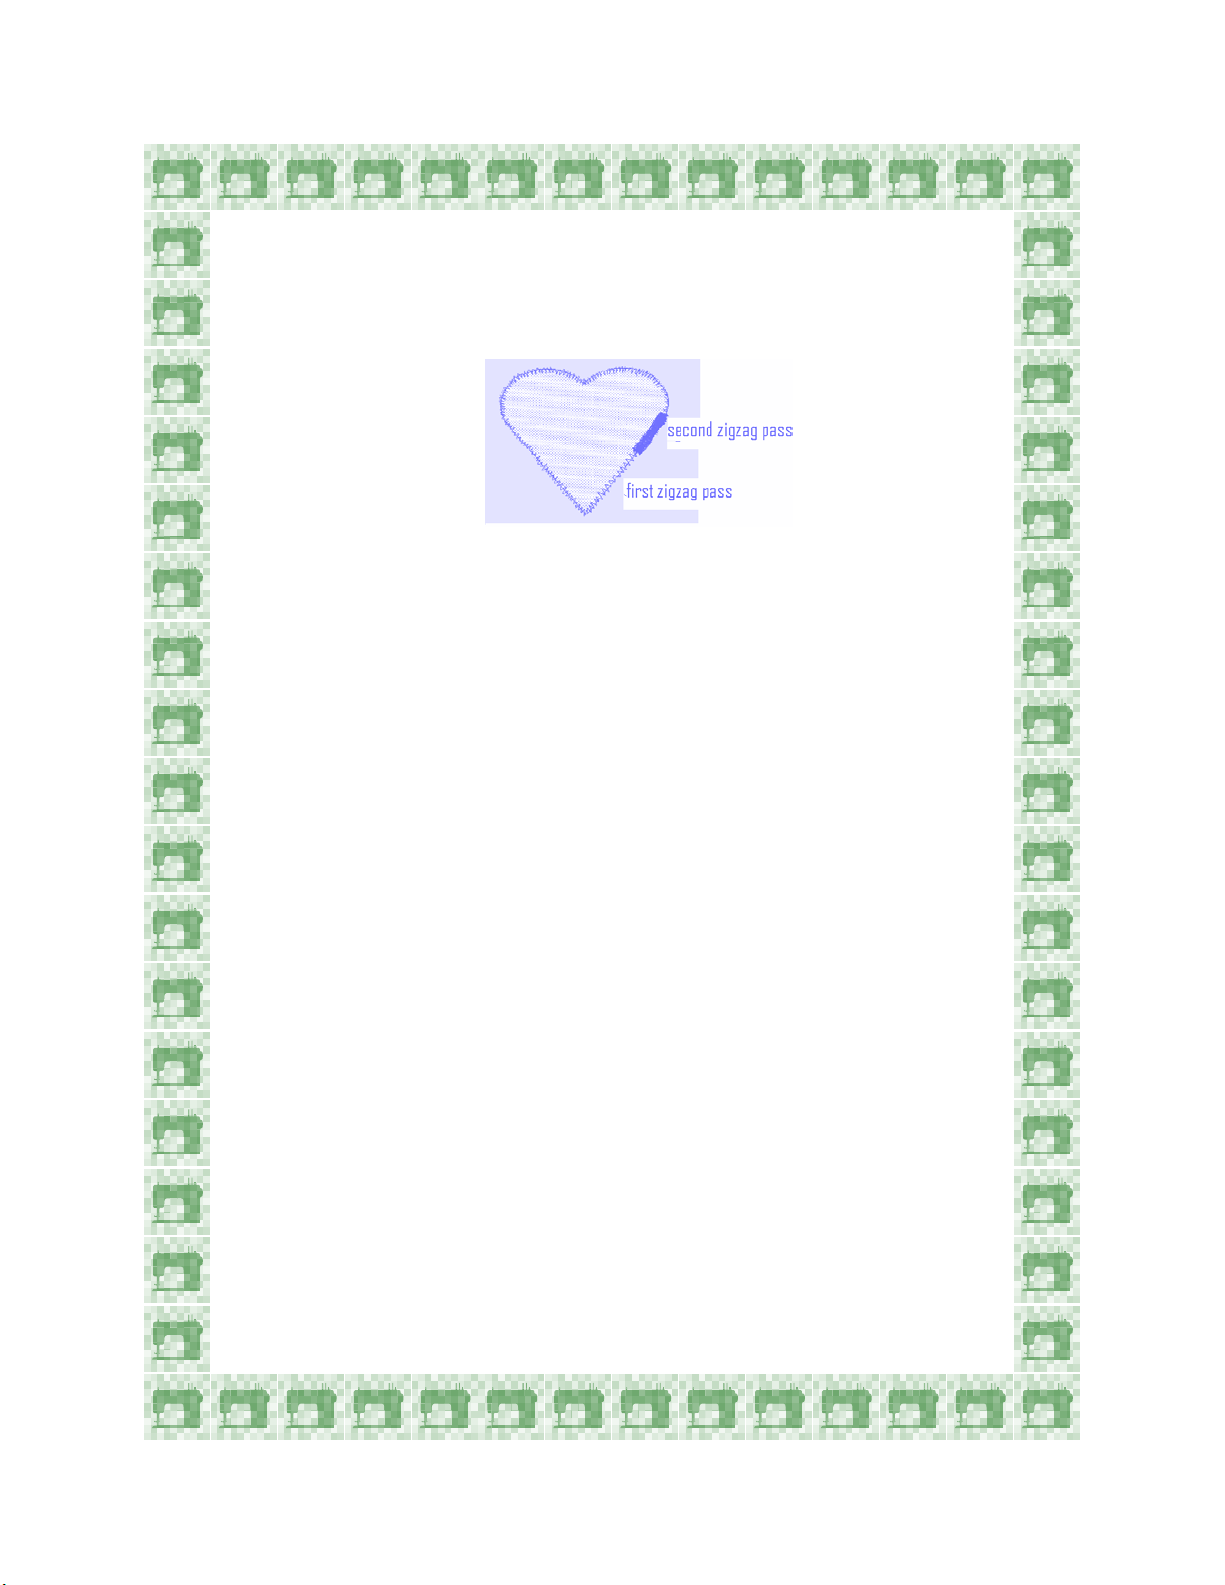
Sewing around the applique again, covering the previous stitching.
.
Sewing over an applique twice is not always necessary, however, it
does give a beautiful full-covered effect.
10
Page 15
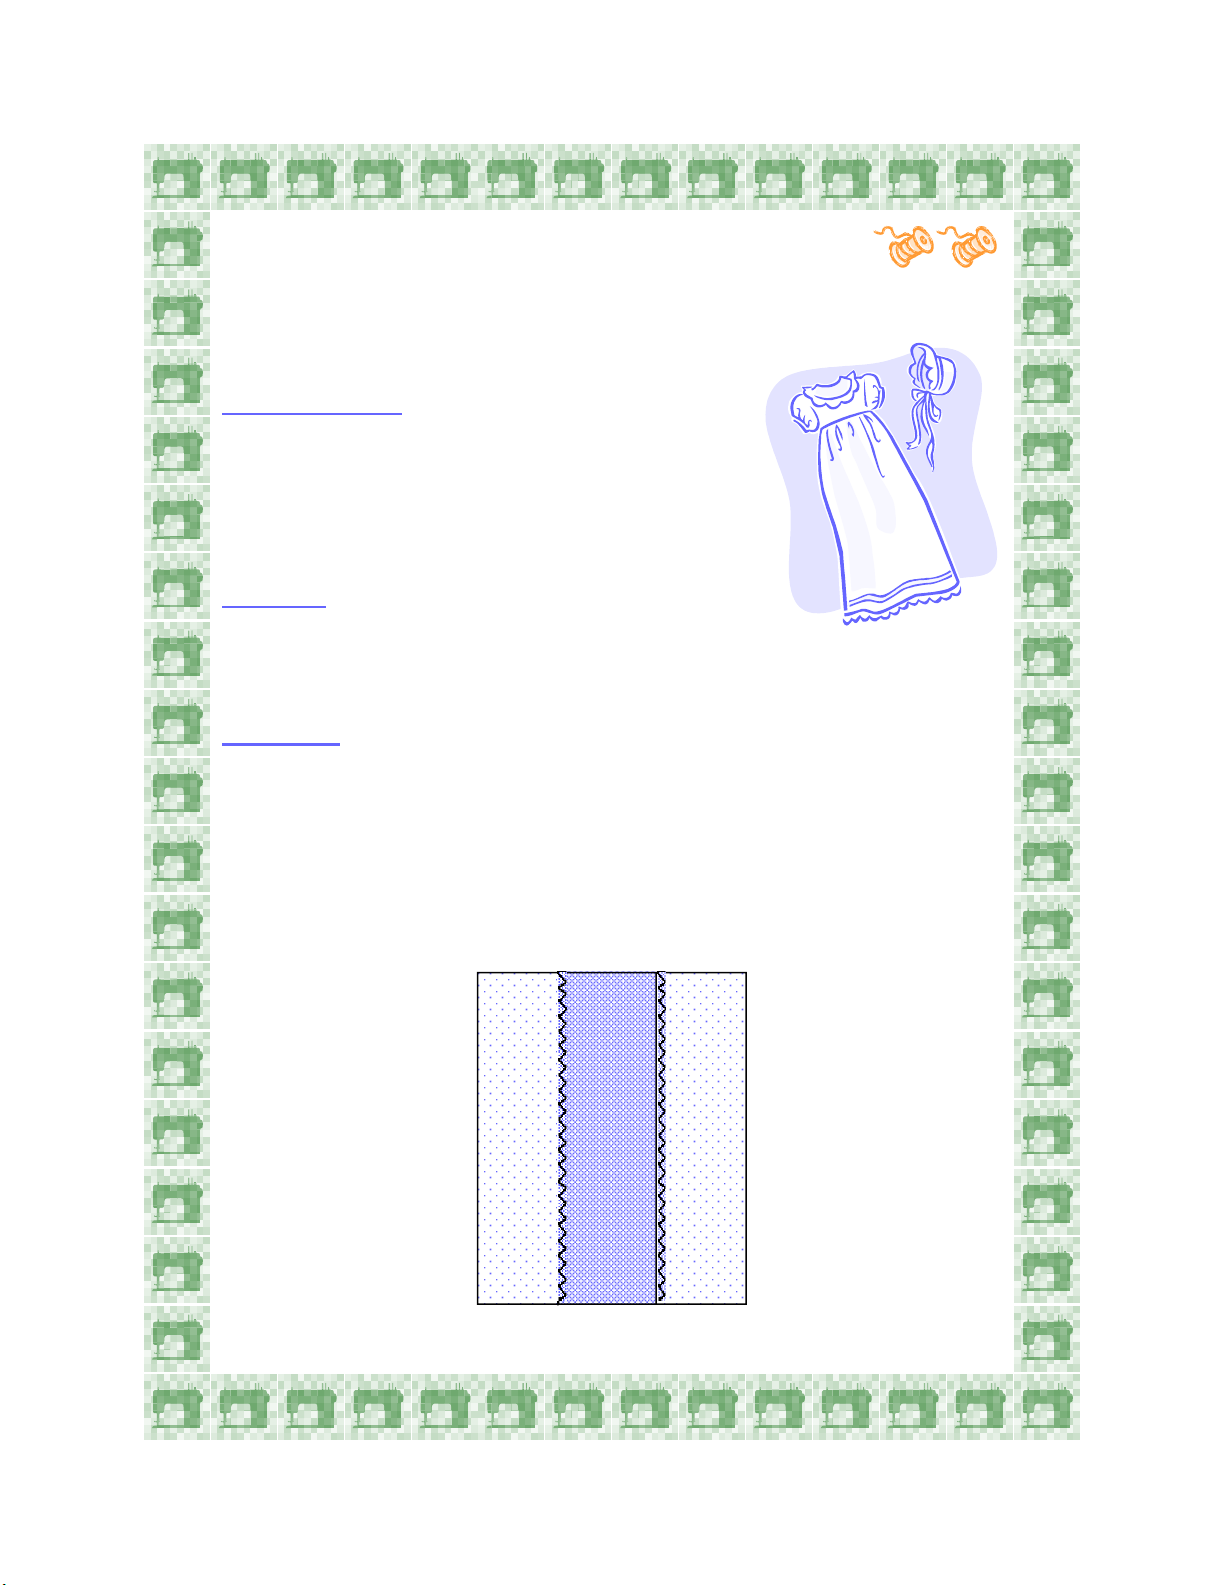
Lace Insertion
Insert lace into a special occasion garment or a home decorating project
to create a beautiful heirloom keepsake.
Machine Set-Up:
Stitch: Zigzag stitch
Stitch Width: 2-3
Stitch Length: 1
Presser Foot: Satin Foot
Needle Position: Center
Materials:
5” x 3” of batiste
6” strip of lace
60-80 weight fine cotton thread
Procedure:
Spray starch and iron the lace and batiste.
Center the lace right side up, lengthwise on batiste.
Stitch lace to fabric by sewing a zigzag stitch down both edges of the
lace. Try to just clear the heading of the lace.
*Depending on model the Satin Foot might be optional. Check the instruction manual.
11
Page 16
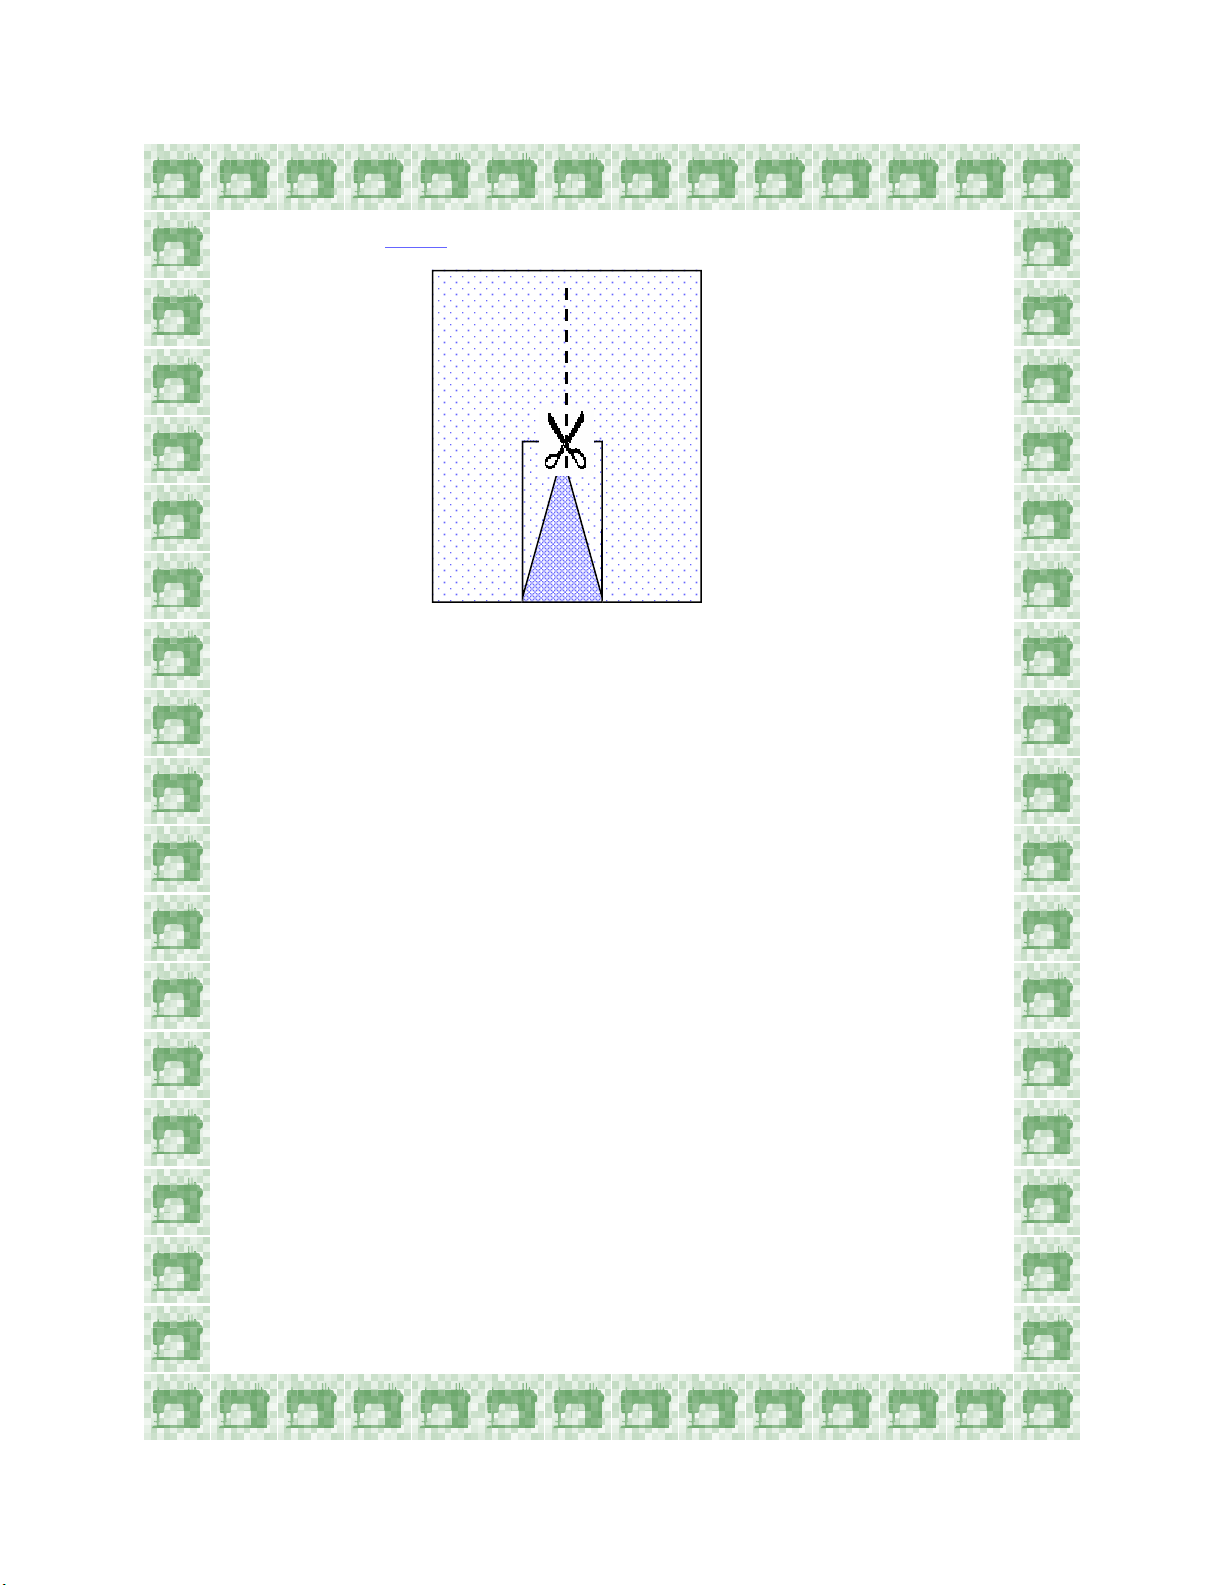
Carefully cut under the lace down the center.
Turn these raw edges back away from the lace, then finger press.
Finish fabric’s edges by sewing a small zigzag through all layers, being
careful not to catch too much lace.
Turn fabric over and trim excess fabric seam allowances away.
Note: A nice touch can be added by stitching a row of decorative
stitches down each side of the lace.
12
Page 17
Couching a Strand of Pearls
Couching is a term for sewing over trims, such as cord, ribbon or a strand
of pearls. The stitch may or may not penetrate the cord it stitches over,
depending on the desired effect. A Zigzag stitch or a wide decorative
stitch are excellent choices for this technique.
Machine Set-Up
Stitch: Zigzag
Stitch Width: Adjust according to size of pearls
Stitch Length: 3 or 4
Presser Foot: Standard Foot
Needle Position: Center
Materials:
Monofilament thread
String of pearls
Felt or stabilized woven fabric
Procedure:
Lay pearls or other couching trim on top of fabric.
Stitch, adjusting width to ensure the stitch slightly encases the trim as
desired.
:
13
Page 18
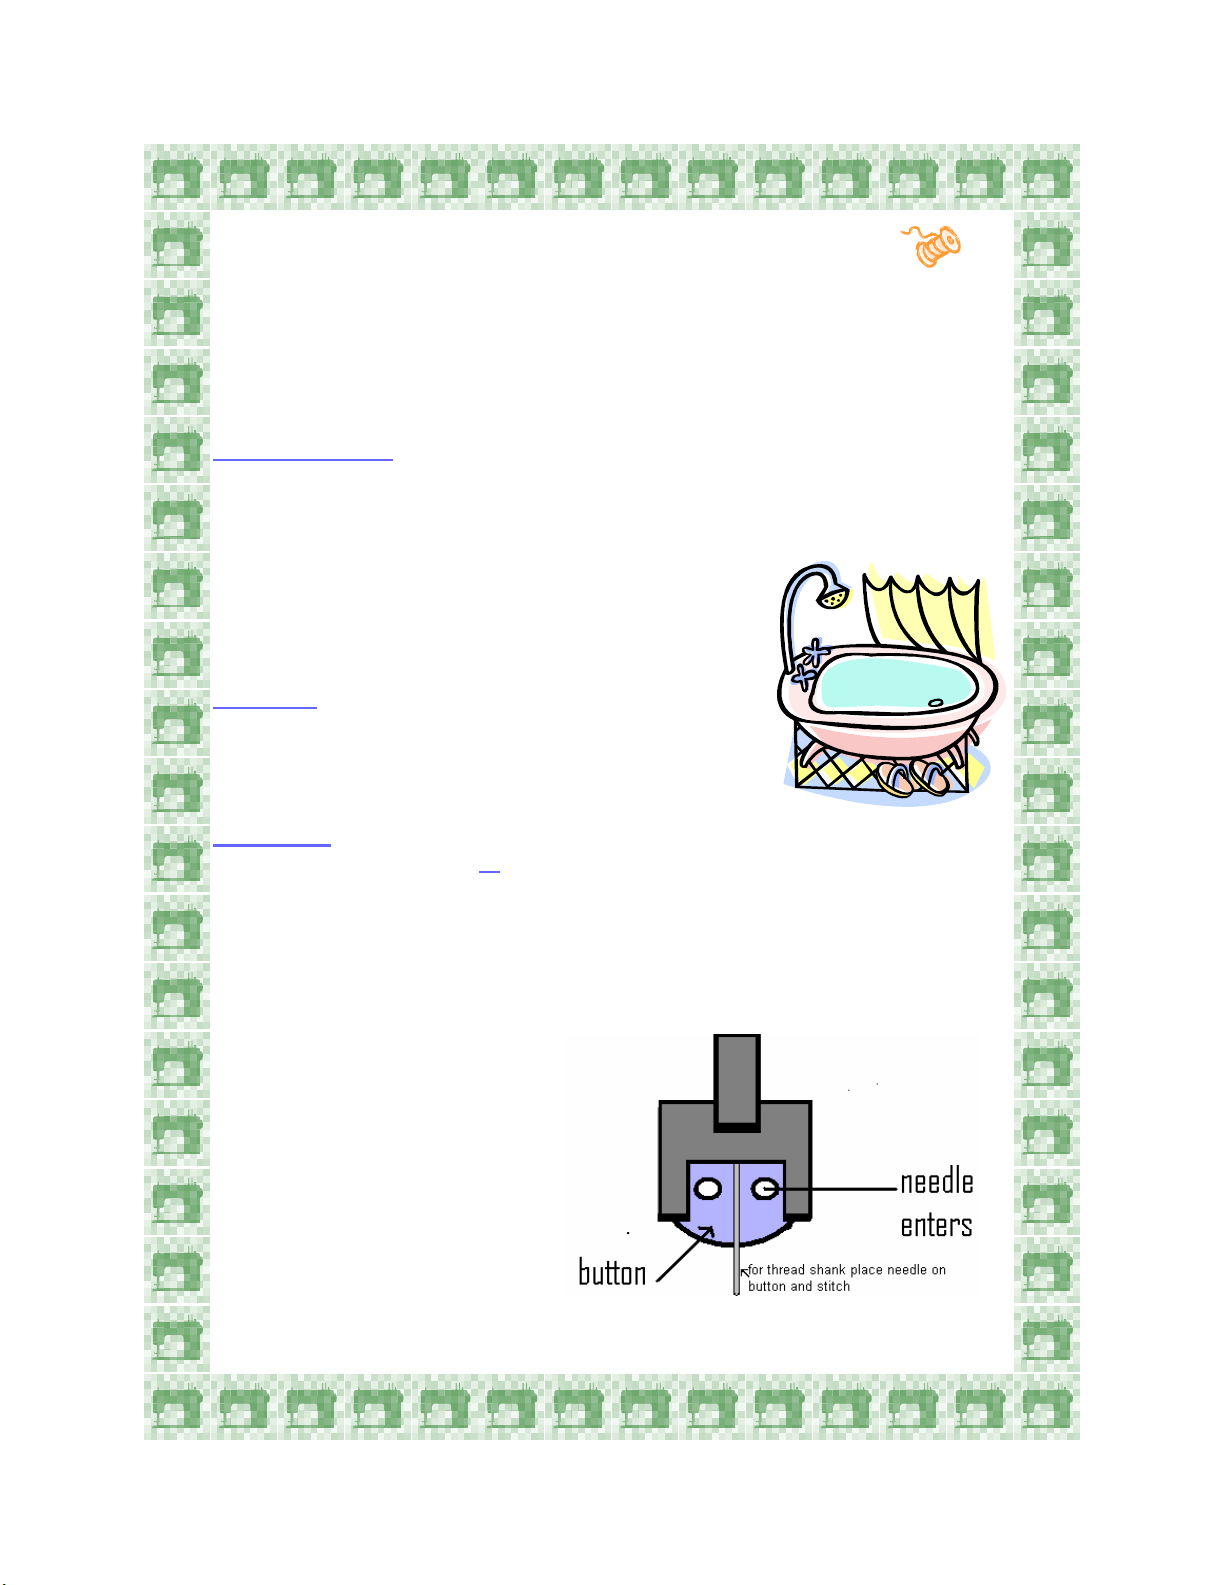
Button Sewing
Use your sewing machine to sew on buttons, snaps or hooks with ease.
This is especially helpful when making a large project where several
buttons need to be attached, such as a shower curtain that has button
tabs.
Machine Set-Up:
Stitch: Zigzag
Stitch Width: Determined by button
(width between the holes is usually 3mm)
Stitch Length: N/A
Feed Dogs: Lowered (or Covered) Position
Presser Foot: Button Sewing Foot*
Needle Position: Center
Materials:
Home décor fabric or shirting
One 2-hole button
Liquid fray preventer
Procedure:
Lower the Feed Dogs or Cover them with the Feed Dog Cover.
(See your manual for more information.)
Fold fabric in half and place under presser foot.
Position the button on the fabric so that the holes in the button are
between the toes of the foot.
*Depending on model, the Button Sewing Foot might be optional. Check the instruction
manual.
14
Page 19

Lower the presser foot to hold the button in place.
Turn the hand wheel forward, adjust so that the needle goes into the
right or left hole.
Adjust the stitch width dial to fine tune the swing of the needle into the
opposite hole.
Recheck the swing of the needle into the opposite hole and then use the
foot control to sew 5-6 stitches.
Before removing the button and fabric from the machine, set machine
to straight stitch. Leave width at current setting and stitch in place for
three stitches. This forms a tie-off on the back side to secure the
button.
Apply a liquid fray-preventer on the backside of fabric on the knots.
Trim threads after they dry, being careful not to cut thread knots.
Note: Remember to either raise the feed dogs or remove the feed dog
cover when finished.
Curtain with Button Tabs
15
Page 20

Four-Step Buttonholes
The built-in buttonhole is divided into four different steps. This simple
process provides reliable results for buttonholes on garments, home
decorating projects and crafts.
Machine Set-Up:
Stitch: Step One of the 4-step buttonhole
Stitch Width: Buttonhole symbol
Stitch Length: Buttonhole symbol
Presser Foot: Buttonhole Foot
Needle Position: Changes automatically
(See manual for complete machine set-up for buttonholes.)
Materials:
Home décor fabric with interfacing or tear-away stabilizer
Disappearing fabric marking pen or tailor chalk (for marking size
of buttonhole)
Button (to establish length of buttonhole)
Liquid fray preventer
Procedure:
Fold fabric in half crosswise, with interfacing or stabilizer placed
between layers.
Lay button on fabric and mark the top and bottom of the button.
This will establish the starting and ending point of the buttonhole.
Place the fabric under the foot, matching the foot’s red mark with the
bottom mark on the fabric.
16
Page 21
Turn Pattern Selection knob to Step Two of the Four-Step buttonhole.
Sew, and the machine will stitch in reverse, making left side of the
buttonhole.
Stop sewing when the needle reaches the fabric mark which indicates
the top of the buttonhole.
Turn Pattern Selection knob to Step Three (the upper/top bartack).
Sew 5 to 6 stitches.
Turn Pattern Selection knob to Step Four (the right side of the
buttonhole).
Sew, and the machine will stitch forward, making the final side of the
buttonhole.
Stop sewing when the needle reaches the fabric mark indicating
the bottom of the buttonhole.
Cut open buttonhole and use a seam sealant to reinforce the
buttonhole.
17
Page 22

Four-Step Corded Buttonholes*
A Corded Buttonhole has strength and stability. This type of buttonhole is
especially important when sewing stretch fabrics or fabrics that easily
ravel. The “cord” can be a heavy thread, several strands of regular thread,
lightweight yarns, etc. The buttonhole is stitched over the cord, reinforcing
the buttonhole.
Machine Set-Up:
Stitch: Step 1 of the 4-Step Buttonhole
Stitch Width: Buttonhole symbol
Stitch Length: Buttonhole symbol
Presser Foot: Buttonhole Foot
Needle Position: Changes automatically
(See manual for complete machine set-up for buttonholes.)
Materials:
Home décor fabric with interfacing or tear-away stabilizer
Disappearing marking pen or tailor chalk (for marking size of buttonhole)
Button (to establish length of buttonhole)
8” piece of cord
Procedure:
Hook or loop the cord around the small extension at the back end of the
buttonhole foot.
Bring both ends of the cord under the foot and pull them forward. Tie
the cords to secure them.
Attach the buttonhole foot to the machine, taking care not to displace
the cord. (See sewing machine instruction manual.)
The foot will hold the cord in the correct position as the machine stitches
the buttonhole.
Sew the buttonhole, following the Four-Step Buttonhole instructions.
* May not apply to some models, depending upon style of buttonhole foot. Check
instruction manual.
18
Page 23

The zigzag section of the buttonhole will stitch over the cord.
After stitching is completed, pull the excess cord tails tight. This will
pull the cord into the buttonhole.
Cut off the excess cord.
19
Page 24

Free-Motion Monogramming
Monogramming adds a personal and professional touch to garments,
home decorating items and craft projects. When monogramming, the feed
dogs are lowered or covered, allowing for free-motion sewing.
Machine Set-Up:
Stitch: Zigzag Stitch
Stitch Width: 2
Stitch Length: N/A
Feet Dogs: Covered
Presser Foot: Embroidery/Darning Foot*
(or remove the foot completely )
Needle Position: Center
Materials:
Embroidery hoop
8” x 8” cotton with an iron-on interfacing
Fabric marking pen
Procedure:
Using the fabric marking pen, draw the desired monogram letter.
Place fabric in the embroidery hoop, making sure the fabric is taut.
Place the hoop under the foot, positioning the needle over the starting
point of the monogram.
Lower the presser foot.
20
Page 25

Turn the hand wheel forward to bring up the bobbin thread though the
fabric. Sew a few securing stitches at the starting point.
Firmly hold the hoop with both hands.
Press the foot controller and guide the hoop so that the needle stitches
on the drawn letter.
Maintain a consistent sewing speed and move the fabric slowly. Co ordinate sewing speed and movement of hoop.
Note: When the feed dogs are lowered or covered, the fabric will not
automatically feed. Feeding of the fabric is controlled manually.
*Depending on model, the Embroidery/Darning Foot might be optional. Check the
instruction manual.
21
Page 26

Free-Motion Embroidery
Free-motion embroidery is an elegant embellishment. The embroidery
can be extremely detailed, such as the embroidery on a bridal gown.
It also can be as simple as a row of flowers on kitchen linens.
Machine Set-Up:
Stitch: Zigzag Stitch
Stitch Width: 2 or smaller
Stitch Length: N/A
Feet Dogs: Covered
Presser Foot: Embroidery/Darning Foot*
or remove the foot completely
Needle Position: Center
Materials:
Embroidery hoop
8” x 8” cotton with an iron-on interfacing
Fabric marking pen
Procedure:
Using the fabric marking pen, draw the desired design or trace a simple
design.
Place fabric in the embroidery hoop, making sure the fabric is taut.
Place the hoop under the foot, positioning the needle over the starting
point of the design.
Lower the presser foot.
Turn the hand wheel forward to bring up the bobbin thread though the
fabric. Sew a few securing stitches at the starting point.
22
Page 27
Firmly hold the hoop with both hands.
Press the foot controller and guide the hoop so that the needle stitches
on the drawn letter.
Maintain a consistent speed and move the fabric slowly. Coordinate
sewing speed and movement of hoop.
Note: When the feed dogs are lowered or covered, the fabric will not
automatically feed. Feeding of fabric is controlled manually.
*Depending on model, the Embroidery/Darning Foot might be optional. Check the
instruction manual.
23
Page 28

Blind Hem
A Blind Hem is a fast way to finish hems securely on skirts or pants.
It also makes a great choice when hemming large projects such as
curtains or bed skirts. Use matching thread to help the stitches blend into
the fabric, hence becoming “blind” or invisible.
Machine Set-Up:
Set-up for Step 1 (to finish raw edges)
Stitch: Zigzag
Stitch Length: 1.0
Stitch Width: 5
Presser Foot: Standard Foot
Needle Position: Center
Set-up for Step 2 (to baste the fold)
Stitch: Straight Stitch
Stitch Length: 4
Stitch Width: 0
Tension Dial: 2
Presser Foot: Standard Foot
Needle Position: Center
Set-up for Step 3 (to create the hem)
Stitch: Blindhem
Stitch Length: 2-3
Stitch Width 3-4
Tension Dial: 2
Presser Foot: Blindhem Foot
Needle Position: Center
Materials:
Medium weight woven fabric
Procedure
Sew a Zigzag to finish one of the fabric’s raw edges.
:
24
Page 29
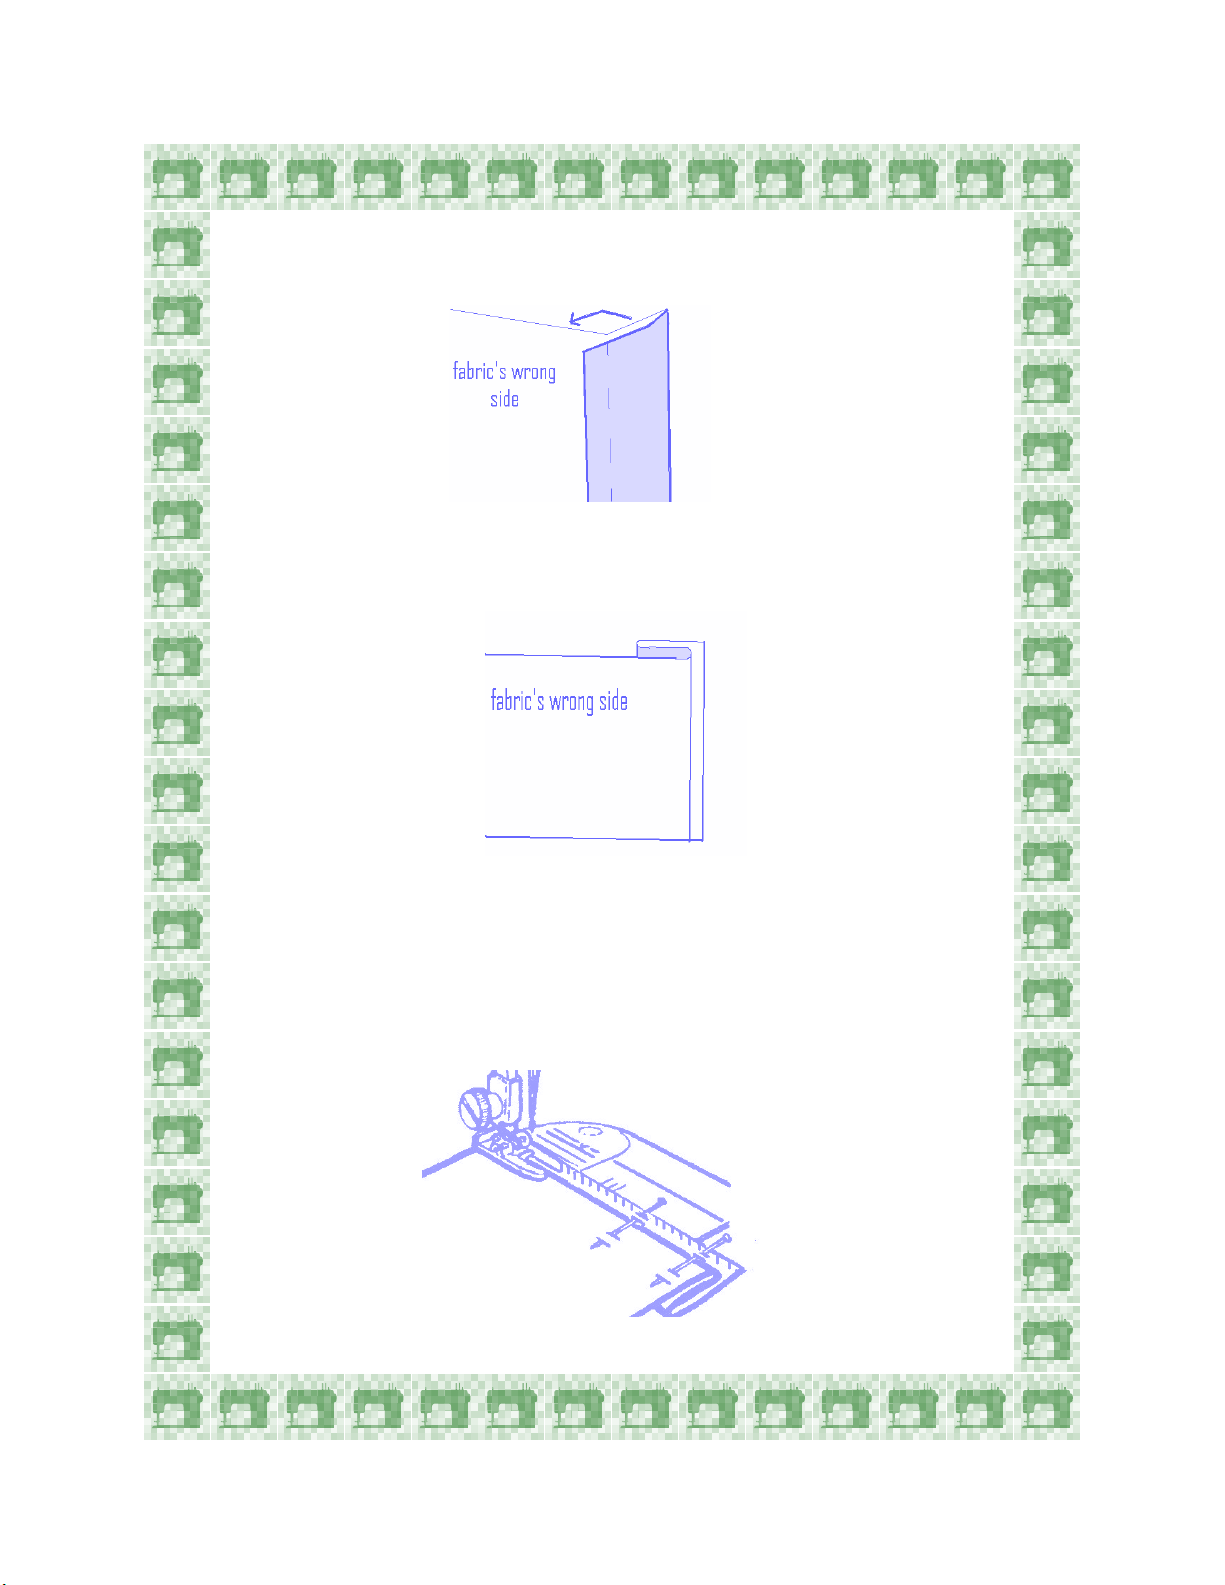
Fold under 1” and baste in place.
Position fabric with wrong side facing up, and turn the hem back to the
right side, creating a soft fold at the top edge of the hem. The bulk of
the fabric is to the left of the foot.
Begin stitching, making sure the forward stitches fall near the 1/4” fold,
and the needle swing just bites into the fold, catching only 2 or 3
threads.
Note: Always use matching thread to help “hide” the stitches.
25
Page 30

Attaching Beaded Trims
Adding a trim is an easy way to enhance almost any project! The “look”
of a denim jacket can be changed with a row of trim around the bottom
edge. A pair of capri pants can be dressed up by sewing a beaded trim
around each pant hem. Home decorating projects such as pillows, bedspreads or table runners can have a “face-lift” by just adding a beaded
trim.
Machine Set-Up:
Stitch: Multi-Mending
Stitch Width: 5-7
Stitch Length: 3
Presser Foot: Standard Foot
Needle Position: Center
Materials:
Beaded trim
Home décor fabric
Procedure:
Press and sew a 1” hem in the fabric, using a straight stitch.
Place fabric on machine with wrong side facing up.
Place trim header on fabric’s edge, right side facing down.
Sew on the the trim’s header.
26
Page 31
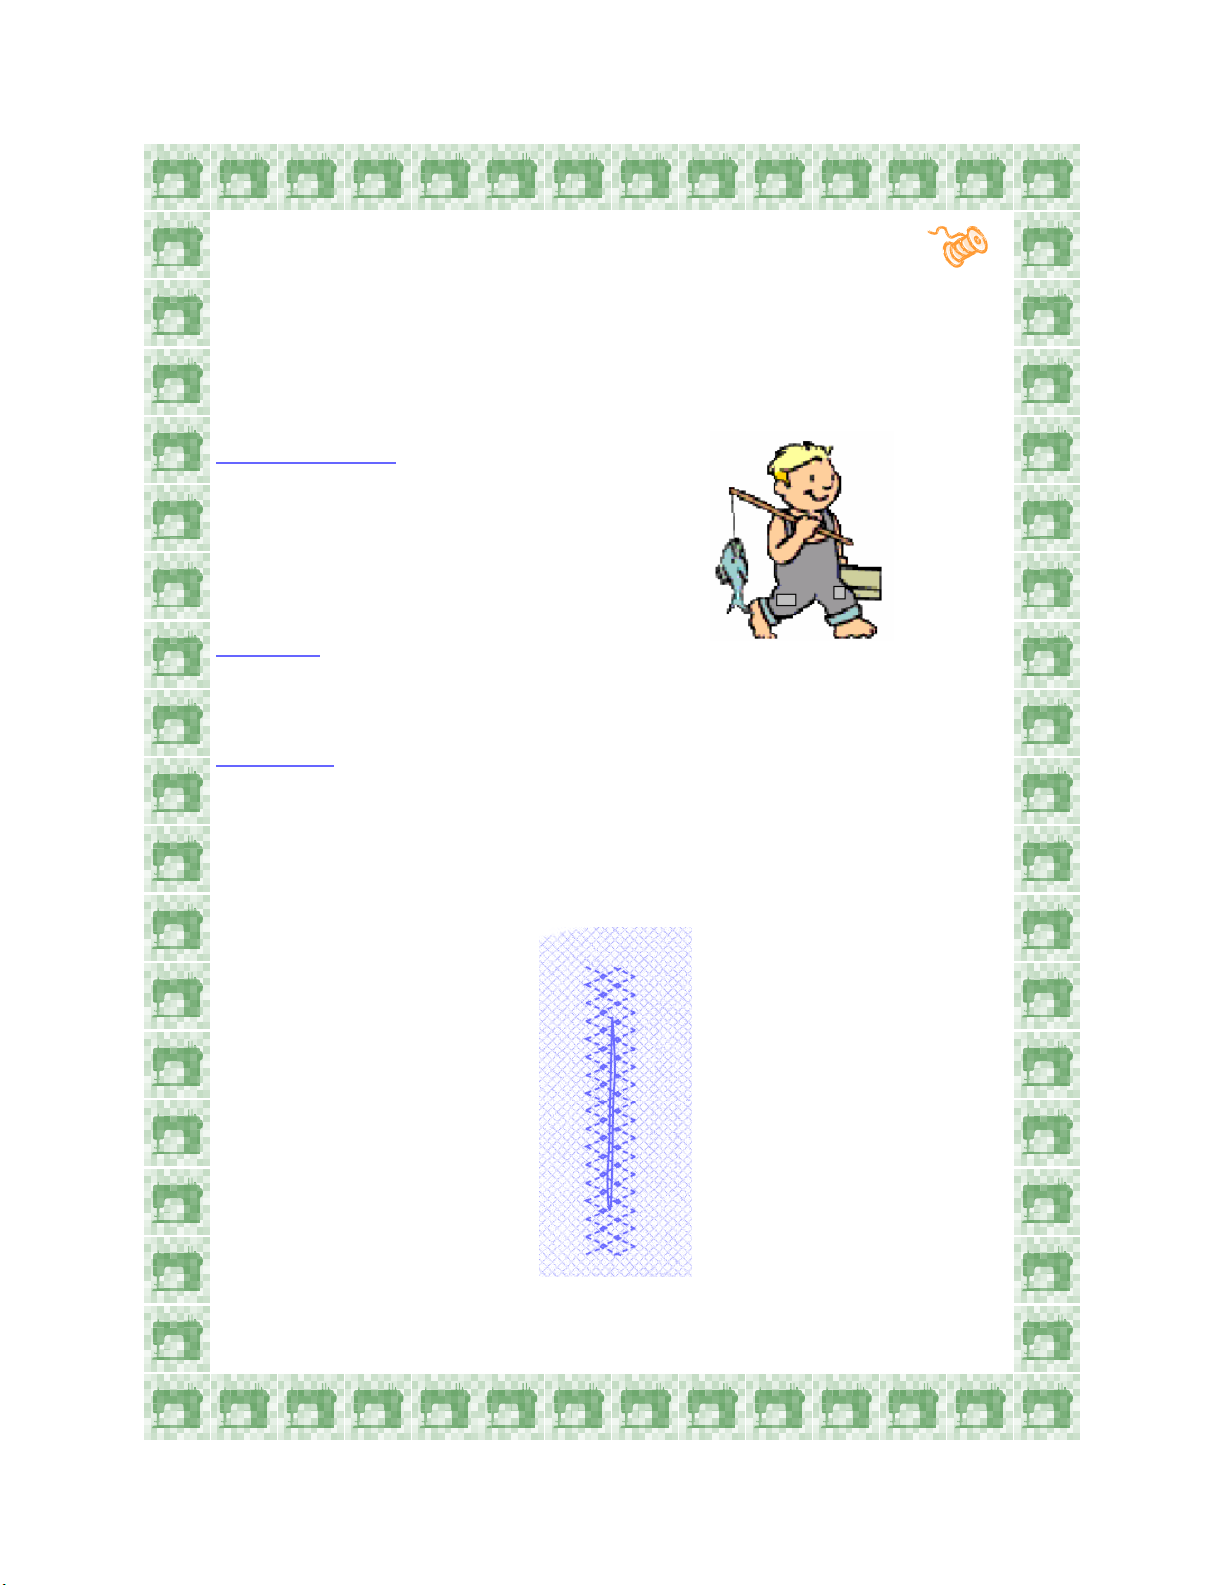
Mending with Multi-Stitch Zigzag
The Multi-Stitch is a three-step zigzag stitch. It is stronger than a
traditional zigzag stitch and is used for mending, reinforcing a seam,
darning, applying elastic and many other techniques. It is ideal when
mending tears.
Machine Set-Up:
Stitch: Multi-Stitch
Stitch Width: 5-7
Stitch Length: 1
Presser Foot: Standard Foot
Needle Position: Center
Materials:
2” x 2” denim square
5” x 5” denim, cut a 1” tear in center of denim
Procedure:
Use the small denim square as a backing to add reinforcement.
Stitch directly over the tear, pivot 180 degrees and sew again.
27
Page 32
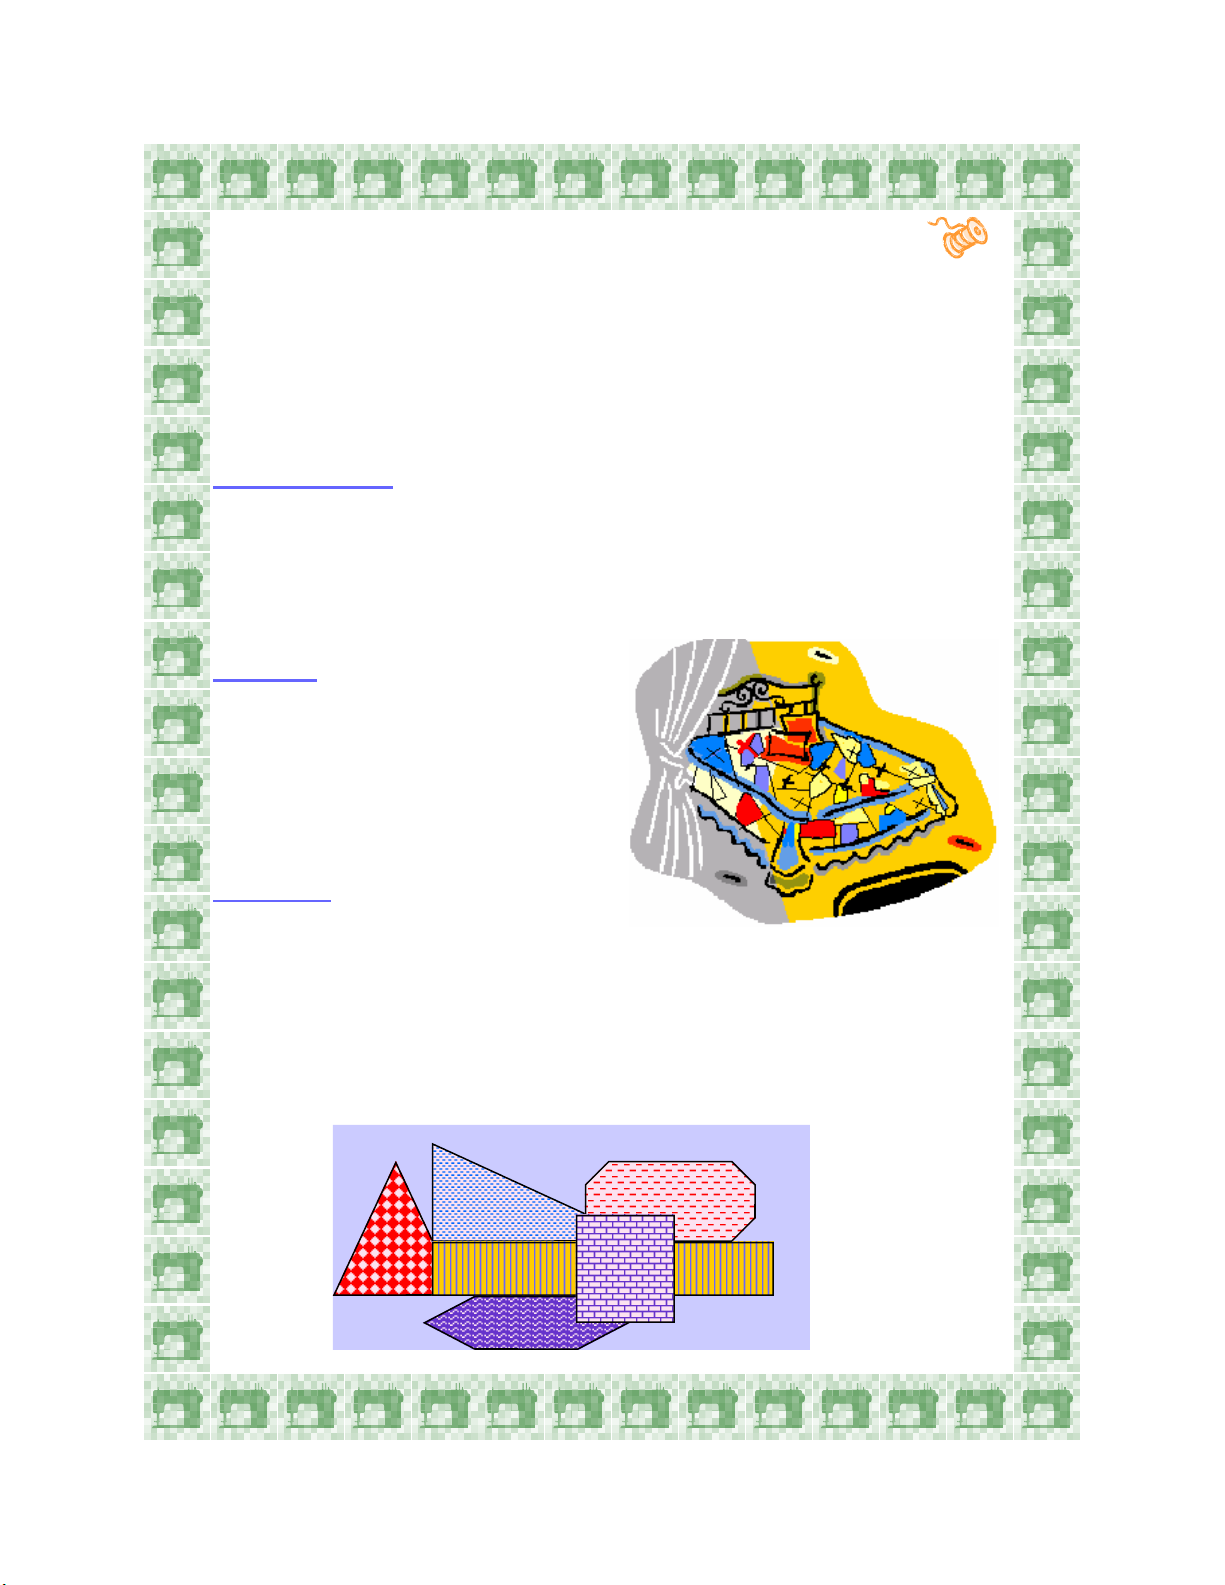
Crazy Quilting
Crazy Quilting is done by stitching scraps of velvets, silks, satins and
other fine fabrics onto a foundation fabric. The fabrics are various
shapes. The seams are then embellished with decorative stitches, often
done with decorative threads. This technique is popular and can be used
in wearable art, home decorator projects and more.
Machine Set-Up:
Stitch: Any Decorative Stitch
Stitch Width: Adjust according to preference
Stitch Length: Adjust according to preference
Presser Foot: Transparent Satin Foot or Standard Foot
Needle Position: Center
Materials:
Fabric scraps
Foundation fabric or paper
Various decorative threads
Procedure:
Crazy-piece the scraps onto the
foundation fabric or paper, starting
from the center and working outward.
Select desired decorative stitch and center the stitching over the seam
lines.
Use rayon, metallic or other decorative threads, as desired.
xxxxxxxxxxxxx
xxxxxx
XXXXXXXXXXXXX
VVVVV
28
Page 33

Straight Stretch Stitch
for Woven Fabrics
This stitch is wonderful for built-in strength! It is ideal when sewing
heavy-weight fabrics or when it is desired to have a bolder-looking
straight stitch. Try it as a topstitch on jeans, a home decorating project,
or when an extra-strong seam is needed, such as in children’s clothing.
Machine Set-Up:
Stitch: Triple Straight Stitch*
Stitch Width: 0, no width
Stitch Length: Stretch setting
Presser Foot: Standard Foot
Needle Position: Center
Materials:
Denim, folded in half
Procedure:
Stitch the two layers.
Note: Slowly turn the handwheel and watch the needle repeat each
stitch 3 times. By repeating the stitch, the stitch is much stronger.
*This stitch is only found on machines with Stretch Stitches.
29
Page 34
Straight Stretch Stitch
for Stretch Fabrics
In the 1970’s, fabrics that had stretch were introduced. Previously, only
woven-type fabrics were available for home sewers. When a standard
straight stitch is sewn on stretch fabric, it will “pop” or break when the
fabric is stretched. Special stitches were created to allow “no-pop”
sewing on stretch fabrics, and these stitches are called Stretch Stitches
or Flexi-stitches. Today, stretch fabrics are used to make exercise outfits, dance customs, swimsuits and much more. As the fabrics of these
garments stretch, so do the stitches!
Machine Set-Up:
Stitch: Triple Straight Stitch*
Stitch Width: 0, no width
Stitch Length: Stretch Setting
Presser Foot: Standard Foot
Needle Position: Center
Materials:
Knit fabric, folded in half
Procedure:
Stitch the two layers.
Note: After sewing, notice how the stitch stretches with the fabric.
*This stitch is only found on machines with Stretch Stitches.
30
Page 35
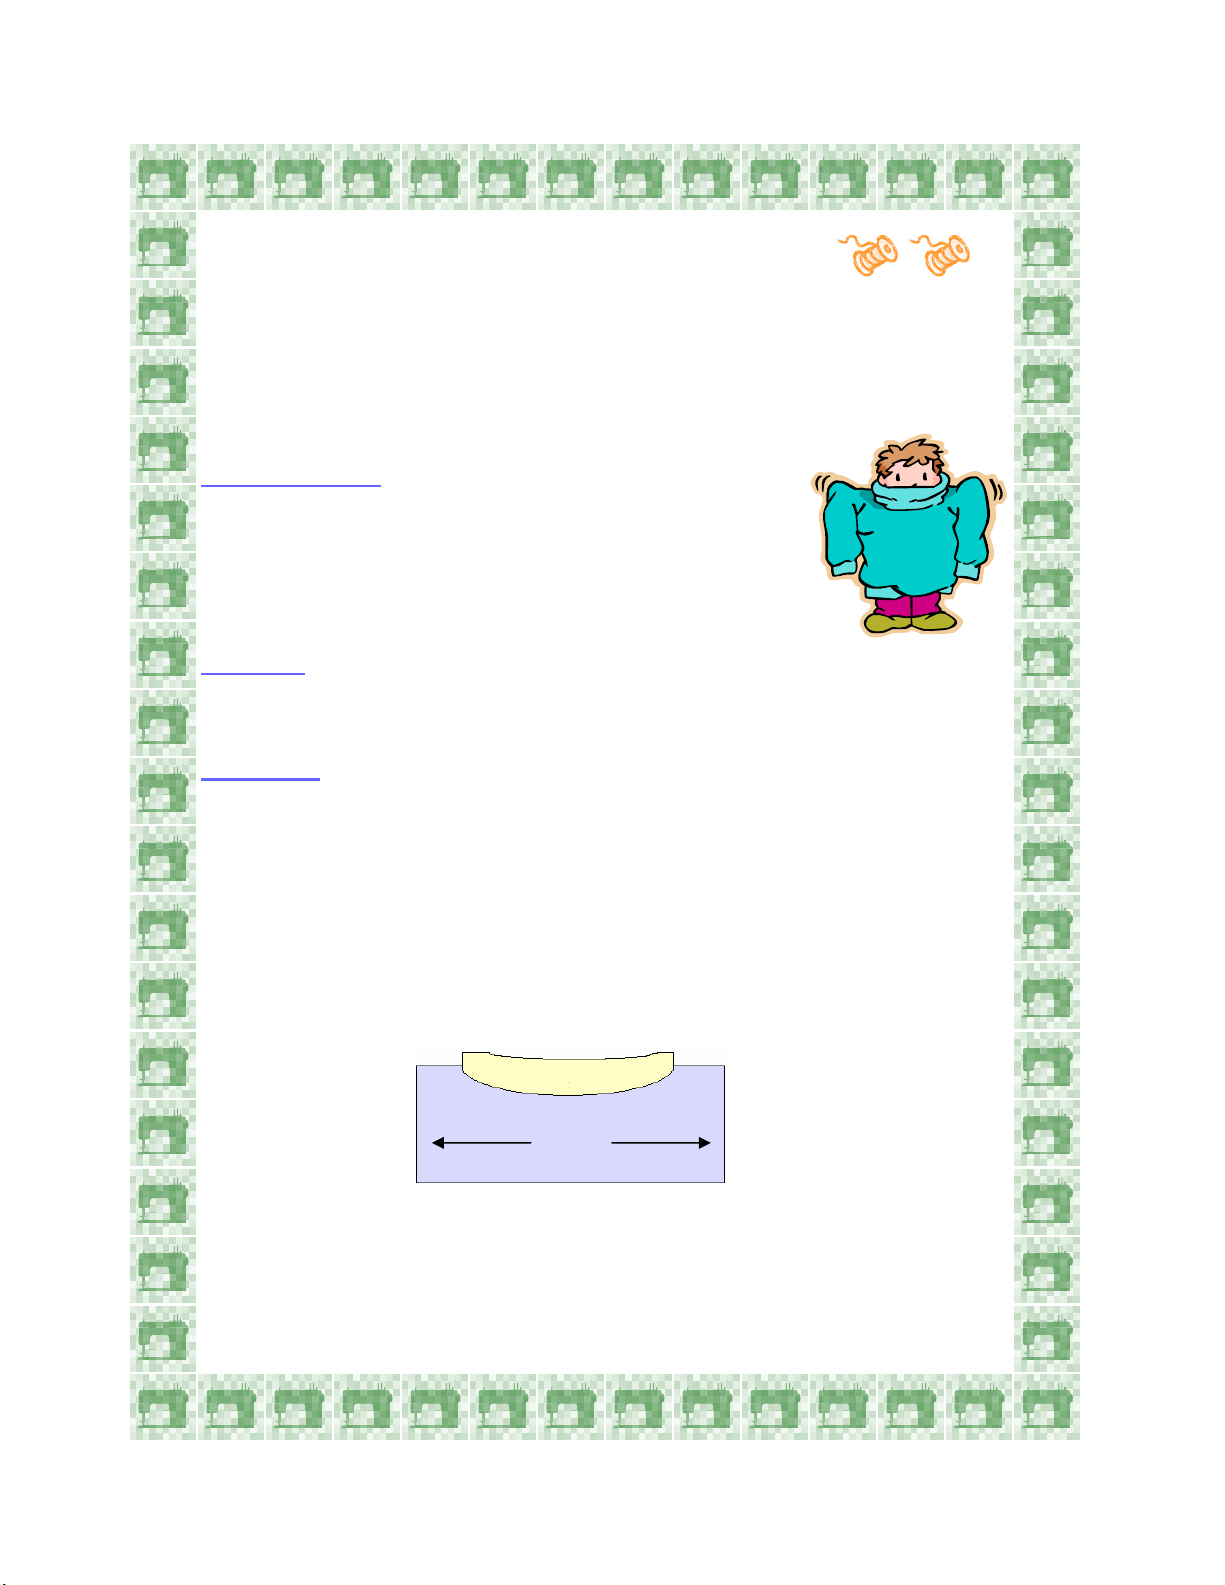
Ribbing Application
The Overedge Stretch Stitch makes sewing seams on knits look as though
they were finished on a serger. This stitch is stronger and more durable
than overlock/serger stitching. The stitch incorporates a straight stitch and
a finishing stitch into one operation. This allows for professional finish on
projects, and is especially popular on sweatshirts.
Machine Set-Up:
Stitch: Overedge Stitch*
Stitch Width: 5 or 7
Stitch Length: Stretch setting
Presser Foot: Overedge Foot** or Standard Foot
Needle Position: Center
Materials:
6” x 6” Medium to heavy weight knit fabric or polar fleece
3” x 6” Ribbing
Procedure:
Cut a curve in the knit fabric to resemble a neckline.
Fold ribbing in half lengthwise.
Starting at the left side of the knit curve, place ribbing on front side of
curve.
Match all 3 cut edges and place under the presser foot.
Line up fabric edges with guide on foot and stitch the length of the seam.
Stretch ribbing slightly to fit the cut edges of the knit.
When finished, lift foot and pull threads and fabric straight back behind
foot and trim.
*This stitch is only found on machines with Stretch Stitches.
** Depending on model, the Overedge Foot might be optional. Check instruction manual.
•
31
Page 36

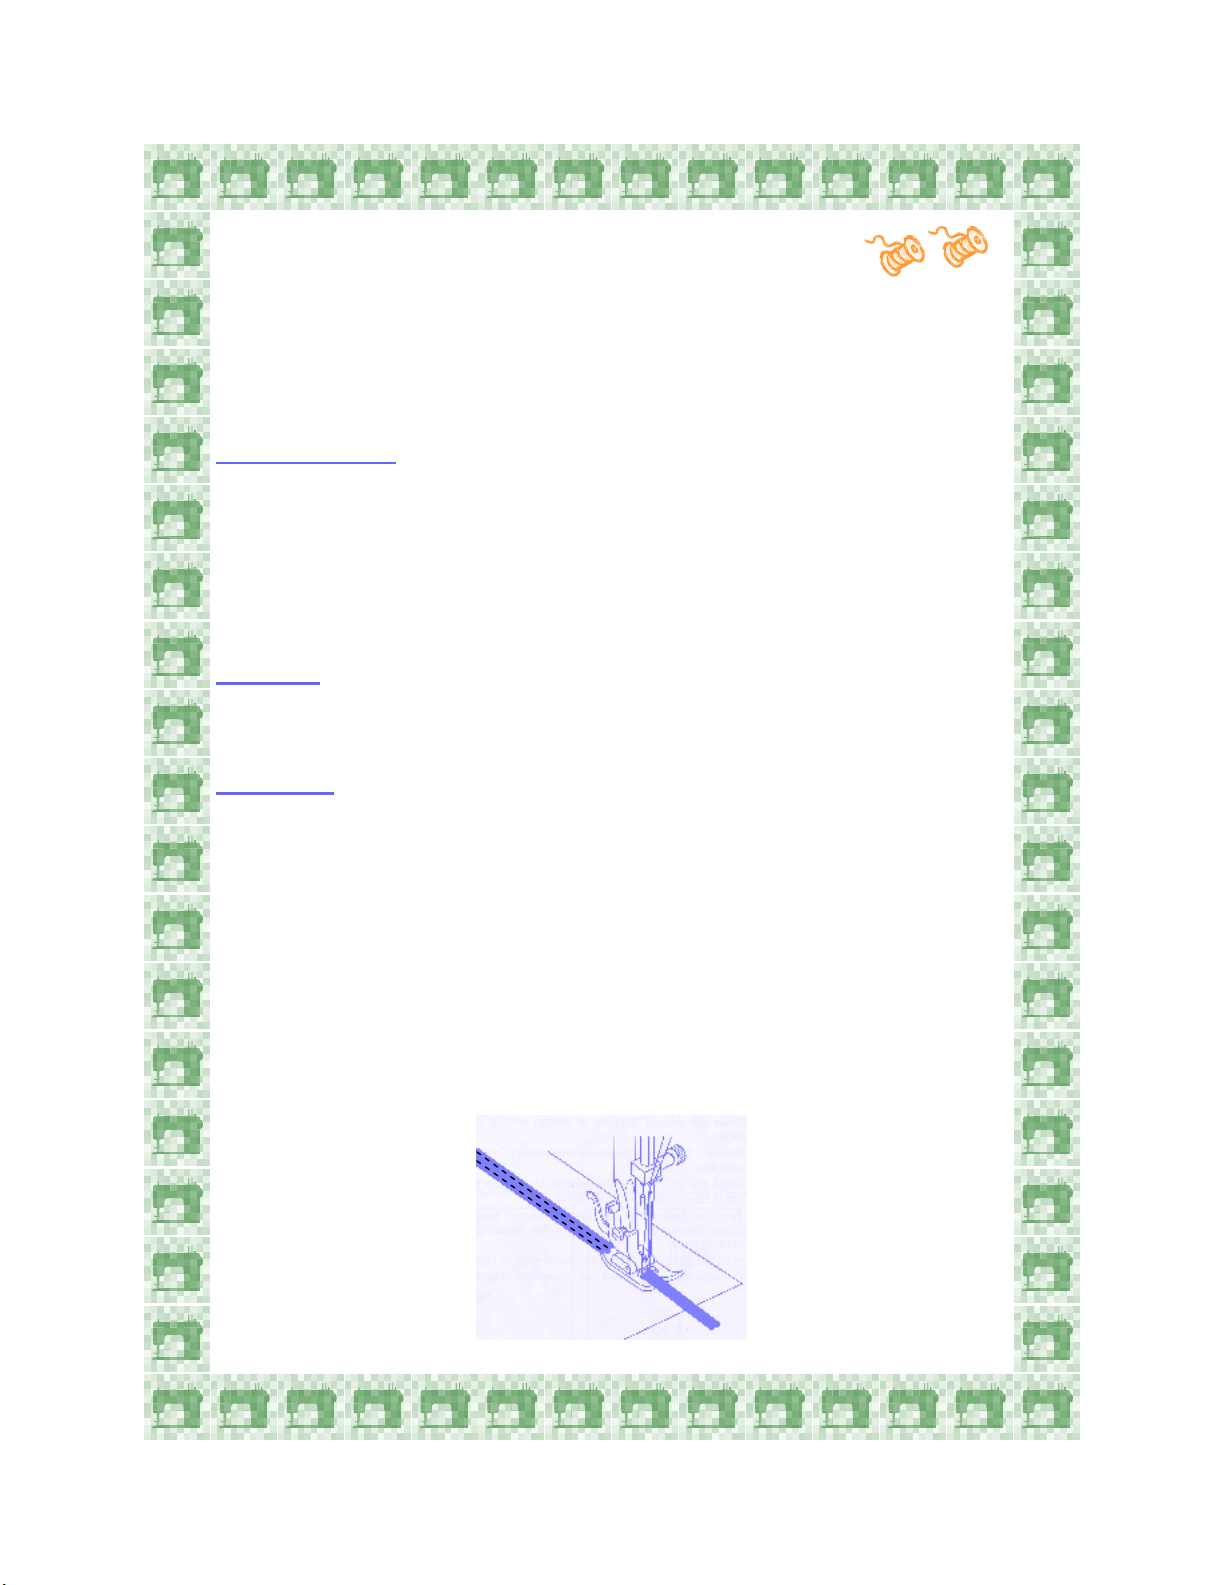
Overedge Stitching
When joining two pieces of fabric, it is usually necessary to finish the
edges. This prevents raveling of the fabric and provides for a professional
finish.
Machine Set-Up:
Stitch: Stretch Overedge or Serge Stitch
Stitch Width: 5
Stitch Length: Between 1– 2 (for machine without stretch stitches)
Longest Setting (for machine with stretch stitches)
Presser Foot: Overedge Foot* or Standard Foot
Needle Position: Center
Materials:
(2) pieces of woven fabric
Procedure:
Right sides together, place the fabric under the foot.
Align the fabric’s edges with the foot’s edge.
Sew, joining two pieces of fabric and finishing the edges in one
operation.
*Depending on model, the Overedge Foot might be optional. Check instruction manual.
32
Page 37

Open Seams with Overedge
Stitching
This technique is ideal for making an unlined garment or when the seam
allowances may show. All the edges are finished prior to construction.
Just like the previous technique, this also prevents raveling of the fabric
and makes a professional finish on woven and knit fabrics.
Machine Set-Up:
Stitch: Stretch Overedge or Serge Stitch
Stitch Width: 5
Stitch Length: Between 1– 2 (for machine without stretch stitches)
Longest Setting (for machine with stretch stitches)
Presser Foot: Overedge Foot* or Standard Foot
Needle Position: Center
Materials:
(2) 4” x 3” pieces of heavy woven fabric
Procedure:
Place one piece of fabric under the foot, aligning the fabric edge
so that the stitch forms just on the edge of the fabric.
Place the second piece of fabric under the foot, aligning the fabric
edge so that the stitch forms just on the edge of the fabric. Sew.
Change to the Standard Foot and set machine for a straight stitch.
With right sides together, join the two pieces of fabric, with a 5/8” seam
allowance.
Open seam flat and press.
*Depending on model, the Overedge Foot might be optional. Check instruction manual.
33
Page 38

Attaching Elastic
Elastic can be applied directly to the fabric, such as when making lingerie.
If the elastic is 3/8” wide or less, the elastic can be placed into the
Standard Foot’s opening, making it easier to evenly stretch the elastic
while sewing.
Machine Set-Up:
Stitch: Multi-Zigzag or Stretch Honeycomb Stitch*
Stitch Width: 5
Stitch Length: 3 for Multi-Zigzag (or Stretch setting
for Honeycomb Stitch)
Presser Foot: Standard Foot
Needle Position: Center
Materials:
Nylon Tricot 4” x 8”
3/8” wide elastic strip, cut 7” long
Procedure:
Thread elastic through the needle-opening hole in the foot.
Pull 2-3” of elastic to the back of the foot, enough to firmly grasp.
Position fabric under the foot.
Sew, gently pulling the elastic while sewing.
*This stitch is only found on machines with Stretch Stitches.
34
Page 39
Sewing with a Wing Needle
Use a Wing Needle to create a beautiful heirloom look on pillowcases,
napkins, or special occasion garments. A Wing Needle is very wide and
makes a large opening or hole in the fabric every time it stitches. Several
different types of stitches can be used. For best results, use a stitch with
forward-back movement, so that the needle penetrates the same hole
more than once.
Machine Set-Up:
Stitch: Zigzag Stitch
Stitch Width: 1
Stitch Length: 5
Presser Foot: Transparent Satin Foot or Standard Foot
Needle: Wing Needle
Needle Position: Center
Materials:
Linen or other natural fiber fabric, spray-starched for added firmness
60-80 weight sewing thread
60-80 weight sewing thread in bobbin
Procedure:
Pull one or two threads to establish a guideline for stitching.
Stitch along the pulled threads. Notice the pronounced holes that are
created by the stitching.
Note: An alternative method is to trace a design onto fabric using
chalk, water-soluble or air soluble marker. (Use stencils, templates or
create a design.) Stitch along the drawn lines of the design.
35
Page 40

Twin Needle Sewing
By using a Twin Needle, two parallel rows of stitching can be sewn at the
same time. A straight stitch using a twin needle sewing creates a sporty
hem on knit wear, a sophisticated top-stitch or a decorative embellishment.
Machine Set-Up:
Stitch: Straight Stitch
Stitch Width: 0, no width
Stitch Length: 5
Presser Foot: Transparent Satin Foot or Standard Foot
Needle: Twin Needle
Needle Position: Center
Materials:
5” x 5” piece of medium weight fabric, with a stabilizer ironed-on
Procedure:
Insert the second spool pin.
Both spools of thread follow the same threading path until they reach
the eye of the needle. Thread each needle separately.
Slowly sew a row of stitching on the right side of the fabric.
Maintain a slow consistent speed to ensure accurate stitching.
Note: When sewing with a stitch that has width (such as a zigzag or
decorative stitch) and the twin needle. Never set the width wider 3.0.
Always test that the needle does not hit the foot, by turning the hand
wheel manually.
36
Page 41
Applying Ribbon with a
Twin Needle
By using a Twin Needle, two parallel rows of stitches can be used to
attach a ribbon while stitching.
Machine Set-Up:
Stitch: Straight Stitch
Stitch Width: 0, no width
Stitch Length: 5
Presser Foot: Transparent Satin Foot or Standard Foot
Needle: Twin Needle
Needle Position: Center
Materials:
5” x 5” piece of lightweight woven fabric, with a stabilizer ironed-on
6” long piece of 1/4” wide satin ribbon
Procedure:
Insert the second spool pin.
Both spools of thread follow the same threading path until they reach
the eye of the needle. Thread each needle separately.
Insert the ribbon through the openings in the presser foot. Pull the
ribbon under the foot and then to the back of the foot.
Slowly sew a row of stitching on the right side of the fabric.
Maintain a slow consistent speed to ensure accurate stitching.
37
Page 42

Sewing on Leather
Leather can add a bold accent to a garment, home decorating or craft
project. Leather does not ravel, so there is no need to finish the seam
edges.
Machine Set-Up:
Stitch: Straight Stitch
Stitch Width: 0, no width
Stitch Length: 3
Presser Foot: Transparent Satin Foot
or Standard Foot
Needle: Leather Needle
Needle Position: Center
Materials:
Fashion leather
Procedure:
Finger press a 1” hem in the leather.
Sew, using the seam guides to ensure straight stitching.
Note: A Roller Foot or Even Feed Foot feeds the leather, vinyl or suede
through the machine more easily.
38
Page 43

Narrow Hem
The edge of a ruffle, the hem on a napkin and the edge of a prom dress
are all perfect examples of where it is beneficial to use the Rolled Hem
Foot. The foot has a “scroll” that helps roll the fabric’s edge over, hiding
the raw edges and creating a small professional finish hem. Soft fabrics
roll best.
Machine Set-Up:
Stitch: Straight Stitch
Stitch Width: 0, no width
Stitch Length: 3
Presser Foot: Rolled or Narrow Hem Foot*
Needle Position: Center
Materials:
Medium to light weight fabric
Procedure:
Press a 1/8” hem to approximately 1 inch of the fabric’s edge.
Stitch the small hem into place with a straight stitch.
Leave the needle in the fabric, but lift the presser foot.
Guide the fabric into the scroll of the foot.
Lower foot and continue to sew, holding the thread tails firmly.
Hold fabric taut and slightly up to help the fabric to “roll” into the scroll.
*Depending on model, the Rolled/Narrow Foot might be optional. Check the instruction
manual.
39
Page 44

Gathering with the Cording Foot
This technique is great for heavy fabrics such as in home decorating
or textured fabrics that do not gather easily. The Cording Foot holds the
cord in place so it is effortless to sew over the cord. Adjusting gathers is
easy, and there is no danger that the cord will break in the middle of the
project.
Machine Set-Up:
Stitch: Zigzag
Stitch Width: 3
Stitch Length: 3
Presser Foot: Cording Foot*
Needle Position: Center
Materials:
10” long strand of fine cord
Home décor fabric
Procedure:
Place a single cord in the center groove of the foot.
Secure the cord by tying a knot at the back of the foot.
Place the fabric under the foot.
Sew a test to ensure that the Zigzag stitches are sewing over the cord,
not into
After stitching is finished, pull the cord which will
draw up or gather the fabric.
Adjust the gathers evenly by sliding the fabric along the
cord.
Sew a straight stitch to secure the gathers into
place.
the cord. The Zigzag stitch is making a casing for the cord.
*Depending on model, the Cording Foot might be optional.
Check the instruction manual.
40
Page 45

.
Applying Trims, Cords or Braids
Use the Cording Foot to easily apply thin cords to add textured to wearable art fashions or home decorating projects. The foot holds the cords in
position, so that it is effortless to stitch them into place. There are several
decorative cords available, each creating a different effect.
Experiment with various cords and stitches!
Machine Set-Up:
Stitch: Multi-Zigzag
Stitch Width: 3
Stitch Length: 3
Presser Foot: Cording Foot*
Needle Position: Center
Materials:
Three strands of thin cording
Home Décor fabric
Procedure:
Thread one decorative cord through each of the foot’s three grooves
or slots.
Secure the three cords at the back of the foot by tying a knot.
Place the fabric under the foot and sew.
The foot will hold all the cords in place as they are sewn into the fabric.
*Depending on model, the Cording Foot might be optional. Check the instruction
manual.
41
Page 46

Shirring with the Gathering Foot
Gathering fabric means to draw the fabric up on a thread to
create fullness. Shirring consists of three or more rows of gathers.
Use only sheer or soft fabrics for this technique. The specially
designed Shirring Foot pushes fabric into even folds under the needle.
The stitch then holds the fabric folds securely.
Machine Set-Up:
Stitch: Straight Stitch
Stitch Width: 0, no width
Stitch Length: 5
Fullness is regulated by stitch length
Tension: Increase the tension
Presser Foot: Gathering Foot*
Needle Position: Center
Materials:
Lightweight fabric, such as batiste
Procedure
Pull one to two threads on the fabric’s crosswise grain, to create a
guide for straight stitching.
*Depending on model, the Gathering Foot might be optional. Check the instruction
manual.
:
42
Page 47

Turn the handwheel to ensure the needle is correctly positioned. It
should line up with the Gathering Foot’s needle opening.
Sew a row on top of the “pulled” line.
Use the foot's edge as a guide to sew the next row of stitching. Rows
will be 1/4” apart if the foot is used as a guide.
Sew 3 or 4 more rows.
Do not clip thread ends until it is determined if any fine adjustments
are needed to make the gathers even-looking.
43
Page 48
Using the Even Feed Foot
to Sew Multiple Fabric Layers
The Even Feed Foot has its own set of feed dogs that work in conjunction
with the machine’s feeding system to improve the flow of the fabric. This
is particularly important when sewing several layers of fabric, such as in
quilting. The Even Feed Foot “pulls” the top layer or layers of fabric
through at the same speed as the machine’s feed dogs are pulling the
bottom layer or layers of fabric, making for more even feeding!
Machine Set-Up
Stitch: Straight Stitch
Stitch Width: 0, no width
Stitch Length: 3
Presser Foot: Even Feed Foot*
Needle Position: Center
Materials
(2) 5” x 5” pieces of cotton with batting between the two pieces
Procedure:
Sew from one edge to the other.
*Depending on model, the Even Feed Foot might be optional. Check the instructional
manual.
:
:
Top Fabric
Batting
Bottom Fabric
44
Page 49

Using the Even Feed Foot
to Sew Plaid Fabrics
Machine Set-Up:
Stitch: Straight Stitch
Stitch Width: 0, no width
Stitch Length: 3
Presser Foot: Even Feed Foot*
Needle Position: Center
Materials
(2) 5” x 5” pieces of plaid or striped fabric
Procedure
Match plaids, right sides together
Sew the two pieces together using the built-in seam guide on the
machine to maintain a consistent seam allowance.
*Depending on model, the Even Feed Foot might be optional. Check the instruction
manual.
:
:
45
Page 50
Using the Even Feed Foot
to Sew Pile Fabrics
The Even Feed Foot is great for sewing on fake fur for coat accents,
costumes or stuffed animals.
Machine Set-Up:
Stitch: Straight Stitch
Stitch Width: 0, no width
Stitch Length: 3
Presser Foot: Even Feed Foot*
Needle Position: Center
Materials:
(2) 5” x 5” pieces of fake-fur
Procedure:
Sew the two pieces together using the built-in seam guide on the
machine to maintain a consistent seam allowance.
Push the fur into the seam.
*Depending on model, the Even Feed Foot might be optional. Check the instruction
manual.
46
Page 51

Sewing with the Side Cutter
The side cutter is an attachment that will trim the excess
fabric while sewing. A Zigzag-type stitch must be used.
Machine Set-Up:
Stitch: Zigzag, Sew and Serge,
or Stretch Overedge
Stitch Width: 5
Stitch Length: For Zigzag 1
For Stretch Stitches set to “S”
Presser Foot: Side Cutter*
Needle Position: Center
Materials:
(2) 5” x 4” pieces of wool type fabric
Procedure:
Cut a 1” x 1” notch in the fabric.
The cutter’s blades “cut” before the needle stitches. Be sure to position
the fabric under the needle before beginning to sew.
Place the fabric OVER the first metal platform and UNDER the second
metal platform. If the cutter is not cutting, it is usually due to the fabric
not being placed OVER the first platform.
View: Looking down at cutter
Turn the hand-wheel to ensure the the needle does not hit the stitch
finger. The stitch width may need to be adjusted.
*Depending on model, the Side Cutter might be optional. Check the instruction manual.
47
Page 52

Slowly sew and gently guide the fabric.
Adjust the stitch length according to fabric. Certain fabrics will cut
better or cleaner than others. This is due to the nature of the fabric.
The cutter works best if not more than 1” is being trimmed away.
48
Page 53

Sewing with the Ruffler
The Ruffler attachment quickly and easily produces professional looking
ruffles on garments, home decorating projects and craft items.
Machine Set-Up:
Stitch: Straight Stitch
Stitch Width: 0, no width
Stitch Length: 7
Presser Foot: Ruffler
Needle Position: Center
Materials:
3” x 10” piece of lightweight cotton
3” x 5” piece of lightweight cotton
Procedure:
Set the Ruffler for the desired amount of “ruffles”.
Set the Ruffler for the desired depth of the ruffles.
49
Page 54

Place the fabric under the Ruffler. Place fabric in the guide plate.
Remember to lower the presser foot lever.
Lightly push the cloth feed plate towards the back of the machine.
Place the longer piece of fabric under the foot and beneath the shorter
piece of fabric. Place right sides together.
Slowly sew. Watch the Ruffler feed the fabric to make even ruffles. The
bottom piece of fabric will feed slower than the top piece.
50
 Loading...