


Instructions For Using
SPARTAN* SEWING MACHINE 192
Needles and Thread—
Use needles 15 x 1, in sizes 11, 14, 16 and 18.
You will obtain the best stitching results from
your sewing machine if it is fitted with a
SINGER needle.
Thread should be selected according to the
fabric to be stitched. Needle must be of correct
size for thread to pass freely through eye
of needle.
To Set the Needle—
Raise needle bar to its highest position.
Loosen needle clamp thumb screw and
insert needle (flat side to the right) up into
needle clamp as far as it will go.
Tighten needle clamp screw.
Fig. 1. To Set the Needle
To Thread the Needle—
Raise take up lever 5 to highest point.
Place spool of thread on spool pin.
Lead thread into thread guide 1,
—Uown ?nd from ricrht !<^ft lv»fwee*i
♦ * ^ - <p^
tension discs 2.
—Into loop of thread take-up spring 3
—Under slack thread regulator 4 (not
through eye in thread regulator)
Fig. 2. Upper Threading
—Up and from right to left through hole
in take-up lever 5
—Down through guide 6 on face plate
—Down through lower wire guide 7.
Thread from left to right through eye of
needle 8.
Draw about two inches of thread through
eye of needle with which to begin sewing.
To Remove The Bobbin—
Raise needle to its highest point.
Open slide plate.
Press bobbin ejector J and lift
out bobbin.
Fig. 3. Removing the Bobbin
THE*SII^ER MANUFACTURING COMPANY
*A Trademark of THE SINGER MANUFACTURING COMPANY Printed in Great Britain.-^
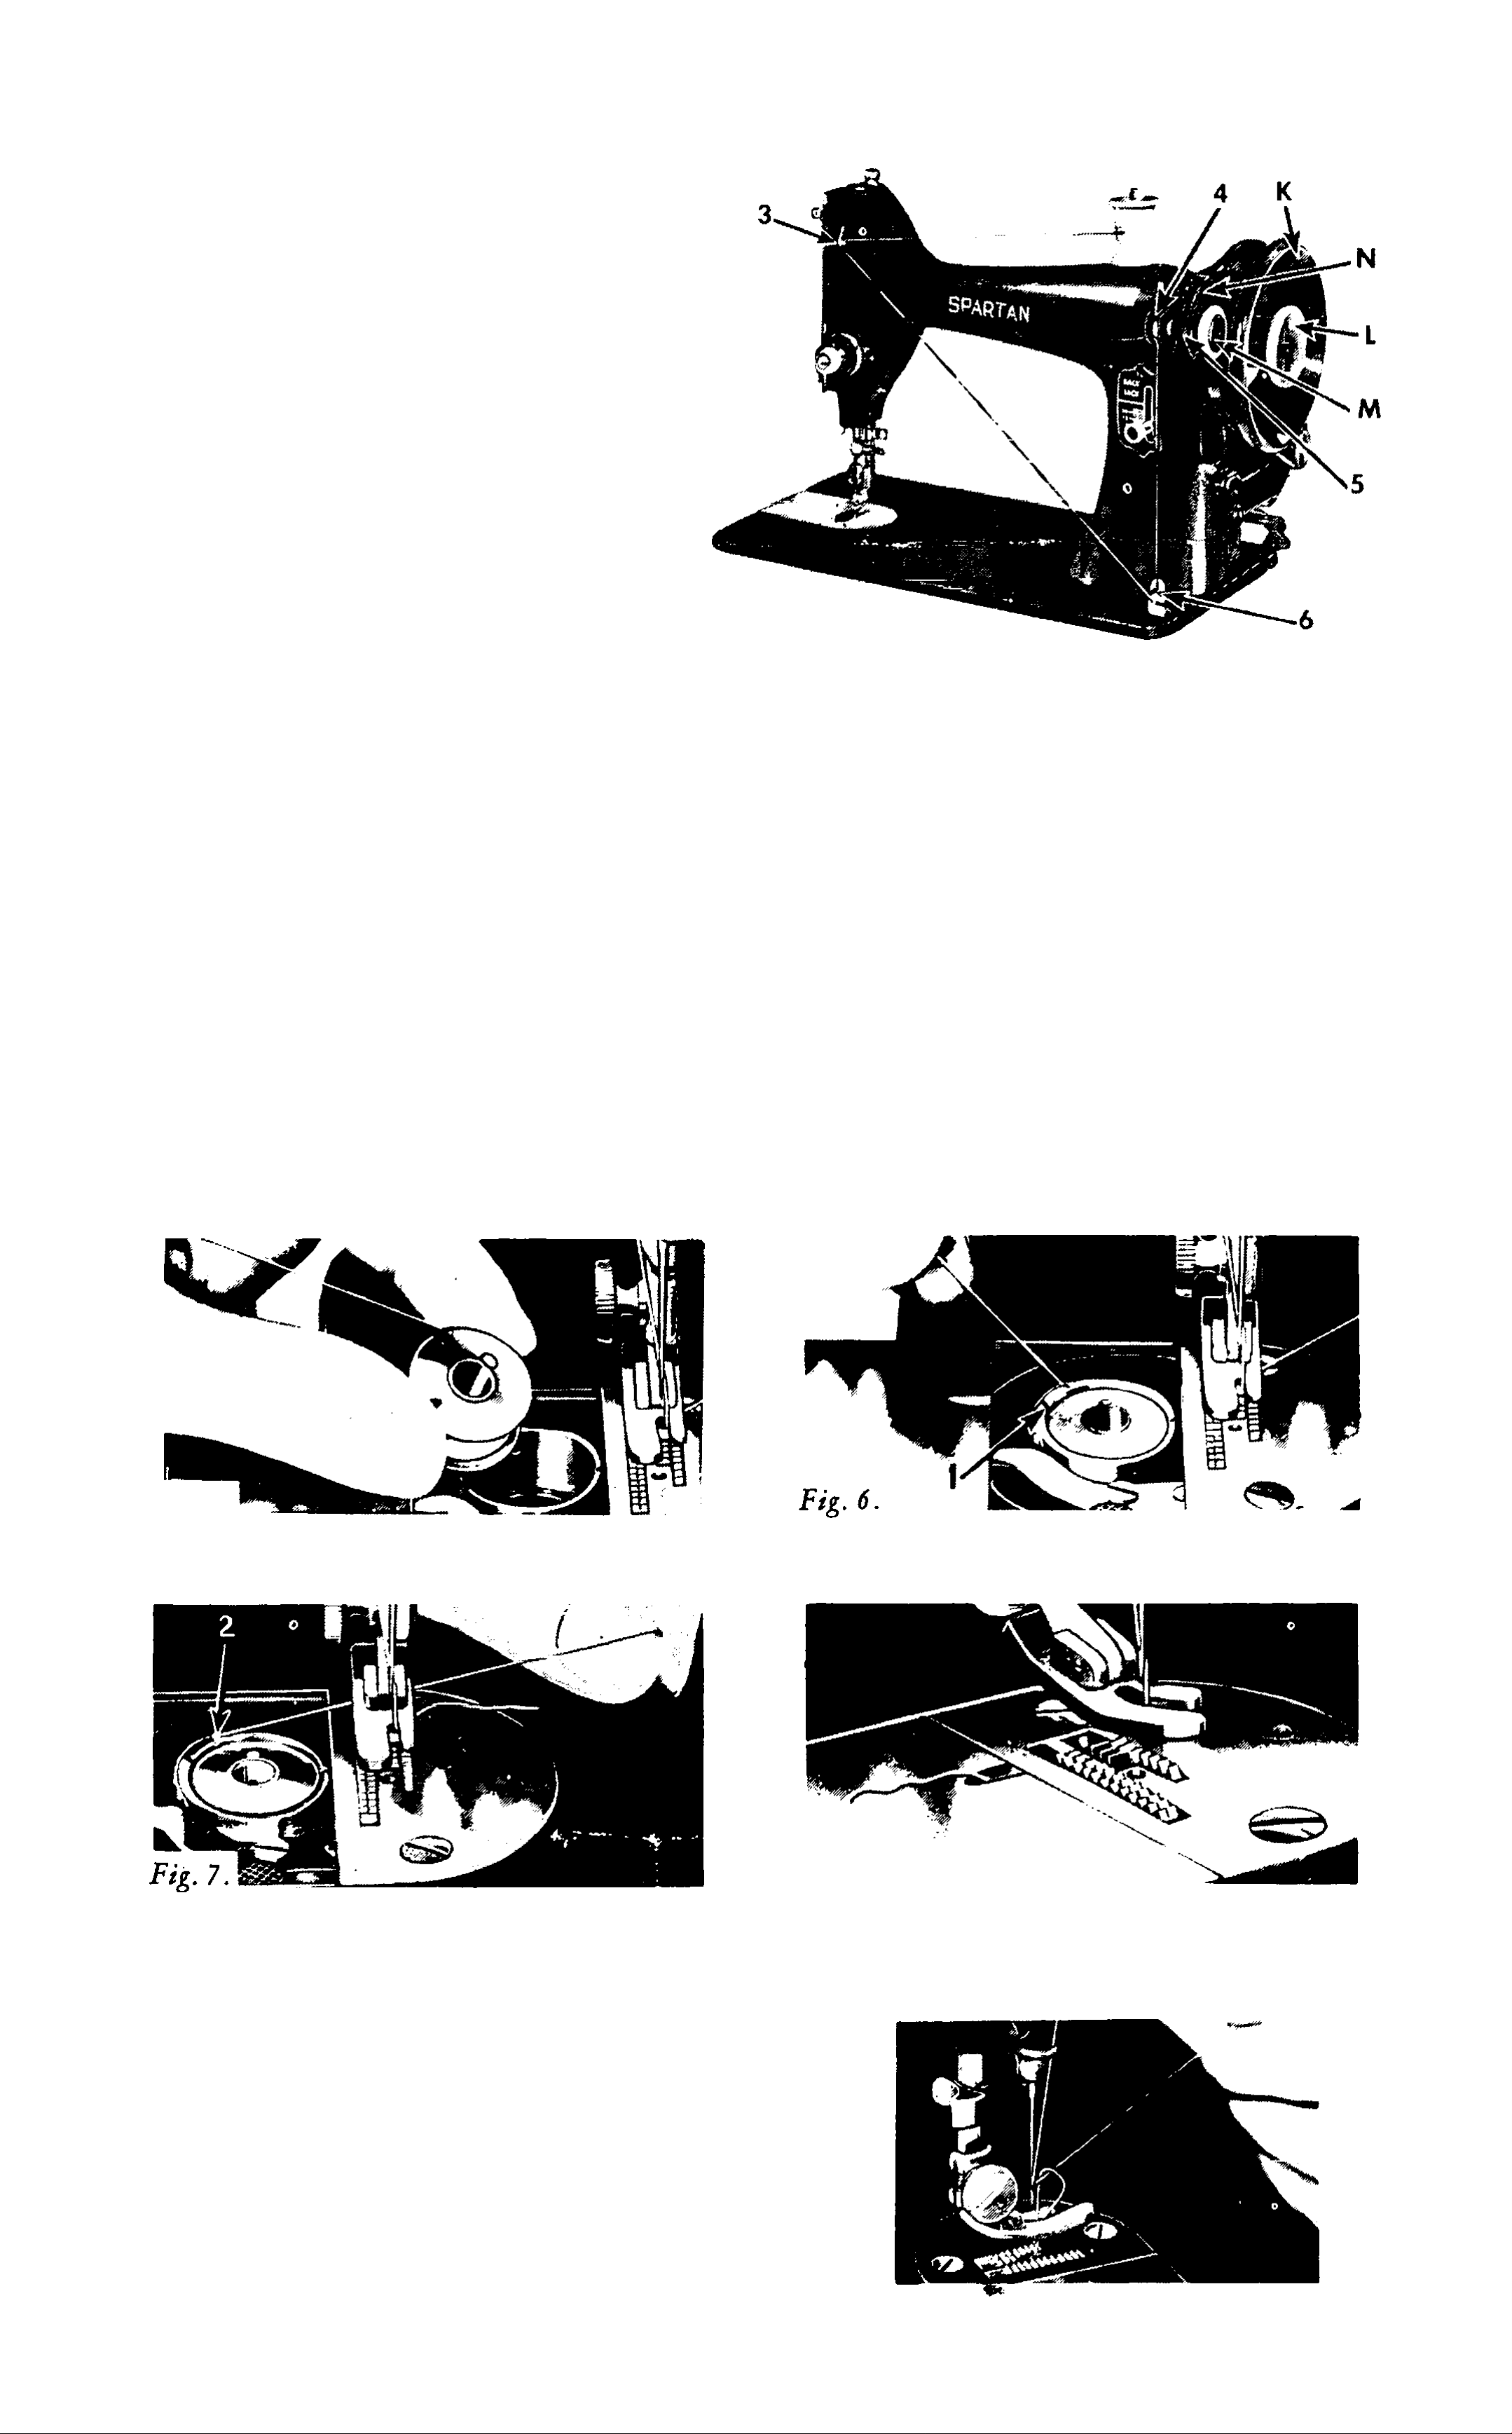
Tc Wind the Bobbin—
Hold hand wheel K with left
hand, and with right hand,
loosen stop motion screw L.
Place bobbin 4 on spindle.
Press bobbin winder 5 down
against hand wheel.
Place spool of thread on
spool pin.
Lead thread through guide 3
on arm of machine.
Pass thread through lower
notch of guide 6 from front
to back and through upper
notch from back to front.
Lead thread from right to
Fig. 4. Winding the Bobbin
left'through hole in left
side of bobbin.
Hold end of thread and start machine. (End of thread will break off
after a few coils have been wound on bobbin.)
When Bobbin is Full—
# Stop machine, lift bobbin winder away from hand wheel and remove
bobbin. Tighten stop motion screw L.
If the Bobbin Does not Wind Evenly—
Loosen screw which holds thread guide 6 to bed and move guide to right
or left as required. Then tighten screw. If pressure of bobbin winder
pulley M against hand wheel is insufficient for winding bobbin, loosen
screw N, press bobbin winder pulley against hand wheel and tighten
screw N.
To Replace the Bobbin and Thread the Bobbin Case—
Fig. 5.
Hold bobbin so that thread leads
off in direction shown.
Place bobbin in case and draw
thread into slot 1.
Fig. 8.
Draw thread between case and
tension spring until it reaches
notch 2.
Pull about 3 inches of thread
across bobbin.
To Prepare for Sewing—
Turn hand wheel over toward
you so that needle enters
throat plate and brings up the
bobbin thread.
Close slide plate, allowing
thread to enter notch in slide
plate.
Fig. 9. Drawing Up the Bobbin Thread
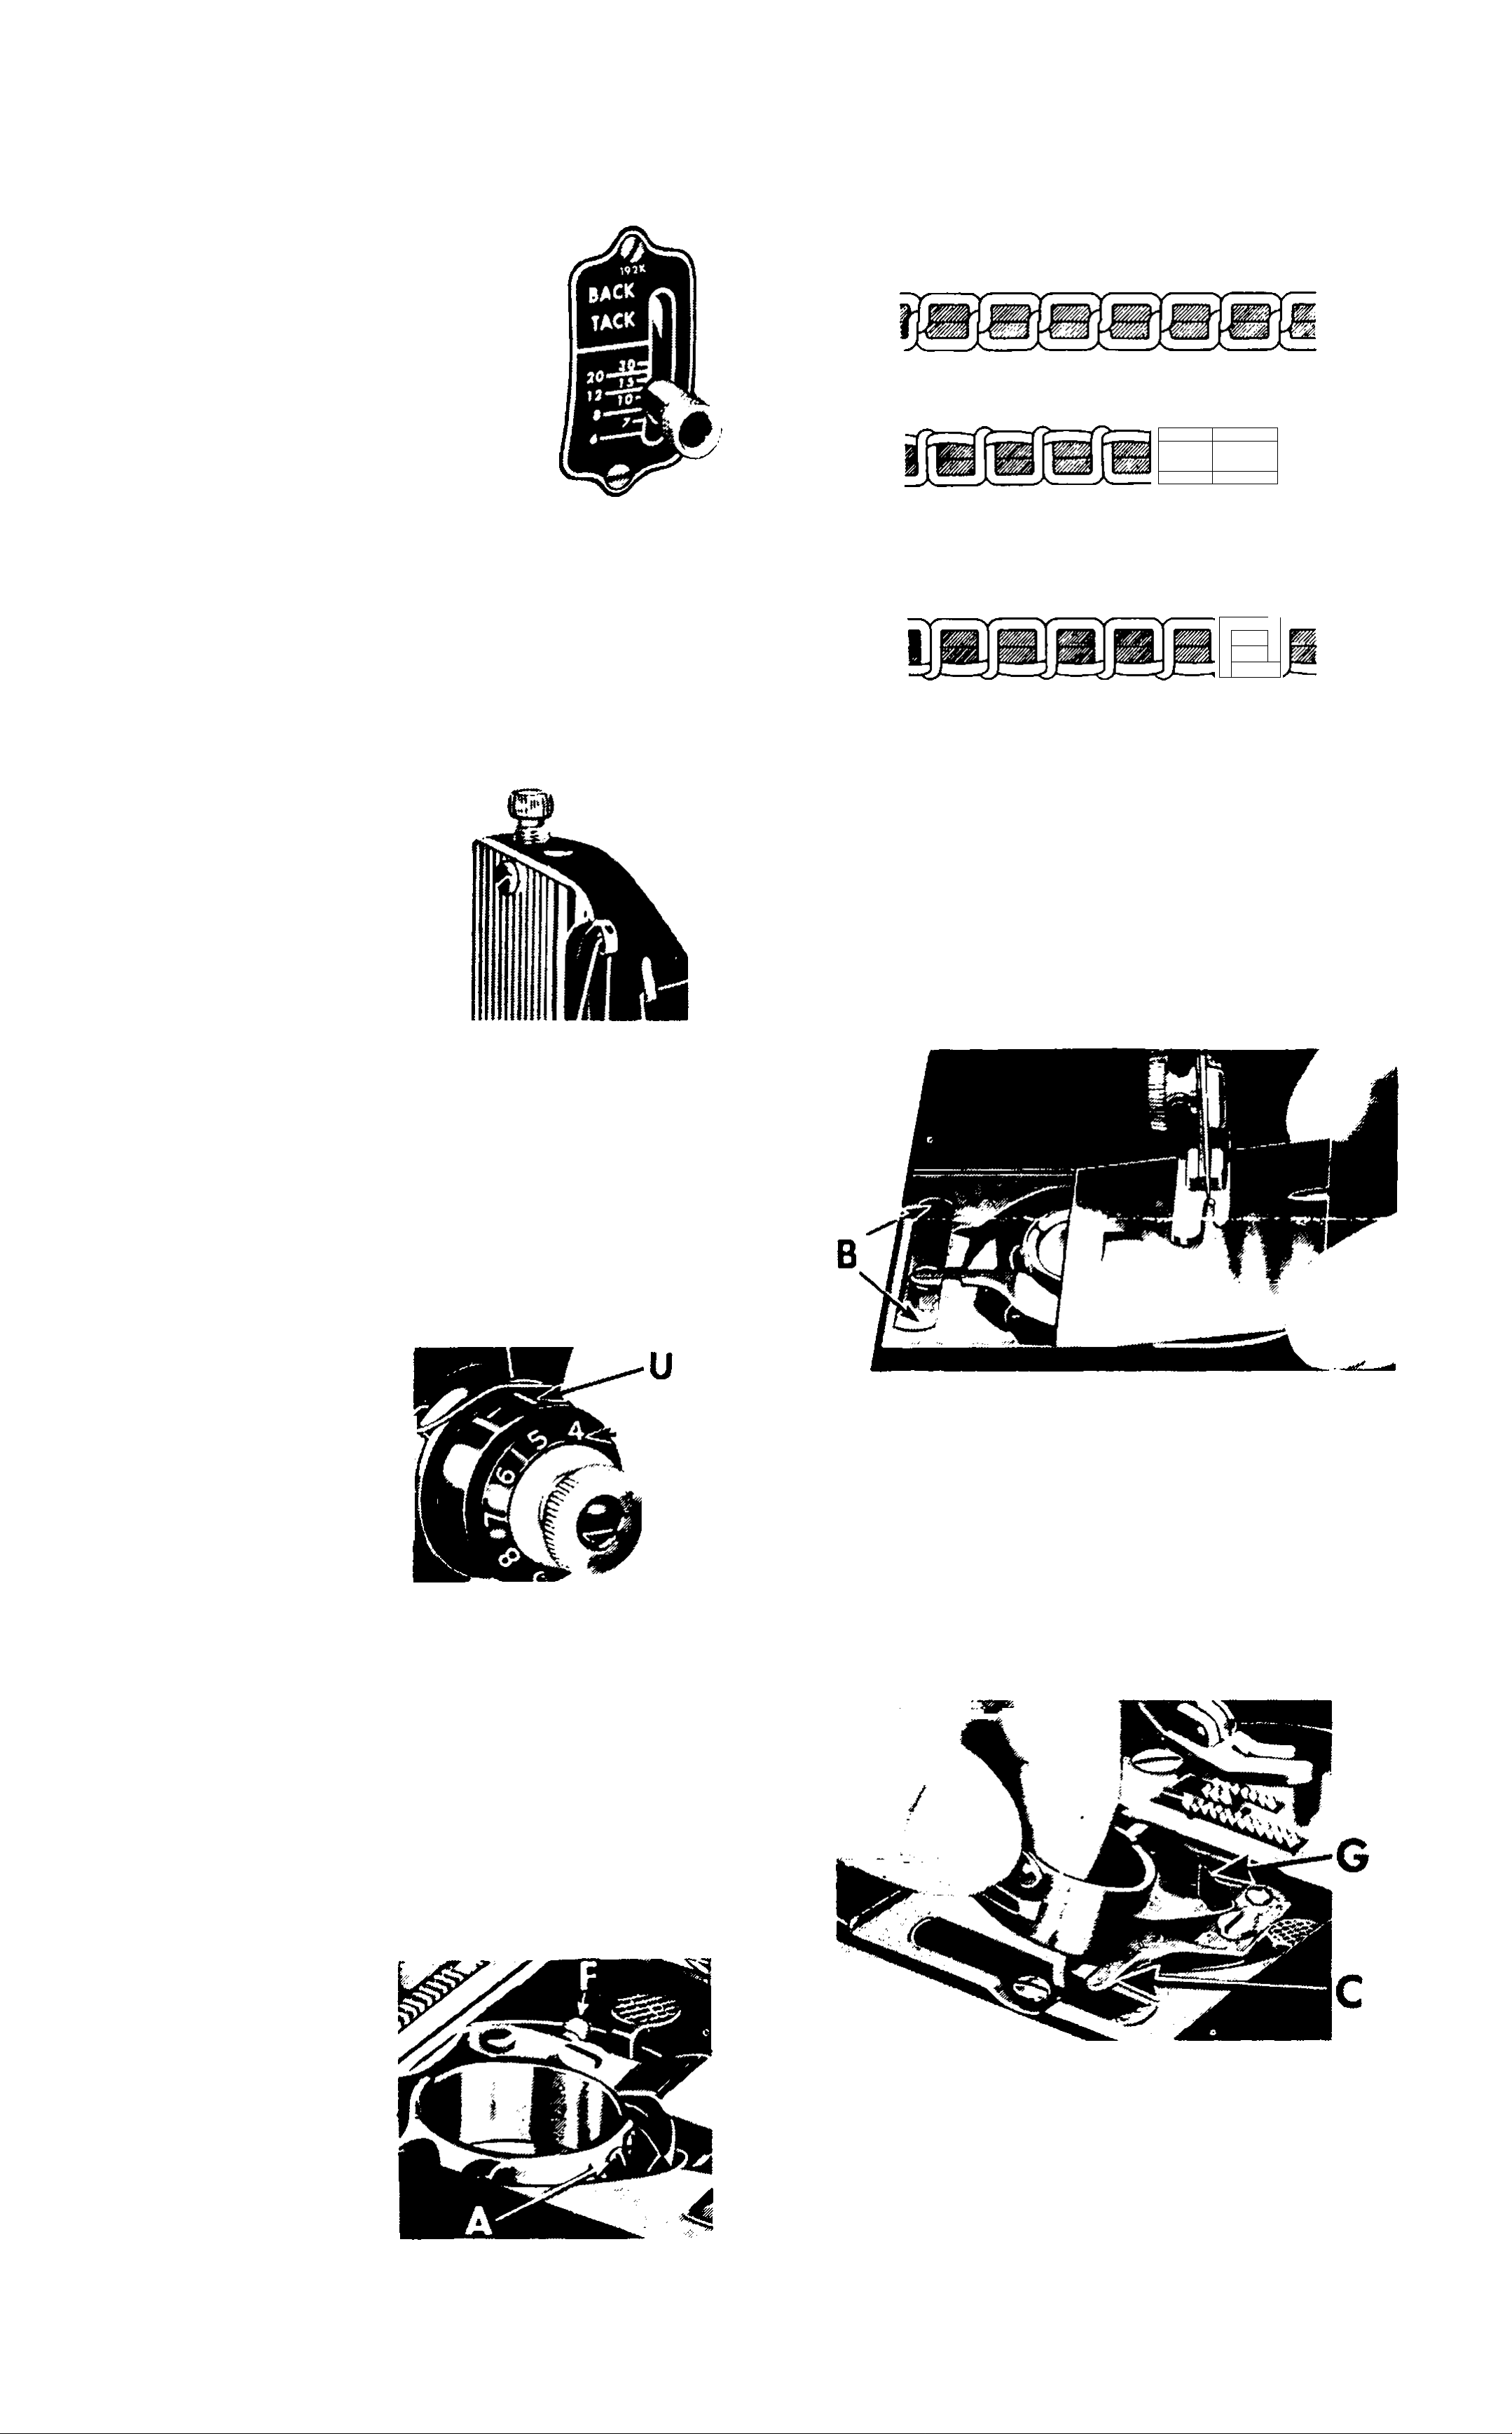
To Regulate Length of Stitch—
A perfectly formed stitch results
Numerals on the indicator
represent approximate
number of stitches per
inch.
• Turn thumb nut to left.
• Set lever at desired
stitch setting,
• Turn thumb nut to
right until it rests
against indicator
plate. F/g. W
To reinforce a seam, raise stitch
indicator lever to its highest posi
when both tensions are balanced so
that the needle and bobbin threads
are drawn equally into the fabric.
Fig. 14. Perfect Sr itching
^ -
"WT^
.
Fig. 15. Iwperject Stitching
Needle thread tension too tight or
Bobbin thread tension too loose.
tion. The machine will then stitch
in a reverse direction, making it
easy to ’*back tack”
To Regulate Pressure on Presser Foot—
• To decrease
pressure, turn
thumb screw
up.
• To increase pres
sure, turn
thumb screw
down.
F;g. II
'Mí
Fig. 16. bnperject Stitching
Bobbin thread tension too tight or
Needle thread tension too loose.
Care and Maintenance of Your
SPARTAN 192
When in regular use the machine
should be cleaned periodically.
To Remove and Replace Bobbin Case—
For ordinary sewing, pressure of
the presser foot on the material
seldom requires changing. Heavy
materials require more pressure
than light materials. Pressure
should be only heavy enough to
move the work along evenly.
To Regulate Needle Thread Tension —
Numerals on in
dicator V, Fig,
12, denote dif- \
__
y
ferent degrees of
Fig. 17. Slide Plate Removed
Raise needle and presser foot.
tension. When
tension has been f^W
correctly set,
note number at
line U so that
this setting may be regained should
the tension be altered for special
work.
• To increase tension, turn thumb
nut W to higher number.
• To decrease tension, turn thumb
nut w to lower number.
To Regulate Bobbin Thread Tension—
Draw slide plate to left.
Remove bobbin from case.
Lift edge of slide plate and draw
it to the right until it is dis
engaged from spring B.
Tension on
bobbin thread
is regulated by
screw A, Fig.
13, nearest cen
ter of tension
spring. Turn
screw A over
to right to in
crease tension;
turn screw to
left to decrease
tension.
Fig. n
Fig. 18. Removing Bobbin Case
Lift and move latch C to position
shown.
Grasp bobbin case as shown.
Tilt case to left and raise forked
end above bracket G.
Turn forked end toward you,
then lift out bobbin case.
Replace bobbin case with its fork straddling bracket G.
Twist case to the left, then gently press down and back until edge of
sewing hook engages groove under rim of bobbin case.
Return latch C to its original position.
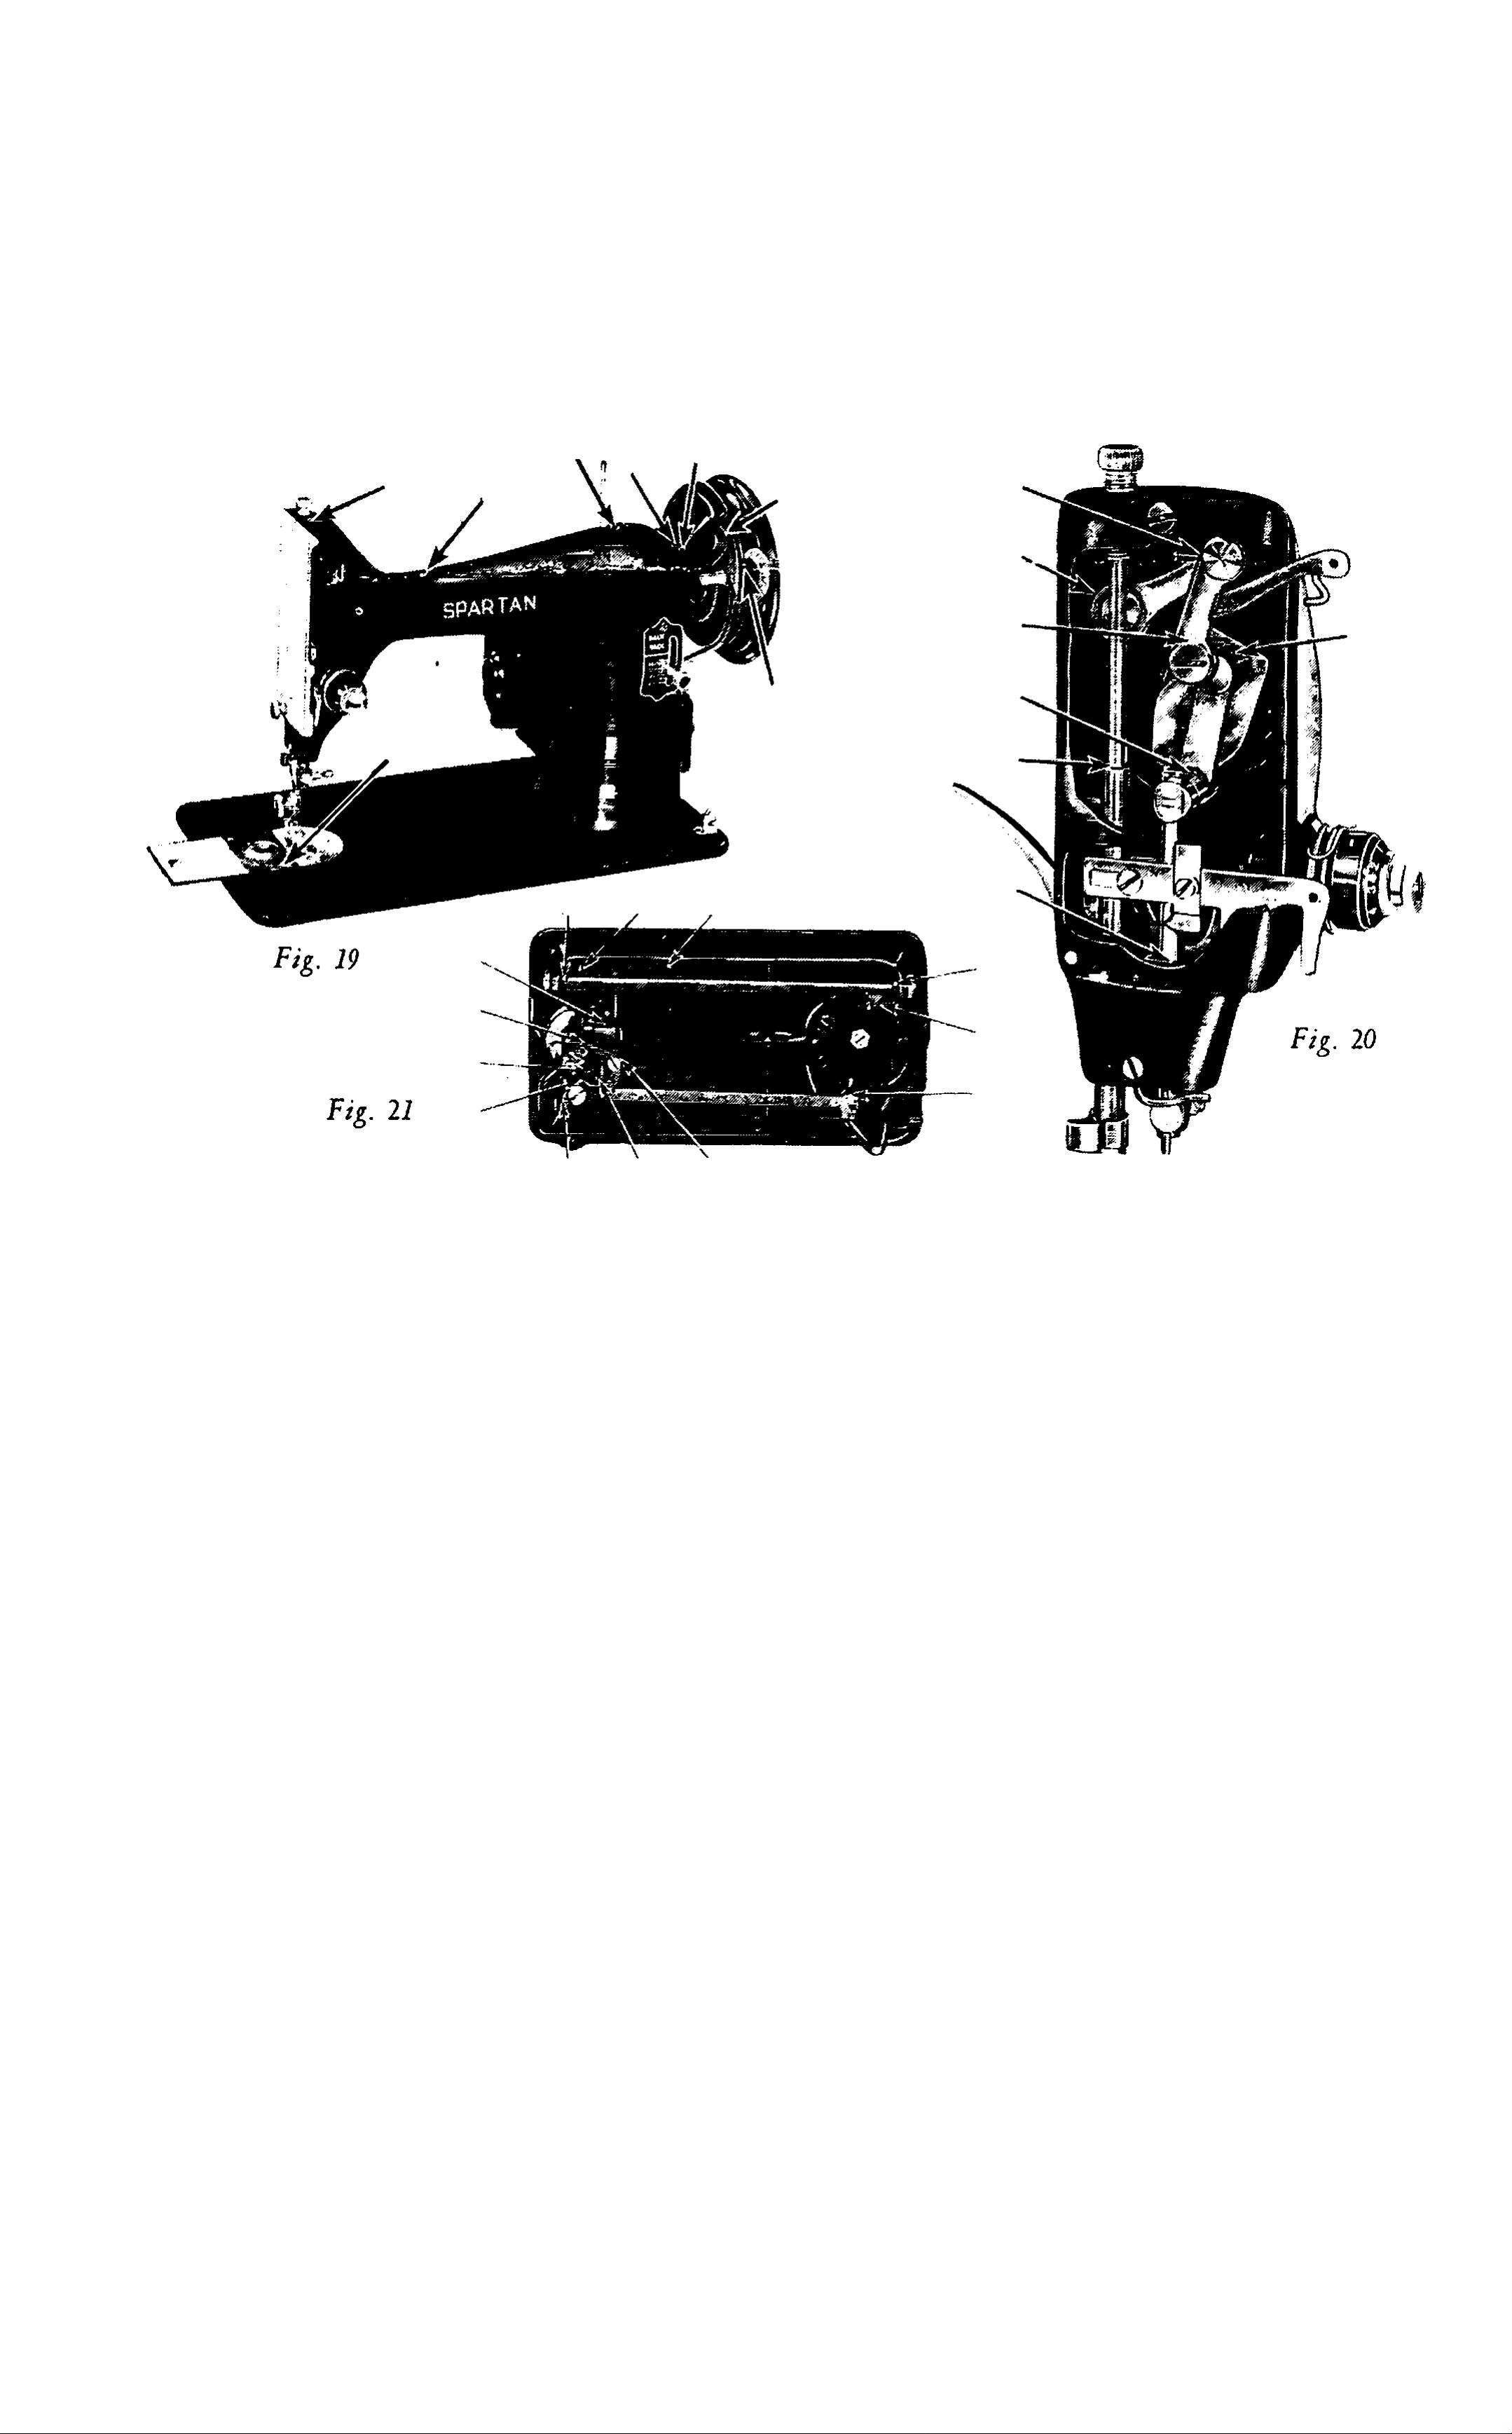
To Oil the Machine—
Apply a drop of oil to each of the places indicated in Figs. 19, 20 and 21.
Apply a few drops of oil to the felt pad F, Fig. 13.
After Cleaning—
- SPARTAN
We guarantee that each SPARTAN sewing machine, obtained
from the Singer Sewing Machine Company or one of its Approved
Dealers, is in good operating condition upon delivery to the original
purchaser.
Within a period of twelve months from original purchase, any part
delivered to a SINGER SEWING CENTER which upon examination
by us proves to have been defective in workmanship or material will
be repaired or replaced without charge.
In addition to the above guarantee of parts, free mechanical service
will be provided for a period of ninety days. Operating and mainten
ance instructions such as described in this Instruction Booklet are
available without charge only at the nearest SINGER SEWING
CENTER.
The original Sales Agreement or Cash Receipt must be presented
with this Certificate to obtain the benefit of the Guarantee.
Agreements outside of or contradictory to the foregoing shall be
void and of no effect,
SINGER SEWING MACHINE COMPANY
*A Trademark of THE SINGER MANUFACTURING CO.
Form K6349
(259)
 Loading...