

Page 1
FLASHLINK® ALL-IN-ONE
UNIVERSAL DIGITAL MEDIA CARD READER
QUICK START
Congratulations on purchasing the
FlashLink
SimpleTech
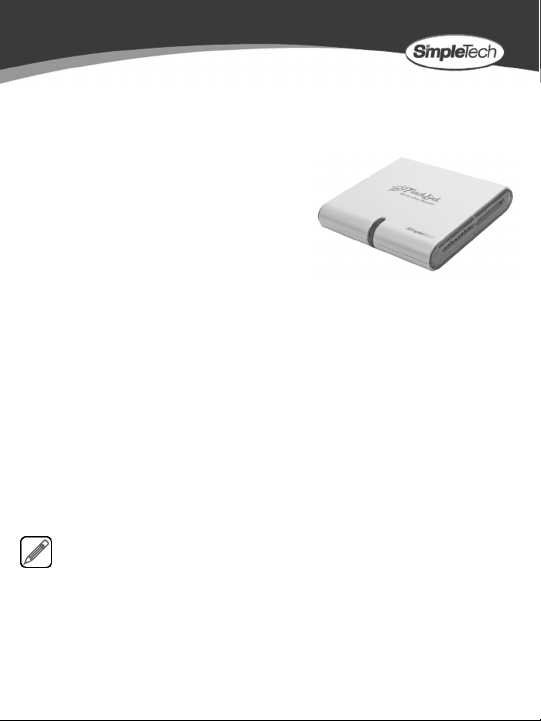
The FlashLink All-In-One digital media card
reader is ideal for transferring digital photos, MP3 music, MPEG movies, and other data
stored on digital media to your computer or other digital equipment. FlashLink supports
a wide variety of digital media cards—including CompactFlash
MultiMediaCard
FlashLink and you’re done.
®
All-In-One reader from
®
.
™ and Secure Digital. Simply insert your digital media card into
™, Memory Stick™,
What You Should Have
• FlashLink All-In-One digital media card reader
• USB 2.0 cable
• Quick Start guide (this guide)
If any item is missing or damaged, contact your local reseller or retailer for replacement.
This quick start guide includes instructions on connecting and using FlashLink with
®
Windows
and Apple® Macintosh® computers. You may also want to consult your
computer’s user manual to determine if there are any additional instructions related
to the installation and use of USB devices.
Page 2

SYSTEM REQUIREMENTS
Windows® Users
•Pentium®-class, 200MHz PC or compatible • iMac®, G3, G4, G5 and iBook
• 128MB RAM (or as required by system) • 64MB RAM (or as required by system)
• Windows 98SE, ME, 2000 and XP • Mac OS 9.0 and later
• Available USB 2.0/1.1 port • Available USB 2.0/1.1 port
Mac
®
Users
®
INSTALLATION REQUIREMENTS
No tools or special equipment are required to install FlashLink.
Windows ME, 2000 and XP
No drivers are required. Connect FlashLink into an available USB port and Windows will
install the files needed to use the reader.
SimpleTech provides a Windows XP driver that enables FlashLink to display a
descriptive name for the type of digital media installed in each card slot—for example,
“CompactFlash.” To download the driver, go to www.simpletech.com/support.
Double-click on the downloaded file and follow the on-screen instructions.
Windows 98SE
Go to www.simpletech.com/support and download the Windows 98 driver for FlashLink
to your local computer. To install the driver, double-click on the downloaded file and
follow the on-screen instructions. When installation completes, restart your computer.
Mac OS X
No drivers are required. Plug FlashLink into an available USB port and your computer
will automatically detect the drive.
Mac OS 9.0, 9.1 and 9.2
Go to www.simpletech.com/support and download the appropriate Mac OS 9 FlashLink
driver to your local computer. To install the driver, double-click on the downloaded file
and follow the on-screen instructions. When installation completes, restart your
computer.
For optimal performance, install the latest updates from Apple® on your computer.
Download the updates from www.apple.com or open the software update tool
located in the Mac OS X system preferences folder. On computers running
Mac OS 9, the software update tool is located in the control panel folder.
2
Page 3

VISUAL TOUR
Front
Activity Indicator
Illuminates to indicate data transfer between
FlashLink and connected device.
Back
Memory Stick™ (MS) Card Slot
Supports MS, MS MagicGate, MS Select, MS Duo,
MS Duo MagicGate, MS Pro, MS Pro MagicGate,
MS PRO Duo, MS PRO Duo MagicGate digital
media cards.
Secure Digital™ (SD) / MultiMediaCard™ (MM C)
Card Slot
Supports SD, miniSD (w/adapter), MMC,
MMC Plus, MMC mobile (w/adapter),
RS-MMC (w/adapter), and TransFlash (w/adapter)
digital media cards.
CompactFlash™ (CF) Slot
Supports CF Type I, CF Type II, Magicstor,
CF Ultra II, CF Extreme III and MicroDrive™ digital
media cards.
Mini-A USB Socket
Connects FlashLink
to computer or device.
3
Page 4

CONNECTING FLASHLINK
If you are running Windows 98SE or want to take advantage of the enhanced
functionality available in the Windows XP driver, make sure to install the
driver before connecting FlashLink to your computer.
SimpleTech recommends that you avoid using the USB port on Macintosh
computer keyboards. This port may not have enough power to adequately
support the USB 2.0 interface.
Plug the Mini-B connector on the USB cable into the back of FlashLink. Plug the other
end of the cable into the USB port on your computer.
INSERTING DIGITAL MEDIA CARDS INTO FLASHLINK
1 Connect FlashLink to your computer, then turn on the computer.
2 After the computer completes booting up, insert the digital media card in the card slot
for that card type.
The illustration below shows the proper orientation for inserting digital media cards into
FlashLink. As shown, always insert the card with the logo facing up.
Use caution when inserting digital media cards into FlashLink. Each card is keyed
so that it will only fit into the card slot in one direction. To avoid damaging Fl ashLink
or digital media card, do not bend or attempt to force the card into the card slot.
.
CompactFlash
Memory Stick
Secure Digital
4
 Loading...