

Page 1

SIERRA RADIANT HEAT
MAJESTIC OAK VENTED
GAS LOG KIT
INSTALLATION AND OPERATING INSTRUCTIONS
WARNING: If the information in this manual is not followed exactly, a fire or
explosion may result causing property damage, personal injury, or loss of life.
- Do not store gasoline or other flammable vapors and liquids in the
vicinity of this or any other appliance.
- WHAT TO DO IF YOU SMELL GAS
C Do not try to light any appliance.
C Do not touch any electrical switch; do not use any phone
in your building.
C Immediately call your gas supplier from a neighbor’s phone.
Follow the gas supplier’s instructions.
C If you cannot reach your gas supplier, call the fire department.
- Installation and service must be performed by a qualified installer,
service agency, or the gas supplier.
- This manual covers the use and installation of all Sierra Radiant log sets for use with natural gas in all sizes.
WARNING: Improper installation, adjustment, alteration, service or maintenance can cause
injury or property damage. Refer to this manual. For assistance or additional information
consult a qualified installer; service agency or the gas supplier.
This appliance is only for use with the natural gas or as indicated on rating plate. This
appliance may not be field converted unless a LP Safety Pilot Kit is installed for use with
other gases.
This appliance may be installed in an aftermarket, permanently located, manufactured
(mobile) home, where not prohibited by local codes.
Save this manual for future reference.
Page 2
GENERAL INFORMATION
Thank you for choosing a SIERRA RADIANT HEAT GAS
LOG manufactured by Sierra Products, Inc. Please read
the following installation guide before attempting to install
your appliance.
Installation and repair should be done by a qualified
service technician. The appliance should be inspected
before use and at least annually by a professional service
person. More frequent cleaning may be required due to
excessive lint from carpeting, bedding material, etc. It is
imperative that control compartments, burners and
circulating air passageways of the appliance be kept
clean.
inspect the appliance and to replace any part of the
control system and any gas control which has been
underwater.
Any safety screen or guard removed for servicing this
appliance must be replaced prior to operating the logs.
Keep the appliance area clear and free from combustible
materials, gasoline and other flammable vapors and
liquids. Never leave small children unattended near an
operating appliance.
NOTE - IF THE FIREPLACE IS EQUIPPED WITH
GLASS DOORS, THE DOORS MUST BE FULLY OPEN
WHEN OPERATING THE LOG SET.
INSTALL THIS APPLIANCE ONLY IN A SOLID-FUEL
BURNING FIREPLACE WITH A WORKING FLUE AND
CONSTRUCTED OF NONCOMBUSTIBLE MATERIAL.
All models are to be used with NATURAL GAS ONLY.
For LPG installations a LPG Safety Pilot Kit P/N 10868
must be installed per manufacturers instructions.
Solid fuels MUST NOT be burnt in a fireplace where a
decorative appliance is installed.
Installation and provisions for combustion and ventilation
air must conform with the National Fuel Gas Code, ANSI
Z223.1.
The installation of gas appliances vary with the locality.
Please check local building codes prior to installation to
insure conformance with these codes.
Provide adequate clearances around air openings into the
fireplace hearth and adequate accessibility clearance for
servicing and proper operation. Never obstruct the front
opening of the fireplace.
CAUTION - This log set is to be used only in a fully
vented solid fuel burning fireplace. The fireplace should
be in full operational order prior to installation of gas log
set. Before installing gas logs, fireplace must be
checked for proper draw, otherwise gas logs will not
operate properly and cause an unsafe condition. If
proper draw is not present, inspection of the fireplace flue
venting system and/or termination will be required. If
fireplace does not have proper venting, there will be soot
accumulation on the log set and around fireplace
surround. This may cause soot to accumulate on walls
and furniture near the fireplace. Sooting is caused by
improper placement of logs or burner which, in turn, will
produce excessive carbon monoxide.
NOTE: Some sooting is normal, occasionally a carbon
soot coating may accumulate on some areas of the logs.
Check log placement, logs should not `trap' the flame
beneath the logs. Sooting may be removed by brushing
the logs with a soft bristle brush.
WARNING: Prolonged exposure to excessive
amounts of Carbon Monoxide can be extremely
hazardous to your health, and may cause loss of life.
Do not use this appliance if any part has been under
water. Immediately call a qualified service technician to
INSTALLATION INSTRUCTIONS
This appliance may be installed in an
aftermarket, permanently located,
manufactured (mobile) home, where not
prohibited by local codes.
Tools Required :
# Pipe Wrench
# Adjustable Open End
Wrench
# Pipe Sealer
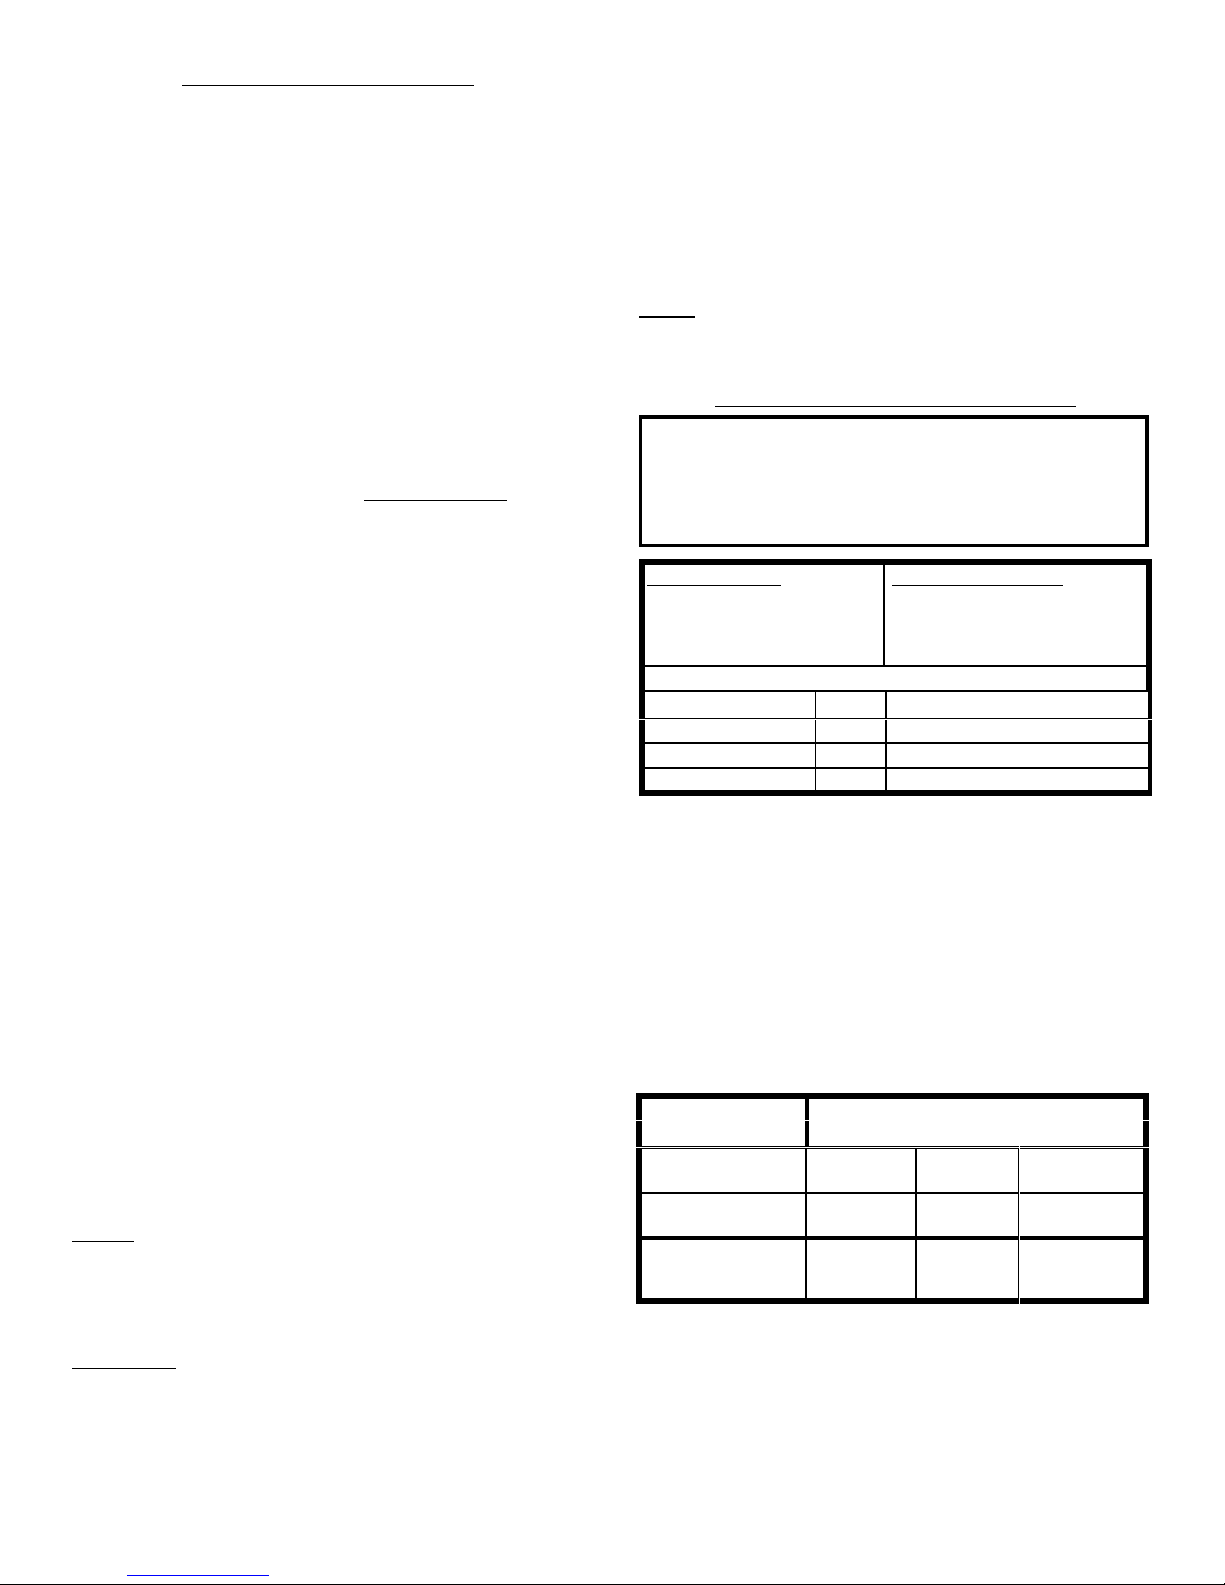
All sets come with four (4) Base Logs and Top Logs as follows:
Model Qty Total Logs Qty
18 4 8
24 6 10
30 8 12
CAUTION - MAKE SURE ALL GAS TO SUPPLY LINE
IN FIREPLACE IS SHUT OFF BEFORE PROCEEDING.
The fireplace must have a minimum inside height of 16
inches and a depth and width as shown in the chart
below. All installations have a minimum flue inside
diameter of 8 inches and a minimum height of 8 feet for
entire venting system. The chimney height must be at
least 6 ft.
The minimum size of the fireplace in which the log set
may be installed must be as follows:
MODEL NUMBERS
FIREPLACE MIN.
WIDTH
FIREPLACE MIN.
DEPTH
MIN. PERMANENT
DAMPER OPENING
31.2 sq.in/
8ft. vent heig
DAMPER STOP INSTALLATION
A minimum permanent free opening must be maintained
by either the fireplace chimney or chimney damper to vent
the flue gas (see chart ).
Included in your set :
# Bi-Flo Burner Pan Assembly
# Gas Connection Kit
# Burner Granules, Crushed
Lava Rock & Ember Material
SO, MP, MO
-18 -24 -30
30" 36" 42"
14" 14" 14"
45.5 sq.in/ 8ft.
ht
vent height
52.4 sq.in/ 8ft.
vent height
Ver 04/26/16 2 P/N 140032R3
Page 3

The damper stop is provided so that when properly
installed, the chimney damper maintains the minimum
permanent vent opening at all times.
Install damper stop by positioning it over the edge of the
damper blade and tightening the attachment bolt (Fig. 2).
Figure 3
4. After gas line connection is complete, turn on gas
supply and check connections for leaks. This is done
by brushing or spraying each fitting from incoming gas
line to log set with a solution of 50% soap and 50%
water. If bubbles appear, further tightening will be
required.
Figure 2
A manual shut-off valve must be included within (6')
six feet of the appliance's gas supply system. This shut-
off valve is not supplied with the appliance. It may be
preferable and more convenient to install the type of shutoff valve that can be accessed through a wall with a key
(check local building codes).
1. Remove all ashes or other debris from fireplace. If your
fireplace is equipped with an ash dump, the door must
be sealed with high temperature silicone or furnace
cement.
2. Run a ½" NPT black iron gas line through fireplace and
into hearth area, allowing only enough stem to install
the elbow fitting. Prepare incoming black iron gas line
with Teflon tape or pipe joint compound (check with
local codes as to the use of Teflon tape).
A provision must be made for a 1/4" NPT plugged
tapping for a test gauge connection immediately
upstream of the gas supply connection to the
appliance.
3. Position burner base in the center of the fireplace
hearth. Apply pipe thread sealant on the opposite end
of the burner pan gas supply inlet side and install the
d" pipe plug. Tighten securely. Apply thread sealant on
the incoming gas line and install the d" orifice fitting
tightly. Attach the Black SS gas connector to the orifice
fitting (check local codes), be careful not to kink tubing
when hand forming to fit between burner pan and
incoming gas line (Figure 3). Install a gas fitting to the
incoming gas pipe (not provided in kit as piping
systems vary). Connect the gas connector and tighten
nuts.
Multiple tight bends of the gas connector may cause
a whistling noise through the burner. Adjust
connector as required!
CAUTION! NEVER CHECK FOR LEAKING GAS
CONNECTIONS WITH AN OPEN FLAME.
5. Cover the front and rear sections of the burner pan with
the burner granules provided (Fig. 4). Allow the
granules to spill out the front of the burner. The
granules disperses the gas flow and works with the
burner design to create an optimum gas burning
pattern.
Figure 4
6. Place small pieces
of the ember
material on top of
the burner. (Fig. 5).
The ember materials
glow when the gas
burns providing a
realistic wood fire
effect.
Ver 04/26/16 3 P/N 140032R3
Figure 5
Page 4

7. Cover the
burner and
after placing a
liberal amount
of fiber
`embers' over
the burner
surface
sprinkle any
remaining
granules over
the ember bed
(Figure 6).
8. (optional) If desired, you may paint the supply line,
connector, and fittings with a heat resistant flat black
stove paint in order to hide those components from
view and create a better looking installation.
9. Position grate so that the center of the grate is directly
over the back edge of the burner pan. Position the
smaller base log to the rear and the longer base log to
the front of the grate allowing maximum space between
them (Figure 7). Top logs can be arranged in any order
as long as they are as far apart from each other as
possible to achieve minimal flame interference.
Figure 6
OPERATING YOUR NEW APPLIANCE
When the appliance is being operated for the first time,
allow for a supervised burn of 30 minutes. Then shut the
appliance off and let it cool completely before relighting.
This allows the ceramic logs to cure properly.
MAINTENANCE
It is recommended that a competent serviceman perform
the following procedures at least annually;
IT IS IMPORTANT TO KEEP APPLIANCE AREA CLEAR
AND FREE FROM COMBUSTIBLE MATERIALS,
GASOLINE AND OTHER FLAMMABLE VAPORS AND
LIQUIDS.
At the beginning of each heating season, have a qualified
technician inspect the venting/flue system and termination
for any obstructions and also proper draw. The burner
and pilot burner area should also be checked for dust or
carbon build-up. This may be removed from burner or
logs with a soft bristle brush. A visual inspection of the
pilot burner and main burner flame should be performed
to verify proper operation, refer to figure 5 for proper
adjustment. Care should be taken when cleaning and
handling logs since they become brittle with use. Small
heat cracks in the logs do not affect the operation of the
log set.
Figure 7
The gas log must be operated with a fireplace screen
in place. The screen must have sufficient holes to
allow for combustion air.
IF THE FIREPLACE IS EQUIPPED WITH GLASS
DOORS, THE DOORS MUST BE FULLY OPEN WHEN
OPERATING THE LOG SET.
CUSTOMER SERVICE &
PARTS REPLACEMENT
Parts and accessories may be purchased from your local
dealer or directly from Sierra Products, Inc. Orders will be
accepted Monday through Friday from 8:00 a.m. to 4:00
p.m. (Pacific Standard Time) at: (775) 241-2586 or order
parts online www.sierraproductsinc.net.
TROUBLE SHOOTING
If main burner will not light:
1) Verify gas supply is turned "ON".
2) Verify all air is bled from system.
3) Verify you have followed the safety and operating
instructions.
4) Call a qualified repair person to inspect the appliance
NOTE: SIERRA RADIANT GAS LOGS REQUIRE A
BREAK-IN PERIOD. BURN THE LOG SET FOR ABOUT
30 MINUTES, THEN LET IT COOL COMPLETELY
BEFORE RELIGHTING.
CAUTION : LOGS GET VERY HOT AND SHOULD BE
HANDLED ONLY WHEN COOL TO AVOID INJURY
Ver 04/26/16 4 P/N 140032R3
Page 5

OPERATING INSTRUCTIONS
FOR YOUR SAFETY READ BEFORE LIGHTING
WARNING: If you do not follow these instructions exactly, a fire or explosion may result causing property
damage, personal injury or loss of life.
A. This appliance has a burner which must be lighted by hand. When lighting burner follow these instructions exactly.
B. BEFORE LIGHTING smell all around the appliance area for gas. Be sure to smell next to the floor because some gas
is heavier than air and will settle on the floor.
WHAT TO DO IF YOU SMELL GAS;
M Do not try to light any appliance.
M Do not touch any electric switch; do not use any phone in your building.
M Immediately call your gas supplier from a neighbor's phone. Follow the gas supplier's instructions.
M If you cannot reach your gas supplier, call the fire department.
C. Do not use this appliance if any part has been under water. Immediately call a qualified service technician to inspect
the appliance and to replace any part of the control system and any gas control which has been underwater.
LIGHTING INSTRUCTIONS
1. STOP! Read the safety information above before proceeding.
2. Wait five (5) minutes to clear out any gas. If you then smell gas, STOP! Follow "B" in the safety information above. If
you don't smell gas, go to next step.
3. Check to make sure that the damper is in the open position and that the damper stop is properly installed before
attempting to light the gas log set. Place a lit match on the ember material closest to the gas supply line. Slowly turn on
the gas. If the gas does not light in ten (10) seconds, turn the gas off and wait about one (1) minute before trying again.
TO TURN OFF APPLIANCE
1. Turn the gas supply off. The flame may continue to burn a minute or two, this is normal due to excess gas trapped
within the sand and burner pan which will burn away.
63 Laxalt Dr. Carson City, NV 89706 775-241-2586
Ver 04/26/16 5 P/N 140032R3
www.sierraproductsinc.net
 Loading...