

Page 1
Surgery Products
SP
Update Instructions
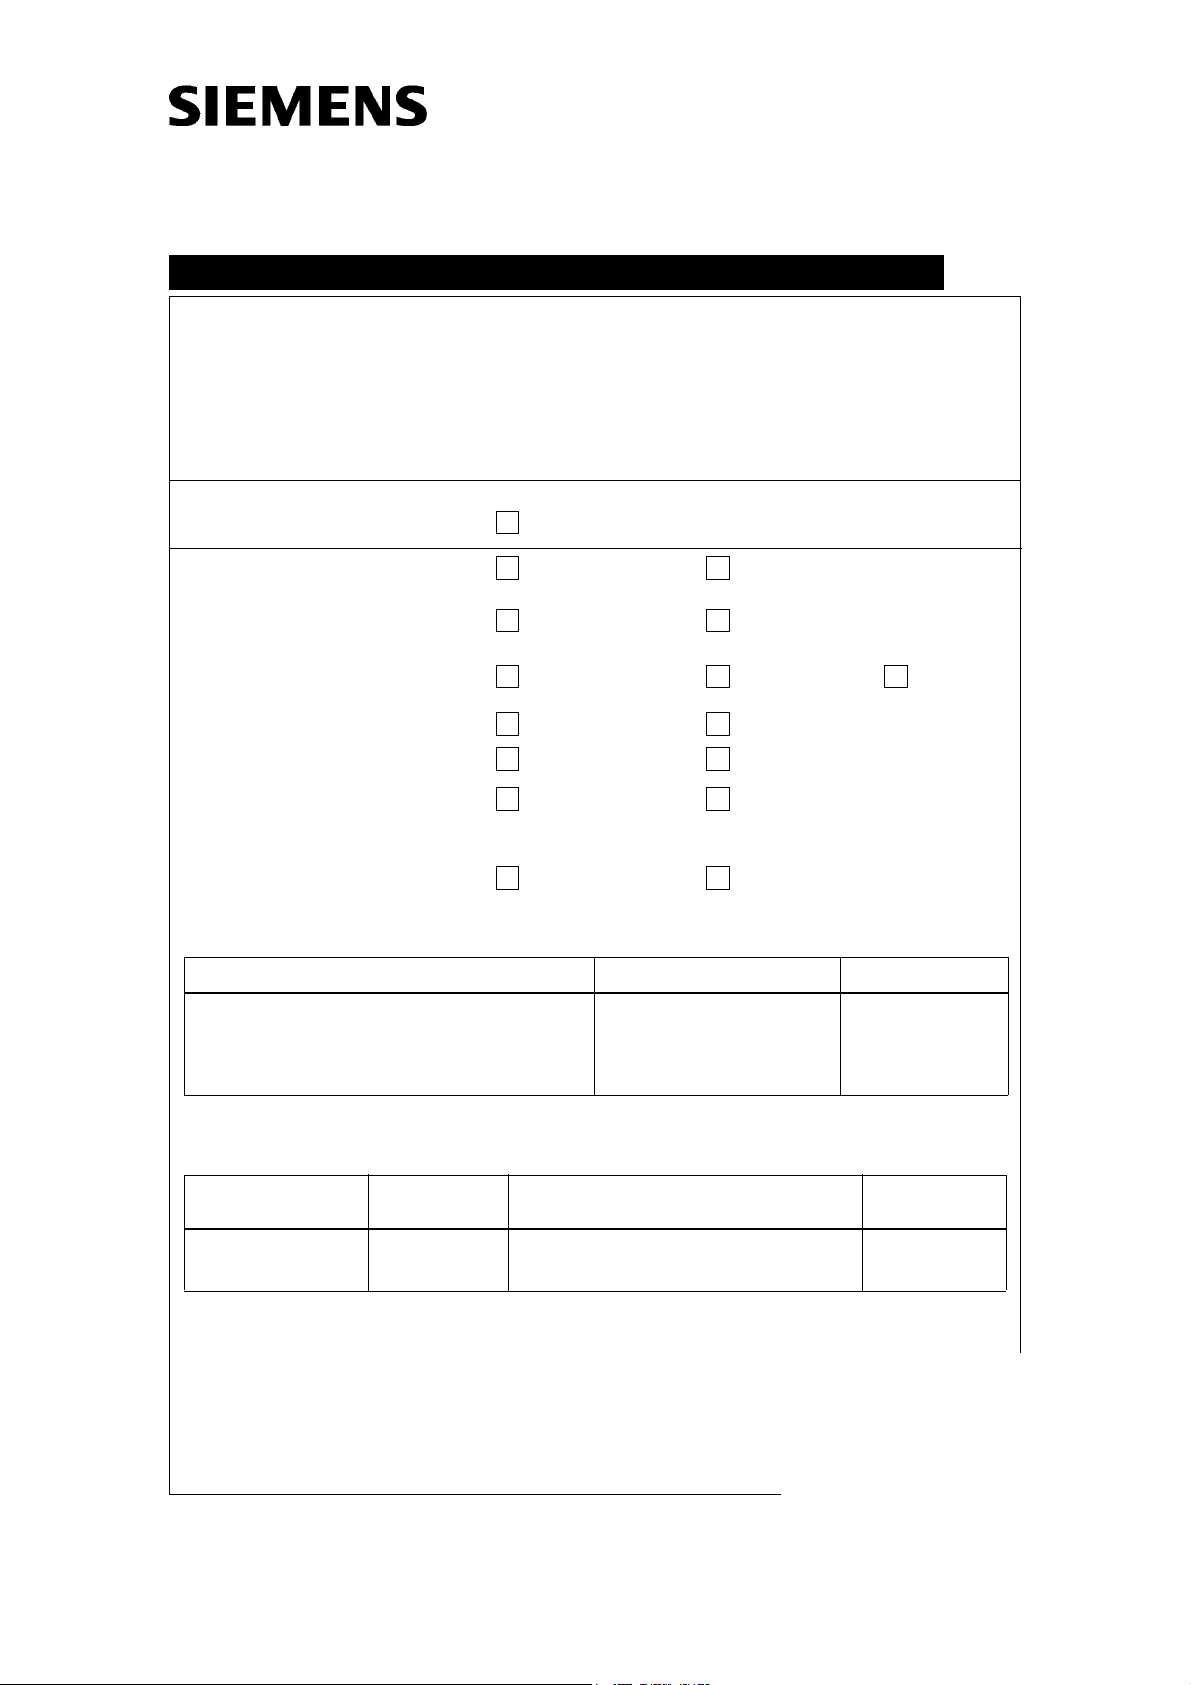
Title:
Reason for update: Safety
Urgency: Immediate Within 3 months
Materials for classic update
handling required?
Remote update handling
feasible?
File download available?
Materials free of charge? Ye s No
Return of parts? Ye s No
Estimated completion time: 1/2 hour Number of CSE’s: 1
Customer application training? Ye s No
Systems/Products affected / System identifying IVK
Fixation of the laser diode output windows
X
X
Ye s No
Yes without CSE Yes, with CSE No
Ye s No
X
SP022/05/S
X
X
X
X
X
Name Material No. Serial No.
ARCOSKOP, POWERMOBIL,
SIREMOBIL Compact, , SIREMOBI Compact L,
SIREMOBIL Iso-C,
ARCADIS Varic, ARCADIS Orbic
Components affected / to be modified / IVK
Name Material No. Serial No. Component
Laser light localizer 30 99 988 *2000 to *2521, *2523 to *2530, *2535,
*2539, *2541 to *2544, *2551
Remark:
Chg. Ref. No.: 146002
Name: Arnold
Dept.: CS PS 24
Print No.: SP00-000.896.05.01.02 Doc. Gen. Date: 07.05
Replaces: n.a. Version 3.0; October 01, 2004 Page 1 of 12
4774019, 2830011,
3776494, 3780629,
2829450,
8080017, 8081080
All systems
equipped
with
Laser light localizer
status affected
n.a.
© Siemens AG 2005
The reproduction, transmission or use
of this document or its contents is not
permitted without express written
authority. Offenders will be liable for
damages. All rights, including rights
created by patent grant or registration
of a utility model _or_ design,_are_
reserved.
Page 2

2 Update Instructions SP022/05/S
Document Revision Level
This document corresponds to the version/revision level effective at the time of system
delivery. Revisions to hardcopy documentation are not automatically distributed.
Please contact your local Siemens office to order current revision levels.
Disclaimer
The installation and service of equipment described herein is to be performed by qualified
personnel who are employed by Siemens or one of its affiliates or who are otherwise
authorized by Siemens or one of its affiliates to provide such service.
Assemblers and other persons who are not employed by or otherwise directly affiliated
with or authorized by Siemens or one of its affiliates are directed to contact one of the
local offices of Siemens or one of its affiliates before attempting installation or service pro
cedures.
Components affected 0
Laser light localizer 30 99 988 from Serial No.
*2000 to *2521, *2523 to *2530, *2535, *2539, *2541 to *2544, *2551.
-
Comments: The asterisk * is used as placeholder for the letter S or the number 0.
Systems / Products affected 0
The Laser light localizer was / is available for the following systems:
ARCOSKOP Part No. : 4774019 Serial No.: n.a.
SIREMOBIL Compact Part No. : 3776494 Serial No.: n.a.
SIREMOBIL Compact L Part No. : 3780629 Serial No.: n.a.
SIREMOBIL Iso-C Part No. : 2829450 Serial No.: n.a.
POWERMOBIL Part No. : 2830011 Serial No.: n.a.
ARCADIS Varic Part No. : 8080017 Serial No.: n.a.
ARCADIS Orbic Part No. : 8081080 Serial No.: n.a.
Reason for the Update 0
The screws fixing the laser diode output windows can become loose.
Special Tools / Documents 0
• Standard tool kit
• 1 set of Allen keys
• Thread locker LOCTITE 243, Part No. 55 07 038
• or similar (medium strength, can be released)
• System binder of the product concerned.
Surgery Products SP00-000.896.05 Page 2 of 12 Siemens AG
Rev. 01 07.05 CS PS 24 Medical Solutions
Page 3
Update Instructions SP022/05/S 3
Ordering Information 0
The following update kit has to be ordered from CSML (SAP Distribution Channel, factory
2050) or BU Logistics (factory BU) (only with an order via BU Logistics):
Laser light localizer update kit Material no. 71 41 117
Contents of the Update Kit 0
Update kit 71 41 117 contains the following parts:
Pos. Quan. Material No. Name
1 8 n.a. Allen screws 1.6 mm x 6 mm
2 1 n.a. Allen key 1.6 mm
3 1 SP00-000.896.05.01.02 Update instructions
Tab. 1
Return of Parts 0
n.a.
Safety Informations 0
WAR NING
WAR NING
Danger of possibly fatal physical injury and property damage!
Observe
- the product-specific safety information in the
service instruction of the system concerned,
- the general safety information in instructions
TD00-000.860.01... and
- the general safety information according to ARTD Part 2.
Noncompliance can lead to death, physical injury or property
damage.
Danger of infection with pathogens!
Noncompliance can lead to death or physical injury.
Since the system concerned has been approved for use in
operating rooms, it may be contaminated with infectious blood or
other excreta.
Avoid any skin contact with blood or other excreta!
The preventive measures against infectious diseases specified in
ARTD-002.731.37... must be strictly observed at all times!
Siemens AG SP00-000.896.05 Page 3 of 12 Surgery Products
Medical Solutions Rev. 01 07.05 CS PS 24
Page 4

4 Update Instructions SP022/05/S
Prerequisites 0
Before starting the work steps, check laser light localizer for mechanical damages. 0
• Check the On / Off switches. Both switches must activate / deactivate the laser beams.
• After switching on, both laser beams must be visible.
• The laser beams must be switched off automatically after approx. 1 minute.
• Install the laser light localizer on the I.I. of the system. With the knurled screws on the
laser diode housings, the laser beams must be adjustable to the geometrical center of
the SIREPHOS (red Focus spot) / POWERPHOS (center of the plexiglass window).
If the laser light localizer is damaged or defect, inform the customer.
NOTE
Perform the work steps, described on the next pages also, if the
laser light localizer is defective and must be repaired or changed!
Surgery Products SP00-000.896.05 Page 4 of 12 Siemens AG
Rev. 01 07.05 CS PS 24 Medical Solutions
Page 5

Update Instructions SP022/05/S 5
Work steps 0
Fig. 1 Laser light localizer 30 99 988 Top view Fig. 2 Laser light localizer Front view
Fig. 1 and Fig. 2 show the laser light localizer.
Fig. 3 Laser light localizer Output window Fig. 4 Laser light localizer Output window Individual parts
Cleaning the Output windows 0
• Loosen the 4 Allen screws of the laser diode output window (Fig. 3).
The output window includes the metal holder 1 / Fig. 4, the washer 2 / Fig. 4 and the
prism 3 / Fig. 4.
• Carefully take out the prism (3 / Fig. 4) and the washer (2 / Fig. 4) from the metal holder
(1 / Fig. 4).
• Carefully clean the metal holder, the washer and the prism under warm water and - if
available with household cleaning agent (dishwashing liquid). Don’t use cleaning
agents containing abrasives.
• Clean the knurl (outer ring) of the prism.
Siemens AG SP00-000.896.05 Page 5 of 12 Surgery Products
Medical Solutions Rev. 01 07.05 CS PS 24
Page 6

6 Update Instructions SP022/05/S
• Carefully dry the prism, washer and metal holder using a dust free towel.
Fig. 5 Laser light localizer Holder with inserted washer Fig. 6 Laser light localizer Holder complete
• Carefully insert the washer in the metal holder (Fig. 5).
• Carefully insert the prism into the metal holder (Fig. 6).
• Take care that the groove (1 / Fig 6) in the metal ring of the prism is visible and in the
position shown.
NOTE
First check that the prism can be rotated with normal force before applying the thread locker to the screws.
• Temporarily fasten the output window (metal holder with washer and prism) at the laser
diode.
• Check that the prism can be rotated with normal force.
NOTE
If the prism sticks and cannot be rotated, remove the output window again, remove the prism and washer and check that the parts
are clean.
The washer is slightly bent. Lay it on a table and press it flat using
an Allen key.
Carefully insert the washer and prism in the holder.
Take care that the groove is visible and in the position 1 / Fig. 6.
Fasten the output window again and check that the prism can be
rotated with normal force.
Surgery Products SP00-000.896.05 Page 6 of 12 Siemens AG
Rev. 01 07.05 CS PS 24 Medical Solutions
Page 7

Update Instructions SP022/05/S 7
Fig. 7 Laser light localizer Applying thread locker
Securing the fixing screws of the output windows 0
• Remove the screws from the output window again.
• Apply the thread locker, type Loctite 243, to the thread (1 / Fig. 7).
The thread locker should be applied in the place between the lines, as shown in Fig. 7.
NOTE
The metal ring of the prism 3 / Fig. 4 should not come in contact
with the thread locker to prevent it from sticking to the metal
holder 1 / Fig. 4.
Final Check 0
Check all other screws that these are present and tightened.
Check the function of the laser light localizer.
Customer Information 0
NOTE
• If the laser light localizer could not be updated, inform the customer
that the 8 screws fixing the output windows of the laser diodes (see Fig. 3)
need to be secured using a thread locker to prevent them from loosening and falling off.
Only necessary if the laser light localizer could not be updated for
any reason.
• Fill out the form sheet (page 9).
Send it to the address printed on the rear side of the form sheet (page 10).
• Insert these update instructions into the system binder / Log book.
Siemens AG SP00-000.896.05 Page 7 of 12 Surgery Products
Medical Solutions Rev. 01 07.05 CS PS 24
Page 8

8 Update Instructions SP022/05/S
Final Work Steps 0
• Updates that have already been completed prior to publication of this SI must also be
reported.
• The update is reported as follows:
The modification reply report has to be prepared by authorized personnel using
an application on the Intranet.)
Changes to Previous Version 0
n.a.
Surgery Products SP00-000.896.05 Page 8 of 12 Siemens AG
Rev. 01 07.05 CS PS 24 Medical Solutions
Page 9

Update Instructions SP022/05/S 9
Confirmation Letter 0
Complete and send this confirmation letter to the specified address (see page 10),
only if the laser light localizer 30 99 988 concerned could not be updated.
(mark the accordingly check boxes).
Material: Laser Light Localizer Material number: 30 99 988
Serial number: ................................
Customer: ................................ Functional Location: ................................
Customer No.: ................................
The Update instructions SP022/05/S could not be performed.
Reason (short description):_______________________________________________
____________________________________________________________________
___________________________________________________________________
The Customer was informed that the Laser light localizer needs to be updated.
The 8 screws fixing the output windows of the laser diodes (see Fig. 3 of this UI)
need to be secured using a thread locker to prevent them from loosening and falling off.
Name ( CSE ): ................................ Telephone: ................................
Country: ................................ Location: ................................
Date: ................................ Signature: ................................
Remark: ....................................................................................................
....................................................................................................
Siemens AG SP00-000.896.05 Page 9 of 12 Surgery Products
Medical Solutions Rev. 01 07.05 CS PS 24
Page 10

10 Update Instructions SP022/05/S
Please send the Confirmation letter (only page 9) via fax to:
SIEMENS Medical Solutions
Germany
attn. Mr. Dr. Trautner
Dep. SP QM
Henkestrasse 127
91052 Erlangen
Germany
Fax (foreign Countries): (+49) 91 31 84 87 50
Fax (Germany): 09131 84 87 50
Surgery Products SP00-000.896.05 Page 10 of 12 Siemens AG
Rev. 01 07.05 CS PS 24 Medical Solutions
Page 11

Update Instructions SP022/05/S 11
Completion Protocol 0
(Not required for "Remote updates without a service technician")
The update with the number SP022/05/S has been completed.
Material number: ................................
Serial number: ................................
Customer: ................................ Functional Location: ................................
Customer No.: ................................
Name ( CSE ): ................................ Telephone: ................................
Country: ................................ Location: ................................
Date: ................................ Signature: ................................
Remark: ....................................................................................................
....................................................................................................
NOTE
Siemens AG SP00-000.896.05 Page 11 of 12 Surgery Products
Medical Solutions Rev. 01 07.05 CS PS 24
After completing the update, make a copy of this page, fill it out and file
it in the corresponding System Binder/User Handbook
.
Page 12

12 Update Instructions SP022/05/S
This page intentionally left blank.
Surgery Products SP00-000.896.05 Page 12 of 12 Siemens AG
Rev. 01 07.05 CS PS 24 Medical Solutions
 Loading...