

1. Description of appearance
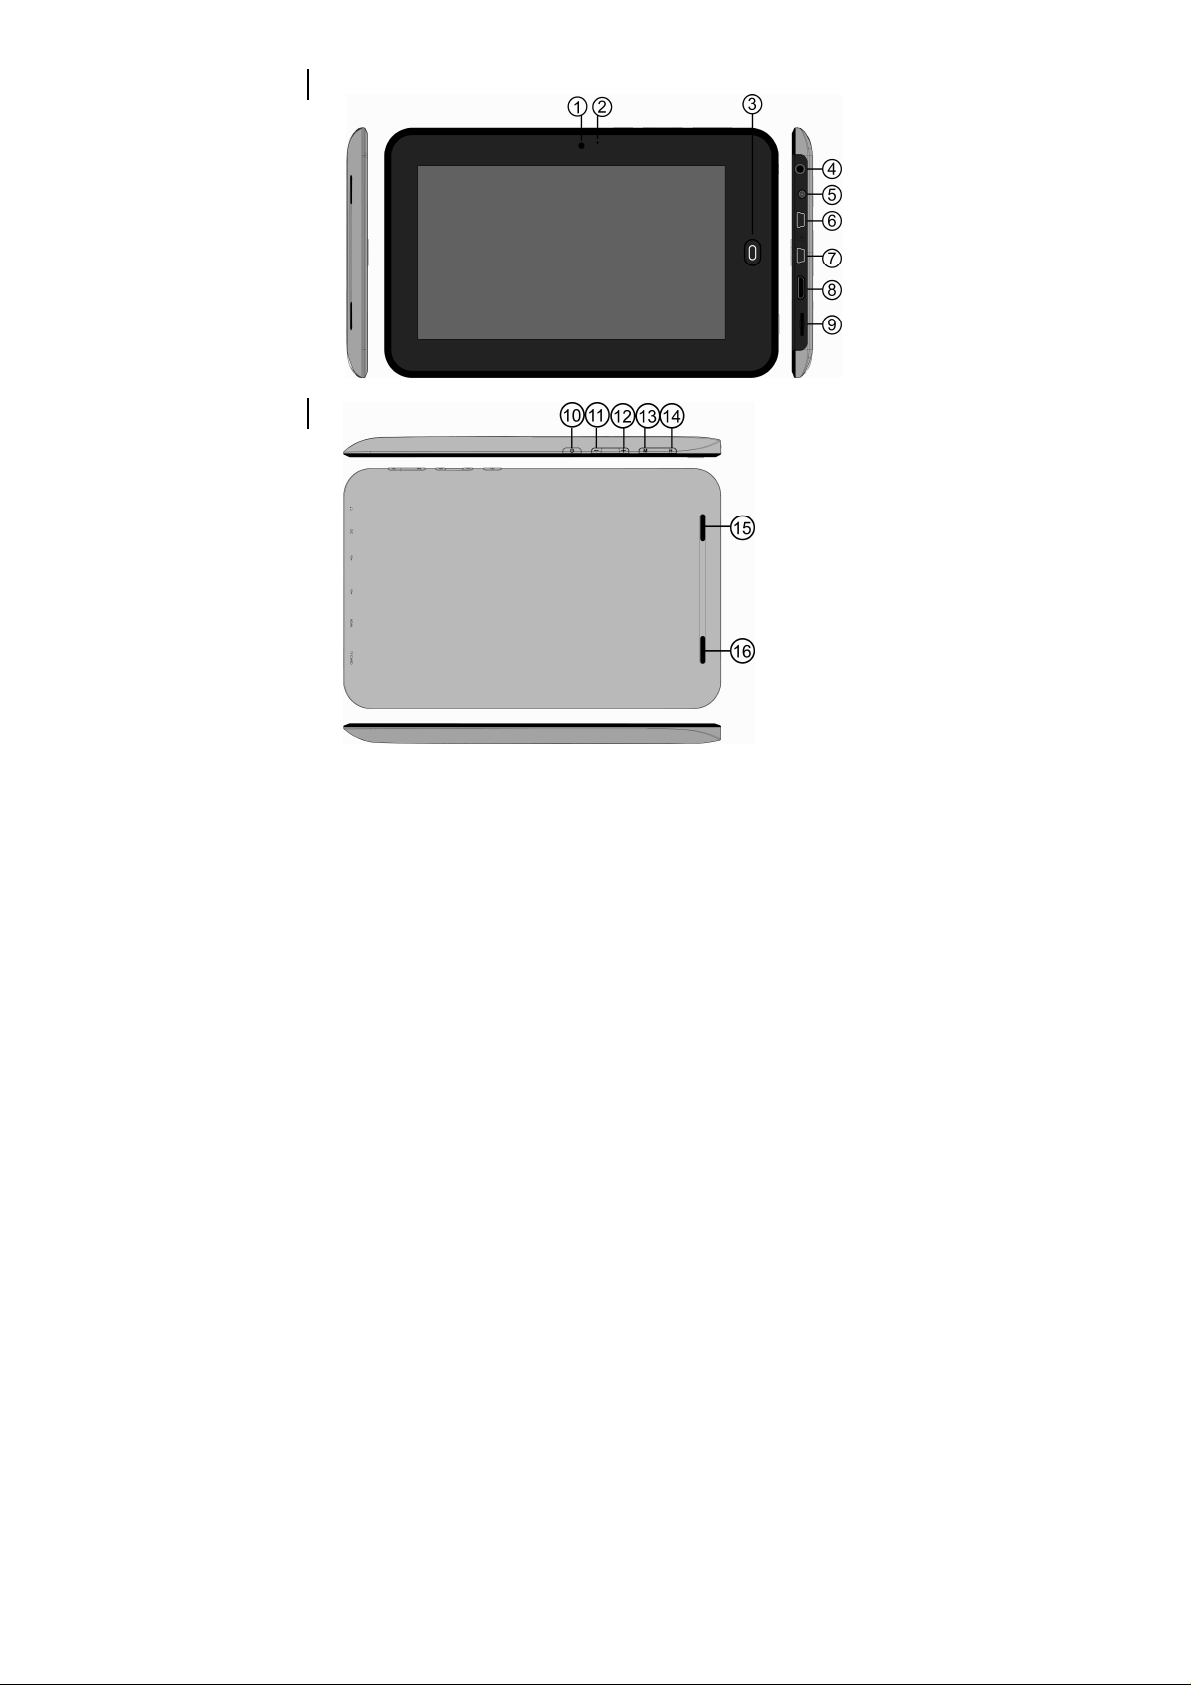
Product structural diagram:
1

1.Camera
2.MIC
3.Return Key
4.Earphone
5.DC in
6.USB port
7.USB Port
8.HDMI port (Disable)
Getting started
Statement: our company ceaselessly devotes itself to the improvement product
quality and software versions are updated continuously. If there are differences
between the outgoing product and functions described in this instruction, please
kind prevail. Thank you!
2.1 Battery charging
The tablet palmtop computer is equipped with a built-in battery. System will
suggest to charge when the battery is low.
Power adapter
Connect one end of the power adapter to a socket and the other end to the power
jack of the device to charge the device. (Strongly recommended to use allocative
power adapter from the company to avoid damage to the machine)
Charging methods
1. Plug the power adapters, the charging indicator of the battery will turn red to
9.TF card slot
10.POWER key
11.VOL- key
12.VOL+ key
13.MENU key
14.Home key
15.Speaker
16.Speaker
2

show that charging is in process. When the battery is full, the charging indicator
goes out.
2. Users can still use tablet palmtop computer during charging.
2.2 Use of memory card
Insert memory card:
Insert the memory card into the card slot and press it into the card slot until hear the
sound of "Click". A prompt will appear on the top left corner of the screen: The
memory card is preparing.
Browse the documents in the memory card:
Run "My Pad" program. Display all files under the root directory and select
"Memory Card 1" to open it to browse the content in the card.
Pull out memory card:
Close all the files opened from the card: click menu, select settings → internal
memory of memory card device → memory card 1 → uninstall memory card. The
system will prompt that “memory card has been safely removed": Gently press the
card and it will popup a part. Then take it out: “memory card has been safely
removed" will be prompted on the top left corner of the screen.
Note:
1. The card should be inserted into correct position, otherwise it will be damaged;
2. Please do not forcibly pull out the card before the appearance of the prompt that
"remove the memory card", lest that the car will be damaged;
3. Memory cards of main brands is suggested to be used to avoid the
incompatibility of the card
3

2.3 Hot swapping between memory card and external USB flash disk
Please do not carry out hot swapping when using or browsing files in memory card
and external USB flash disk. Directly pull out memory card or external USB flash
disk when browsing or using files in them in My Video, My Music, My Album and
other softwares may damage the card and USB flash disk and they may
automatically exit process for self-protection. Please refer to "2.2 Use of memory
card” on insert and extract of memory card. Please close all files being used in the
external USB flash disk before pulling it out.
2.4 Storage space
The device has three storage spaces: internal storage of the device, USB flash disk
and memory card. Internal storage of the device is not displayed; the displayed
folder name of memory card is: "SD Card 1"; the displayed folder name of external
USB flash disk is “USB Flash Disk 1”. System storage area can only be used for
storing system files. The total internal storage space of the device is 4 GB. The
storage space of USB flash disk and memory card is determined by their specific
capacity.
Please refer to 9.7 storage card and device storage for related specific information
on storage.
2.5 ON OFF
1. Starting up: when the battery has sufficient electricity, long press the power key
for 2 seconds to start up. Screen lock will be entered after starting up. Slide unlock
icon upward to enter main interface; (slide it downward to turn off sound and slide
it downward again to turn on sound)
4

2. Shutdown: Press the power key (4 seconds) and the system will popup
shutdown confirmation interface. Slide the following shutdown icon upward to shut
down, while slide the above shutdown cancel icon downward to return to the
shutdown interface.
3. Hibernation: press the power key (1 second) and the system will enter
hibernation state. The screen of LCD will turn black while hibernation. Press the
power key can wake up the system under hibernation state and it will enter screen
lock after being waked up. If low battery is happened under hibernation state, the
device will shutdown after automatic staring up to save electricity.
2.6 Interface rotation
The system interface can automatically rotate screen according to the direction of
the device. The system interface will be displayed by vertical screen when hold
endwise, while by horizontal screen when hold widthwise. The rotation time of the
screen is within 2 seconds. Refresh the screen to make it return to normal state after
switch.
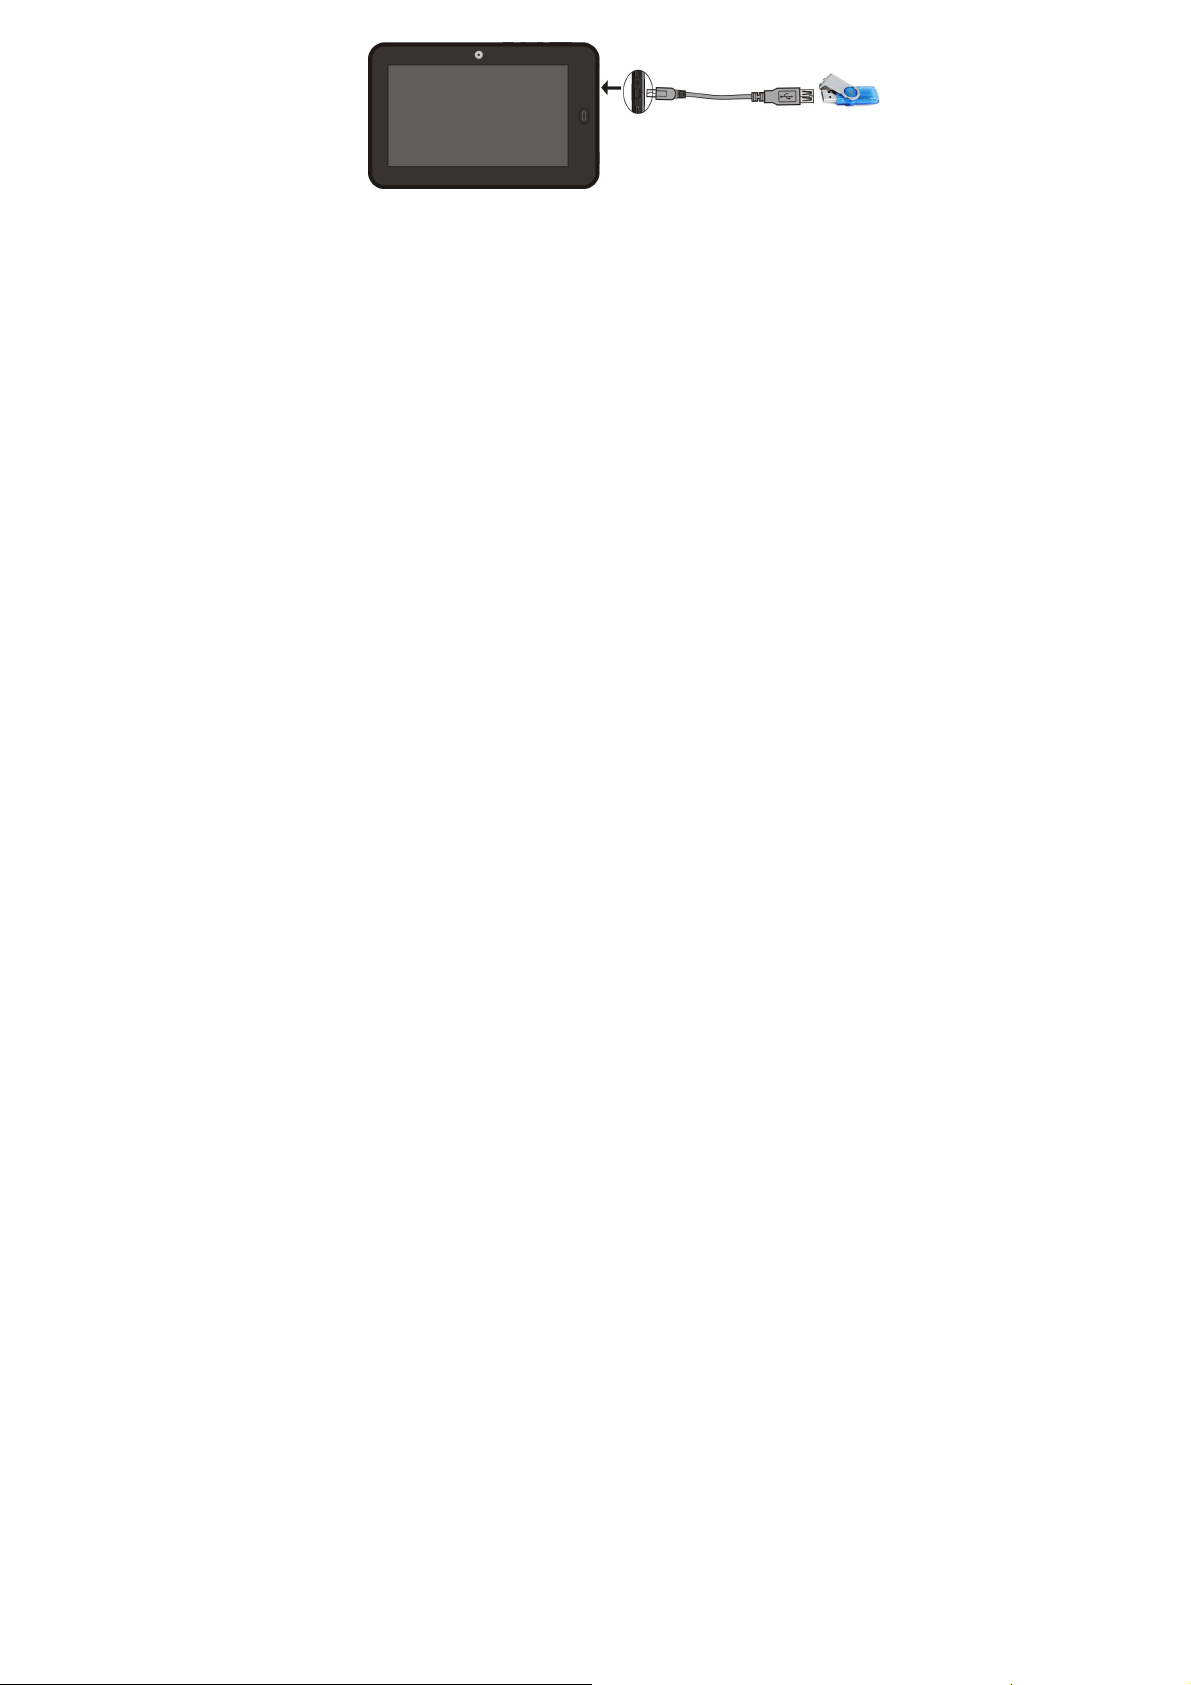
2.7 External USB flash disk
Insert USB flash disk to USB port by USB transfer line USB, as the following
figure. USB flash disk can be used after connected to the device. Files can be
copied between the device and memory card.
5
2.8 Network connection
Wireless network:
1. Select "settings" icon under the shortcut bar of the desktop
2. Select "wireless network" in the Settings menu
3. Select check box behind WI-FI to open WI-FI
4. Select "WI-FI setting" option to set WI-FI network
5. All AP the device can search will be listed. Click the AP to be connected in the
options
6. If the AP was successfully connected before, the information will be stored.
Select "connection" in the window popping up to start connection, while select
"forget" to eliminate AP information
7. If the AP is not encrypted, select "connection" in the window popping up to start
connection.
8. If the AP is encrypted, input password in the window popping up and click
"connection" to start connection
9. After success of network connection, WIFI icon will appear on the status bar on
the top of the desktop
6

3. Input operations
3.1 Keyboard
When you use procedures or files needing to input text and digitals, the touch
keyboard will automatically appear on the screen.
Note: the device supports external USB keyboard, but when using an external USB
keyboard, some keys may not be normally used
3.2 Touch screen
Touch screen can induct moving track of fingers, which can carry out the following
operation:
Note: please do not place objects on the surface of the touch screen, which may
scratch or crush it
Click: Select an icon and click it to select the icon or option needed
Long press: Select an icon and long press it to select the icon and it can be dragged
to the quick bar at the bottom of the desktop to display
Drag: Drag icons on the desktop to move them among different pages in the module
interface. Application icon also can be dragged to quick bar.
Touch pen can be used to replace figures during the process of using the touch
screen
3.3 Mouse
The device supports external USB mouse. Insert USB mouse to carry out functions
of click, selection, dragging, sliding and popping up menus by right click.
7
Field
Field Code
Code Changed
FieldField
CodeCode
Changed
ChangedChanged
4. Desktop
4.1 Status bar
The status bar is on the top of the screen. It has one software button on the left and
five on the right. They are desktop button, refresh button, screenshots button,
volume increase or decrease button, menu button, back button. The status bar also
shows signal strength of WI-FI, battery status, time and other system information.
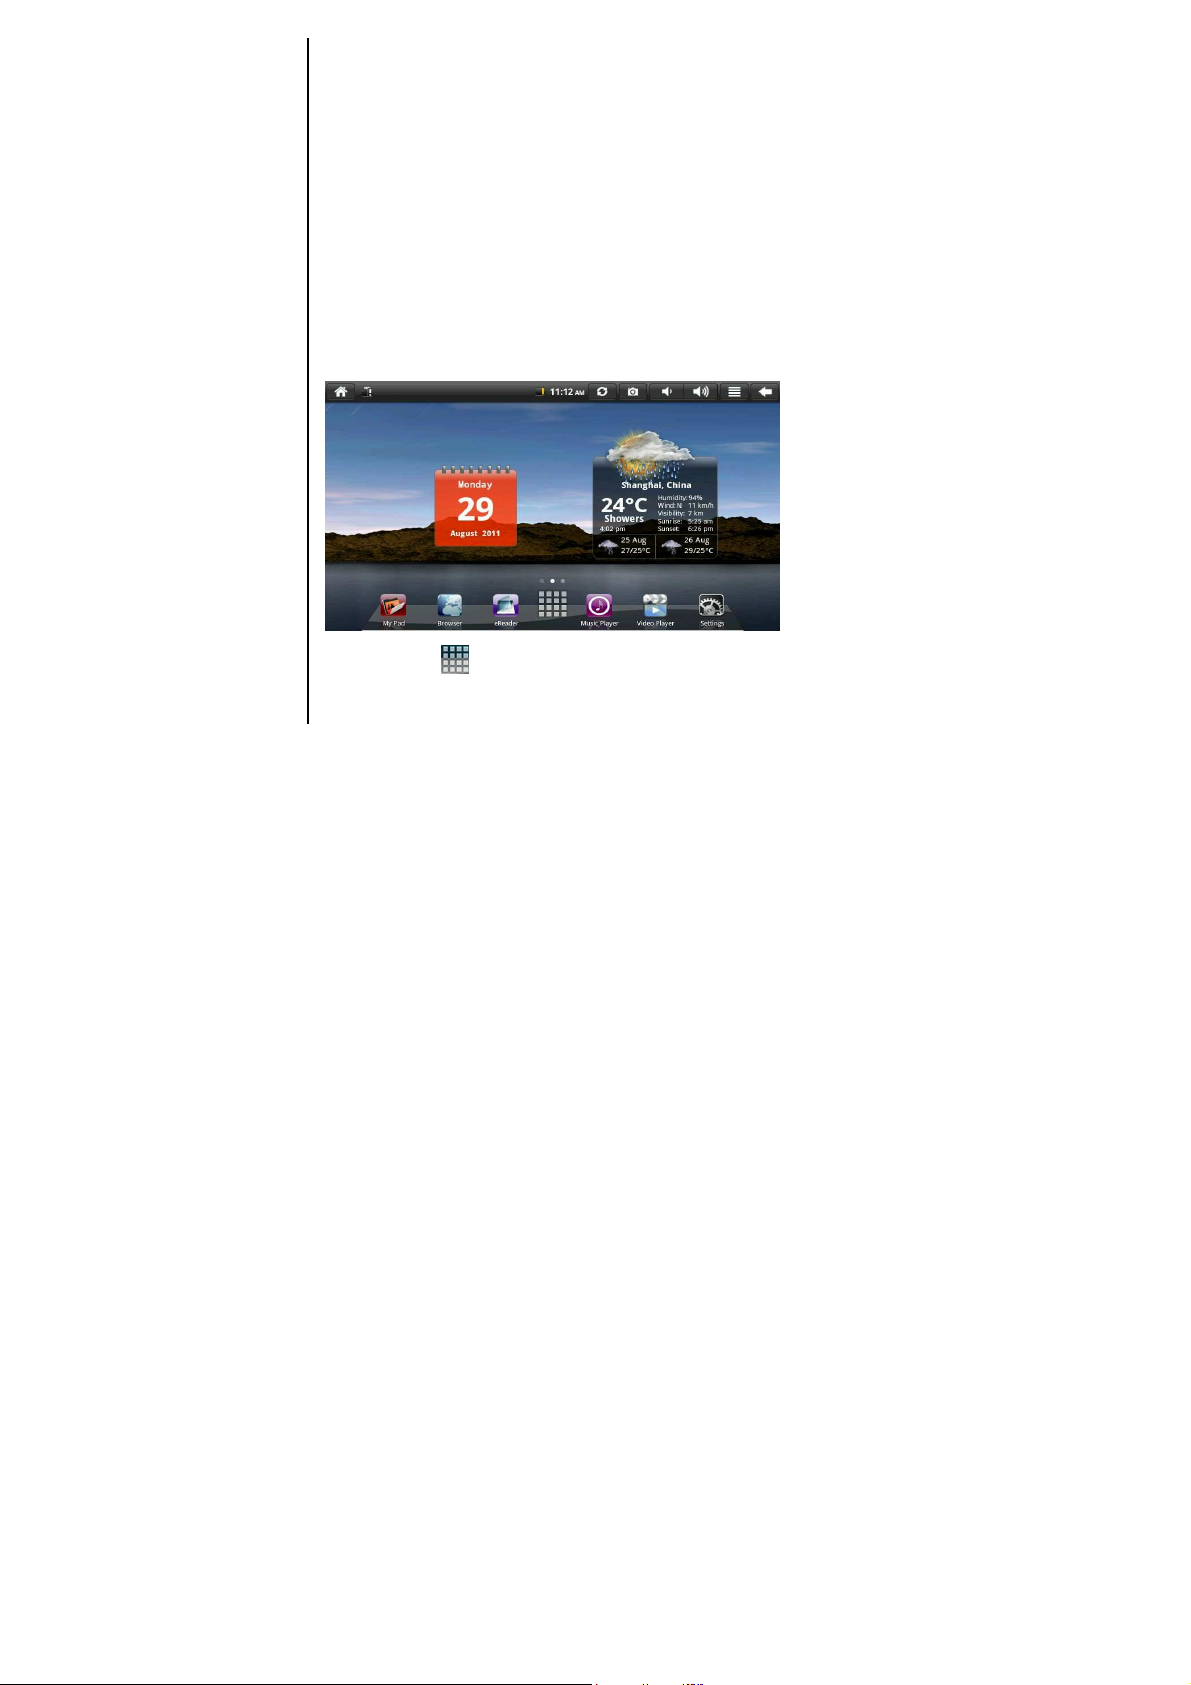
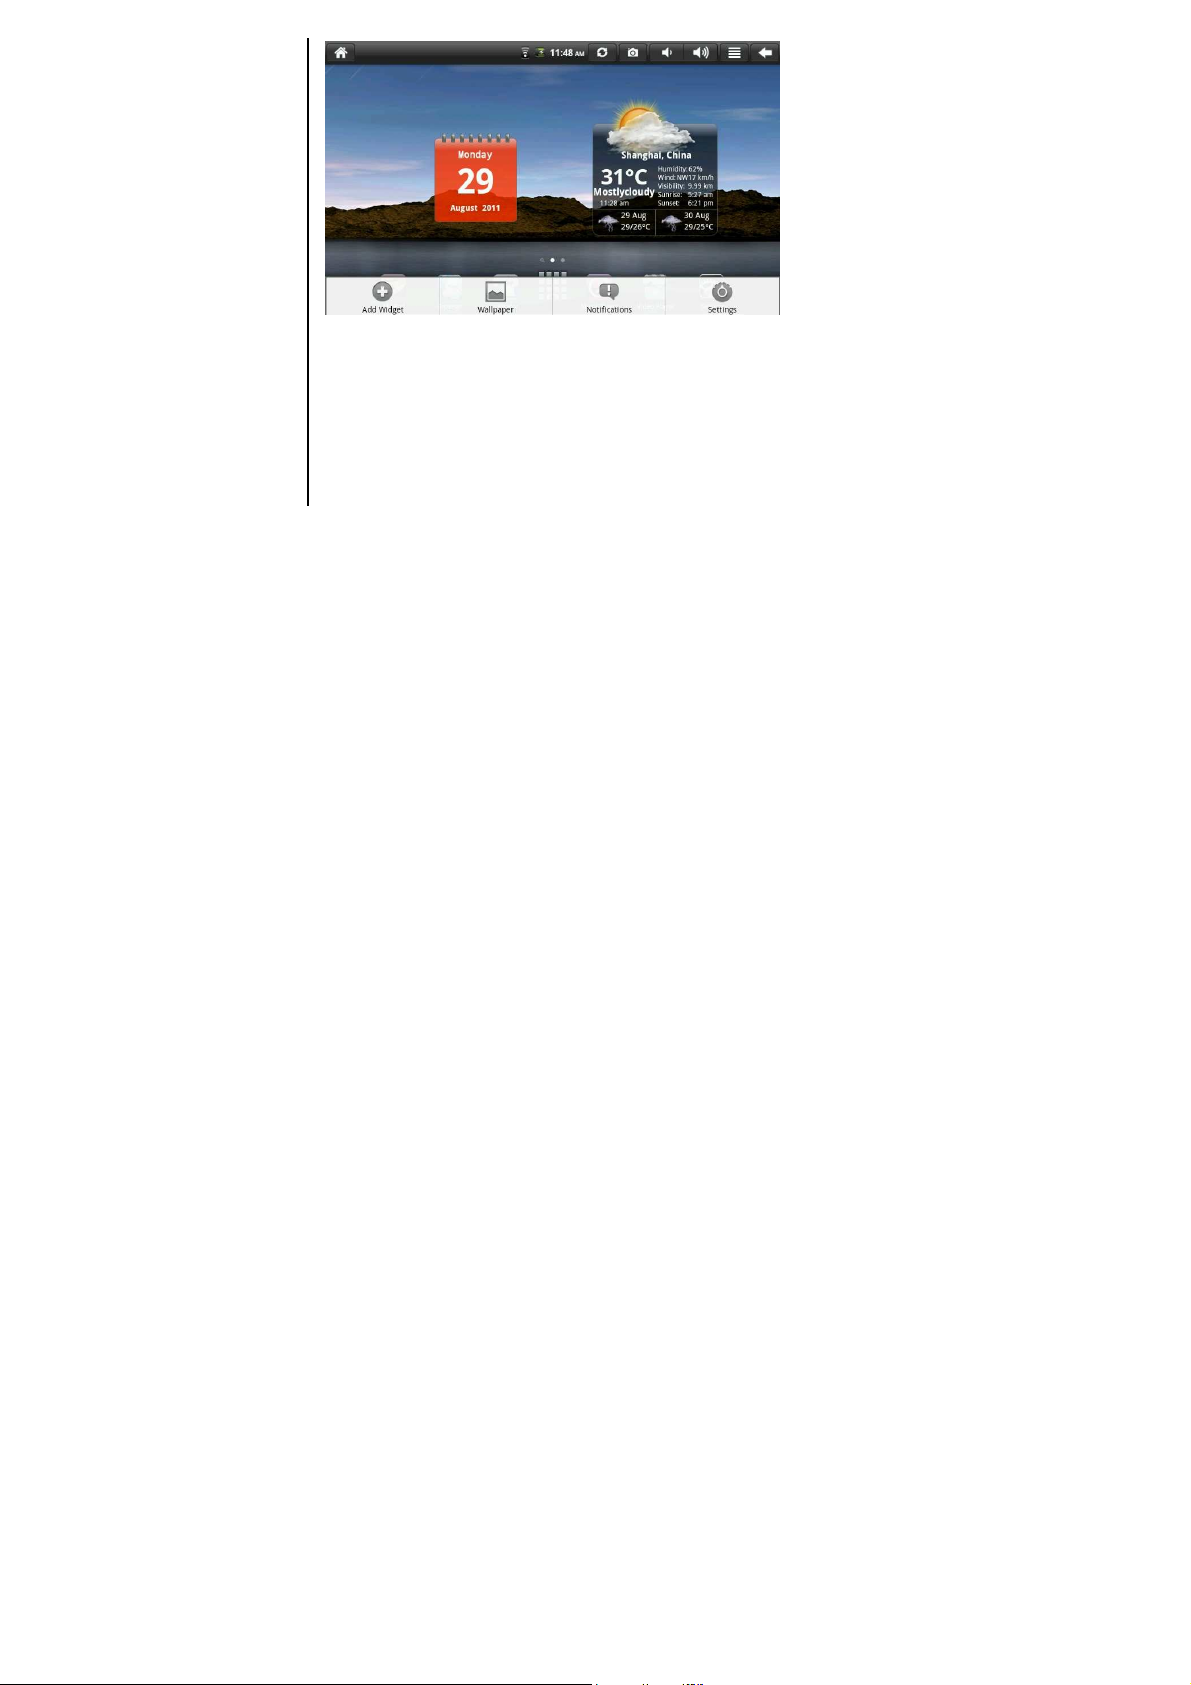
4.2 Main interface
The tablet palmtop computer main interface procedure page includes two modes:
desktop small tool mode and application icon mode. The two modes can be
switched by the central shortcut button. The interface of the desktop small tool
mode is showed as the following figure:
Click the button on the quick bar to enter application icon mode interface.
Application icon mode interface is showed as the following figure:
8
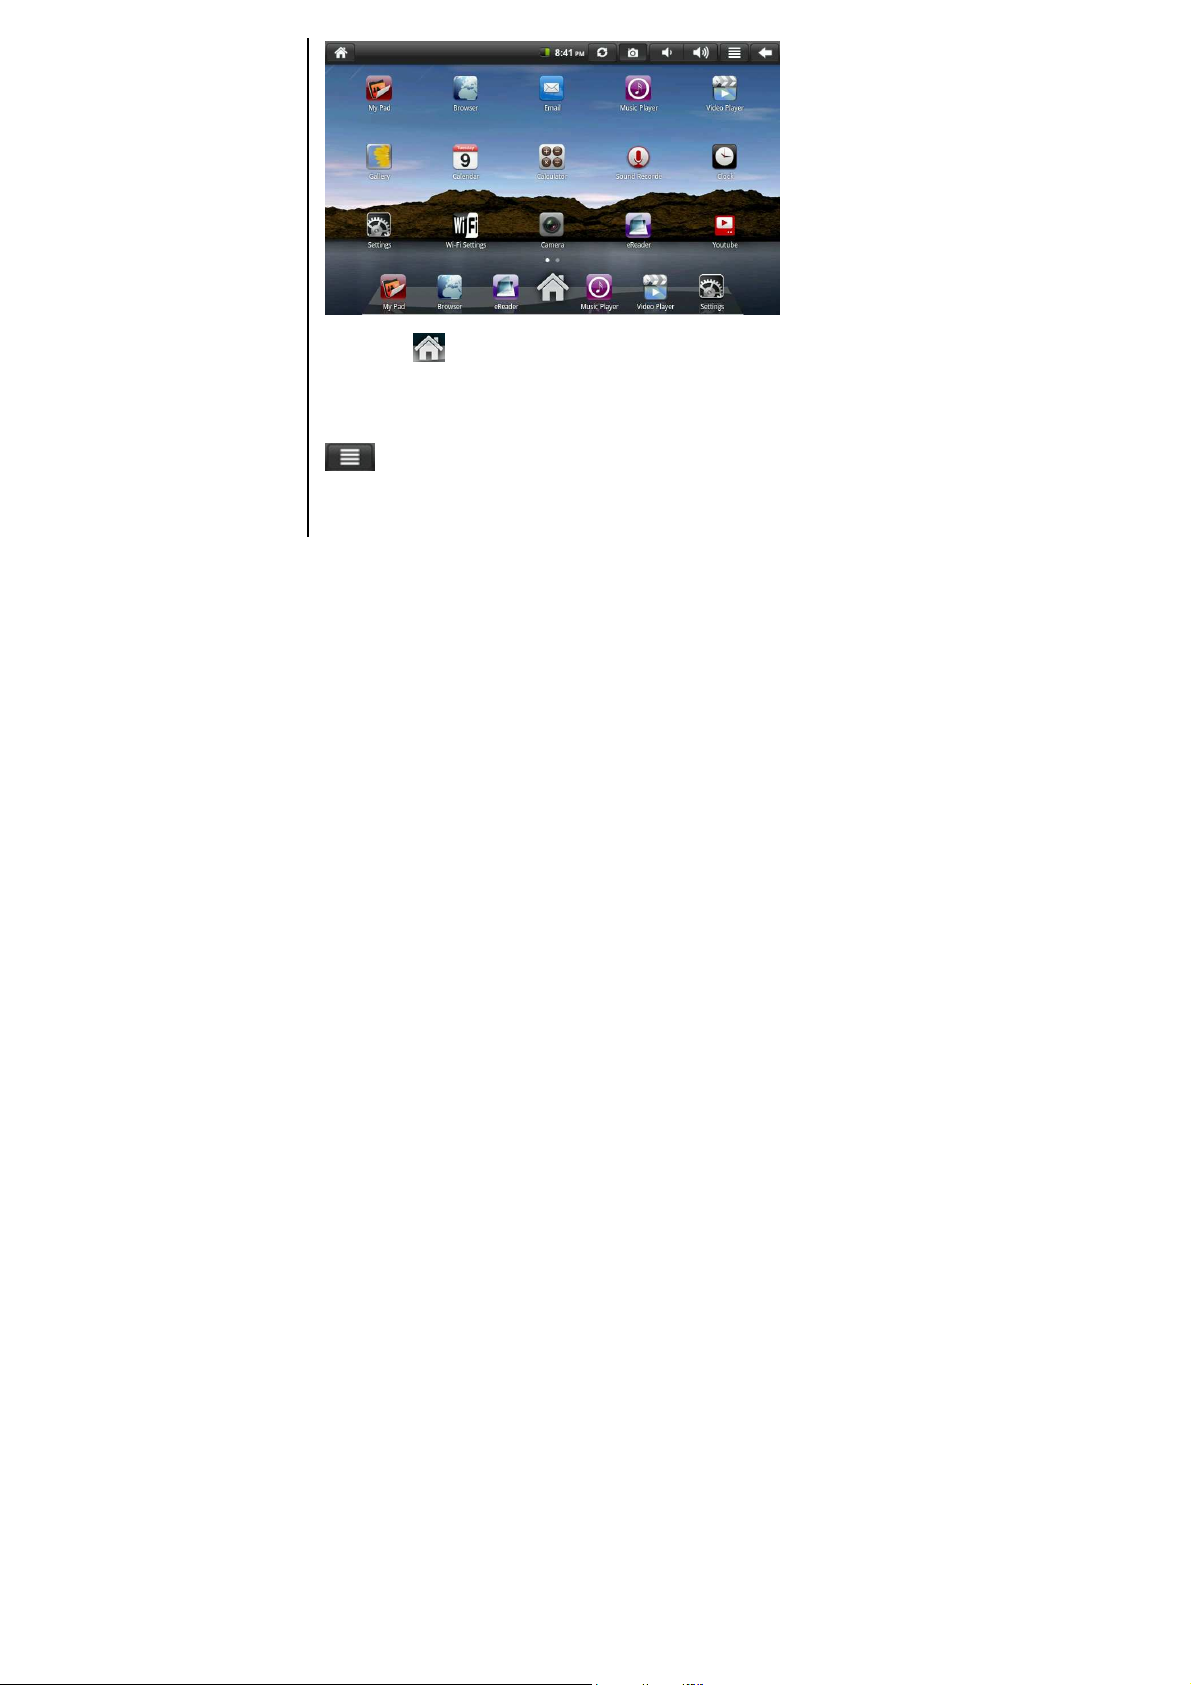
Click button to enter desktop small tool mode interface
4.3 Shortcut
In desktop small tool mode interface, press menu button or click menu chart
on the top of the status bar. Shortcut menu will popping up on the bottom
of the screen. Menu items includes: add widget, wallpaper, search, notifications,
desktop settings and system settings. It is showed as the following figure:
9
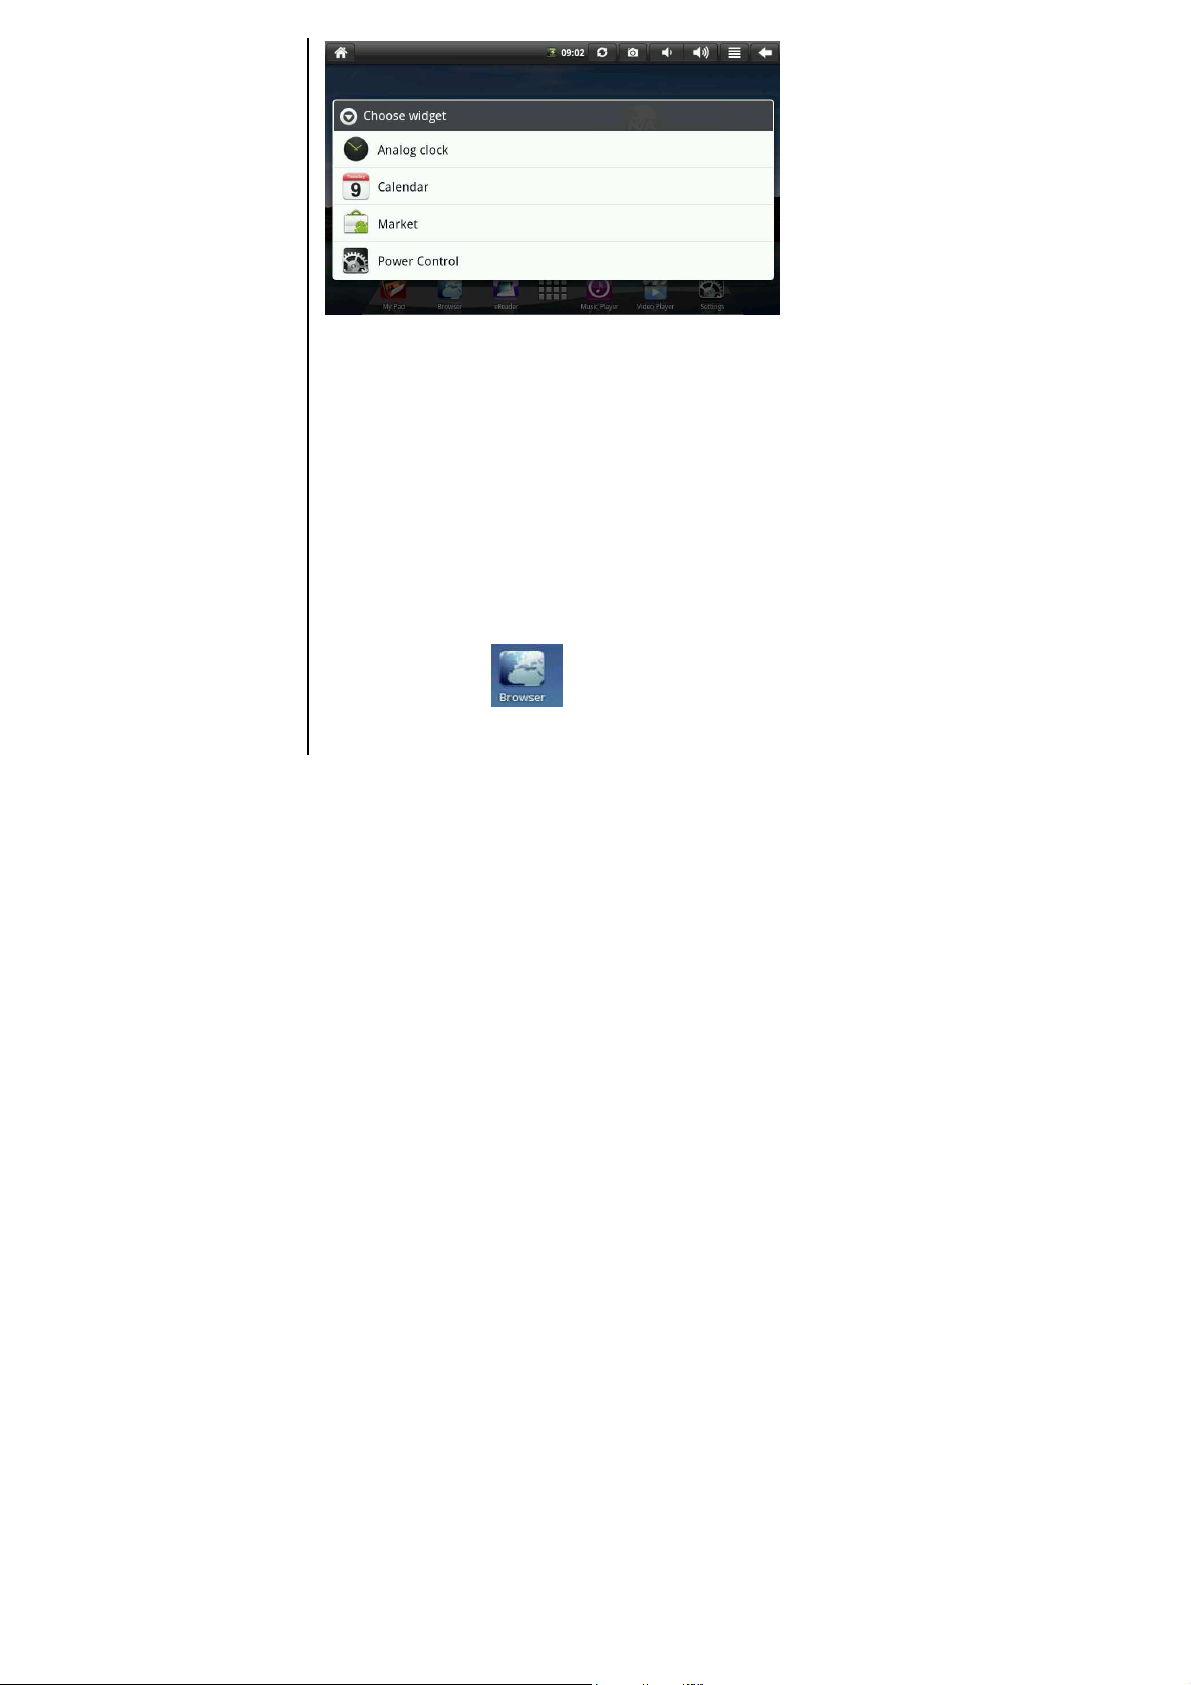
4.4 Shortcut with small tools
Widget
If you want to add a widget to the main screen, in desktop small tool mode interface,
please press menu - add - widget, and choose a widget to add to the main screen.
Click the shortcut icon on the main screen to carry out corresponding shortcut
operation.
10
4.5 Use of desktop small tools
Users can add, delete, install desktop small tools, add, delete application icons,
more and adjust the positions of icons, drag icons within the working area or
between the working area and the quick bar, add or delete icons etc.
In desktop small tool mode interface, long press the small tool icon. Small check
will pop up on the interface and litter bin signage will pop up in the centre of the
quick bar. The icon can be dragged to any position of the desktop at the moment
and also can be dragged to the litter bin to be deleted.
5. Web surfing
Users can access to Internet by the connection of the browser.
Click the browser icon on the desktop to open web browser. The
following interface pops up when opening webpage:
11

6. Typical applications introduction
6.1 Email
Click email icon to enter Email. The following operation can be carried
out:
1. Set email account
2. Set up new email
3. Receive and send mails
4. Download or open attachments
Tip: Shortcut menu will pop up by pressing menu button
6.2 File browsing
Click the file browsing icon to enter file browsing interface
12
 Loading...