


SHUOYING PA0906
Contents
Safety Precautions ............................................................................................... 2
Description of Appearance ................................................................................... 3
Battery Charging .................................................................................................. 4
OTG Cable and USB Cable ................................................................................. 5
Turning On/Off the Device ................................................................................... 5
How to Use the Touch Screen ............................................................................. 5
Unlocking the Screen ........................................................................................... 6
Introduction of Icons on Main Screen .................................................................. 7
Adding and Deleting Shortcuts on Main Screen .................................................. 8
Wallpaper Setting ................................................................................................. 8
Connecting to PC Through USB ........................................................................ 10
Applications and Widgets ................................................................................... 11
Basic Settings .................................................................................................... 15
Troubleshooting ................................................................................................. 24

Safety Precautions
To protect you and others from hurt and avoid damaging the device, please read
the following information carefully before using the device.
● Do not operate the device with wet hands.
● Do not place the device near fire or in extreme temperature environment.
● Do not use unauthorized power adaptor or USB cable.
● Do not try to open the device by yourself.
● Do not place or operate the device in a dusty enrionment.
● Do not expose the device under strong sunlight.
● Do not place or operate the device near high stastic electricity or magnetic
fileds.
● Do not place or operate the device near the microwave store, baker or heater.
● Keep the device dry and away from water.
● Keep the device away from the reach of children.
2

Description of Appearance
No. Description
1 Power button
2 VOL+ button
3 VOL- button
4 Camera
5 3.5 mm earphone jack
6 HDMI port
7 USB port
8 DC port
9 microSD card slot (supports from 2GB to 32GB)
3

Battery Charging
This device is equipped with a built-in lithium battery. Please fully charge the
battery before using the device for the first time. It is recommended to charge at
least ten hours for the first time, and charge normally thereafter.
Only use approved charger (Input: AC110~240V 50/60Hz; Output: DC 5V/2.5A).
The manufacturer or the dealer will not take the responsibility for any battery
explosion or device damage caused by using unapproved charger.
To charge the battery, please connect the power adapter to a power source and
the the “DC 5V” port of the device.
NOTES:
● The built-in battery is not replaceable by the end user. Please contact the
● You can charge the battery with the AC adaptor or USB cable.
● When the battery power is lower than 15%, the device will deliver an alert tone
service provider for the information on battery replacement.
and display the low battery message. The battery icon
blank
charge the device.
● If the battery is fully drained, which the device can’t be turned on, please
connect the AC adaptor and charge the device for a while before you turn on
the device.
● You can use the device while charging, but the charging time will be extended.
● While charging, the touch screen may be invalid because the battery voltage
isn’t stable. In this case, please disconnect the power adapter.
● It is normal that the temperature of the device rises while charging.
● When the battery is fully charged
LED goes off), please disconnect the power adapter.
● The charging requires about 6 hours when the devices is off.
. If the battery drains, the device switches off automatically. Please
(the battery icon stops scrolling and the
also will turn
4

OTG Cable and USB Cable
There are two cables included in the package which are OTG Cable and USB
Cable. The usage of these cables are as following.
1. USB Cable: For the connection between the PC and for the AC adaptor.
2. OTG Cable: For the connection to external USB equipment such as computer
mice, USB drive…etc.
Turning On/Off the Device
1. To turn on the device, please press the power button [ ] and hold it until the
device is turned on.
2. To turn off the device, please long press the power button [ ] for at least 2
seconds.
3. To lock the screen, after the device is turned on, short press the power button
[ ].
To unlock the the screen, please short press the power button [ ] again.
How to Use the Touch Screen
The followings are the ways to do the operation on the touch screen.
1. TAP: tap once to select or start a function, option or application.
2. TAP AND HOLD: tap and hold an item for at least two seconds.
3. TAP, DRAG AND DROP: tap and drag an item and drop at desired position
4. DOUBLE TAP: quickly tap on an item twice
5. SLIDE: slide up, down, left or right to browse list or screen
NOTES:
a) Do not use sharp object to avoid scratching the touch screen.
b) Do not contact other electronic devices with the touch screen, or else ESD may
c) This device is not waterproof. Please do not store or operate this device in a
d) The touch screen has a detection layer, which can detect the weak charge sent
cause failure of the touch screen.
wet environment.
out by human body. To achieve the best results, please touch the screen with
fingertip. Do not operate with stylus, pen or any sharp object.
5
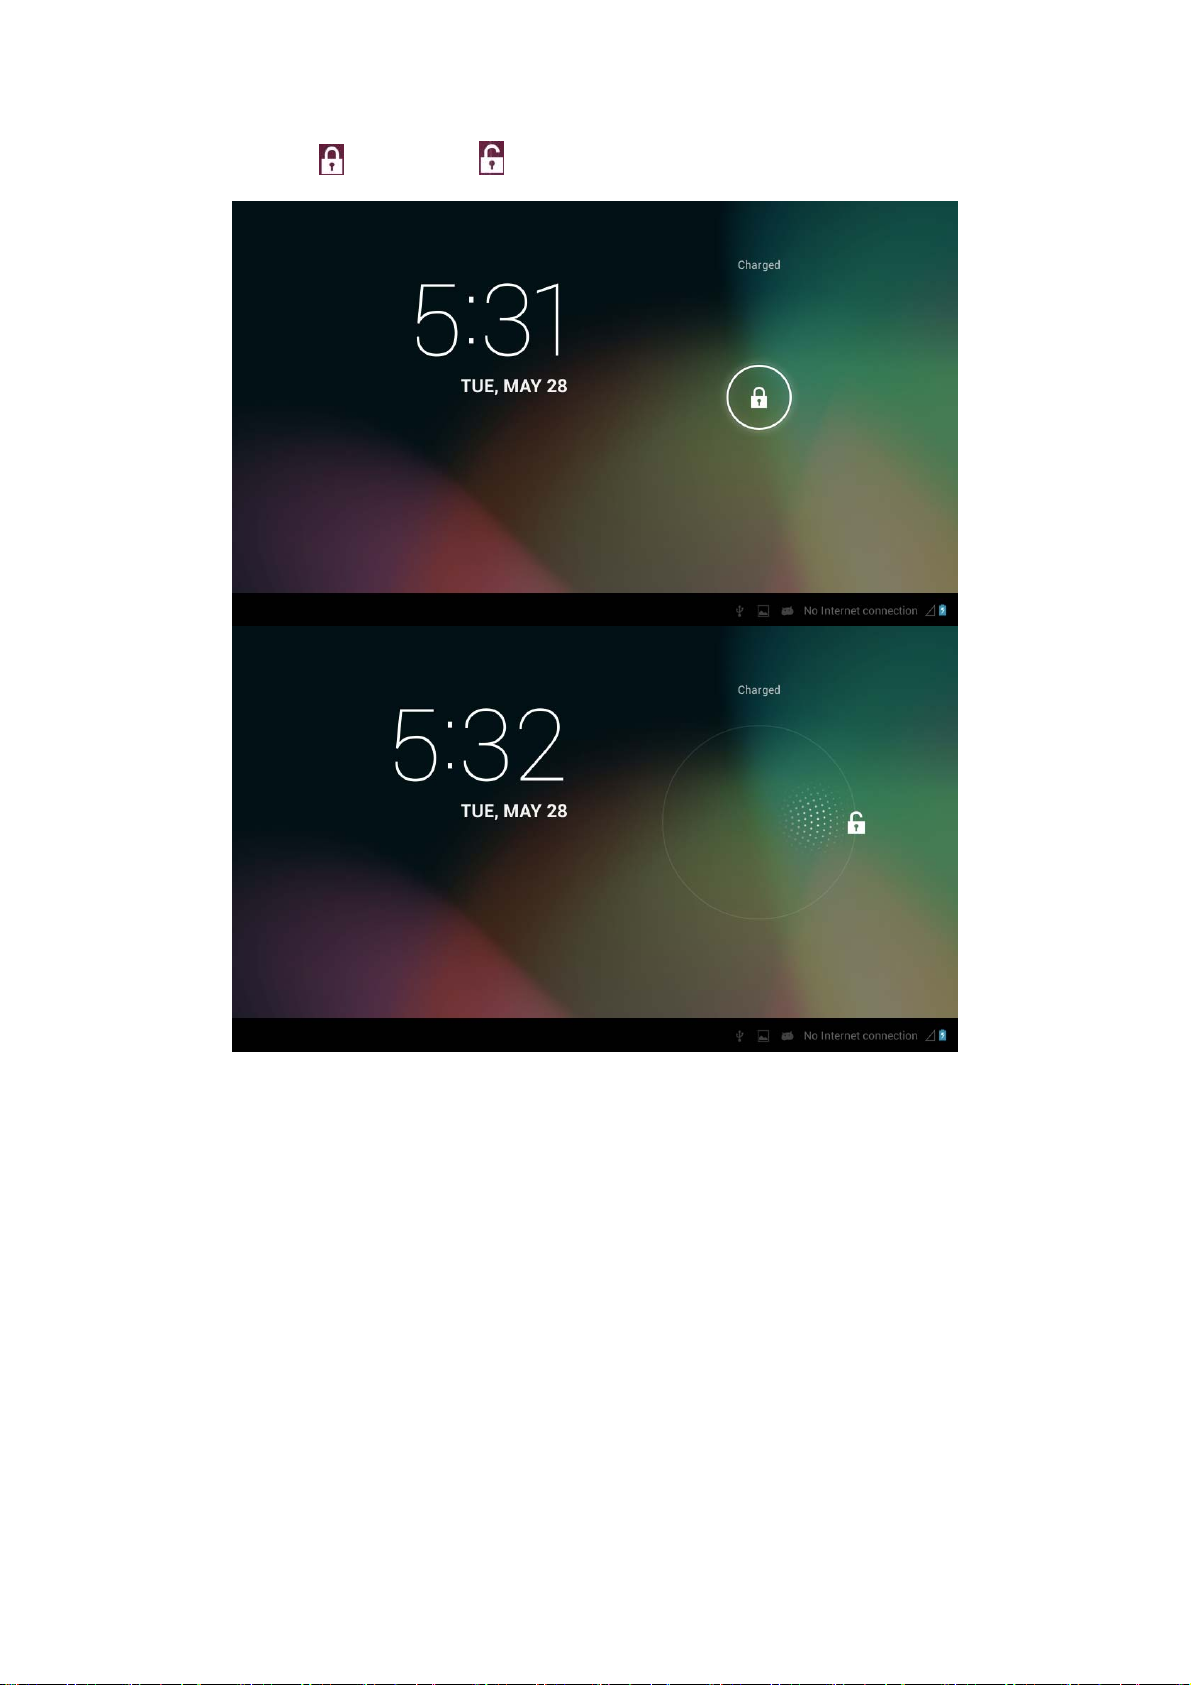
Unlocking the Screen
After the device is turned on, the device enters the unlocking interface. Please tap
and hold
and drag it to to unlock and enter the main screen.
6
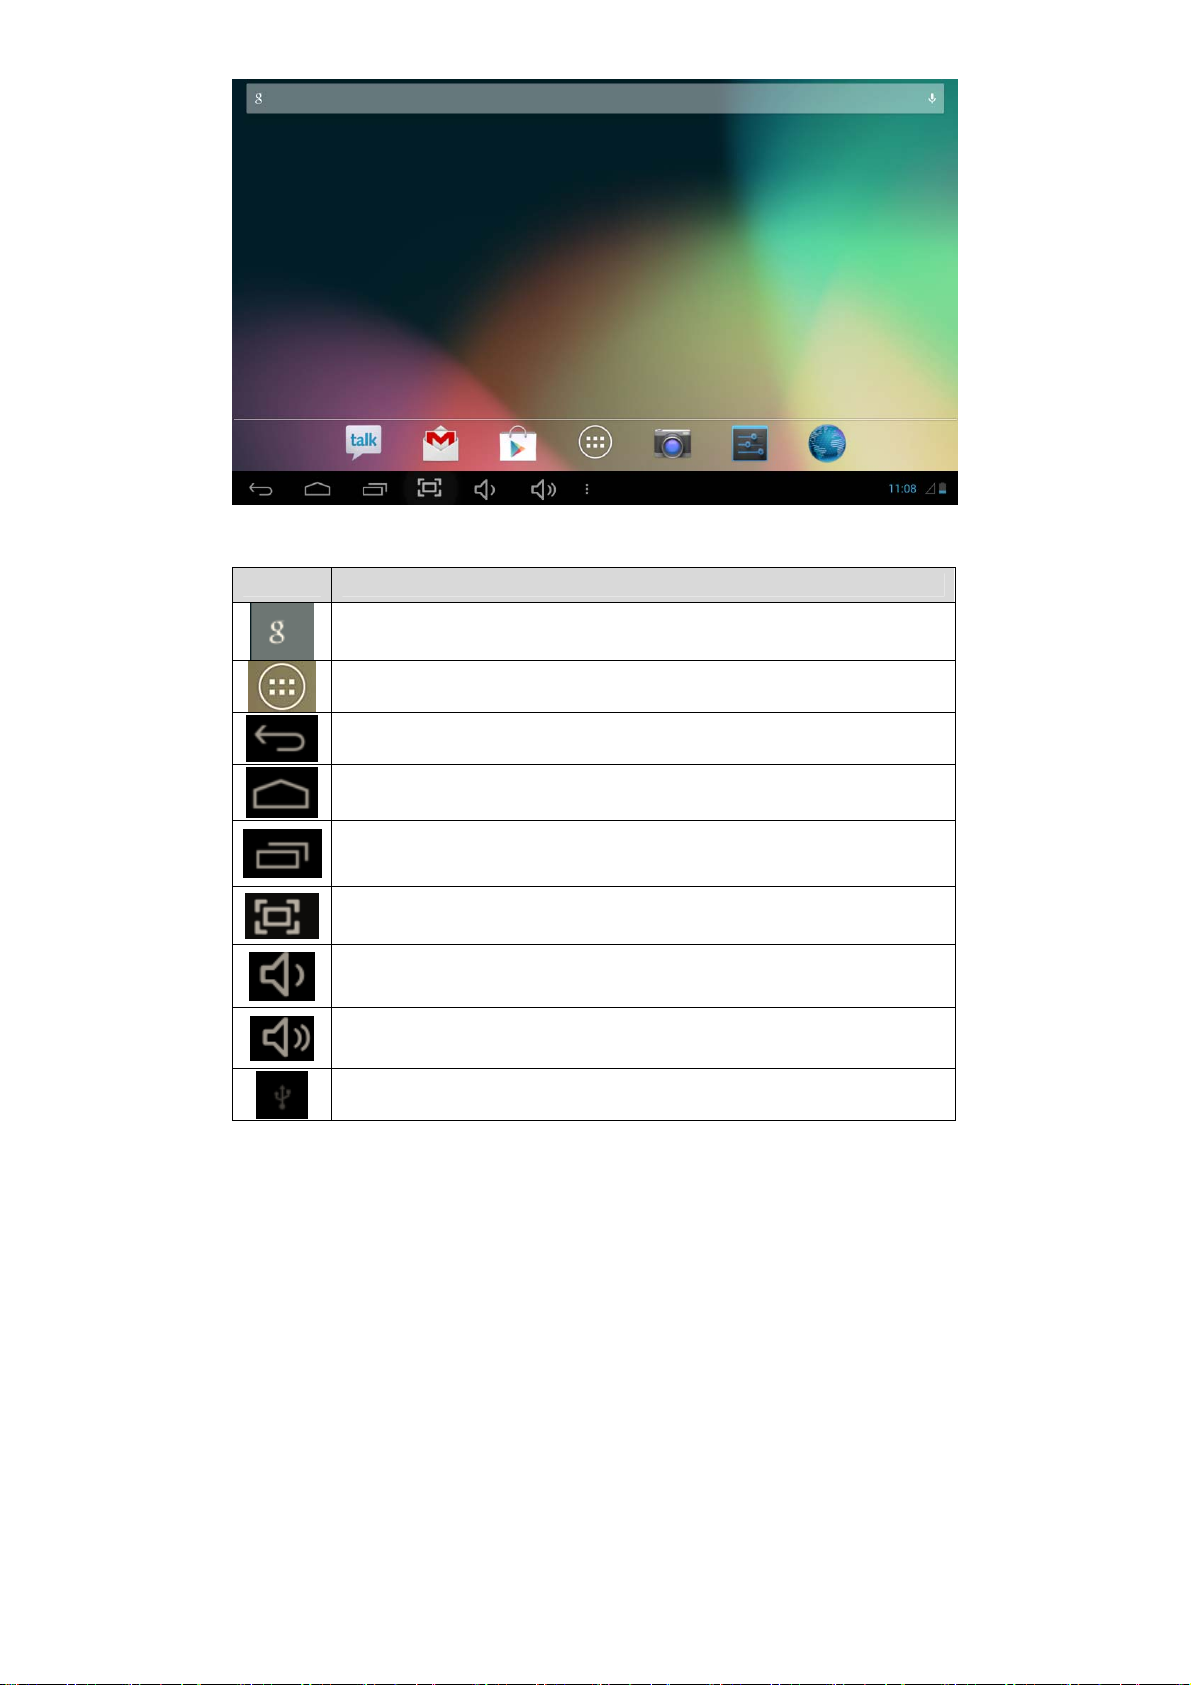
Main Screen
Introduction of Icons on Main Screen
Icon Function
Use the voice search to search on the web
Tap to enter APP interface for the the application list
Tap to return to the previous interface
Return to the main interface
To show the the list of applications recently used
Screen shot
VOL-
VOL+
USB connected: Indicates that the device has been connected to PC
through the USB cable
7

USB debugging: This is for technical use only
Time
Battery status
Tap to enter “Wallpaper”, “Manage Applications” and “System
settings”
Adding and Deleting Shortcuts on Main Screen
1. Add shortcuts to applications: Tap and hold an application icon in the list, drag
and drop it to desired position on the main screen. The shortcut icon of this
application will be added to the main screen.
2. Add shortcuts to widgets: Tap and hold a widget in the list, drag and drop it to
desired position on the main screen. The shortcut icon of this application will be
added to the main screen.
3. Delete items from the main screen:
Tap and hold an item to be removed and the “X" will appear on the top side of
the screen. Drag and drop the icon to the “X". When the “X" turns red, let go of
the application icon.
Wallpaper Setting
Tap on the screen and hold until the following dialog box appears. Choose
“Wallpapers” to set the wallpaper.
8
 Loading...