

Model D4594/D4595
#17620BL
Pneumatic Drum Sander
Instruction Sheet
Phone #: (360) 734-3482 • Online Tech Support: tech-support@shopfox.biz • Web: www.shopfox.biz
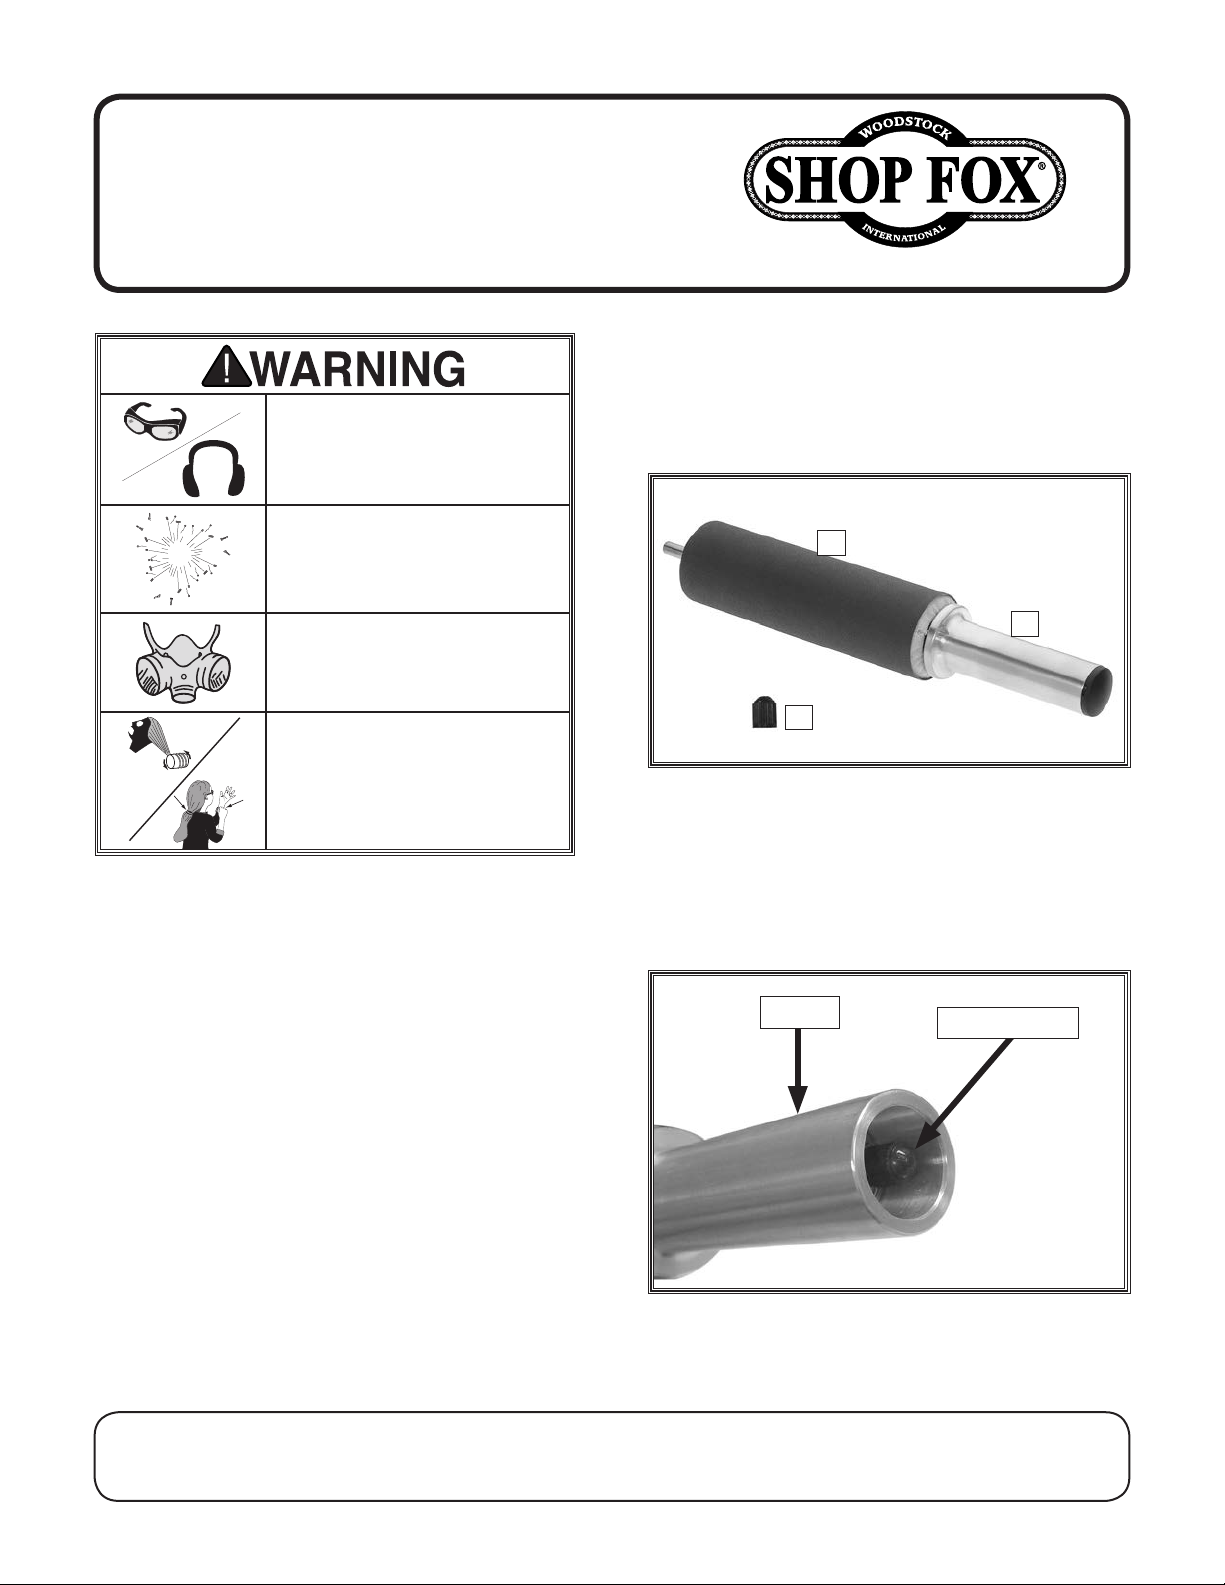
Inventory
A. Included Sanding Sleeve (150 Grit) ......... 1
EYE/EAR INJURY HAZARD!
Wear safety glasses and
hearing protection during
use of this tool!
B. Drum Sander.................................... 1
C. Spare Air Valve Cap ........................... 1
OVER-INFLATION HAZARD!
Never exceed 8 PSI!
RESPIRATORY HAZARD!
Sanding produces fine
dust. Wear appropriate
protection during use!
ENTANGLEMENT HAZARD!
Tie back long hair, roll up
sleeves, and DO NOT wear
loose clothing, gloves or
jewelry.
Introduction
This rolling-pin style pneumatic drum sander
is perfect for hand contouring and smoothing
projects that are too large to use with a
stationary sander. Simply chuck the
into a portable electric drill, cordless drill,
or air-powered drill for two-handed control.
Features ball-bearing handle and standard air
valve for easy inflation.
3
⁄8" spindle
A
B
C
Figure 1. Model D4595 inventory.
Operations
1. Remove plastic end-cap on handle with a
small flat head screwdriver, then unthread
and remove air valve cap (see Figure 4).
Handle
Air Valve Cap
Specifications
D4594 ....................................... 4" x 11⁄8"
D4595 .....................................7
COPYRIGHT © AUGUST, 2015 BY WOODSTOCK INTERNATIONAL, INC.
WARNING: NO PORTION OF THIS MANUAL MAY BE REPRODUCED IN ANY SHAPE OR FORM WITHOUT
THE WRITTEN APPROVAL OF WOODSTOCK INTERNATIONAL, INC.
1
⁄2" x 21⁄2"
Figure 2. Location of air valve cap
(shown with end cap removed).
Printed in Taiwan

D4594/D4595 Pneumatic Drum Sander Instructions
2. Inflate drum to desired pressure. DO NOT
exceed 8 PSI! Replace air valve cap and end
cap.
3. Secure drum sander spindle in chuck of
desired tool (see Figure 3), then put on
personal protective equipment.
4. While holding handle of sander firmly, turn
tool ON to operate sanding drum, as shown
in Figure 3.
Spindle
Removing/Installing Sanding Sleeve
1. Remove plastic end cap and air valve cap,
press air valve stem to deflate drum fully,
remove existing sleeve and slide new one
onto drum, as shown in Figure 4.
Sanding
Sleeve
Figure 4. Example of installing sanding sleeve.
2. Follow Step 2 in Operations to inflate
drum. Model D4594 only: Before operating,
ensure hex nuts are snug against drum.
Nut (1 of 2)
Figure 3. Pneumatic drum sander in action.
5. After operation is complete, turn tool OFF,
unplug it, then remove it from spindle.
If you need help with your new pneumatic tool,
call our Tech Support at: (360) 734-3482.
4" Aluminum Oxide Sanding Sleeves
D4603 11⁄8" x 4" x 60 Grit
D4604 1
D4605 1
D4606 1
D4607 1
1
⁄8" x 4" x 100 Grit
1
⁄8" x 4" x 150 Grit
1
⁄8" x 4" x 180 Grit
1
⁄8" x 4" x 220 Grit
71/2" Aluminum Oxide Sanding Sleeves
1
D4608 2
D4609 2
D4610 2
D4 611 2
D4612 2
-2-
⁄4" x 71⁄2" x 60 Grit
1
⁄4" x 71⁄2" x 100 Grit
1
⁄4" x 71⁄2" x 150 Grit
1
⁄4" x 71⁄2" x 180 Grit
1
⁄4" x 71⁄2" x 220 Grit
 Loading...