

Page 1
Model D4031
Mortising Kit
Instruction Sheet
Phone #: (360) 734-3482 • Online Tech Support: tech-support@shopfox.biz • Web: www.shopfox.biz
Introduction
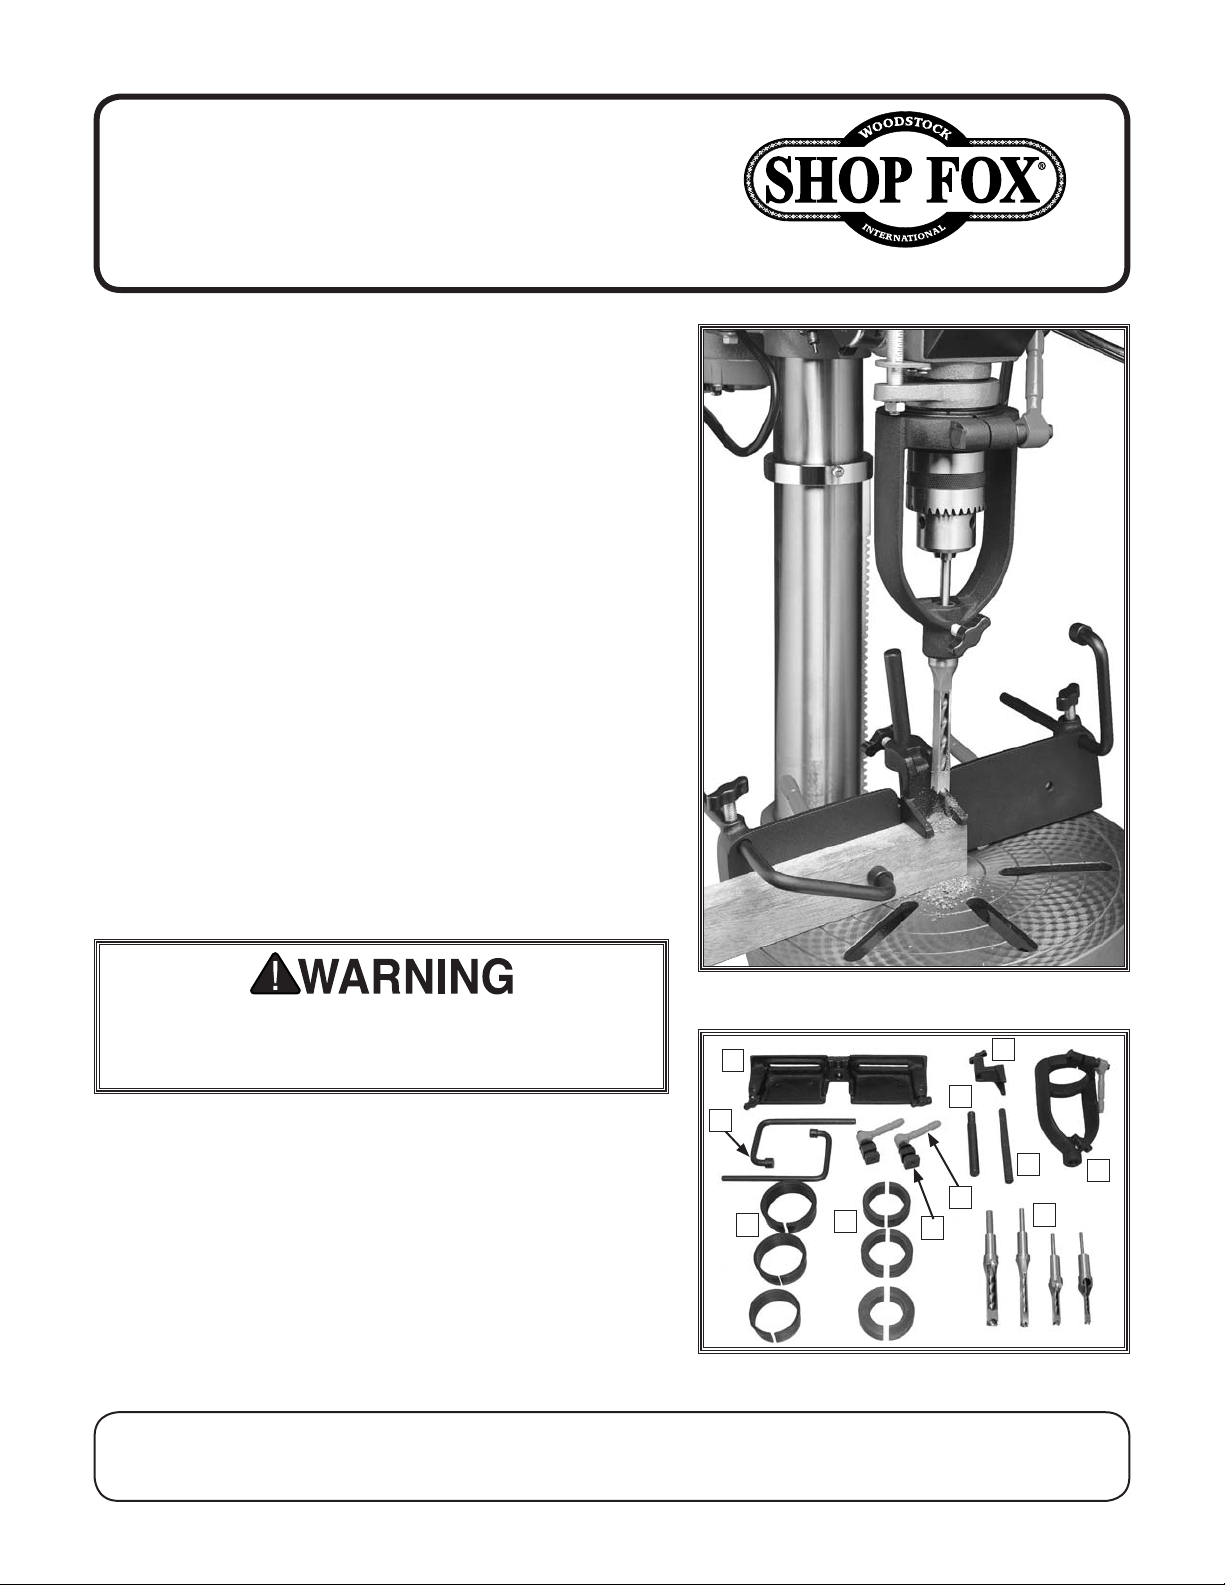
The Model D4031 (Figure 1) Mortising Kit provides every-
thing needed to produce mortises with your drill press.
Inventory (Figure 2)
A. Cone .........................................................1
B. Fence Assembly ............................................1
C. Alignment Tool .............................................1
D. Mortising Chisels ...........................................4
E. T-Nuts .......................................................4
F. Mounting Sleeves:
2.945" OD x 2.600" ID ..................................1
2.600" OD x 2.366" ID ..................................1
2.366" OD x 2.170" ID ..................................1
G. Mounting Bushings:
2.600" OD x 2.000" ID ..................................1
2.600" OD x 1.880" ID ..................................1
2.600" OD x 1.570" ID ..................................1
H. Hold-Down Rods............................................2
I. Hold-Down ..................................................1
J. Adjustable Handle .........................................2
K. Rod ...........................................................1
Unplug your drill press before installing this mortising
attachment. Failure to do so may result in serious
personal injury.
COPYRIGHT © JULY, 2010 BY WOODSTOCK INTERNATIONAL, INC.
WARNING: NO PORTION OF THIS MANUAL MAY BE REPRODUCED IN ANY SHAPE OR FORM WITHOUT
THE WRITTEN APPROVAL OF WOODSTOCK INTERNATIONAL, INC.
Figure 1. Model D4031.
B
H
F
G
Figure 2. Inventory.
E
I
C
K
J
Printed in China#13055JB
A
D
Page 2
Mounting the Cone
1. If the cone will not fit over the drill chuck, remove
the chuck. Otherwise, secure the alignment tool in
the drill chuck on your drill press.
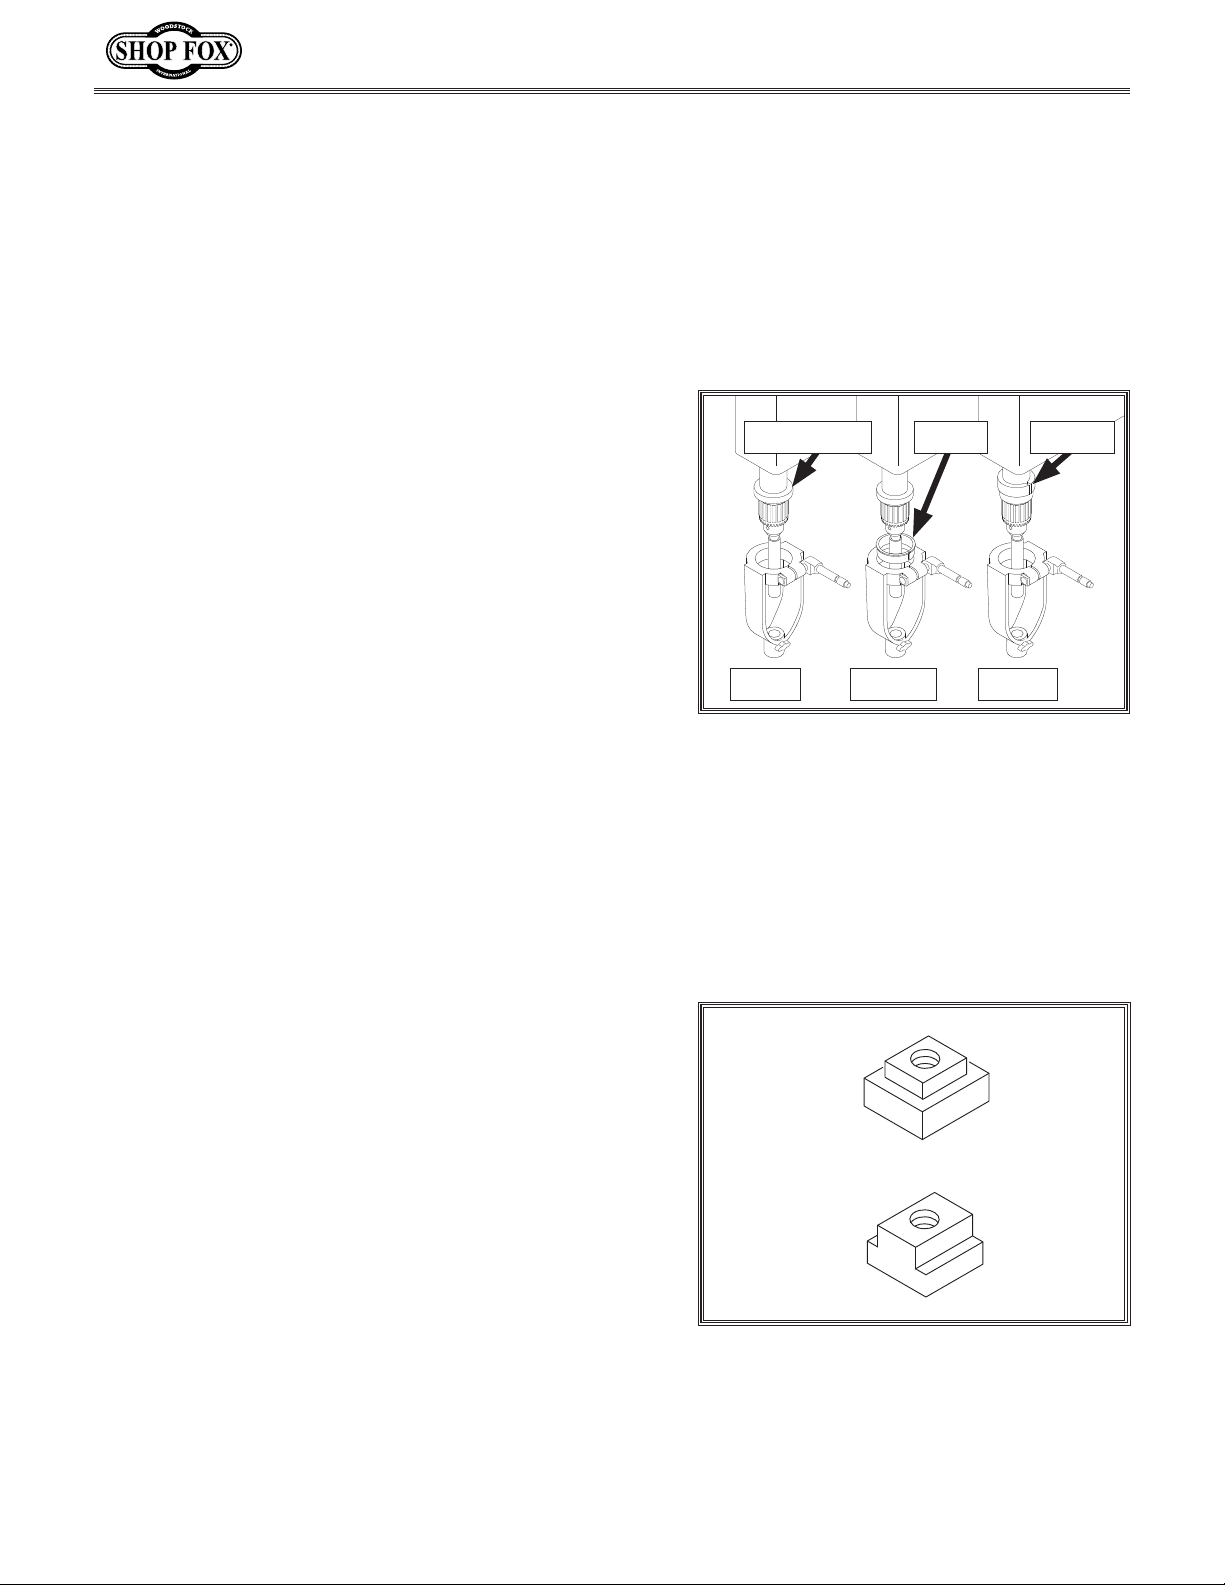
2. Carefully measure the flange on the bottom of the
quill on your drill press.
3. Compare the size of the flange with those listed in
the Inventory and examine the mounting methods
shown in Figure 3. If your quill measures 2.6", use
the direct mounting method. If the measurement
closely matches one of the sleeve inside diameters
(ID), use one or more of the sleeves and the sleeve
method. If the flange on your drill press does not
match any of the ID's listed for sleeves, measure the
quill body and use the pair of mount bushings.
4. Slide the cone onto the mounting surface. If you
removed the chuck in Step 1, re-install it now and
insert the alignment tool into the chuck.
5. Tighten the knob to secure the cone to the
alignment tool.
D4031 Mortising Kit Instructions
Quill Flange Sleeve Bushing
Direct Sleeved Bushed
Figure 3. Three mounting methods.
6. Tighten the adjustable handle on the top of the
cone.
7. Loosen the knob and the drill chuck, and remove the
alignment tool.
Mounting the Fence
1. Remove the 2 T-nuts (see Figure 4) from one of the
adjustable handles and check to see which fits best
in the slots on your drill press table.
2. Position the fence on top of the drill press table and
align the holes with the slots in the table.
3. Secure the fence in place using the 2 adjustable
handles and appropriate T-nuts.
Figure 4. Two T-nut styles.
-2-
Page 3

D4031 Mortising Kit Instructions
Making a Mortise
Proper alignment of the workpiece and chisel is essential
to making good mortise and tenon joints. The instructions
below describe one method of creating square joints with
an evenly-spaced mortise. Place a scrap board on top of
the drill press table if a through-mortise is to be made.
To make a mortise, do these steps:
1. Install the chisel into the cone, rotate it so the
opening is positioned toward the operator and is
square to the fence, as shown in Figure 5, then
secure with the knob.
2. Secure the drill bit into the drill chuck. Slide the
drill bit into the chisel as far as it will go and then
allow it to drop back down
Figure 6. If this is not done, wood chips generated
by the cutting action will have no place to go,
resulting in excessive heat and damage to the tool.
1
⁄32" - 1⁄16", as shown in
3. Measure the surface of the workpiece that is to have
the mortise. Subtract the size of the mortise chisel
and divide this number in half.
Workpiece = 0.75"
Chisel =
-0.375"
0.375" ÷ 2 = 0.1875"
4. Mark the workpiece where you want the mortise and
clamp it to the fence.
5. Loosen the adjustable handles on the fence. Lower
the chisel with the downfeed handles on the drill
press and make adjustments to the fence until the
marks on the workpiece are aligned with the chisel
as in Figure 7. Tighten the adjustable handles. If the
fence cannot be adjusted close enough, adjust the
table on the drill press until the chisel and marks are
aligned.
6. Set the speed of the drill press between 900 and
1200 RPM.
Figure 5. Example of squaring a chisel.
Figure 6. Proper drill bit depth.
7. Carefully inspect the alignment. When you are
satisfied that the setup is worthy of being tested,
replace the workpiece with a scrap piece of lumber
that is the same size as the workpiece. Attach the
hold-down bracket and rod(s) and make a cut.
Figure 7. Aligning the chisel and marks.
-3-
Page 4

REF PART # DESCRIPTION
1 XD4031001 ALIGNMENT TOOL
2 XD4031002 CLAMP ROD
3 XD4031003 LARGE T-NUT 5/16-18
4 XD4031004 SMALL T-NUT 5/16 X 18
5 XD4031005 FENCE
6 XD4031006 HOLD-DOWN ROD
7 XPW07 FLAT WASHER 5/16
8 XD4031008 HANDLE MALE 5/16-18 X 2"
9 XD4031009 HOLD-DOWN BRACKET
10 XD4031010 MORTISING CHISEL 1⁄2"
11 XD4031011 MORTISING CHISEL 3⁄8"
12 XD4031012 MORTISING CHISEL 5⁄16"
13 XD4031013 MORTISING CHISEL 1⁄4"
14 XD4031014 SQUARE HD BOLT 5⁄16"-18 X 2"
15 XD4031015 KNOB BOLT
16 XD4031016 CONE
17 XD4031017 HANDLE FEMALE 5/16-18"
18 XD4031018 SLEEVE 2.945" X 2.6"
19 XD4031019 SLEEVE 2.6" X 2.366"
20 XD4031020 SLEEVE 2.366" X 2.17"
21 XD4031021 BUSHING PAIR 2.6" X 2.00"
22 XD4031022 BUSHING PAIR 2.6" X 1.88"
23 XD4031023 BUSHING PAIR 2.6" X 1.57"
1
2
3
4
5
6
7
8
9
10
11
12
13
14
15
16
17
18
19
20
21
22
23
8. Watch the chips coming out of the slot on the shank
1
2
3
4
of the chisel. If you don't see chips or there is a lot
of smoke, raise the chisel, turn off the drill press
and adjust the drill lower in the chisel. If burning
still occurs, lower the speed the drill press. Some
burning may occur with certain species of wood
regardless of the settings but you will see wood
chips while cutting mortises with this tool when it is
operating correctly.
9. Check the placement of the cut and make any
adjustments to the setup before cutting a valuable
workpiece.
Cut Sequence
Cutting mortises that are wider than the chisel must be
done in proper sequence for best results. See Figure 8 for
one possible sequence that will produce good results.
D4031 Parts
D4031 Mortising Kit Instructions
Figure 8. Staggered cut sequence.
-4-
 Loading...