

Page 1
75RS
75RS
T
M
Shindaiwa Inc.
P.O. Box 2810
Tualatin, Oregon 97062
Telephone 503 692-3070
FAX 503 692-6696
www.shindaiwa.com
SHINDAIWA OWNER’S/
OPERATOR’S MANUAL
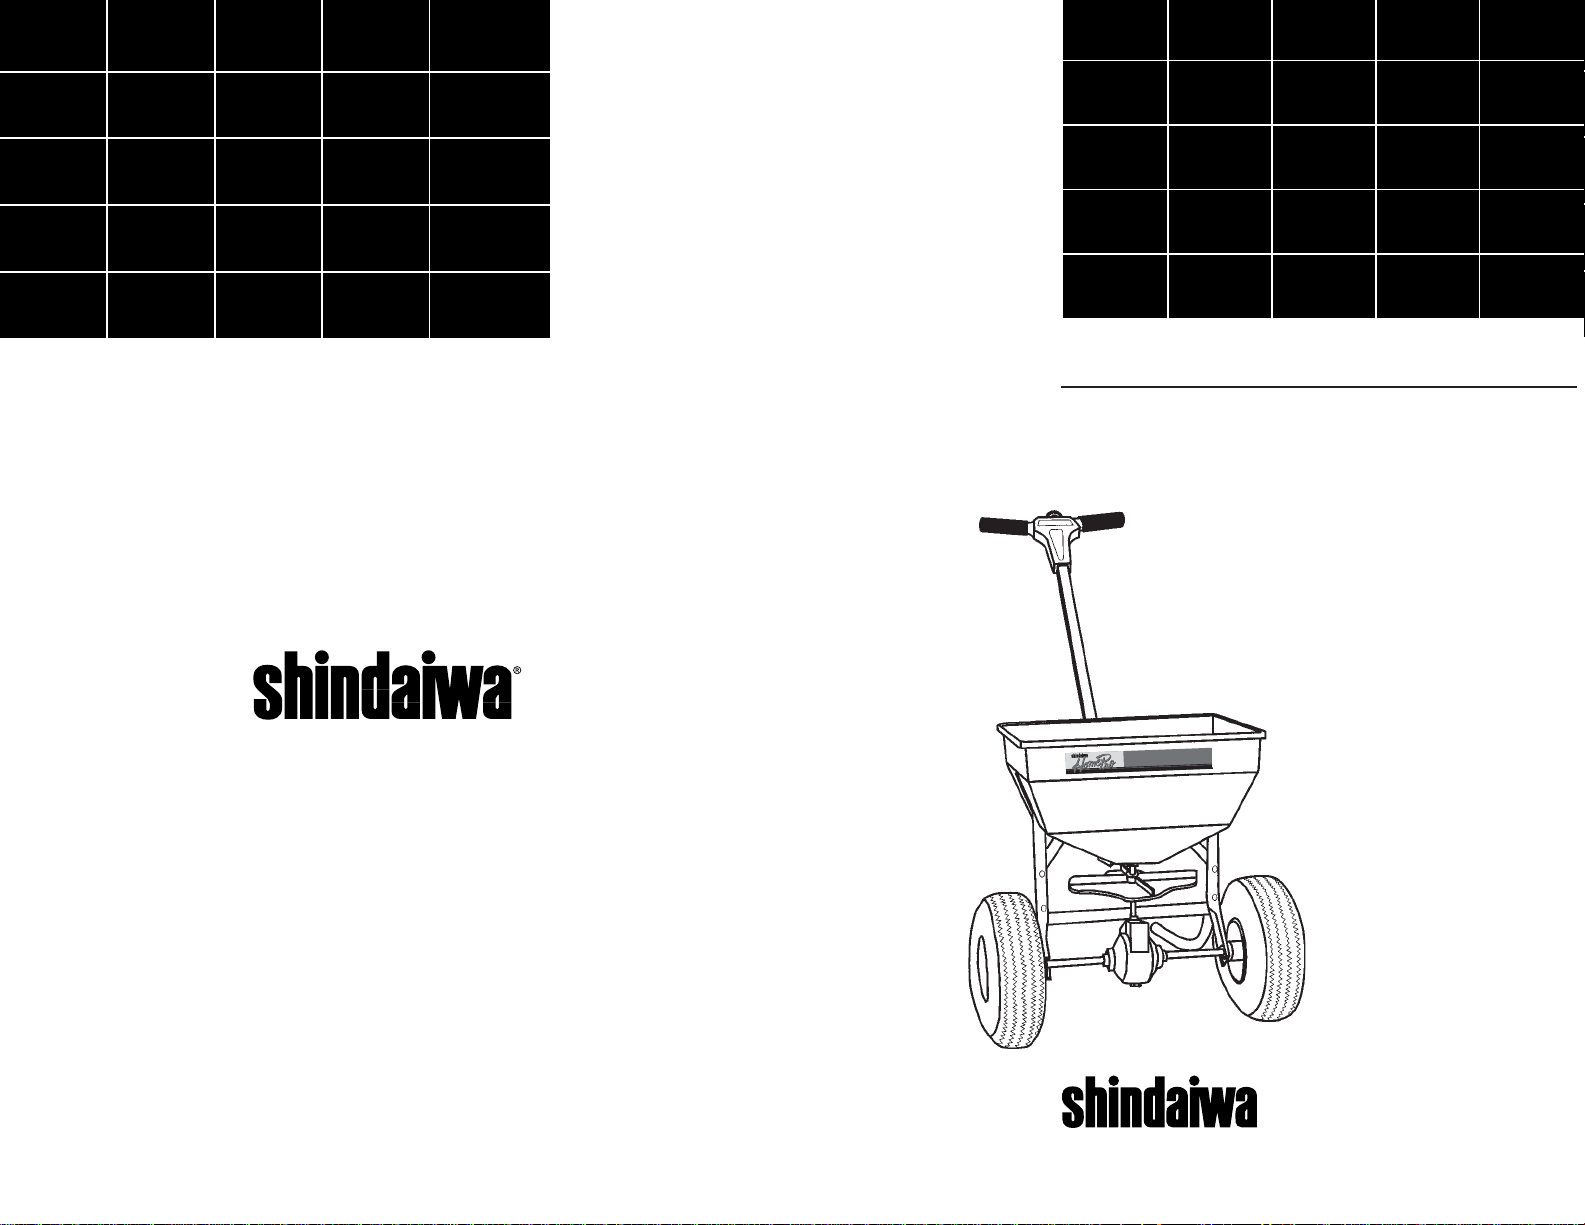
75RS BROADCAST
SPREADER
2001 Shindaiwa Inc.
Part Number 80045
Printed in U.S.A.
Shindaiwa is a registered trademark
of Shindaiwa, Inc.
Part Number 80045
Page 2

Page 3

Notes
Contents
PAGE
Introduction ........................................ 1
Assembly ............................................. 2
Operation ............................................. 4
Settings ................................................ 6
Rate Conversion ................................. 7
Maintenance ....................................... 8
Fasteners ............................................. 9
Illustrated Parts List ......................... 10
Warranty Statement ......................... 11
Introduction
The information contained in this
manual describes machines available
at the time of production. While every
attempt has been made to provide the
very latest information about the 75RS,
there may be some differences
between your spreader and what is
described here. Shindaiwa Inc.
reserves the right to make changes in
production without prior notice, and
without obligation to make alterations
to spreaders previously manufactured.
If you have any questions regarding
your 75RS Spreader, or if you do not
understand something in this manual,
your Shindaiwa dealer will be glad to
assist you. For additional information,
you may contact Shindaiwa Inc. at the
address printed on the back of this
manual.
Prior to Assembly
IMPORTANT!
The terms “left,” “left-hand,” and “LH”;
“right,” “right-hand,” and “RH”; “front”
and “rear” refer to directions as
viewed by the operator during normal
operation of the spreader.
Before assembling the spreader,
make sure you have all required
components. See pages 9 and 10.
■ Hopper assembly
■ Drive wheel
■ Free wheel
■ Frame, axle and gearbox assy.
■ Handle tube
■ T-handle assembly
■ Handle braces (2)
■ Control rod and wire assembly
■ Hardware bag (see page 9 for
contents)
■ This manual, part number 80045
Carefully inspect all components for
damage.
75RS Specifications
Dimensions
Overall height ............ 22" (55.9 cm)
Wheel track width ..... 22" (55.9 cm)
Handle length ............ 31" (78.7 cm)
Dry weight................. 18.3 lbs. (8.3 kg)
Hopper capacity .....................................
..... ................ 1.3 cubic feet (36.8 liters)
Tires ..... 10" (254 mm) dia., pneumatic
Axle bearing ................................. Nylon
Frame ............................7/8" (22.2 mm)
(welded steel tube)
12
1
Page 4

Assembly
OFF
ON
1/4-20 x 2 1/4
Hex Bolt
1/4-20
Hex Nut
RH Handle
Brace
Figure 1
1. Remove the spreader and components from the carton and place the
spreader upside down on a padded
surface. Install the LH & RH handle
braces to frame using four 1/4-20 x
2 1/4" hex bolts and nuts. Do not
tighten at this time. See Figure 1.
Drive
Wheel
Figure 2
5/32 x 2"
Cotter Pin
2. Install drive wheel onto the righthand end of the axle as viewed
from the operating position. (You
can identify the drive wheel by the
cotter pin hole drilled in the hub).
The hub must face towards frame.
Align the hole in the drive wheel
hub and the hole in the axle.
Secure drive wheel to axle with the
5/32" x 2" cotter pin. Install the
free wheel on the opposite end of
the axle. Insert the 5/32" x 1"
cotter pin to retain the free wheel.
See Figure 2.
LH Handle
Brace
5/32 x 1"
Cotter Pin
Free
Wheel
1/4-20 x
2 1/4"
Bolt
Figure 3
1/4-20 Hex
Nut &
Washer
3. Feed control knob/wire through the
T-handle until the caution label
touches the round hole.
See Figure 3.
DO NOT COMPRESS THE
SPRING AT THIS TIME.
Feed the T-handle/control wire
assembly through the square
handle tube towards the locator
dot. See Figure 4. Secure the Thandle to the tube with (2)1/4-20 x
2 1/4" bolts, (4) flat washers, and
(2) hex nuts. See Figure 3.
1/4-20 x 2"
Hex Bolt
Handle
Tube
Dot
Figure 4
1/4-20
Hex Nut
4. Turn the spreader upright and
install the handle tube with the dot
between the handle braces as
shown. Install (2) 1/4 x 1 1/2" hex
bolts and nuts. See Figure 4.
The feed control wire must be
positioned above the handle
brace bolts to operate properly.
Securely tighten all nuts and bolts
installed in previous steps.
Shindaiwa Limited Warranty
Shindaiwa Inc. manufactures its
products to superior quality standards
to afford our customers the highest
level of satisfaction. In keeping with
this goal, Shindaiwa Inc. warrants this
HomePro 75RS Spreader to the
original purchaser as follows:
Warranty Period
1 year for Personal/Consumer use.
180 days for Commercial/
Institutional use.
90 days for rental use.
Warranty Administration
Within the covered warranty
period, Shindaiwa Inc. will, at their
option, repair or replace any defect in
material or workmanship, without
charge for parts or labor, if this
product is presented at an authorized
Shindaiwa dealer.
Warranty Exclusions
and Limitations
Shindaiwa Inc. assumes no responsibility for damages, loss, or injury
resulting from:
Normal wear and tear.
Misuse or neglect.
Modification to or removal of
original component parts.
This warranty is limited to the terms
stated herein. Shindaiwa Inc. disclaims all liability for incidental or
consequential damages. Some states
do not allow the exclusion of incidental or consequential damages, so these
limitations may not apply to you.
This warranty gives you specific
legal rights, and you may also have
other rights which may vary from
state to state.
Shindaiwa Inc. reserves the right to
change the design or specifications of
this product without obligation to
modify previously manufactured
products.
Owner’s Responsibilities.
The owner of this product shall
demonstrate reasonable care in the
use, maintenance, and storage of this
Shindaiwa product. If a warrantable
failure should occur, the owner shall
deliver the product to an authorized
Shindaiwa servicing dealer for
correction.
To obtain warranty service, proof of
purchase must be presented to the
authorized Shindaiwa servicing dealer
when the product is presented for
repairs.
Proof of purchase must include
date of purchase and the name and
address of the selling dealer.
2
11
Page 5

O
F
F
O
N
O
FF
O
N
Parts
75RS
75RS
T
M
Assembly, continued
21
23
22
20
18
Optional Accessory
Hopper Cover 14606
The clear plastic Hopper Cover fits
over the top, preventing moisture
from contaminating the chemicals.
24
17
19
27
25
16
Replacement parts may be obtained
from your local Shindaiwa dealer.
When ordering, be sure to include the
spreader model number, part number
and description as shown here.
1
26
15
3
14
13
5
2
4
6
12
10
Remove Caution
Label
Control Knob &
Wire Assembly
Handle
Grips
Thumb
Spring
Release
7
Screen
Screen
Clips
Figure 5
11
8
9
5. Remove the caution label, push the
thumb release toward the center
and push the control knob and
spring down until the knob latches.
See Figure 5.
Caution!
Once the knob is latched, do not
move the thumb release until you
have completed step 8!
Figure 7
7. Install handle grips onto the
handle. It is not necessary to use
lubricants to do so. Insert screen
into hopper by sliding it under the
screen clips. See Figure 7.
Wire Clip
The 75RS spreader should now
be completely assembled and
ready for use.
Key Description Part Key Description Part
No. No. No. No.
Hopper Assy. 15269-1 14 Agitator 14510
1 Hopper* 15270 15 Impeller Shaft Bearing* 14312-1
2 Shutoff Plate* 14454-1 16 Hopper Screen 14603
3 Shutoff Plate Guide (2)* 15272 17 Screen Clip (2) 14022
4 Rate Cam & Chute Assy.* 14455-1 18 Handle Brace w/Plug-L.H. 15258-1
5 Impeller Assy. 15263 19 Handle Brace w/Plug-R.H. 15261-1
6 Frame Assy. 15262-1 20 Handle Tube 15283-1
7 Drive Wheel w/tire 14939-1 21 Handle Grip (2) 15264
8 Axle Gear 13360 22 T-Handle Assy. 13634-2
9 Gear Cover Assy. 14629 23 Control Knob Spring 14462
10 Axle Collar 13362 24 Control Knob & Wire Assy. 13640-2
11 Axle 15276 25 Wire Retaining Clip 13643-1
12 Axle Bushing (2) 14951 26 Hopper Label* 15275
13 Free Wheel w/tire 14940-1 27 Hopper Plug 15271
*Items included in the Hopper assy.
10
Wire
Shutoff Plate
Figure 6
6. Slide the wire retaining clip onto the
wire. Insert the control wire
through the hole in the shutoff
plate, then slide the clip over the
shutoff plate until the clip locks into
place. See Figure 6.
3
Page 6

Operation
O
F
F
O
N
Figure 8
1. Place the spreader on a driveway or
sidewalk – not on the lawn. Make
sure the spreader is off by pushing
the control knob in. See Figure 8.
2. Determine the recommended
application and spreader settings of
the material to be applied (check
the product container).
IMPORTANT!
Always begin moving the spreader
before you open the control by
pushing the thumb release to the ON
position, and push the control knob in
to CLOSE before stopping.
CAUTION!
During operation, always push the
spreader; never pull!
5. Hold the handle so the top of the
hopper is level. Start the spreader
moving, then push the thumb
release to the ON position and
begin applying the material. Avoid
tipping the spreader; doing so can
cause an uneven application.
IMPORTANT!
The settings and swath widths are
recommended starting points. Always
check the delivery rate and pattern
on a small area before treating a
large area. Actual delivery rate can
vary due to weather conditions,
walking speeds, and the condition of
the product being applied.
See pages 6-7 for details.
Fasteners
The Fastener Bag contains these
fasteners. Most are all common parts;
replacements are available at local
hardware outlets.
1/4-20 x 2 1/4 Hex Bolt
(6 Req.)
1/4-20 x 1 1/2" Hex Bolt
(2 Req.)
1/4" Flat Washer
(4 Req.)
5/32 x 2" Cotter Pin
(1 Req.)
1/4"-20 Nut
(8 Req.)
Wire Attachment
Clip (1 Req.)
1/8 x 1" Cotter Pin
(1 Req.)
Figure 9
3. Rotate the rate cam to the proper
setting. See Figure 9.
4. Fill the hopper with the product to
be spread.
4
9
Page 7

Maintenance
75RS
75RS
T
M
75RS
75RS
T
M
■ Never store unused material in the
spreader. Return unused material
to its original container.
■ Wash the spreader thoroughly after
each use. See Figure 12. Remove
the gear cover and wash the gears
thoroughly. Then dry completely in
the sun or a heated area.
■ Lubrication
a. Lubricate the face of the gear
teeth with dry graphite.
Reinstall the gear cover.
b. Lightly oil the axle bearings in
the frame. See Figure 13.
c. Apply oil to the impeller shaft
bearing in the hopper, pivot
points on the shut-off plate,
and the spring in the housing
behind the control plate.
See Figure 13.
■ Gear mesh should be checked
regularly, especially during highuse periods. The clearance between
the axle gear and the pinion gear
should be very close, but not tight.
If adjustment is required:
a. Loosen the axle collar set screw
and hold the gears together.
b. Hold the axle gear lightly
against the gear support and
tighten the axle collar set
screw.
c. Spin the drive wheel to make
sure the gears run freely and
smoothly. See Figure 14.
Figure 12
Oil Control knob and
wire, shut-off plate,
and control plate
spring
Figure 13
Oil bearing in
the hopper
Oil
Axle
Collar
Operation
Effective swath
width approximately
10-12 feet on center.
Overlap
Figure 10
6. Where appropriate, apply header
strips around the area to be treated,
then push the spreader at a walking
speed about 2 1/2 mph (18 feet in
five seconds). To decrease the
spread width in confined areas,
reduce walking speed. Space your
trips across the area as shown in
Figure 10.
7. When transporting the spreader,
make sure the control knob is
pushed in and locked.
8. Empty the spreader after each use,
and return leftover material to its
original container.
■ Periodically clean the surface of the
impeller to remove buildup of
material. A buildup could cause the
spread pattern to change.
■ Maintain tire pressure at 20–25 psi.
8
Oil
Dry Graphite
Figure 14
5
Page 8

Spreader Settings
When determining correct spreader
settings, consider:
■ Effective Pattern Width: The
actual width in which the material
is applied. Label instructions and
settings are useful guides, but only
an actual test can provide a reliable
and accurate pattern width.
■ Application Rate: The amount of
material applied per 1000 square
feet (before you can determine
application rate, you must know the
effective pattern width).
Effective Pattern Width
You can make a simple visual
pattern test by operating the spreader
over a non-turf area and evaluating the
pattern.
A more accurate method is to place
a row of disposable aluminum cake
pans about 1 foot apart on centers as
shown in Figure 11. Set the rate
control at the middle setting (see
Operation, Step 3, Figure 11,) and
make three or four passes in the same
direction. See Figure 11.
Pour the material collected in each
cake pan into individual bottles or jars
of the same size, then set them side by
side in the order they were collected
and inspect the containers.
The Effective Pattern Width is the
distance out from the spreader to a
point where the amount of material is
1/2 the amount in the center pans.
Application Rate
Calculate application rate as follows:
1. Determine the Effective Pattern
Width (see the previous page).
For example:
Effective Pattern Width is deter-
mined to be 10 feet.
2. Determine the coverage require-
ment of the material to be spread in
pounds per 100 square feet. This
can be calculated as follows:
a. Divide the weight of a container
of material by the recommended
square-foot coverage.
b. Multiply the result by 100 (add
two zeros).
For example:
■ According to the label on the
container, 25 pounds of material
will cover 5000 square feet.
■ Calculate average coverage
requirement–
25 lbs 5000 000.5 100
0.5 pounds per 100 square feet
3. Measure out an area of 100 square
feet (10 by 10 feet).
Weigh out 15 to 20 pounds of material
and spread it over the measured 100
square-foot area, applying in 10-foot
swaths (10-foot Effective Pattern
Width). Weigh the material remaining
in the hopper and adjust the discharge
chute as required.
Repeat the test until the application
rate is correct.
Space for
wheel track
Direction of
Operation
Space pans
1 foot on
centers
Figure 11
Rate Setting Conversion
The following is a comparison of the
settings of a Shindaiwa 75RS with the
equivalent approximate settings of
other spreaders.
Shindaiwa
75RS 2 3 4 5 6 7 8 9 10 11 12 13 14 15 16 17 18
Scotts
Speedy Green - - 2 - 3 - 4 - 5 - 6 - 7 - 8 - -
PrizeLAWN
BF-1/CBR III G H J K M N N1/2 O P1/2 Q R S T U V X Z
Lesco
Hi-Wheel
Scotts
R8A/SR1/AP I J L M O P - Q - S T U - V W X Z
This charts
provides
approximate
settings of a
Shindaiwa
75RS when
only the
product
weight, area
coverage, or
inspection of
the material
is available.
Conversions should only be used as
guidelines for establishing rate
settings. To obtain the most accurate
application rate, follow the procedures
described in the Effective Pattern
Width and Application Rate sections.
E F G H I J K L - - M N O - P R S
Fertilizer
Particle Size
LARGE,
HEAVY
PARTICLES
MEDIUM,
MIXED
PARTICLES
SMALL
PARTICLES
(NITROGEN)
MIXED-SIZE
PARTICLES,
SOME FINES
LIGHT
WEIGHT
PARTICLES
Bag Rate Approximate Spread
pounds of material used per Setting Width
1000 sq.ft. of coverage (feet)
5612
10 9 12
15 11 12
5510
10 7 10
15 9 10
1210
2410
3510
568
10 9 8
15 11 8
546
10 5 to
15 6 8
The settings shown here are only
approximations and will vary with
walking speed, turf condition, humidity, etc. Warranties and guarantees of
actual coverage or uniformity are
neither expressed nor implied.
6
7
 Loading...