

Page 1
321-62706-21B
Nov. 2008
Shimadzu Electronic Printer
Instruction Manual
EP-80
Read the instruction manual thoroughly before you use the product.
Keep this instruction manual for future reference.
Page 2

Page 3

Declaration Of Conformity
Shimadzu Corporation declares that the following product:
EP-80 Electronic Printer
conforms to the following directives.
Directives
EMC directive 89/336/EEC amended by 92/31/EEC, 93/68/EEC
EN55022: 1994 / A1: 1995 / A2: 1997 (Class B)
EN55024: 1998
EN61000-3-2: 1995 /A1: 1998 /A2: 1998, EN61000-3-3: 1995
Low Voltage directive 73/23/EEC amended by 93/68/EEC
EN60950: 1992 /A1: 1993 /A2: 1993
Weighing Instruments Department
Analytical & Measuring Instruments Division
SHIMADZU CORPORATION
1, Nishinokyo-Kuwabaracho
Nakagyo-ku, Kyoto-shi
604-8511 JAPAN
- I -
Page 4

Page 5

Contents
Declaration Of Conformity
........................................................................................... 1 1. Introduction
............................................................ 5 2.
Packing List and Component Names
2.1 ...............................................................................................................5 Packing list
2.2 ..............................................................................................5 Main unit components
............................................................................................. 6 3. Installation
3.1 .........................................................................................................6 Installation Site
3.2 .......................................................................................................................6 Power
3.3 ................................................................................................................8 Installation
3.3.1 ..............................................8 Connecting to power (when using AC adapter)
3.3.2 ........................................................8 Loading batteries (when using batteries)
3.3.3 ......................................................................................9 Loading printer paper
3.4 .........................................................................................11 Connecting the Balance
................................................................... 12 4. Functions and Operation
4.1 .........................................................................................................12 Key Switches
4.2 ........................................................................................12 Output from the Balance
4.3 ......................................................................................12 Statistic Calculation Mode
4.4 .....................................................................................................14 Auto Print Mode
.......................................................... 15 5.
Communication and Other Settings
5.1 ..........................................................................................................15 DIP Switches
5.2 ..................................................................................................................16 Settings
5.2.1 ...........................................................16 Communication Setting 1 (Baud rate)
5.2.2 .................................................................16 Communication Setting 2 (Parity)
5.2.3 ............................................................16 Communication Setting 3 (Delimiter)
5.2.4 .......................................................................................17 English / Japanese
5.2.5 ............................................................................................17 Buzzer ON/OFF
........................................................................................ 18 6. Maintenance
6.1 ............................................................................................18 Refilling Printer Paper
6.2 .............................................................................18 Replacing Ink Ribbon Cartridge
6.3 ................................................................................................18 Replacing Batteries
.................................................................................. 19 7. Troubleshooting
- i -
Page 6

Contents
..............................................................................................20 8. Parts List
......................................................................................21 9. Specifications
..........................................................................................22 10. Dimensions
- ii -
Page 7

1. Introduction
1. Introduction
Shimadzu Electronic Printer EP-80 is designed to be used with Shimadzu Electronic Balances. It is
easy to operate and useful for a wide range of applications and measurement administration.
Capability of battery operation is convenient for field use and transportation. Printing method is impact
dot on normal paper, which is suitable for long term storage. Data output, auto print activation and
taring commands can be sent to an attached balance by the printer keys. Statistic calculation function
allows up to 1000 samples to be calculated and prints out the results.
Read this instruction manual carefully and use the balance correctly in accordance with the directions
in the manual. When you have finished reading the manual, keep it in a safe place together with the
balance so that you can refer to it at any time.
For information on the following points, please contact your Shimadzu Balance representative.
• Product warranty
• After service
Requests
• Provide this manual to the next user in the event that the instrument is transferred.
• To ensure safe operation, contact your Shimadzu Balance representative for installation,
adjustment, or reinstallation after moving the instrument to a different site.
Notices
• The content of this manual is subject, without notice, to modifications for the sake of
improvement.
• Every effort has been made to ensure that the content of this manual was correct at the time of
creation. However, in the event that any mistakes or omissions are discovered, it may not be
possible to correct them immediately.
• The copyright of this manual is owned by Shimadzu Corporation. Reproduction and duplication
of whole or part of the content without permission of the company are strictly prohibited.
• “Microsoft”, “Windows”, “Windows Vista” and “Excel” are registered trademarks of Microsoft
Corporation of the U.S.A. in the United States and other countries. All other company names
1
Page 8

1. Introduction
and product names that appear in this manual are trademarks or registered trademarks of the
companies concerned. Note that ™ and ® indications are not used.
• The company names, organization names and product names in this manual are trademarks or
registered trademarks of the companies and organizations concerned.
• Shimadzu does not guarantee that the WindowsDirect communication function will operate
without problems on all PCs. Shimadzu will accept no responsibility for any trouble that arises
as a result of using this function. You are recommended to back up all important data and
programs in advance.
© 2007-2008 Shimadzu Corporation. All rights reserved.
Action for Environment (WEEE)
To all user of Shimadzu equipment in the European Union:
Equipment marked with this symbol indicates that it was sold on or after 13th August 2005,
which means it should not be disposed of with general household waste. Note that our
equipment is for industrial/professional use only.
Contact Shimadzu service representative when the equipment has reached the
end of its life.
They will advise you regarding the equipment take-back.
With your co-operation we are aiming to reduce contamination from waste
electronic and electrical equipment and preserve natural resource through
re-use and recycling.
Do not hesitate to ask Shimadzu service representative, if you require
further information.
WEEE Mark
2
Page 9
1. Introduction
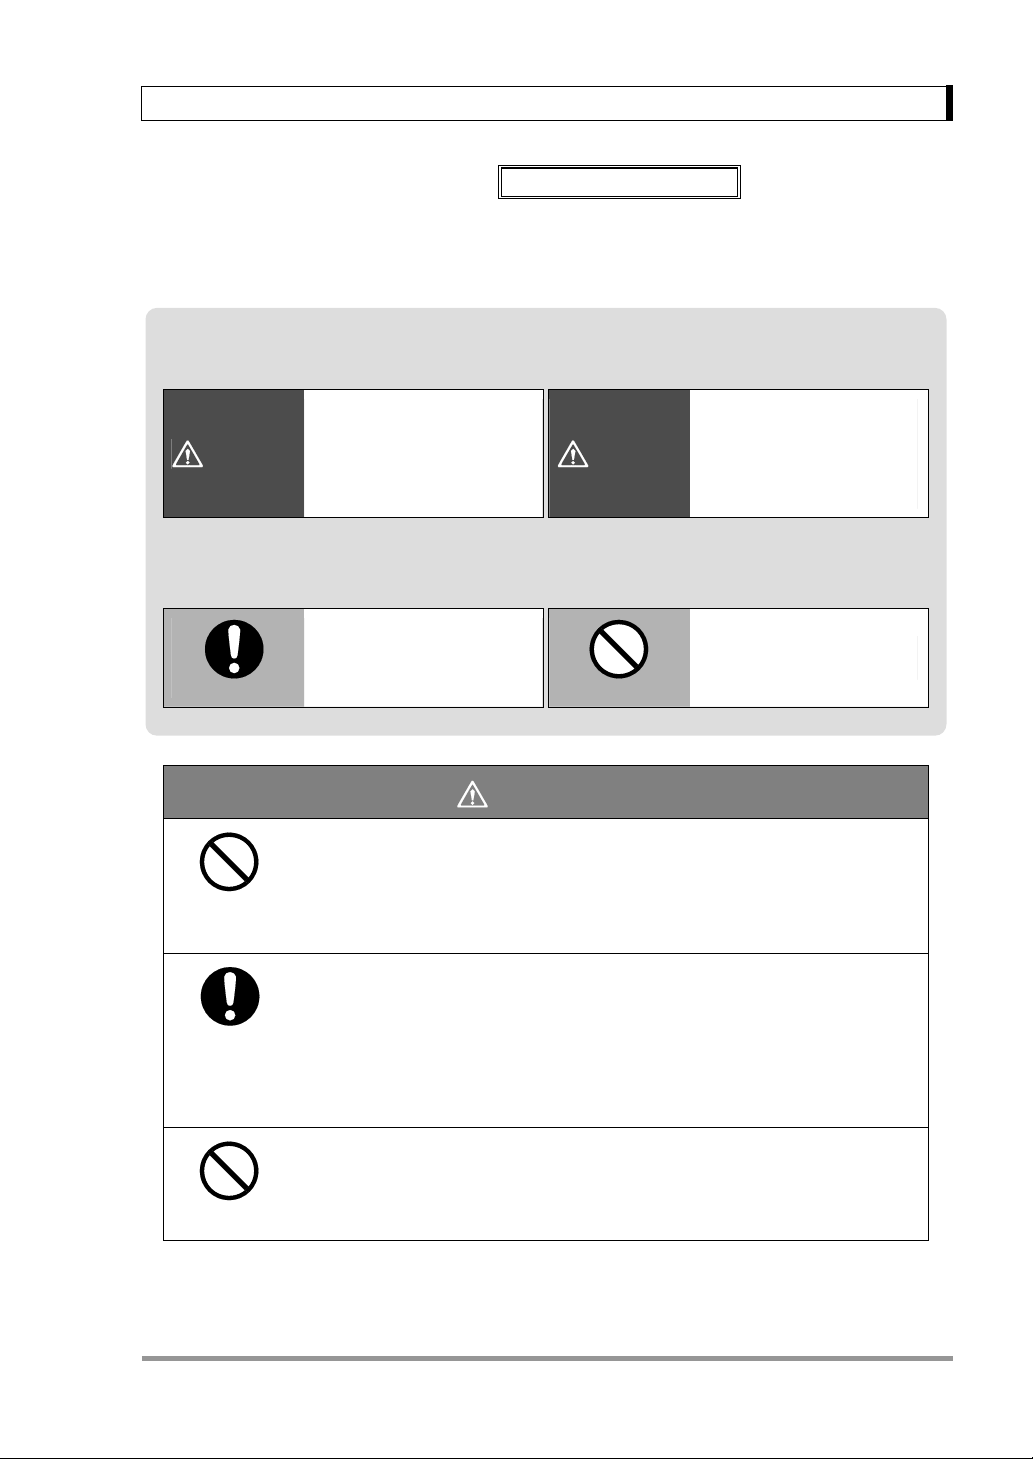
Safety Precautions
To ensure that you use the balance safely and correctly, read the following precautions carefully and
observe them.
The levels of danger and damage that will arise if the balance is used incorrectly are classified
and indicated as shown below.
WARNING
Precautions are classified and explained by using one of the symbols below, depending on the
nature of the precaution.
Instructions
Indicates a potentially
hazardous situation which,
if not avoided, could result in
serious injury or possibly
death.
Indicates an action that must
be performed.
To be strictly observed
Indicates a potentially
hazardous situation which,
CAUTION
Prohibitions
if not avoided, may result in
minor to moderate injury or
equipment damage.
Indicates an action that must
NOT be performed.
Prohibitions
Instructions
Prohibitions
WARNING
Never disassemble, modify or attempt to repair this product or any
accessory.
You could sustain an electric shock or the product could operate abnormally.
If you believe that the balance has failed, contact your Shimadzu representative.
Use the balance with the specified power supply and voltage.
Using the printer with an incorrect power supply or voltage will lead to fire or trouble
with the printer.
Note also that if the power supply or voltage is unstable or if the power supply
capacity is insufficient, it will not be possible to obtain satisfactory performance
from the printer.
Do not use the balance outdoors or anywhere where it will be exposed
to water.
You could sustain an electric shock or the product could operate abnormally.
3
Page 10

1. Introduction
Prohibitions
Instructions
Instructions
CAUTION
Avoid locations where the balance will be exposed to any of the
following.
This could cause accidents or poor
performance.
● Extreme temperature changes
● Vibration
● Direct sunlight
● Corrosive or flammable gases
● Dust, electromagnetic waves or
a magnetic field
Install the balance on a strong and stable flat table or floor.
Placing the printer in an unstable site could lead to injury or trouble with the
balance.
After a power outage, turn the power back ON.
When a power outage occurs, the power is shut off automatically. Therefore, begin
operation from “3.3 Installation”.
Instructions
Prohibitions
Instructions
Treat the balance with care and respect.
The printer is a precision instrument. Subjecting it to impacts could cause it to fail.
If the printer has to be stored for a long time, store it in the packaging box in which it
was delivered.
Do not connect anything other than balance specified by Shimadzu.
In order to avoid trouble, always connect balance in accordance with the directions
in this manual.
If you detect anything abnormal (e.g. a burning smell) disconnect the
AC adapter immediately.
Continuing to use the balance with an abnormality could lead to fire or an electric
shock.
4
Page 11

2. Packing List and Component Names
2.
Packing List and Component Names
2.1 Packing list
Unpack and verify that the following standard packed items (one each) are present.
Connection Cable
Printer Main Unit
AC Adapter
Printer Paper and
Printer Paper Shaft
Instruction manual
The shape of the supplied AC adapter may differ from the figure above.
2.2 Main unit components
(1) Power switch (2) Command keys (3) Printer paper cover (4) Power connector
(5) Data I/O connector (6) Battery cover (7) LOW BATT lamp (8) Power indication lamp
(9) Statistics lamp (10) Auto print lamp (11) Cutter
5
Page 12

3. Installation
3. Installation
3.1 Installation Site
Caution
For safe and proper operation, avoid sites where EP-80 is exposed to the following:
• Corrosive or flammable gasses
• Dust, wind, electromagnetic waves, or magnetic fields
• Direct sunlight
• Extreme temperature, temperature changes or humidity
3.2 Power
EP-80can be operated either with AC adapter or with batteries.
(When using AC Adapter)
Choose a site where the standard AC adapter can be used.
Make certain the supplied power voltage meets the AC adapter's specification.
Remove batteries when using AC adapter.
(When using batteries)
Use alkaline batteries only.
Disconnect AC adapter when using batteries.
Make certain to turn power switch after use.
Replace with new batteries promptly when LOW BATT lamp is illuminated.
6
Page 13

3. Installation
Caution
Observe the following instructions about handling batteries.
1. Load batteries observing the polarity.
2. Do not mix new and used batteries.
3. Do not mix batteries of different kinds.
4. Do not use any rechargeable batteries.
5. Remove and dispose of used batteries as soon as LOW BATT lamp is illuminated.
6. Remove batteries when printer is not in use for a long period.
Caution
Use the AC adapter supplied by Shimadzu representative only. (DC 9V-12V, 2A) Using other
adapters may cause failure. When EP-80 is not in use, disconnect AC adapter from power
source.
7
Page 14

3. Installation
3.3 Installation
3.3.1 Connecting to power (when using AC adapter)
Verify power switch is off.
Connect AC adapter to EP-80. Connect AC adapter to designated power source.
Switch OFF
Switch ON
Power Cable
The shape of the supplied AC adapter may differ from the figure above.
Power
Source
3.3.2 Loading batteries (when using batteries)
Disconnect AC adapter. Turn power switch OFF.
Turn over the printer main unit and remove battery cover. Load batteries as shown in the figure.
Load batteries correctly observing the polarity shown in the figure. Use alkaline batteries only.
8
Page 15

3. Installation
3.3.3 Loading printer paper
Connect AC adapter or load batteries.
Remove printer paper cover.
(How to remove printer paper cover)
Lift rear of printer as shown in the figure.
(When replacing, take out the remaining roll and pull out printer paper shaft.)
Verify there are no bends or folds in the paper end.
Insert printer paper shaft to the center of the paper roll as shown in the figure. (Printer paper shaft is
inserted when EP-80 is delivered)
Turn power switch ON.
9
Page 16

3. Installation
Keep pressing [FEED] key while inserting the printer paper end into the slot of the printer mechanism
as shown in the figure. Feed the paper until its end comes out.
Place printer paper shaft on the bearings and tension the paper.
Bearing
Close printer paper cover.
(How to fit printer paper cover
Slide printer paper cover forward as shown in the figure, then lower the rear to close it.
10
)
Page 17

3.4 Connecting the Balance
Cable connection
Turn OFF the balance and EP-80.
Firmly attach connection cable to the I/O connectors of the balance and EP-80.
Turning power ON/OFF
Follow the sequence below when turning ON/OFF.
(1) When turning ON
Turn ON the balance first and then EP-80.
(2) When turning OFF
Turn OFF EP-80 first and then the balance.
3. Installation
11
Page 18

4. Functions and Operation
4. Functions and Operation
4.1 Key Switches
Key Functions
[TARE] Tares the balance (Zeros the display)
[PRINT] Receives the balance's displayed data and prints it out once
[AUTO PRINT] Turn ON/OFF the auto print function of the balance
First operation: Enters the statistic calculation mode
[STAT.]
[FEED]
4.2 Output from the Balance
Second operation (while statistics lamp is lit): Prints out the results of statistic
calculation and exits the statistic calculation mode.
Feeds the printer paper by one line. If kept held down, continuously feeds until
released.
While weighed result is displayed on the balance, if [PRINT] key of EP-80 or [PRINT] key of the
balance is pressed, the displayed value will be printed out with an indication of the weighing unit.
Depending on the balance series, various data apart from weighed results such as calibration report,
application measurement results, date and time can also be output to EP-80 for printing. The [PRINT]
key of the balance or the balance's function menu should be used to output such items. Refer to the
balance's operation manual for instructions.
4.3 Statistic Calculation Mode
(1) Press [STAT.] key while statistics lamp is OFF. Statistics lamp will be illuminated and a
message will be printed out to indicate the printer has entered the statistic calculation mode.
(The first line of the print out example)
(2) Place the sample on the balance.
(3) Press [PRINT] key. The weighed result will be printed with numbering "NO. 0001". (the second
line of the print out example)
(4) Remove the sample from the balance.
(5) Repeat (2) to (4) for the rest of samples. The samples are numbered continuously.
(6) Press [STAT.] key when all the samples have been weighed. The results of statistic
calculation will be printed out. Statistic calculation mode is then exited and statistics lamp
goes OFF.
12
Page 19

4. Functions and Operation
The results of statistic calculation are printed out in the following order.
Order in print out Statistics Symbol in print out Description
1 Number of samples N
2 Total T
3 Maximum MAX
4 Minimum MIN
5 Range RNG = MAX – MIN
6 Mean MEAN = T / N
7 Standard deviation SD
∑
• Statistics of up to 1,000 samples can be calculated. When the number of samples reaches 1,000,
statistic calculation will be automatically performed, the results will be printed out, and the statistic
calculation mode will be exited.
• Once the results of statistic calculation have been printed out and the statistic calculation mode
has been exited, the data that has been obtained up to that point can no longer be recalled.
The number of significant figures is 7 in EP-80. The calculated values may contain errors due to
the smaller number of digits of data depending on the balance model.
(Example of print out)
2
)MEANXi(
−
1N
−
13
Page 20

4. Functions and Operation
4.4 Auto Print Mode
Auto print function prints out the weighed result automatically as a sample is placed on the
balance pan and the display stabilizes. Productivity is enhanced as the operator doesn't have to
press any key.
(1) Press [AUTO PRINT] key. The auto print function of the balance is activated and auto print
lamp of EP-80 will be illuminated.
(2) Press [TARE] key of the balance or EP-80. The balance display will be zeroed.
(3) Place the sample on the balance pan. The weighed result will be automatically printed out
when the display stabilizes.
(4) Press [AUTO PRINT] key while auto print lamp is illuminated to turn off the auto print function.
Notes
Conditions for data output in auto print mode vary depending on the balance series.
Refer to the balance instruction manual for UW/UX series, BW/BX series, BW-K/BX-K
series and AUW-D/AUW/AUX/AUY series. With UW/UX series, BW/BX series and
BW-K/BX-K series, select one of the several auto print modes in the balance's function
menu. When auto print function is turned ON with [PRINT] key of EP-80, the auto print
mode which is currently set will be activated. Switching between auto print modes can
be performed using the balance's menu.
14
Page 21

5. Communication and Other Settings
5.
In EP-80 electronic printer, five settings including three communication settings can be selected with
the DIP switches. The default setting of the three communication settings are Shimadzu electronic
balance standard settings. Therefore, the communication settings do not have to be changed to
communicate with the balance. If any settings have been altered after the delivery, set them to meet
the balance's communication settings. When using EP-80 simultaneously with the balance's
WindowsDirect function, set the baud rate at 300.
Communication and Other Settings
5.1 DIP Switches
DIP Switches are mounted on the floor of the printer paper holder part. (See the figure) Remove the
printer paper. Turn the power OFF before operating DIP switches. The new settings will be made
effective when turning the power ON.
Turn the power OFF before operating DIP switches.
Caution
15
Page 22

5. Communication and Other Settings
5.2 Settings
There are 8 DIP switches numbered from 1 to 8. 5 items including 3 communication settings can be
set by DIP switches. Settings are listed in the following. * indicates the default settings.
5.2.1 Communication Setting 1 (Baud rate)
DIP switch number 1 2 3 Baud rate
OFF OFF OFF 300
ON OFF OFF 600
OFF* ON* OFF* 1200*
Settings
ON ON OFF 2400
OFF OFF ON 4800
ON OFF ON 9600
OFF ON ON 19200
ON ON ON 38400
5.2.2 Communication Setting 2 (Parity)
DIP switch number 4 5 Parity
OFF* OFF* No*
Settings
ON OFF No
OFF ON Even
ON ON Odd
5.2.3 Communication Setting 3 (Delimiter)
DIP switch number 6 Delimiter
Setting
OFF* CR*
ON LF
16
Page 23

5. Communication and Other Settings
5.2.4 English / Japanese
Switches between English and Japanese for statistic calculation print out.
DIP switch number 7 Language
Setting
OFF* English*
ON Japanese
5.2.5 Buzzer ON/OFF
Switches buzzer sounding upon key operations
DIP switch number 8 Buzzer
Setting
ON* ON*
OFF OFF
17
Page 24

6. Maintenance
6. Maintenance
6.1 Refilling Printer Paper
The red lines marked on the printer paper indicate the paper is running short. Replace with a new roll
soon. For replacement, move printer paper shaft to the new roll from the old one. Refer to 3.3.3.
Loading printer paper.
6.2 Replacing Ink Ribbon Cartridge
Replace ink ribbon cartridge when print becomes faint. Open printer paper cover. Take out ink ribbon
cartridge by pressing the right end of it as shown in the figure.
Insert the new cartridge from straight above.
6.3 Replacing Batteries
The illumination of LOW BATT lamp indicates batteries need replacement. Replace with new batteries
soon. For replacement, refer to 3.3.2 Loading batteries.
18
Page 25

7. Troubleshooting
7. Troubleshooting
Check the following points before calling for servicing.
Symptom Cause (→ remedy)
The power lamp does not light up when
the power switch is turned ON.
No data can be received from the balance. • The connection cable is disconnected. (→ Switch off
The printed characters deviate. • Paper jam is occurring. (→ Reload printer paper.)
No paper feed occurs.
No key entry can be made. • Printout is in progress.
No key switch on the balance works. • There is a data I/O error. (→ Switch off once, then switch
The following data has been printed out.
• AC adapter is not connected.
• AC adapter is not receiving power.
• The batteries are out.
EP-80 and the balance, then connect the cable properly.)
• The balance is not active for sending data, e.g., the
balance is displaying a menu.
• DIP switch settings have not been made effective. (→ Set
DIP switch while power is off, then turn the power on.)
• Sequence of switching power of EP-80 and the balance
was wrong. (→ See 3.4 Connecting the Balance)
• Data is being received from the balance.
on again.)
• The test program for servicing is running. If the power
switch is turned on with [FEED] key held down, the test
program is initiated.
19
Page 26

8. Parts List
8. Parts List
Standard Items
Item Part No. Remarks
AC adapter 321-62688 INPUT:AC 100-240V
Connection cable 321-62686-01 60 cm
Printer paper (1 roll) See below Roll 60mm dia.
Ink ribbon cartridge See below Standard type, black ink
Consumables
Item Part No. Remarks
Printer paper (20 rolls) 321-62685-02
Ink ribbon cartridge (5 pieces) 321-61111-06 Standard type, black ink
Maintenance parts
Item Part No. Remarks
Printer paper cover 321-62714
Battery cover 321-62718
20
Page 27

9. Specifications
9. Specifications
Print method Impact dot
Inking Ink ribbon
Print format 24 digits / line (5 × 7 dot matrix)
Printing
Operation temperature range 5-40°C
Power
source
Interface Serial I/O, TTL level
Physical dimensions 154 (W) × 78.5 (H) × 215 (D) mm approx.
Weight 630g approx.
Printing speed 2.7 lines / sec. (approx.)
Character size 1.7mm (W) × 2.6mm (H)
Printer paper Normal paper 57.5mm width
Printer mechanism durability 1.5 million lines
AC AC adapter (Output : DC 9 - 12V 2A)
Battery operation Dry batteries (Alkaline only) R6 (size AA) × 6pcs (not provided)
Battery life: 10 hours approx.
(when prints 1 line / 5 seconds continuously at 20°C)
21
Page 28

(mm)
10. Dimensions
10. Dimensions
22
Page 29

Page 30

 Loading...