

Sherwood LRC-122RF Operating Instructions Manual

LRC-122RF� 2007.11.1 11:24 AM 페이지 1

2
Introduction
Information To The User
This equipment has been tested and found to comply with the limits for a Class B digital device, pursuant to Part 15 of the FCC
Rules. These limits are designed to provide reasonable protection against harmful interference in a residential installation. This
equipment generates, uses and can radiate radio frequency energy and, if not installed and used in accordance with the
instructions, may cause harmful interference to radio communications. However, there is no guarantee that interference will not
occur in a particular installation. If this equipment does cause harmful interference to radio or television reception, which can be
determined by turning the equipment off and on, the user is encouraged to try to correct the interference by one or more of the
following measures:
Reorient or relocate the receiving antenna.
Increase the separation between the equipment and receiver.
Connect the equipment into an outlet on a circuit different from that to which the receiver is connected.
Consult the dealer or an experienced radio/TV technician for help.
Caution : Any changes or modifications in construction of this device which are not expressly approved by the party responsible
for compliance could void the user’s authority to operate the equipment.
This Class B digital apparatus complies with Canadian ICES-003.
Cet appareil numérique de la Classe B est conforme à la norme NMB-003 du Canada.
CONTENTS
• Specifications . . . . . . . . . . . . . . . . . . . . . . . . . . . . . . . . . . . . . . . . . . . . . . . . . . . . . . . . . . . . . . . . . . . . . . . . . . . . . . . . . . 2
• RF Universal Remote Controls . . . . . . . . . . . . . . . . . . . . . . . . . . . . . . . . . . . . . . . . . . . . . . . . . . . . . . . . . . . . . . . . . . . . 3
OPERATING COMPONENTS WITH REMOTE CONTROL . . . . . . . . . . . . . . . . . . . . . . . . . . . . . . . . . . . . . . . . . . . 5
REMOTE CONTROL OPERATION RANGE . . . . . . . . . . . . . . . . . . . . . . . . . . . . . . . . . . . . . . . . . . . . . . . . . . . . . . . .5
LOADING BATTERIES . . . . . . . . . . . . . . . . . . . . . . . . . . . . . . . . . . . . . . . . . . . . . . . . . . . . . . . . . . . . . . . . . . . . . . . 5
USING FUNCTIONS OF REMOTE CONTROL . . . . . . . . . . . . . . . . . . . . . . . . . . . . . . . . . . . . . . . . . . . . . . . . . . . . . 6
• Setup Code Table . . . . . . . . . . . . . . . . . . . . . . . . . . . . . . . . . . . . . . . . . . . . . . . . . . . . . . . . . . . . . . . . . . . . . . . . . . . . . . 15
Specifications
• Operating frequency | 2.433 GHz 100 kHz
• RF range | 15 ~ 30 meters (50~100 feet), depending on the environment
• Sensitivity | Min. -90 dB
Note: Design and specifications are subject to change without notice for improvements.
ENGLISH
LRC-122RF� 2007.11.1 11:24 AM 페이지 2

3
RF Remote Control
This universal remote control can operate not only this receiver but also most popular brands of audio and video components
such as CD players, tape decks, TVs, cable boxes, VCRs, DVD players, satellite receivers, etc.
• To operate 7 components other than this receiver , you should enter the setup code for each component.
(For details, refer to “USING FUNCTIONS OF REMOTE CONTROL” on page 6.)
• The numbered buttons on the remote control have different functions in different device modes. For details, refer to
"FUNCTION TABLE of the NUMBERED BUTTONS" on the next page.
About the transmission signal
This remote control can emit not only the infrared beams which the conventional remote control(including the ROOM 2
remote control) uses but also the RF(Radio Frequency) beams which are stronger than those.
To operate this receiver and other components, this remote control should emit the infrared beams.
To operate this receiver only from longer distance even if there are obstacles such as walls, furniture, etc. in the way, this
remote control should emit the RF beams.
Therefore, depending on how to use this remote control, you should set the transmission signal mode to "IR"(default value)
or "RF". (For details, refer to "Changing the transmission signal" on page 14.)
Notes :
• To receive the RF beams, you should connect the RF remote antenna to this receiver. (For details, refer to "CONNECTING
RF REMOTE ANTENNA" in the operating instructions of your receiver.)
• If the transmission signal mode is set to "RF", this remote control cannot control other audio and video components.
However, if the IR emitter is connected to the IR OUT jack, you can control other component via it. (For details, refer to
"CONNECTING MULTI-ROOM SYSTEM KIT" in the operating instructions of your receiver.)
ENGLISH
LRC-122RF� 2007.11.1 11:24 AM 페이지 3

ENGLISH
4
FUNCTION TABLE of the NUMBERED BUTTONS.
Notes :
• Some functions for each component may not be available or may work differently.
• Depending on other kinds of components that are available for each DEVICE button, some functions may not be
available or may work differently, too.
• For details about functions, refer to the operating instructions of each component.
LRC-122RF� 2007.11.1 11:24 AM 페이지 4

ENGLISH
5
LOADING B ATTERIES
OPERA TING COMPONENTS WITH REMOTE CONTR OL
REMOTE CONTROL OPERATION RANGE
In case that this remote control emits the infrared beams
• Use the remote control within a range of about 7 meters
(23 feet) and angles of up to 30 degrees aiming at the
remote sensor.
In case that this remote control emits the RF beams
• Use the remote control within a distance of about 15
meters (50 feet) toward this receiver.
Notes :
• When you cannot operate any component, check if the
transmission signal mode is set to "RF". (For details,
refer to "Changing the transmission signal" on page 14.)
• In this case, to operate the component, connect the IR
emitter to the IR OUT jack and use the remote control
toward this receiver. (For details, refer to
"CONNECTING RF REMOTE ANTENNA" and
"CONNECTING MULTI-ROOM SYSTEM KIT" in the
operating instructions of your receiver.)
When the remote control does not operate, the old batteries should be replaced. In this case, load new batteries
within several minutes after removing old batteries.
If the batteries are removed or have been exhausted for a longer period of time, memorized contents will be
cleared. Should this happen, you should memorize them again.
+
+
+
• Remove the batteries when they are not used for a
long time.
• Do not use the rechargeable batteries (Ni-Cd type).
• Be sure to use alkaline batteries.
1. Enter the setup code for each component other
than this receiver. For details, refer to “Entering
a setup code” on page 6.
2. Turn on the component you want to operate.
1. Remove the cover.
2. Load four alkaline batteries ("AAA" size, 1.5V)
matching the polarity.
3. Press the DEVICE button on the remote control
corresponding to the component you wish to
operate.
4. Aim the remote control at the REMOTE
SENSOR of the component you wish to control
and press the button corresponding to the
operation you want.
LRC-122RF� 2007.11.1 11:24 AM 페이지 5
6
USING FUNCTIONS OF REMOTE CONTROL
ENGLISH
Entering a setup code
• This remote control can control up to 8 different components.
• Before operating audio and video components other than this receiver with using this remote control, the setup code for each
component should be entered.
• For system remote control operation, "000" was stored previously in the memory of the device button "CD" for Sherwood CD
player, "DVD" for Sherwood DVD player, "AUX" for Sherwood tape deck and "TV" for Sherwood TV respectively as its factory
setup code. So, you don’t need to enter its code for each Sherwood component except in such a case that its code does not work.
Note :
• If the transmission signal which this remote control emits is changed into "RF"(Radio Frequency), this remote control cannot
control other audio and video components. (For details, refer to "Changing the transmission signal" on page 14.)
• Then "LEARN" is displayed on the LCD screen for
several seconds.
Notes :
• The AUDIO button is unavailable for the audio
components other than this receiver.
• During setting operation, to exit from the setting mode,
press any of the DEVICE buttons.
• Setup code entry is the easiest way to program this
remote control for operating audio and video
components.
1. Turn on the component you want to operate.
2. Find the setup codes according to the type and
the brand name of your component, referring to
"Setup Code Table" on page 15.
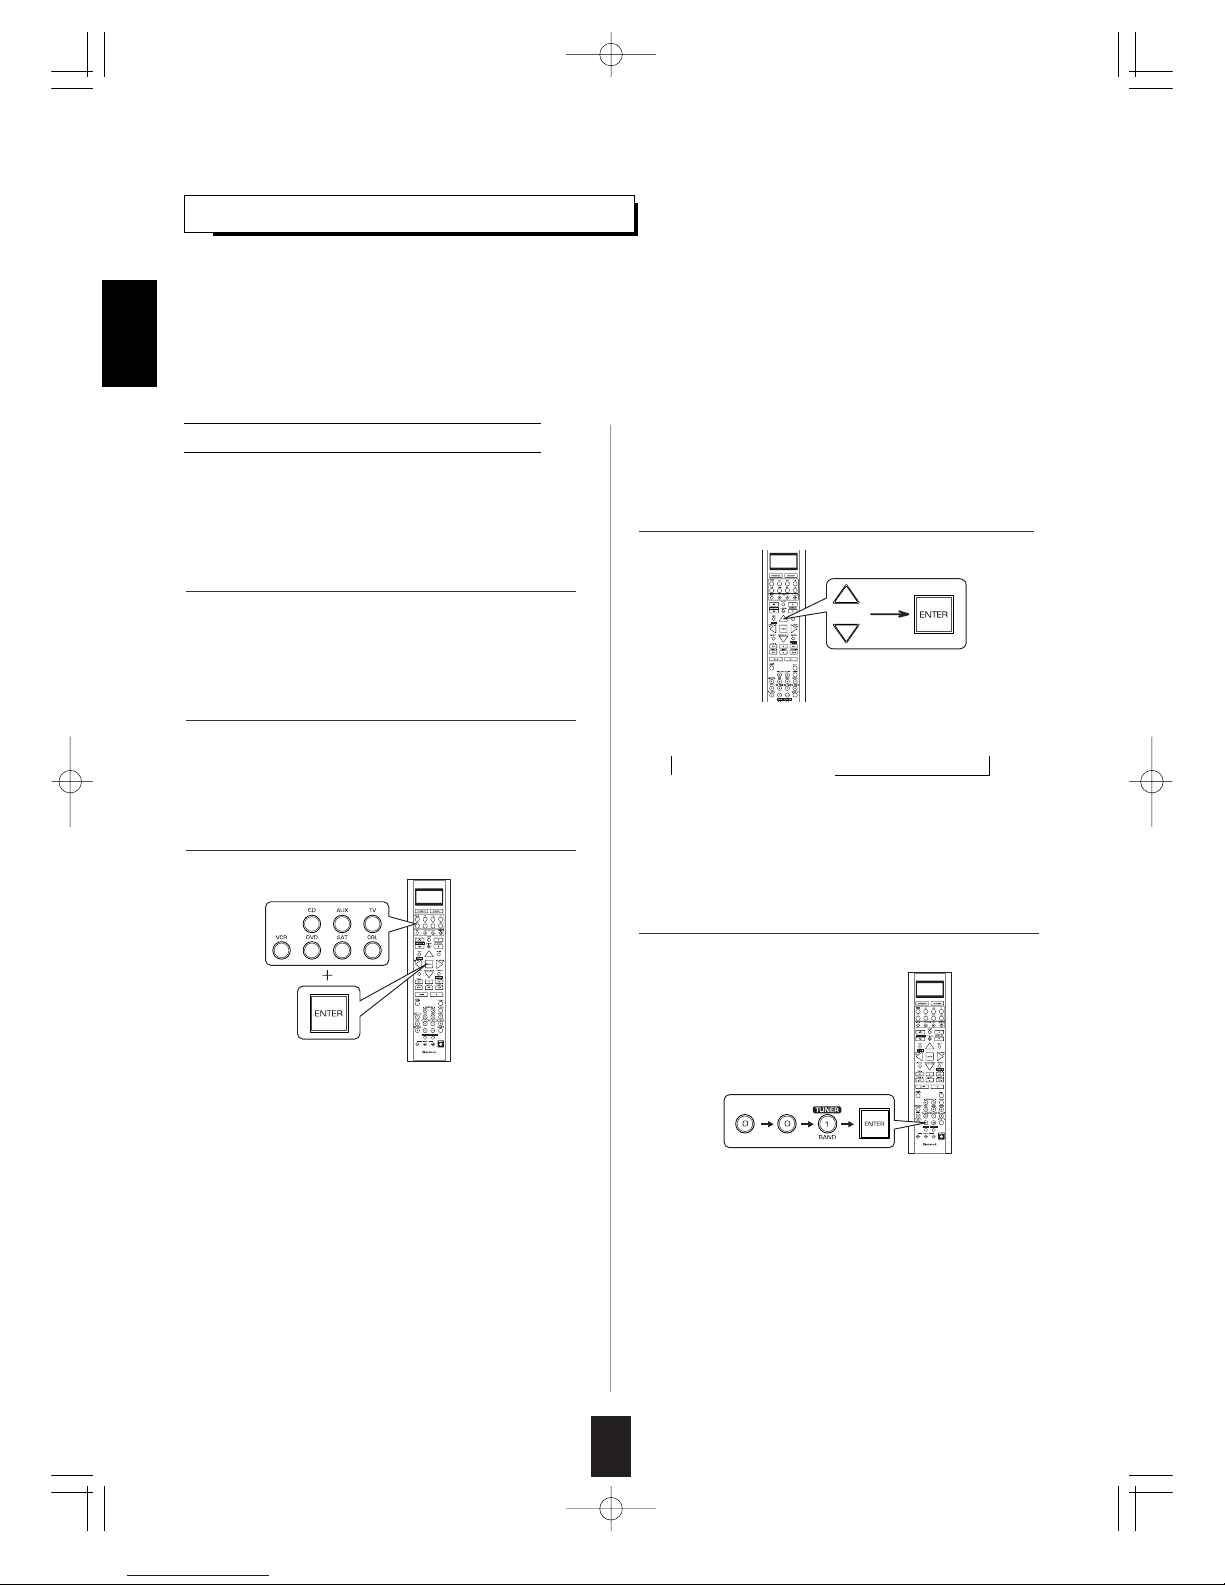
3. Press and hold down both the ENTER button
and the desired one of the DEVICE buttons for
more than 2 seconds.
4. While "LEARN" is displayed, press the CURSOR
UP()/DOWN() buttons to select the setup
code mode ("CODE"), then press the ENTER
button.
5. While "PRESET", etc. are displayed, enter a 3
digit code and press the ENTER button.
• Each time the CURSOR UP()/DOWN() buttons are
pressed, the mode changes as follows :
LEARN RF-IR DELETE MACRO
CODE PUNCH
• Then "PRESET" and 3 digit number are displayed.
• If "PRESET", etc. go off, start again from the above step 3.
Example: When entering "001".
• Then "OK" is displayed on the LCD screen.
• To be sure that the setup code is correct, press the
POWER ON (or STANDBY) button, aiming the remote
sensor on the component.
• If the setup code is correct, your component will be
turned off.
• When your component is not turned off, repeat the
above steps 2 to 5, trying entering each code for your
component until you find one that works.
• If "NG" is displayed, retry entering the correct setup
code while "PRESET" and 3 digit number are displayed.
LRC-122RF� 2007.11.1 11:24 AM 페이지 6

7
ENGLISH
• If any of buttons fails to operate as they should,
start from the step 1 again to enter the correct setup
code.
Note :
• Manufacturers may use different setup codes for
the same product category. For that reason, it is
important that you check to see if the code you
have entered operates as many controls as
possible. If only a few functions operate, check to
see if another code will work with more buttons.
6. Operate the component using the corresponding
function buttons.
4. While "PRESET" is displayed, press the ENTER
button to store the setup code.
5. Operate the component using the corresponding
function buttons.
6. Repeat the above steps 1 to 5 for each of your
other components.
1. Turn on the component you want to operate.
2. Perform the steps 3 and 4 in "Entering a setup
code" procedure on page 6 to select the setup
code mode ("CODE").
3. While "PRESET" is displayed, search a setup
code, aiming the remote control at the remote
sensor on the component.
7. Repeat the above steps 1 to 6 for each of your
other components.
Searching a setup code
• Each time the CURSOR UP()/DOWN()
buttons are pressed, the setup code is selected
one by one.
• If the selected code is correct, your component
will be turned off.
• When your component is not turned off, repeat
this step until you find one that works.
• In addition to enter a setup code using "Setup
Code Table" on page 15, it is also possible to
search through all the codes that are stored in the
library of this remote control.
• Then "OK" is displayed on the LCD screen.
• If any of buttons fails to operate as they should,
start from the step 1 again to find the correct
setup code.
LRC-122RF� 2007.11.1 11:24 AM 페이지 7
 Loading...