

Page 1

CATALYST
OVEN
MODEL: CAT180
INSTALLATION AND OPERATION MANUAL
Sheldon Manufacturing Inc. P.O. Box 627 Cornelius, Oregon 97113
EMAIL: tech@Shellab.com INTERNET: http://www.Shellab.com/~Shellab
1-800-322-4897 (503) 640-3000 FAX (503) 640-1366
REV 01/14
4861680
Page 2

2
TABLE OF CONTENTS
SECTION 1.0 RECEIVING AND INSPECTION
SECTION 2.0 GRAPHIC SYMBOLS
SECTION 3.0 INSTALLATION
SECTION 4.0 CONTROL PANEL OVERVIEW
SECTION 5.0 PRECAUTIONS
SECTION 6.0 OPERATION
SECTION 7.0 MAINTENANCE
SECTION 8.0 PARTS LIST
UNIT SPECIFICATIONS
WIRE DIAGRAM
This unit is a special purpose oven for professional, industrial or educational use where the
preparation or testing of materials is done at approximately atmospheric pressure and no
flammable volatile, or combustible materials are being heated. This unit is not intended for
hazardous or household locations or use.
Page 3

3
RECEIVING AND INSPECTION
Section
1
Your satisfaction and safety require a complete understanding of this unit, including
its proper function and operational characteristics. Read the instructions thoroughly
and be sure that all operators are given adequate training before attempting to put the
unit in service. Note: This equipment must be used only for its intended application;
any alterations or modifications will void your warranty.
1.1 Inspection: The carrier, when accepting shipment, also accepts responsibility for safe
delivery and is liable for loss or damage claims. On delivery, inspect for visible
exterior damage, note and describe on the freight bill any damage found and enter
your claim on the form supplied by the carrier.
1.2 Inspect for concealed loss or damage on the unit itself, both interior and exterior. If
any, the carrier will arrange for official inspection to substantiate your claim.
1.3 Return Shipment: Save the shipping carton until you are sure all is well. If for any
reason you must return the unit, first contact your customer service representative for
authorization, and supply data plate information including serial number. Please see
the manual cover for information on where to contact customer service.
1.4 Accessories: Verify that all of the equipment indicated on the packing slip is included
with the unit. Carefully check all packaging before discarding.
Page 4
4
GRAPHIC SYMBOLS
Section
2
Your oven may be provided with a display of graphic symbols to help identify the use and
function of the available adjustable components.
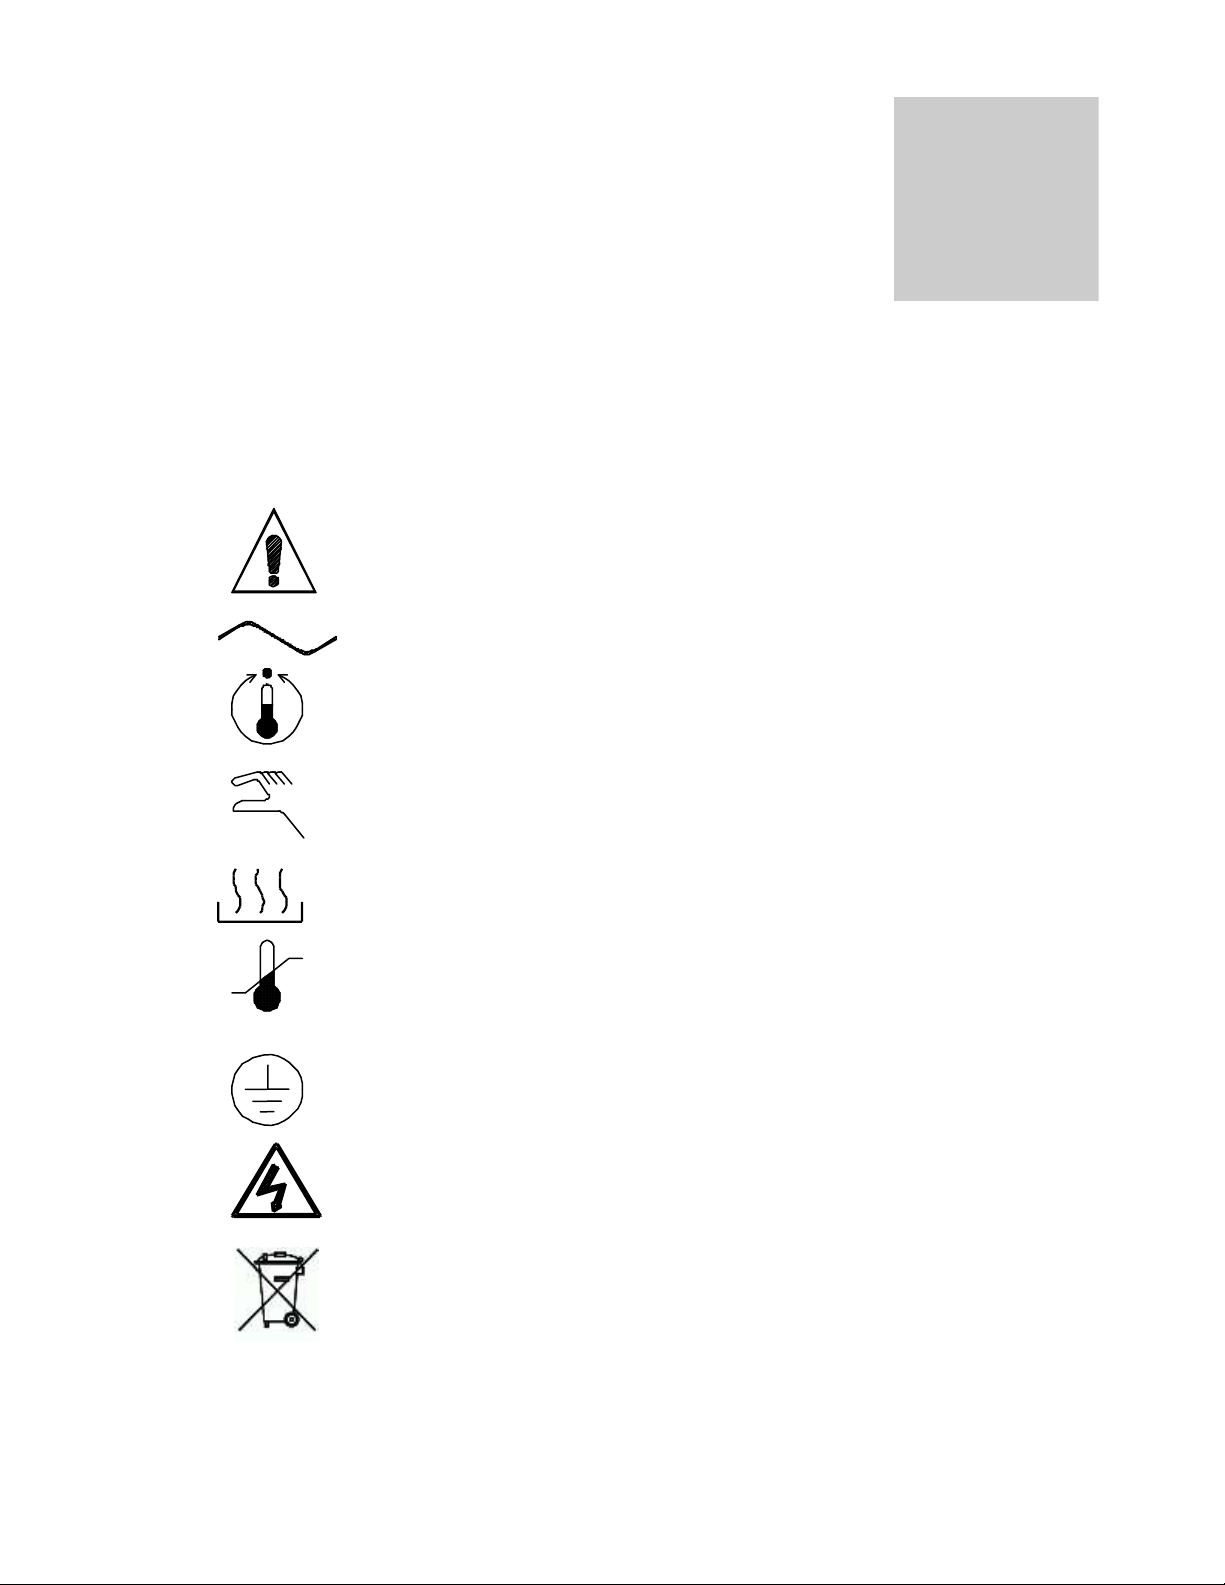
These symbols, when shown, indicate:
2.1 You should consult your manual for further description or discussion of
a control or user item.
2.2 Indicates "AC Power"
2.3 Indicates "Adjustable Temperature"
2.4 Indicates “Manual Control”
2.4 Indicates "Heating"
2.5 Indicates "Over Temperature"
2.6 Indicates “Protective Earth Ground ”
2.7 Indicates “Potential Shock Hazard”
2.8 Indicates “Unit should be recycled” (Not disposed of in land-fill)
Page 5

5
INSTALLATION
Section
3
Local city, county, or other ordinances may govern the use of this equipment. If you have
any questions about local requirements, please contact the appropriate local agency.
Installation may be performed by the end user.
Under normal circumstances this unit is intended for use indoors, at room temperatures
between 5 and 40C and no greater than 80% Relative Humidity. The supply voltage should
not vary by more than 10% from the data plate rating. Customer service should be contacted
for operating conditions outside of these limits.
3.1 Power: The power source must match the voltage, cycle, phase and ampere
3.2 Location: When selecting a site for the oven, consider conditions that may effect
3.3 Leveling: The unit must sit level and solidly. The oven is equipped with non-
3.4 Cleaning: The oven was cleaned at the factory. DO NOT USE chlorine-based
WARNING: Never clean the unit with alcohol or flammable cleaners with the unit connected
to the electrical supply. Always disconnect the unit from the electrical service when cleaning
and assure all volatile or flammable cleaners are evaporated and dry before reattaching the
unit to the power supply.
requirements listed on the data plate (located on the back side of the oven). This unit
is intended for 50/60 HZ operation. Make sure your power source matches that shown
on the data plate. VOLTAGE SHOULD NOT VARY BY MORE THAN 10% FROM
THE DATA PLATE RATING. Note that the electrical supply to the unit must conform
to all national and local electrical codes.
performance, such as heat or cold from air vents, fast moving air currents, other
ovens, autoclaves, direct sun, etc. Avoid high traffic areas that may reduce
accessibility to the oven and allow at least 30 cm between the unit and surrounding
walls or partitions that might obstruct free airflow.
adjustable rubber feet to raise it off the counter and prevent sliding; however, the
counter must be level to provide optimum working and safety conditions.
bleaches or abrasive cleaners, as they will damage the ovens interior surfaces. DO
NOT USE spray cleaners that might leak through openings and cracks and get on
electrical parts or that may contain solvents that will harm coatings. A regular periodic
cleaning is recommended.
Page 6

6
CONTROL PANEL OVERVIEW
Section
4
Figure 1
4.1 START Switch: The Start switch initiates the catalyst baking cycle. This switch is a
push-release momentary action switch. When activated, a timer is set to run for five
(5) hours. During this time the oven heats to a minimum of180°C and bakes the
catalyst. When the timer has completed the heating cycle, the element is deactivated
and the oven is allowed to cool.
4.2 HEATING light: This red pilot light is marked HEATING and indicates the baking
phase of the cycle is in progress. This light turns ON when the START switch is
activated and remains ON until the oven temperature cools to approximately 40°C.
4.3 Cycle Completed light: this green pilot light is marked CYCLE COMPLETED and
indicates when the baking cycle is complete and the catalyst is cool enough to be
safely removed from the oven.
Page 7

7
PRECAUTIONS
Section
5
5.1 Do not place sealed or heat sensitive containers in or on the oven chamber. Keep all
flammable materials away from the oven.
5.2 This oven is NOT designed for use in Class I, II, or III locations as defined by the
National Electrical Code.
5.3 This oven is not intended, nor can it be used, as a patient connected device.
Page 8

8
OPERATION
Section
6
6.1 Power Supply: The power supply must be properly grounded (earthed) and correctly
sized to match the unit data plate rating. The supply voltage must match the data
plate voltage within 10%. When the cord is plugged into the supply, the green CYCLE
COMPLETED light should turn ON.
6.2 Insert the catalyst to be baked into the opening and insert it all the way. Do NOT
force! If you experience resistance sliding the catalyst into the oven, your catalyst
holder may be deformed. Contact customer service.
6.3 Press and release the START switch to begin the baking cycle. The green CYCLE
COMPLETED light should turn OFF and the red HEATING light should turn ON. From
this point, the process is automatic.
Note: Slight vapor or smoke may occur during the baking cycle. This is a
normal occurrence. Used catalyst may contain a high concentration of moisture.
As the catalyst heats, this moisture evaporates.
6.4 The oven will maintain the catalyst approximately 180°C -210°C for five (5) hours. At
that time the element will turn off allowing the catalyst to cool. The red HEATING light
will remain ON while the catalyst temperature is above 40°C. When cooled
sufficiently, the red HEATING light will turn OFF and the green CYCLE COMPLETED
light will turn ON. The catalyst can now be removed and used. The oven is
immediately ready to bake another catalyst.
Page 9

9
MAINTENANCE
Section
7
Note: Prior to any maintenance or service on this unit, disconnect service cord from
the power supply.
7.1 Cleaning: Clean the oven interior on a regular basis. Clean the inside of the
chamber thoroughly using a long swab and a disinfectant appropriate for your
application. DO NOT USE chlorine-based bleaches or abrasive cleaners, as they will
damage the oven. DO NOT USE spray cleaners that might leak through openings
and cracks and get on electrical parts or which may contain solvents that will harm
coatings.
WARNING: Never clean the unit with alcohol or flammable cleaners with the unit
connected to the electrical supply. Always disconnect the unit from the electrical
service when cleaning and assure all volatile or flammable cleaners are evaporated
and dry before reattaching the unit to the power supply.
7.2 Storage: If the unit is to be shut down for an extended period of time, wipe the
chamber clean and let dry to eliminate possibility of contamination. If the unit is to be
transported refer to Section 3.3, Lifting / Handling, for further direction.
7.3 No maintenance is required on the electrical components. If the oven fails to operate
as specified, call customer service.
Page 10

10
PARTS LIST
Description
115V
220V
Circuit Breaker
1100505
1100505
Cord Set – USA
1800516
1800537
Cord Set – Euro
--
1800541
CTRL Adj. AMB—525°F (set to 210°C)
1750650
1750650
CTRL Limit Disc 43°C
1750506
1750506
Heating Element (2ea)
2350527
(parallel)
2350527
(series)
Pilot Light, green
4650554
4650554
Pilot Light, red
4650553
4650553
Relay socket clip
7030526
7030529
Solid State Timer
8250502
8250506
Start Switch
7850531
7850531
Timing Resistor 720k ohm 1%
7050515
7050515
Weight
Shipping
Net
26 lbs (11.8kg)
16 lbs (7.3kg)
Dimensions
Exterior WxDxH
Interior WxDxH
10.25” x 17.25” x 6.25”
26cm x 43.8cm x 15.9cm
N/A
Temperature
Range
Uniformity
180°C
N/A
Electrical
115V~
230V~
2.0A~
1.0A~
50/60 Hz
SECTION
8
UNIT SPECIFICATIONS
Page 11

11
WIRING DIAGRAM
1 2 3 4
5678
9
10
TIMER, ERDI-4311, 8520502 -120V
TIMER, ERDI-6311, 8520506 -220V
7850531
CYCLE
START
1750650
SET TO 210˚ C
2350507 (2)
120VAC/125W
RELAY
COIL
t
o
1750506
OPENS AT 43˚ C
115V
7030536 RELAY
7030537 SOCKET
4650553
RED LAMP
4650554
GREEN LAMP
NEUTRAL
HOT
15A
240V
WIRING
240V
7030528 RELAY
7030539 SOCKET
9851011
 Loading...