

TINS-A082UMN1.book Page 34 Monday, November 4, 2002 2:33 PM
CUSTOMISED INSTALLATION
MANUALLY TUNING A CHANNEL
• It should not be necessary to tune in a broadcast channel manually except in unusual
circumstances such as poor signal.
To manually tune in a channel follow the procedure below.
Ensure the Video channel is selected on the TV.
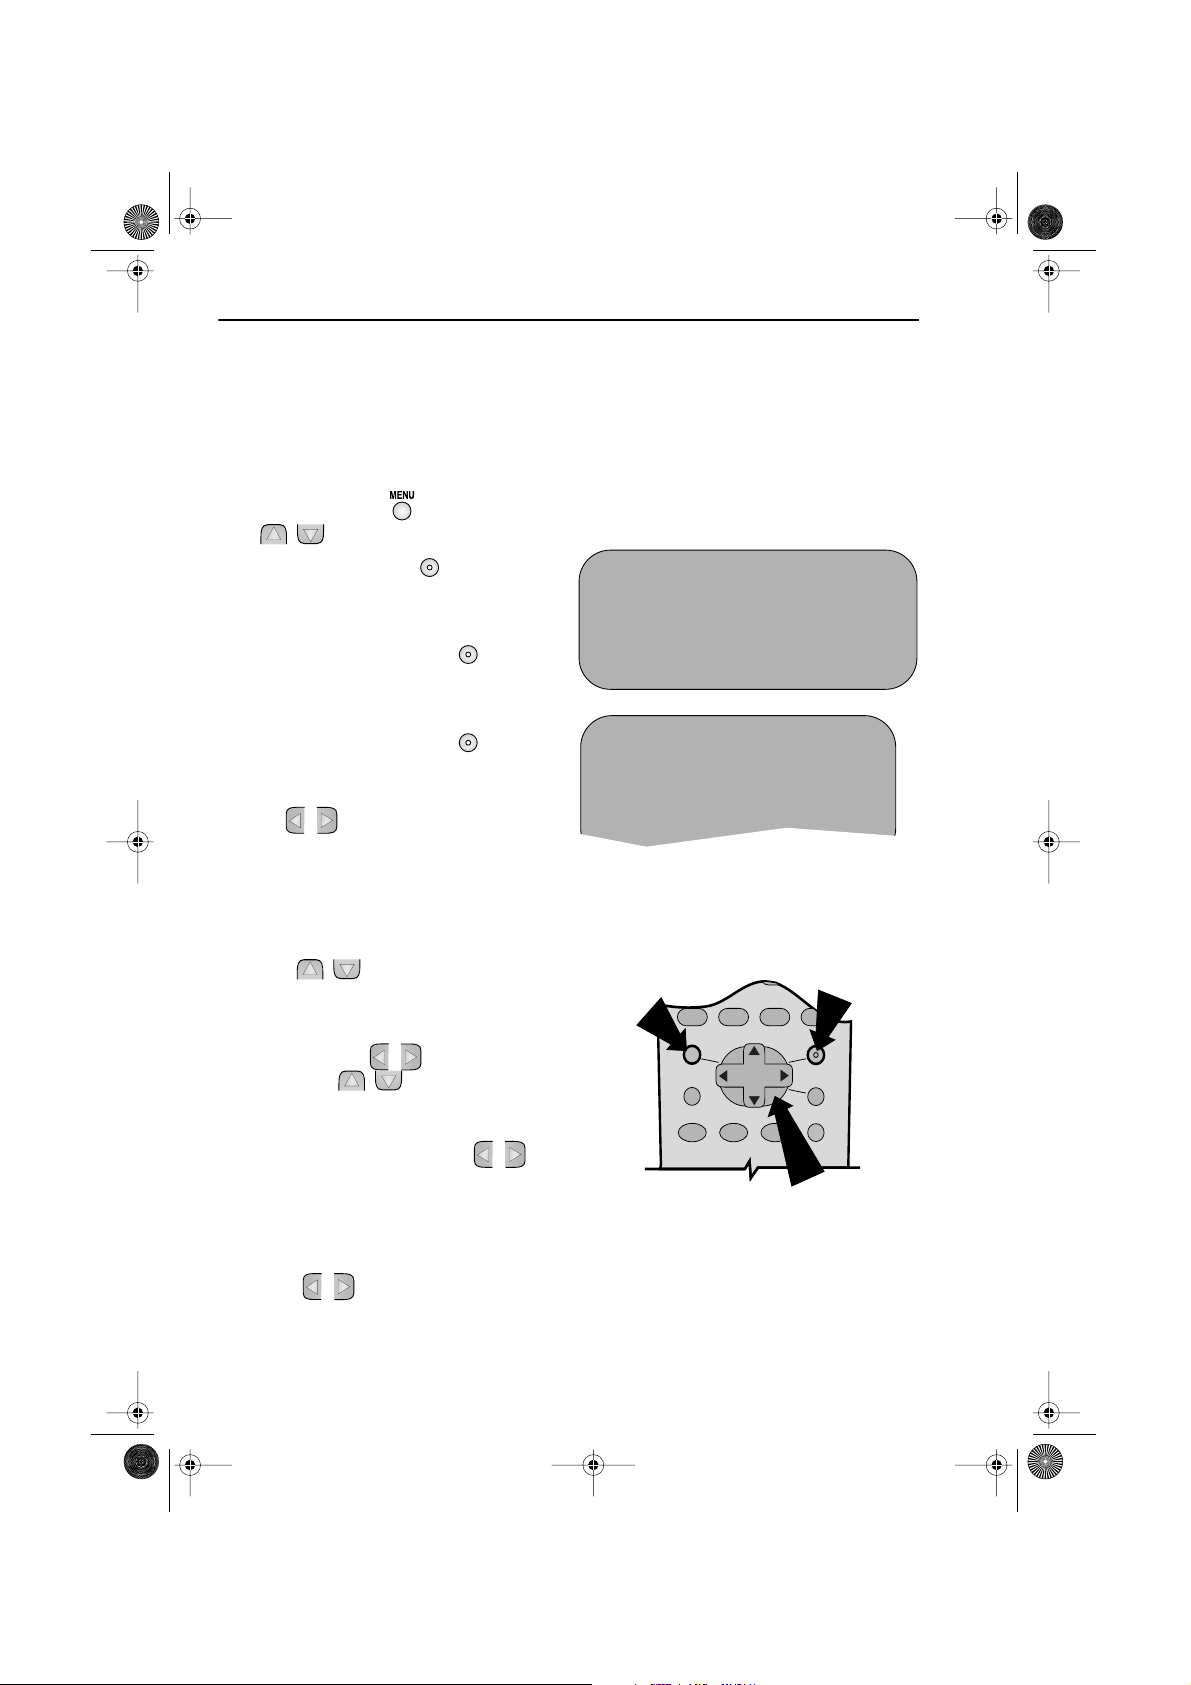
1. Press the MENU button. Press the
[ / ]menu select buttons to select
SET UP. Press the
confirm.
2. CHANNEL PRESET will be
highlighted. Press the
confirm.
SET
SET button to
SET
SET button to
2.
SET UP
CHANNEL PRESE T
CHANNEL SORT
CLOCK
POS T CODE
3. MANUAL TUNING will be
highlighted. Press the
confirm.
SET
SET button to
4. PRESET will be highlighted. Press
/ ]menu select buttons to
the[
choose the required VCR preset channel.
5. If you have SATELLITE CONTROL set to ON,
continue from point 6. Otherwise
continue from point 7.
6. Press[ / ]to select SOURCE. Then
choose the required source:
• If you wish to tune a satellite or cable
channel press [
Then press[ / ]to select
CHANNEL. Enter preset satellite
channel using the
BUTTONS or by using the [ / ]
buttons step through each preset satellite
channel until the desired channel is
displayed. Continue from point
• If you wish to tune a terrestrial channel
press [
Continue from point
/ ] to select CH.
/ ] to select SAT.
NUMBER
10.
7.
➔
PRESET BBC 1 1
SOURCE CH SAT
CHANNEL CH2 1
FINE TUNING
DECODER ON OFF
SKIP ON OFF
MENU
MENU SELECT
BUTTONS
REMOTE CONTROL
SET
▲
▲
www.sharp.co.uk/support
34
TINS-A082UMN1.book Page 35 Monday, November 4, 2002 2:33 PM
CUSTOMISED INSTALLATION
MANUALLY TUNING A CHANNEL CONTINUED
7. Press [ / ]to select CHANNEL.
8. Press [ / ] to start tuning in either
direction. Tuning will stop when a channel is
received. If it is not the desired channel, press
/ ] to continue tuning.
[
9. Press [ / ] to select FINE TUNING.
Press and hold [
colour picture is obtained.
IMPORTANT NOTE:
/ ] until the sharpest
10. Press [ / ] to select DECODER. This
is preset to OFF. If you connect a satellite
receiver into VCR L2, as shown previously,
leave decoder OFF. If you connect a
decoder, as shown previously, you must
/ ] to turn the decoder function
use [
ON. Refer to
OPERATION.
DECODER SWITCHING
MENU
REMOTE CONTROL
SET
MENU SELECT
BUTTONS
11. Press [ / ] to select SKIP then [ / ]
to select ON or OFF.
The SKIP function determines whether the
channel can be selected when using the
VCR CHANNEL / buttons
instead of the
NUMBER BUTTONS.
SET
12. Press SET to store this channel. The VCR
will increment to the next channel up.
• If any more channels are to be tuned in,
repeat this procedure.
• Once all the channels have been tuned in.
MENU to return to the normal
Press
screen.
www.sharp.co.uk/support
35
VIDEO
Plus+
231
TINS-A082UMN1.book Page 36 Monday, November 4, 2002 2:33 PM
CUSTOMISED INSTALLATION
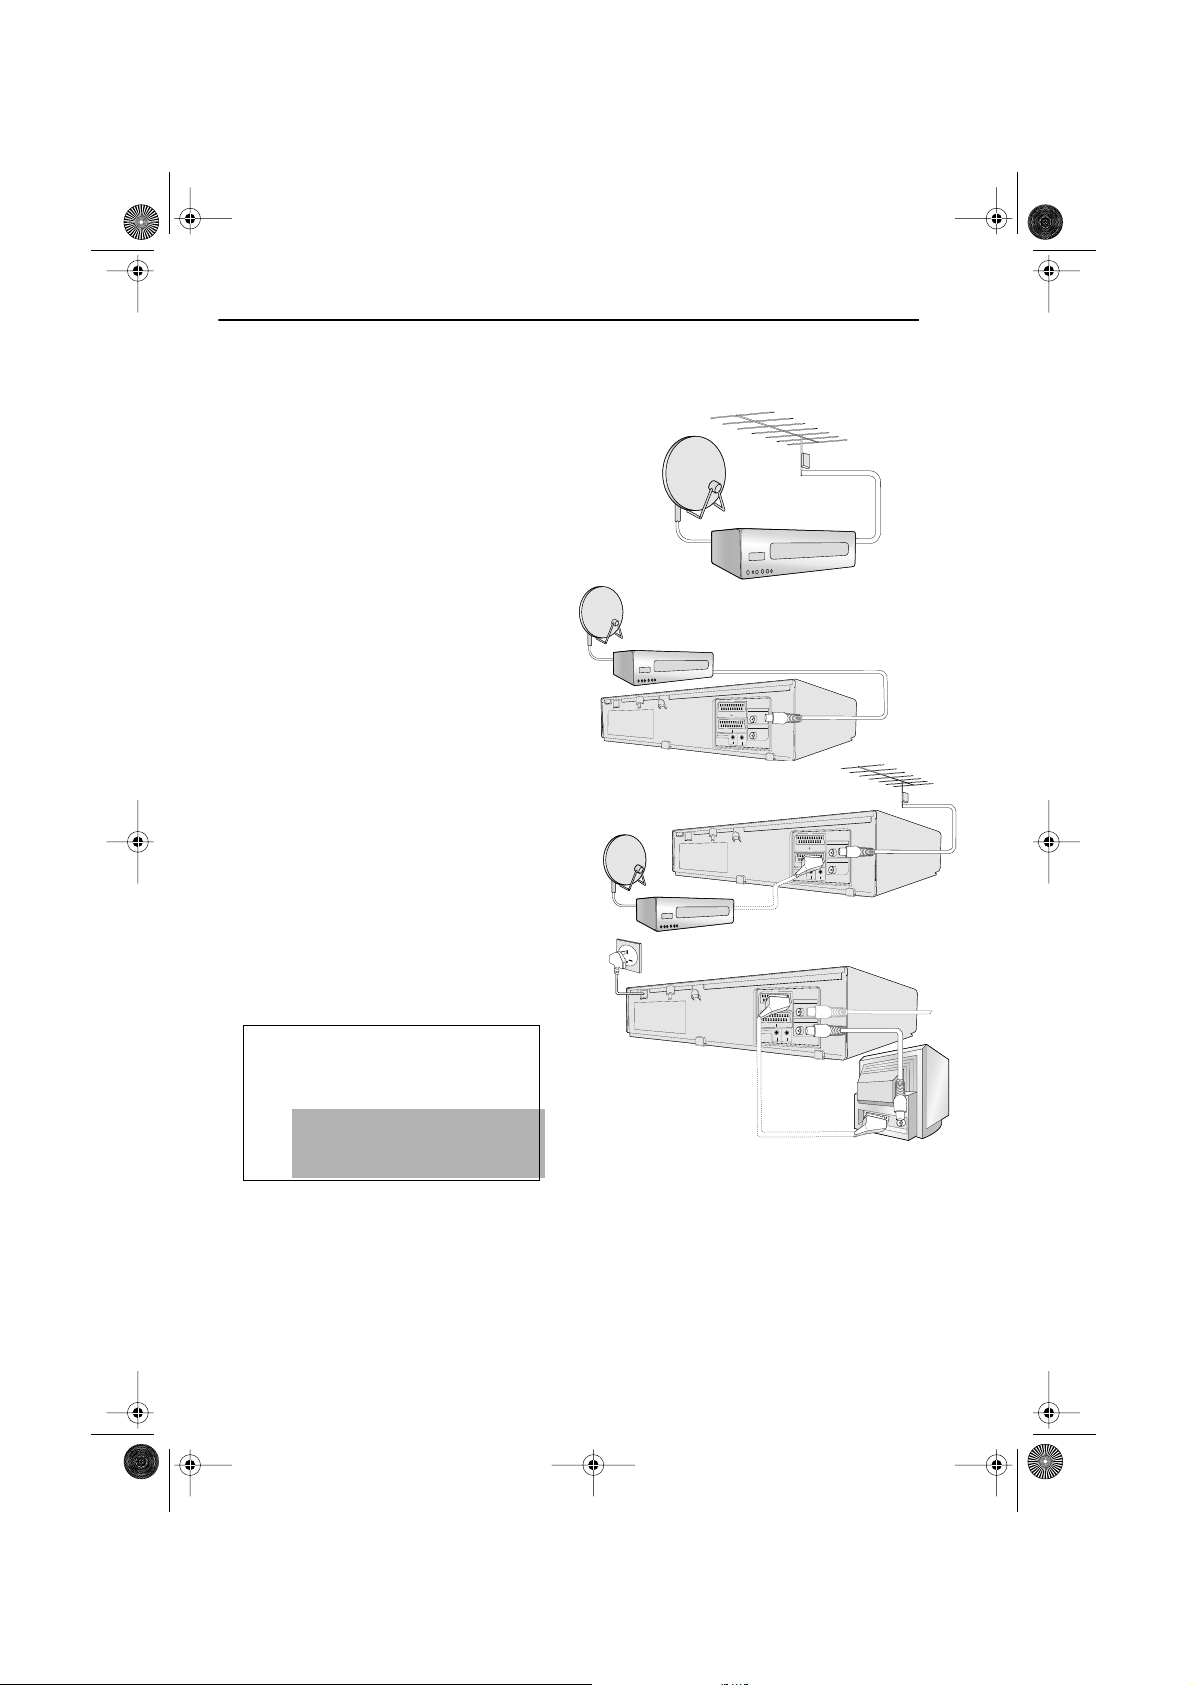
CONNECTING A SATELLITE RECEIVER/CABLE BOX
TO YOUR VCR
1. Disconnect the VCR plug from the
mains socket.
2. Connect your existing aerial/satellite
cable to the
satellite receiver.
3. Connect the AERIAL OUT socket on
the satellite receiver to the
socket on the VCR with an RF
connection cable (not supplied).
OR:
Connect your Satellite Receiver or
decoder to the VCR using a scart
lead to the LINE 2 IN/DECODER
socket on the VCR.
AERIAL IN socket on the
AERIAL IN
AERIAL IN
ENTREE ANTENNE
SON/VIDEO
LINE1(I)IN
(L1/I)
/OUT
AERIAL OUT
SORTIE ANTENNE
L
IN
E
2(II)IN
/D
E
C
O
DE
R
C
A
N
AL
P
LU
S/L2(II)
A
U
D
IO
O
U
T
S
O
R
T
I
E
S
O
N
A2230
R D
L G
AERIAL IN
ENTREE ANTENNE
SON/VIDEO
LINE1(I)IN
(L1/I)
/OUT
AERIAL OUT
SORTIE ANTENNE
L
IN
E
2(II)IN
/D
EC
O
D
E
R
C
A
N
A
L
P
L
U
S
/L
2(II)
AUDIO OUT
SORTIE SON
A2230
R D
L G
4. Connect your TV to the VCR using the
supplied RF connection cable, i.e.
connect the VCR
socket to the TV
Optional:
AERIAL OUT
AERIAL IN socket.
SCART (not supplied). If
you have a scart lead connect it to
your TV and LINE 1 IN/OUT socket
on the VCR.
- The advantage of a Scart
connection is improved picture and
sound quality during playback.
5. Reconnect the VCR plug to the mains
socket. The VCR is now in STANDBY
mode.
www.sharp.co.uk/support
AERIAL IN
ENTREE ANTENNE
SON/VIDEO
LINE1(I)IN
(L1/I)
/OUT
AERIAL OUT
SORTIE ANTENNE
L
IN
E2
(II)IN
/D
E
C
O
D
E
R
C
A
N
AL
P
LU
S
/L
2
(II)
A
U
D
IO
O
U
T
S
O
R
T
IE
S
O
N
A2230
R D
L G
36

TINS-A082UMN1.book Page 37 Monday, November 4, 2002 2:33 PM
CUSTOMISED INSTALLATION
SATELLITE RECEIVER/CABLE BOX INSTALLATION
If you wish to connect a satellite receiver to your VCR after auto-installation, it is not necessary
to completely re-install all channels. Follow the procedure below:
The installation procedure for cable boxes is the same as for satellite receivers. Sharp
cannot guarantee this feature will operate with all makes of satellite receiver or cable
box. (See the end of this manual for manufacturers codes.)
Follow the procedure below:
1 Press the MENU button.
2 Press [ / ]to select SET UP. Press SET
SET
to confirm.
3 CHANNEL PRESET will be
highlighted. Press
4 Press [ / ]to select SAT
RECEIVER. Press SET to confirm.
The satellite receiver screen will appear.
SET
SET to confirm.
SET
5 Follow points 9-13 in AUTO
INSTALLATION OF A SATELLITE
RECEIVER/CABLE BOX at the front
of this book.
6 Then press [ / ] to select SAT
PROG SEARCH. Press SET to
confirm. The satellite channels will be
installed. (This may take a few minutes).
SET
MENU
4.
MANUAL TUN I NG
SAT RECE I VER
SAT PROGRAM SEARCH
6.
MANUAL TUN I NG
SAT RECE I VER
SAT PROGRAM SEARCH
SET
MENU SELECT
BUTTONS
7 Press MENU to leave this function.
NOTE:
A list of the preset digital channels can be found at the back of the operation manual.
www.sharp.co.uk/support
37

TINS-A082UMN1.book Page 38 Monday, November 4, 2002 2:33 PM
CUSTOMISED INSTALLATION
MANUALLY SORTING CHANNELS
SORTING THE CHANNELS INTO YOUR PREFERRED ORDER
When your VCR tunes in broadcast channels automatically, it sorts them into a standard order
using teletext information. You can change the order of the channels with the following
procedure.
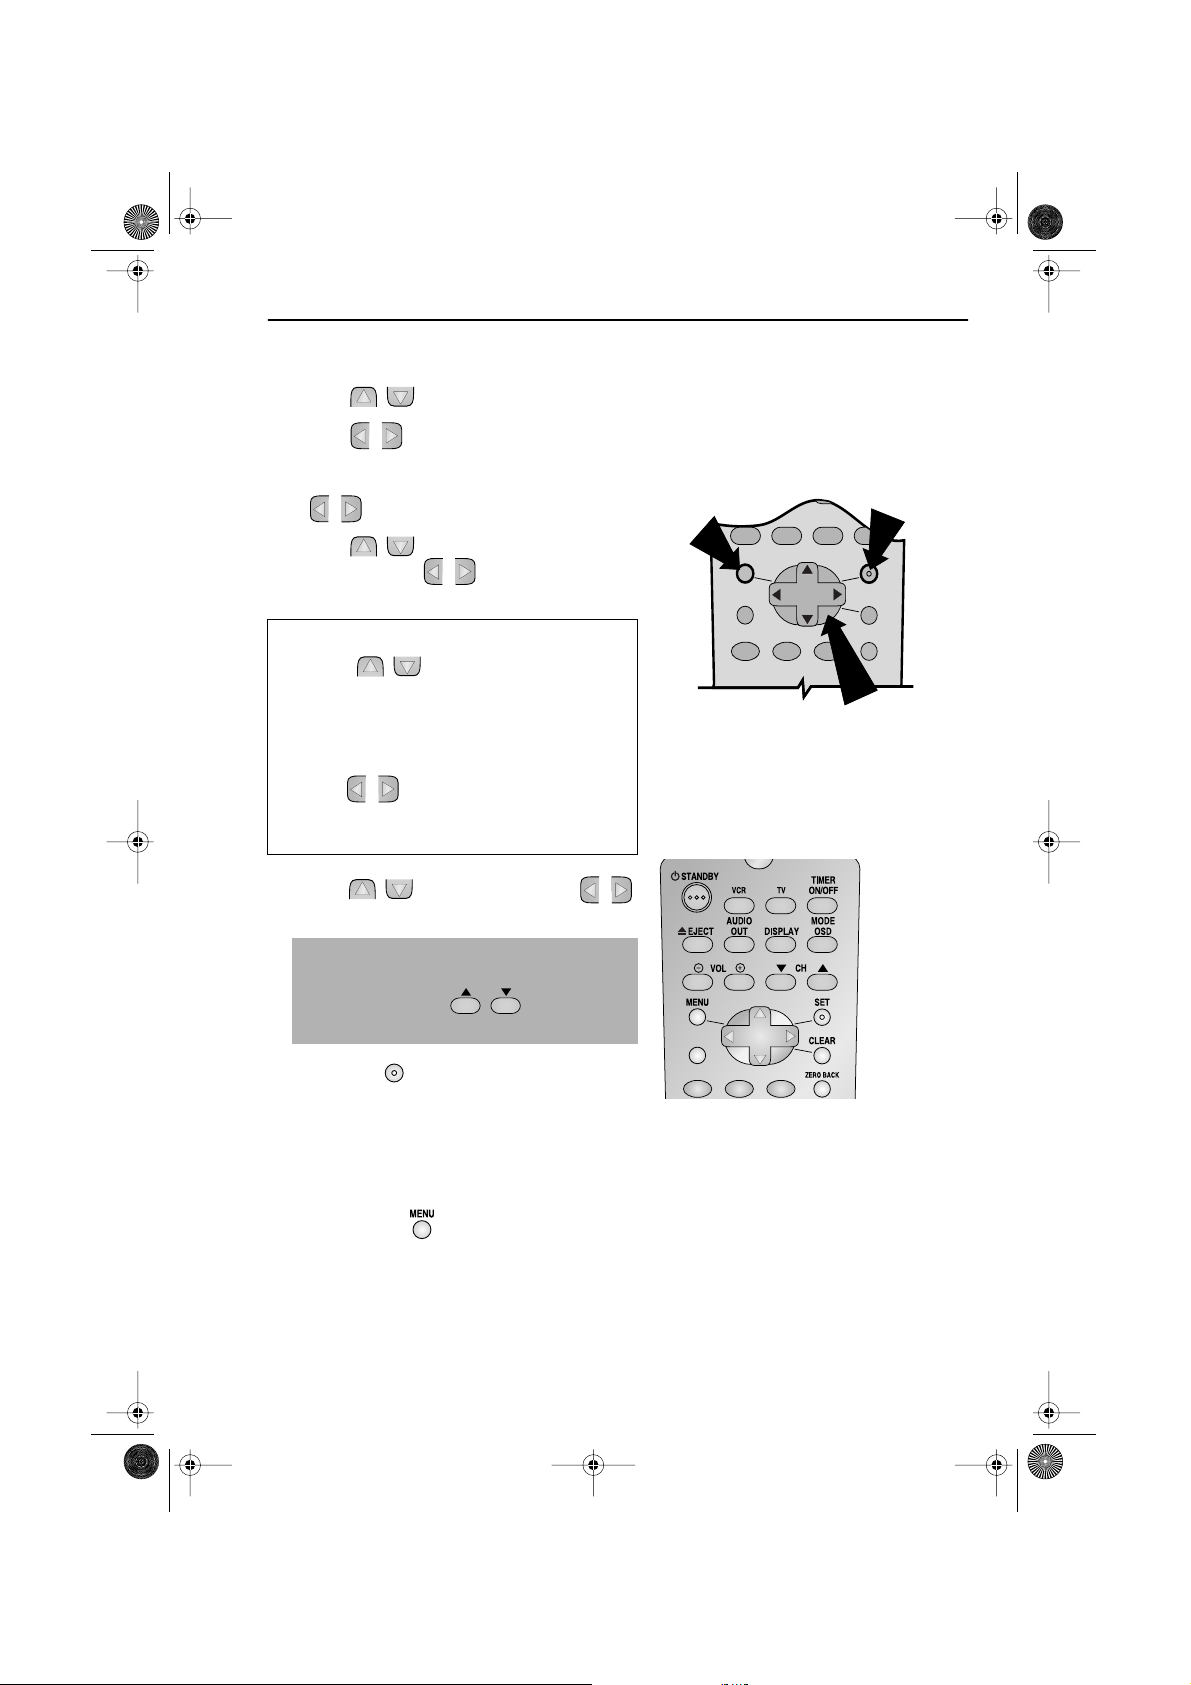
1. Press the MENU button.
2. Press the [ / ] menu select buttons to
SET
select SET UP. Press the
confirm.
SET button to
2.
MENU SCREEN
V I DEOPL US
TIMER
MOD E
SET UP
3. Press [ / ] to select CHANNEL SORT. Press
SET
SET button to confirm.
the
4. The MOVE position will be highlighted. Press the
SET
SET button to confirm.
5. Press [ / / / ] to highlight the
SET
channel to be moved. Press the
button to confirm.
SET
6. Press [ / / / ] to highlight the new
SET
position for the channel. Press the
button to confirm.
SET
7. If any more channels are to be moved, repeat
procedure from step 5.
8. When all the channels are in your preferred
order, either press the
return to the CHANNEL SORT menu or press the
MENU button to leave the MENU
function.
CLEAR button to
NOTES:
If when moving channels the picture becomes
unclear and the on-screen display is unreadable,
the
MODE OSD button can be used to toggle
between a blue background and the normal
picture.
The blue background will be shown until either
another channel is selected or the
button is pressed again.
MODE OSD
5.
1BBC 2 7 1 3
2ITV 8 14
3CH4 9 15
4CH5 10 1 6
5CH50 11 17
6 BBC 1 12 18
MOVE 1/5
6.
1 BBC 1 713
2BBC 2 8 1 4
3ITV 9 15
4CH4 10 1 6
5CH5 11 1 7
6CH50 12 18
MENU
MOVE 1/5
SET
MENU SELECT
BUTTONS
Remote Control
www.sharp.co.uk/support
38

TINS-A082UMN1.book Page 39 Monday, November 4, 2002 2:33 PM
CUSTOMISED INSTALLATION
MANUALLY SORTING CHANNELS
DELETING CHANNELS
If there is a channel you wish to delete from the VCR memory, you can follow the procedure
below.
1. Press the MENU button.
2. Press the [ / ] menu select buttons to
SET
select SET UP. Press the
confirm.
SET button to
3. Press [ / ] to select CHANNEL SORT. Press
SET
SET button to confirm.
the
4. Press [ / ] to select CANCEL. Press the
SET
SET button to confirm.
5. Press [ / / / ] to highlight the
channel to be cancelled.
6. Press the SET button twice to cancel the
channel.
SET
7. When all the channels you wish have been
cancelled, either press the
to return to the CHANNEL SORT menu or press
MENU button to leave the MENU
the
function.
CLEAR button
NOTES:
If when deleting channels the picture becomes
unclear and the on-screen display is unreadable,
the
MODE OSD button can be used to toggle
between a blue background and the normal
picture.
The blue background will be shown until either
another channel is selected or the
button is pressed again.
MODE OSD
2.
MENU SCREEN
V I DEOPL US
TIMER
MOD E
SET UP
5.
1 CH 5 0 713
2BBC 1 8 1 4
3BBC 2 9 1 5
4 I TV 10 16
5CH4 11 1 7
6CH5 12 18
CANCEL 1 / 5
6.
1BBC 1 7 1 3
2BBC 2 8 1 4
3ITV 9 15
4CH4 10 1 6
5CH5 11 17
61218
MENU
CANCEL 1 / 5
SET
www.sharp.co.uk/support
39
MENU SELECT
BUTTONS
Remote Control

TINS-A082UMN1.book Page 40 Monday, November 4, 2002 2:33 PM
CUSTOMISED INSTALLATION
MANUALLY SORTING CHANNELS
RE-NAMING CHANNELS
When your VCR tunes in broadcast channels automatically, it names them using teletext
information. You can change the name of a channel with the following procedure.
1. Press the MENU button.
2. Press the [ / ] menu select buttons to
SET
select SET UP. Press the
confirm.
SET button to
2.
MENU SCREEN
V I DEOPL US
TIMER
MOD E
SET UP
3. Press [ / ] to select CHANNEL SORT. Press
SET
SET button to confirm.
the
4. Press [ / ] to select NAME. Press the SET
SET
button to confirm.
5. Press [ / / / ] to highlight the
SET
channel to be re-named. Press the
button to confirm.
SET
6. To enter a new channel name use the
[ / ] buttons to scroll through the
characters and the
next position. Press the
confirm.
/ ] to move to the
SET
SET button to
7. If any more channels are to be re-named,
repeat procedure from step 5.
8. When all the channels are named correctly,
either press the
the CHANNEL SORT menu or press the
button to leave the MENU function.
CLEAR button to return to
MENU
NOTES:
If when re-naming channels the picture becomes
unclear and the on-screen display is unreadable,
the
MODE OSD button can be used to toggle
between a blue background and the normal
picture.
The blue background will be shown until either
another channel is selected or the
button is pressed again.
MODE OSD
5.
1 CH 4 7 713
2BBC 2 8 1 4
3ITV 9 15
4CH4 10 1 6
5CH5 11 1 7
61218
NAME 1/5
6.
1 BBC 1 713
2BBC 2 8 1 4
3ITV 9 15
4CH4 10 1 6
5CH5 11 17
61218
MENU
NAME 1/5
SET
MENU SELECT
BUTTONS
Remote Control
www.sharp.co.uk/support
40

SET
TINS-A082UMN1.book Page 41 Monday, November 4, 2002 2:33 PM
CUSTOMISED INSTALLATION
MANUALLY SETTING THE CLOCK
The clock will normally be set using teletext information when your VCR automatically tunes in
the broadcast channels. If for any reason teletext signals are not present, your VCR will not be
able to set the clock. This procedure will allow you to set the clock manually.
1. Press the MENU button.
2. Press the [ / ] menu select buttons to
select SET UP. Press the
confirm.
SET
SET button to
3. Press [ / ] to select CLOCK. Press the
SET
SET button to confirm.
4. Press [ / ] to select either 12 or 24 hour
clock.
3.
SET UP
CHANNEL P RESE T
CHANNEL SOR T
CLOCK
: SELECT : CHANGE
SET :ENTER MENU : EX I T
5. Press [/] to select TIME. Enter the time
using the
[ / ] buttons. If the minutes or hours are
less than 10, enter the leading 0. If using the 12
hour clock enter AM or PM by pressing the
AM/PM button on the remote control.
NUMBER BUTTONS or the
6. Press [/] to select DATE. Enter the date
using the
[ / ] buttons. For example, for 1st April
enter
NUMBER BUTTONS or the
01 04.
4.
CLOCK
MODE T I ME DAT E Y EAR
24H 0:00 01/04 02
MODE : 24H / 1 2H
: SELECT : CHANGE
SET :ENTER MENU : EX I T
Remote Control
7. Press [/] to select YEAR. Enter the last two
digits of the year using the
BUTTONS or [ / ]. For example, for
2002 enter
02. For the year 2003 enter 03.
NUMBER
MENU
SET
8. AUTO CLOCK SETTING.
[/] to select ✱. Press [ / ]to
Press
change between
✱ is ON, - is OFF). Then press the SET
(
button to confirm.
NOTE:
• If AUTO CLOCK is set to OFF (- is OFF) then you will need to update the clock for
daylight saving.
AUTO CLOCK on/off
MENU SELECT
BUTTONS
*
www.sharp.co.uk/support
41
 Loading...