

Page 1
AR-RF1
AR-RF1
CODE : 00ZARRF1//A1E
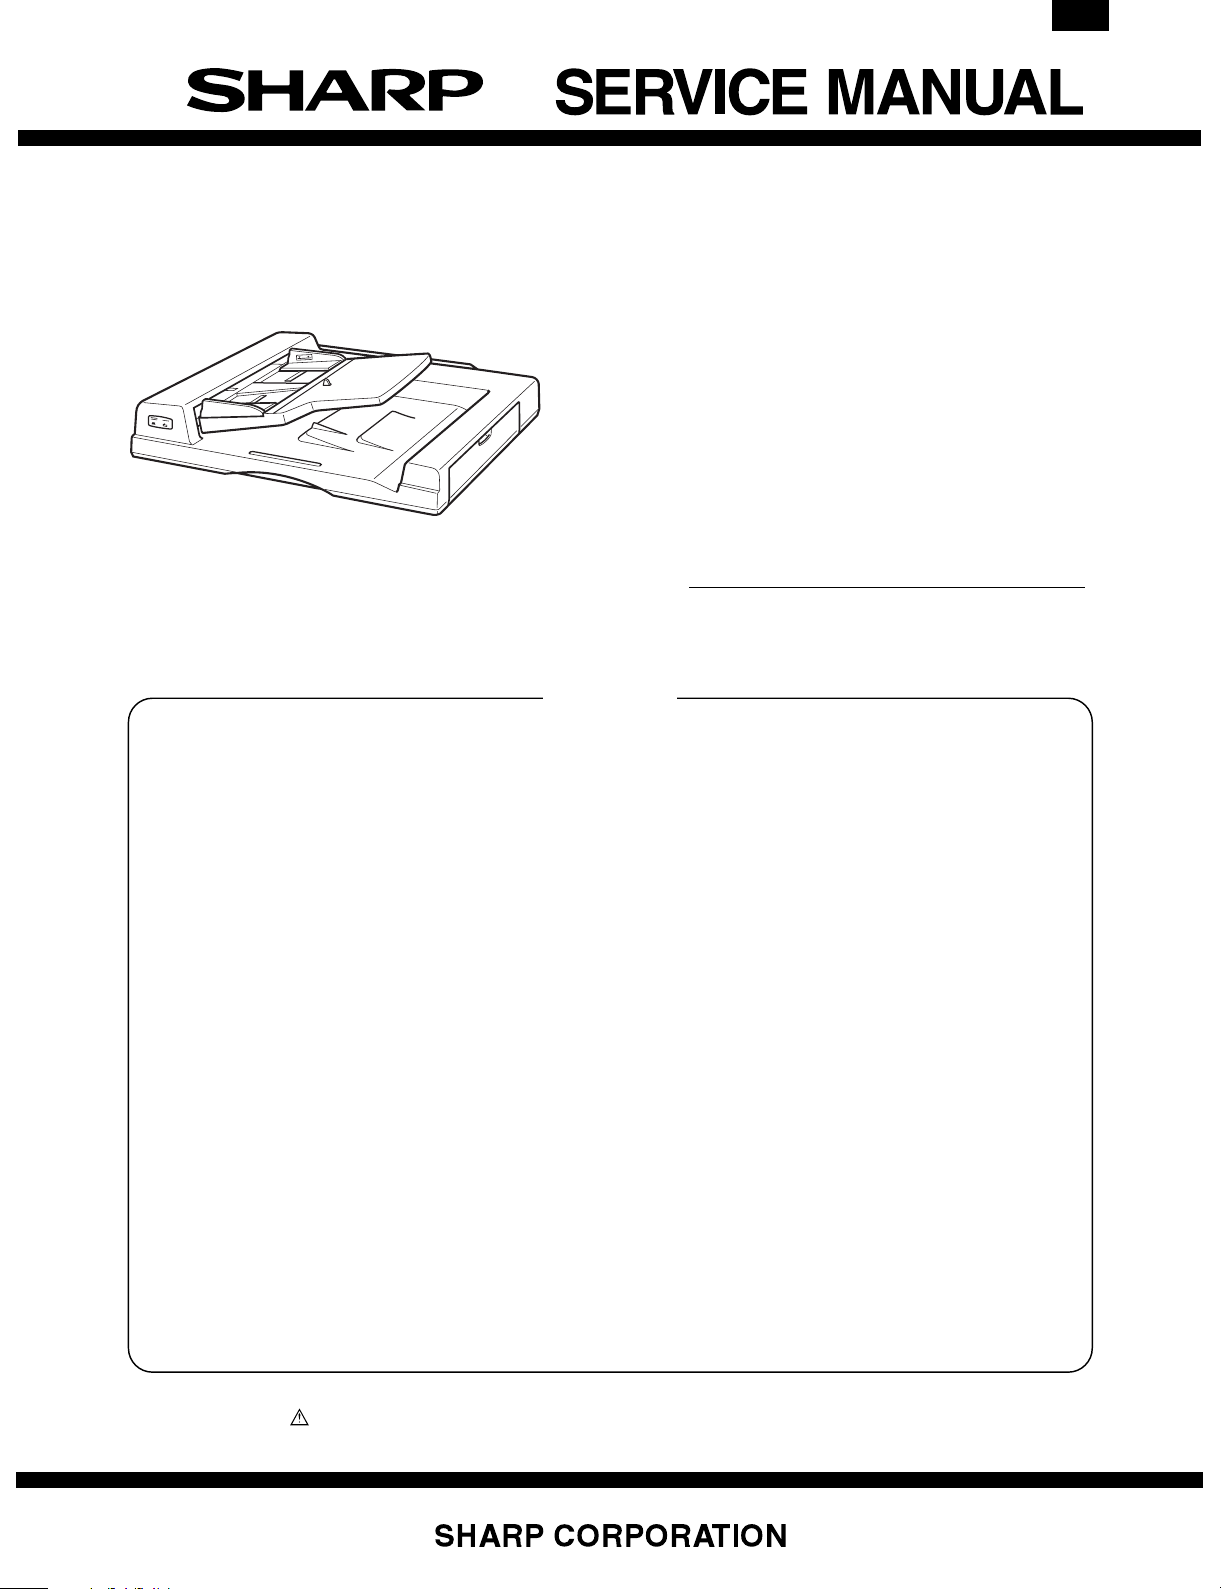
Automatic Duplex Document Feeder
MODEL AR-RF1
CONTENTS
This Service Manual describes the unpacking and installing procedures
of the model to the full color digital copier, AR-C150.
For the other items than the unpacking and installing procedures, refer to
the AR-RF1 Service Manual.
Parts marked with “ ” are important for maintaining the safety of the set. Be sure to replace these parts with specified
ones for maintaining the safety and performance of the set.
This document has been published to be used
for after sales service only.
The contents are subject to change without notice.
Page 2
AR-RF1
ADF tray
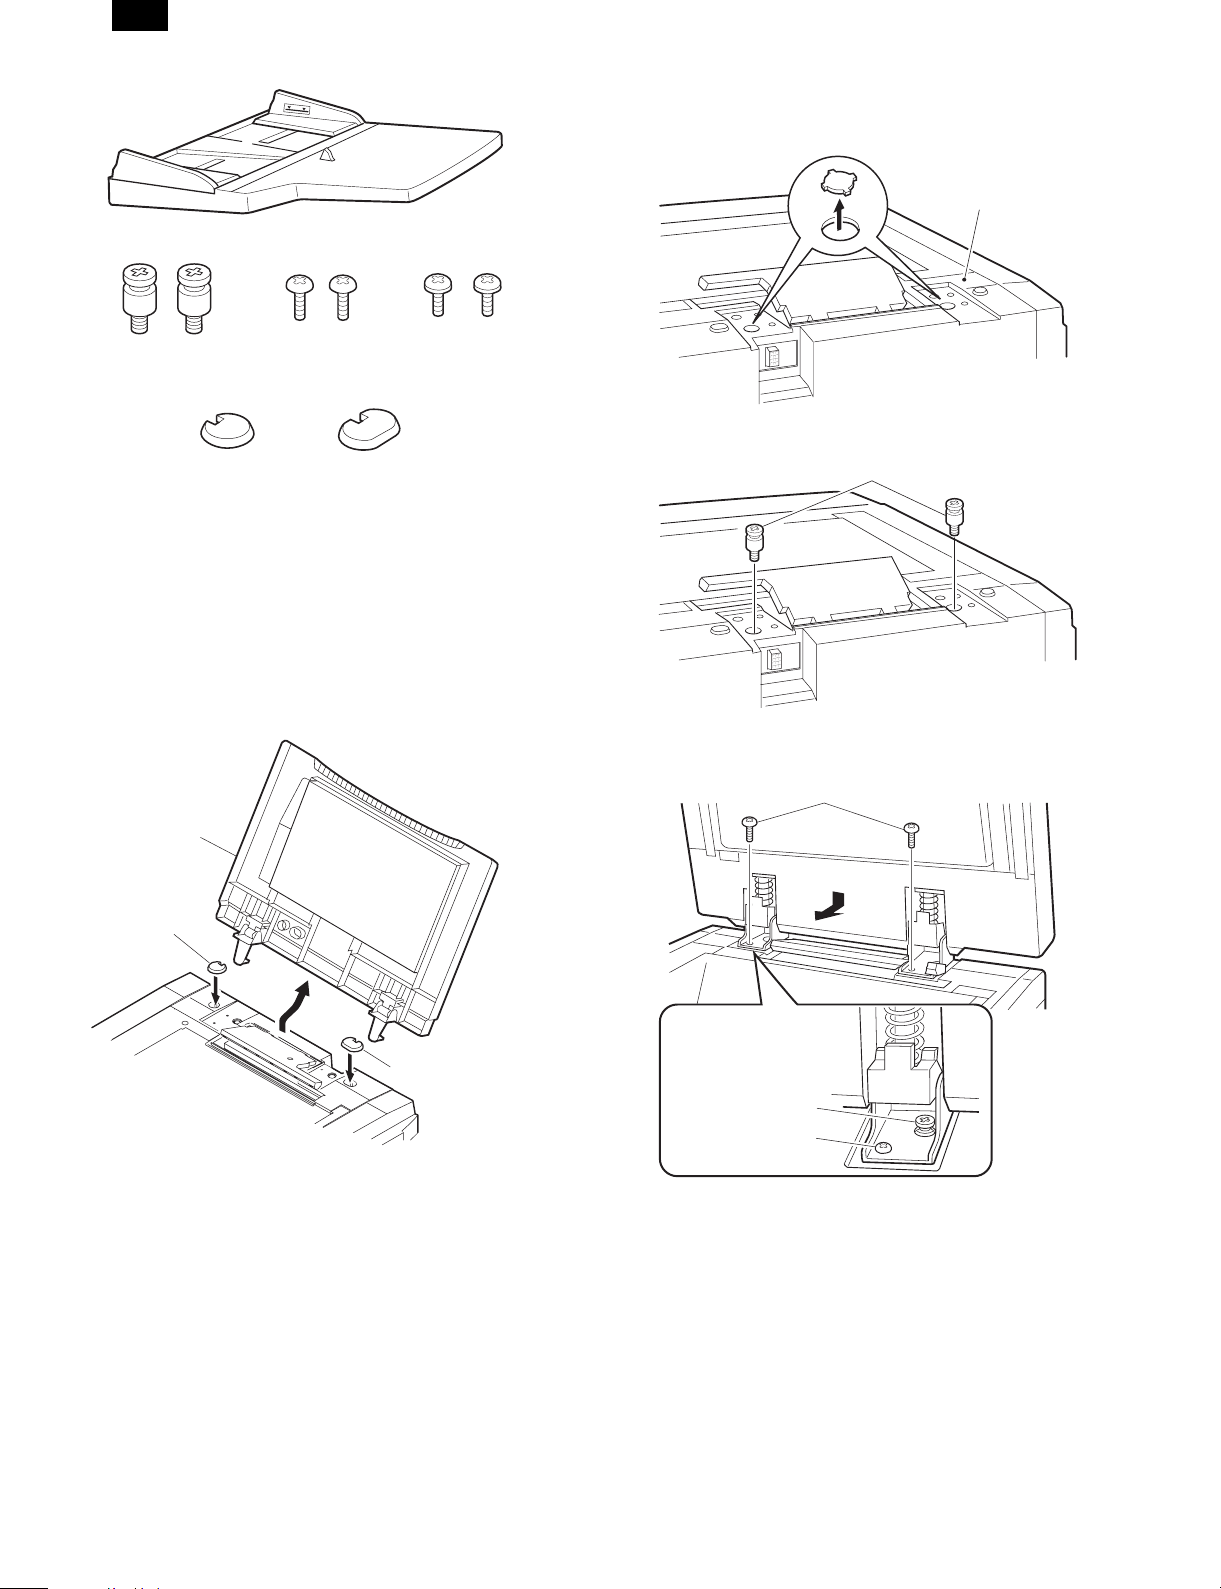
2. Mount the ADF/RADF onto the copier.
Remove the two cut-outs from the rear part of the upper cover of the copier.
Cut-outs
Rear part of
upper cover
ADF mounting screws
(2 pcs.)
Right cover
(1 pc.)
ADF securing screws
(2 pcs.)
Left cover
(1 pc.)
Tray securing screws
(2 pcs.)
Unplug the power cord from the copier and
follow the procedure below.
External view may differ depending on models.
1. Remove the document cover.
Open the document cover and lift it at a slight backward angle to remove it.
Insert the left and right covers (included parts) into the holes from which the
document cover has been removed.
Document cover
Right cover
Install the two ADF mounting screws.
ADF mounting screws
Fit the ADF mounting screws into the holes in the hinges of the ADF and
secure the ADF with the two ADF securing screws.
ADF securing screws
Left cover
ADF mounting screw
ADF securing screw
3 – 1
Page 3

AR-RF1
3. Adjust the angle of the ADF.
Loosen the two securing screws for the angle adjusting panel attached to
the hinge angle and then fasten the loosened screws while raising the
angle adjusting panel completely.
Angle adjusting panel
securing screws
Long hole
Hinge
Angle adjusting panel
Long hole
5. Connect the ADF tray connector.
Thread the M4 x 8 tray securing screws (included parts) part way into their
holes, then connect the tray connector.
Tray connector
Tray
securing
screws
Connector on the ADF
6. Attach the ADF tray.
Loosen the two ADF tray securing screws, install the tray as shown in the
figure, and fasten the tray securing screws.
NOTE:
Be sure to check that the protrusion of the angle adjusting panel is securely
inserted into the long hole of the hinge.
4.Connect the ADF connector.
Remove the connector cover securing screw to remove the connector
cover from the copier’s rear cover.
Next, connect the ADF connector to the connector on the copier, and fasten the screw on the ADF connector completely.
Connector on the copier
ADF connector
Screw
Securing screw Connector cover
Tray
securing
screws
Tray
Plug the copier into a grounded outlet and turn on the power switch. Then
follow the procedure below.
7. Adjust the center of the copy.
Set an original in the ADF tray and make a copy.
When the copy is off center as sh own in Fig. 1 or Fi g. 2, l oosen the two tray
securing screws and adjust the tray by moving it in direction A or B as
shown in the figure below.
Tray securing screwMark
BA
8. Set the mode.
• Set the mode with the key operation of the copier.
PC
Clear
Press the corresponding
operation key on the display.
3 – 2
26
1
CA
The mode is set with the
above operations.
Page 4

AR-RF1
Page 5

CAUTION FOR BATTERY REPLACEMENT
(Danish)
Lithiumbatteri – Eksplosionsfare ved fejlagtig håndtering.
Udskiftning må kun ske med batteri
Levér det brugte batteri tilbage til leverandoren.
(English)
Danger of explosion if battery is incorrectly replaced.
Replace only with the same or equivalent type
recommended by the manufacturer.
Dispose of used batteries according to manufacturer’s instructions.
(Finnish)
Paristo voi räjähtää, jos se on virheellisesti asennettu.
Vaihda paristo ainoastaan laitevalmistajan suosittelemaan
tyyppiin. Hävitä käytetty paristo valmistajan ohjeiden
(French)
Il y a danger d’explosion s’ il y a remplacement incorrect
de la batterie. Remplacer uniquement avec une batterie du
même type ou d’un type équivalent recommandé par
Mettre au rebut les batteries usagées conformément aux
(Swedish)
Explosionsfara vid felaktigt batteribyte.
Använd samma batterityp eller en ekvivalent
typ som rekommenderas av apparattillverkaren.
Kassera använt batteri enligt fabrikantens
ADVARSEL !
af samme fabrikat og type.
Caution !
VAROITUS
mukaisesti.
ATTENTION
le constructeur.
instructions du fabricant.
VARNING
instruktion.
AR-RF1
Page 6

AR-RF1
All rights reserved.
Printed in Japan.
No part of this publication may be reproduced,
stored in a retrieval system, or transmitted,
in any form or by any means,
electronic; mechanical; photocopying; recording or otherwise
without prior written permission of the publisher.
SHARP CORPORATION
Digital Document Systems Group
Quality & Reliability Control Center
Yamatokoriyama, Nara 639-1186, Japan
1999 September Printed in Japan
 Loading...