

Page 1

SHARP AR-M257 AR-M317 MX-M260 MX-M310 Fax Operation Manual
Page 2
TO USERS OF THE
AR-M256/AR-M257/AR-M258/AR-M316/
AR-M317/AR-M318/AR-5625/AR-5631/
MX-M260/MX-M310
Thank you for purchasing the facsimile expansion kit. The Operation Manual (for facsimile) primarily
explains the fax function on the AR-M230/M270 Series. Although the appearance of the operation
panel and touch panel may be slightly different on your model, the procedures for using the fax
function are the same. Please refer to this guide along with the Operation Manual (for facsimile) to use
the fax function of the machine.
Users of the MX-M260 and the MX-M310 should also read "TO USERS OF THE MX-M260/MX-M310"
on page 3.
ADDITION OF DESTINATION STORING FUNCTION TO THE WEB PAGE
A feature for storing fax destinations in the Web page has been added.
(when the PRINTER EXPANSION KIT is installed)
[Accessing Web pages]
Open the Web browser on your computer.
1
Supported browsers: Internet Explorer 6.0 or later (Windows)
Netscape Navigator 7.0 or later
Safari 1.2 or later (Macintosh)
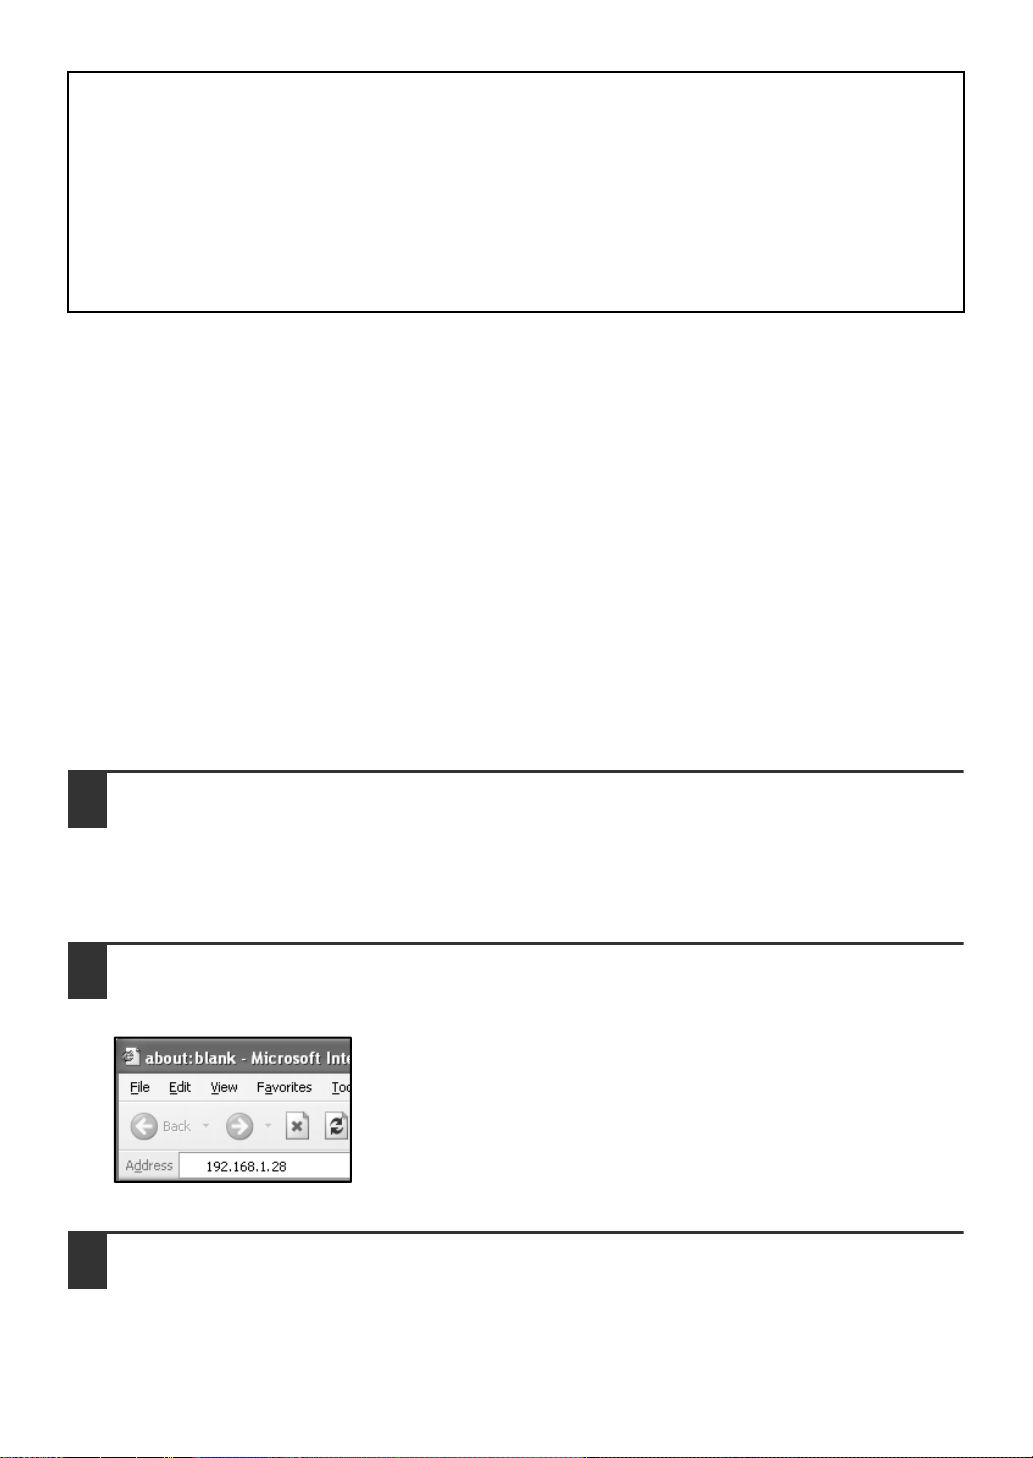
In the "Address" field of your Web browser, enter the IP address of the
2
machine as a URL.
Example:
When the connection is established, the Web page will appear in
your browser.
Store fax destinations in "Destination" under "Image Send Management"
3
in the Web page menu frame.
1
Page 3

ADDITION TO THE KEY OPERATOR PROGRAMS
The following program has been added to the "FAX DEFAULT SETTINGS".
DISABLE OF FAX NUMBER DIRECT ENTRY
When the fax function is enabled, this program is used to prohibit dialing of a destination fax number
by direct entry with the numeric keys. To prohibit dialing by direct entry with the numeric keys, touch
the checkbox to select it. When this is done, faxes can only be sent to destinations that have been
stored, and thus this program can be used to restrict fax destinations and prevent accidental
transmission to an incorrect number. The following operations are also prohibited:
• Storing rapid dial keys
• Storing relay groups
• Direct entry of fax numbers when storing a group
• Direct entry of fax numbers when storing programs
• Editing and deleting of stored rapid dial keys
• Editing and deleting of stored relay groups
• Direct entry of fax numbers when editing stored groups
• Direct entry of fax numbers when editing stored programs
• Direct entry of a fax number for received fax forwarding
OTHER CHANGES
If you are using the fax function on the AR-M256/AR-M257/AR-M258/AR-M316/AR-M317/AR-M318/
AR-5625/AR-5631/MX-M260/MX-M310, please make the following substitutions in the Operation
Manual (for facsimile).
When using the fax function on the
page Changes
19 Note When using job build mode, the
Text in the Operation Manual
(for facsimile)
number of originals scanned will
appear in the display. When the count
reaches 256 pages, it will reset to 0
and further scanned pages will be
counted from 1.
AR-M256/AR-M257/AR-M258/AR-M316/
AR-M317/AR-M318/AR-5625/AR-5631/
MX-M260/MX-M310
When using job build mode, the
number of originals scanned will
appear in the display.
2
Page 4

TO USERS OF THE MX-M260/MX-M310
ACC.#-C
DATA
CUSTOM SETTINGS
DATA
LINE
CUSTOM SETTINGS
DATA
SYSTEM SETTINGS
LOGO
LINE
DATA
SYSTEM SETTINGS
Users of the MX-M260 and the MX-M310 should also read the explanation below.
OPERATION PANEL
The operation panel of the MX-M260/MX-M310 is different from the panel described in the Operation
manual (for facsimile). When reading explanations that use an illustration of the operation panel, refer to the
illustration below. For the names and functions of the keys, see "PART NAMES AND FUNCTIONS" in the
Operation manual (for facsimile) (page 5). (The numbers in the illustration correspond to the explanations.)
1 2 3
COPY
PRINT
SCAN
FAX
JOB STATUS
ON LINE
DATA
DATA
LINE
DATA
SYSTEM SETTINGS
87 96
4 5
LOGOUT
10 1112
[SYSTEM SETTINGS] Key
The [SYSTEM SETTINGS] key on the operation panel is called the [CUSTOM SETTINGS] key in the
Operation manual (for facsimile). When configuring system settings, refer to the illustration below. At
other places in the Operation manual that refer to the "Custom Settings", substitute "System Settings".
Location in Operation
manual (for facsimile)
When using the
MX-M260/MX-M310
Applicable function
USING THE FAX
FORWARD FUNCTION
RECEIVING A FAX
AFTER TALKING
(MANUAL RECEPTION)
Operation manual
page (chapter)
Page 29
Page 62
STORING, EDITING,
AND DELETING AUTO
DIAL KEYS, PROGRAMS
AND RELAY GROUPS
STORING A GROUP INDEX
PRINTING PROGRAMMED
INFORMATION
PRINTING REPORT Page 85
USING THE KEY
OPERATOR PROGRAMS
3
Page 65
Page 78
Page 79
Page 94
Page 5

ADDITION TO SPECIAL MODES
LINE
DATA
SYSTEM SETTINGS
ADMINISTRATOR SETTINGS
ADDRESS
CONTROL
CONTRAST
RECEIVE MODE
ADMINISTRATOR PASSWORD
The following function has been added to the "SPECIAL MODES".
TRANSACTION REPORT PRINT SELECT SETTING
Transaction reports are printed based on conditions set in the system settings; however, you can
temporarily select different conditions for a transmission.
• The print conditions for a transaction report are as follows:
"PRINT OUT ALL REPORT":A transaction report is printed no matter whether the transmission
succeeds or fails.
"NO PRINTED":Do not print a transaction report.
• When "PRINT OUT ALL REPORT" is selected, you can select whether or not part of the transmitted
fax image is included on the transaction report (select "PRINT OUT" or "NO PRINTED"). Note that
even when "PRINT OUT" is selected, part of the fax image will not be printed when speaker dialing,
direct transmission, polling reception, F-code transmission, or confidential transmission is used.
SYSTEM SETTINGS (Administrator)
The "System Settings (Administrator)" in the system settings are referred to as "Key Operator
Programs" in the Operation manual (for facsimile). For explanations of the system settings
(administrator) for the fax function, see chapter 8, "KEY OPERATOR PROGRAMS", in the Operation
manual (for facsimile).
At places in the Operation manual (for facsimile) that refer to the "Key Operator Programs", substitute
"System Settings (Administrator)".
Due to this change, steps 1 to 3 on pages 94 and 105 are as follows.
Press the [SYSTEM SETTINGS] key.
1
Touch the [ADMINISTRATOR SETTINGS] key.
2
Use the numeric keys to enter the five-digit administrator password.
3
Each time a digit is entered, the dash (-) that indicates the digit will
change to an asterisk (*).
The factory default setting for the administrator password is
00000.
For the steps that follow, see pages 94 and
105 of the Operation manual (for facsimile).
PRINTED IN CHINA
2009G KS1
TINSE2035QSZZ
4
 Loading...