

Page 1
SLIDE OUT
RANGEHOOD
SC-6000AURH
INSTRUCTION
MANUAL
Please read this manual carefully before using, and keep it for future reference.
Page 2

Page 3
CONTENTS
General Safety 4
Product Overview 8
Installation 9
Instructions 15
FAQs 16
Other Useful Information 17
Specifications 18
Customer Helpline 20
Page 4
GENERAL SAFETY
IMPORTANT INFORMATION
Read this manual thoroughly before you start using the Slide out Rangehood.
The safety precautions instructions reduces the risk of fire, electric shock and
injury when correctly complied to.
Please follow all instructions and take notice of all warnings.
Pay close attention to messages that follow this safety alert symbol or the words
DANGER, WARNING or CAUTION. These words will be used to alert you of
potential hazards that and injure you and others. Following these instruction will
tell you how to reduce the chance of injury and the possible dangers if
instructions aren’t followed.
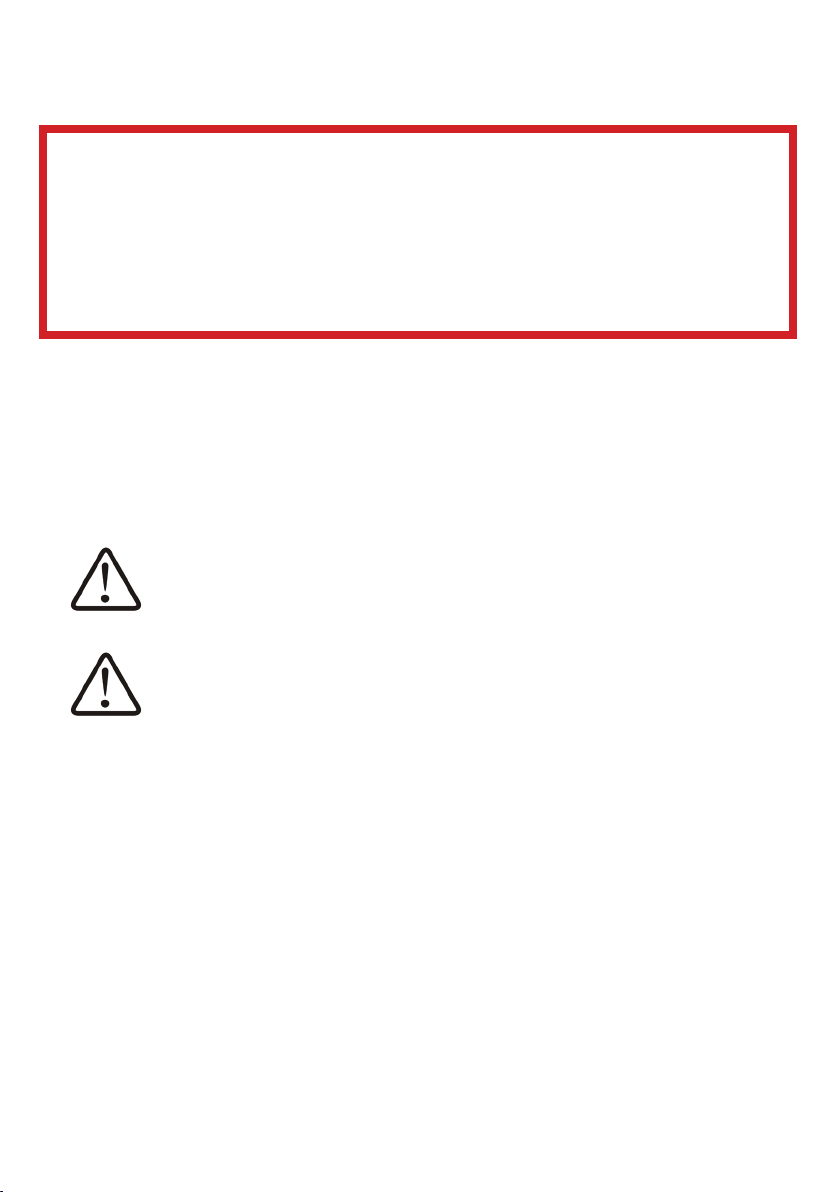
WARNING
CAUTION
4
This symbol indicates when there is a serious risk of
injury if you do not pay attention to the warnings.
This symbol indicates when to be careful to
avoid a serious risk of injury to oneself or
damage to property.
Page 5

GENERAL SAFETY INSTRUCTIONS (Cont.)
WARNING!
THE INSTALLATION OF THIS PRODUCT CAN ONLY EVER BE INSTALLED BY A LICENCED
ELECTRICIAN. DO NOT IN ANY WAY TRY TO INSTALL THIS PRODUCT YOURSELF.
To reduce risk of fire, electric shock or injury, always follow these basic
precautions and accident prevention measures when using this appliance,
including the below:
NOTE: This appliance should be installed by an authorised electrician else
warranty will be void.
IMPORTANT INSTALLATION ADVICE
• Do not allow electrical wiring and fittings to come into contact with areas
associated with equipment that can get hot.
• The exhaust air is not to be discharged into the flue which is used for
exhausting fumes from appliances such as burning gas or other fuels.
• Check and make sure that you follow your local laws that apply to external air
evacuation when installing and using the rangehood.
• If power cord is damaged, it must be replaced immediately from the
manufacturer or a qualified electrician/technician to avoid hazard.
• Before plugging in the unit make sure the voltage indicated on the rating
label matches the voltage to your outlet.
• Before cleaning the rangehood, make sure you switch o and disconnect.
Make sure you do not disconnect appliance with wet hands, grip by the
plug NOT the cord itself and pull when disconencting.
5
Page 6

GENERAL SAFETY INSTRUCTIONS (Cont.)
USAGE CONDITIONS AND RESTRICTIONS
• This appliance is not to be used by persons (including children) with reduced
physical, sensory or mental capabilities, or lack of experience and knowledge,
unless they are being supervised or been given instructions on how to use of
the appliance in a safe way and understand the hazards with using this
appliance incorrectly.
• Be sure to always supervise children to ensure that they do not play with the
appliance. Close supervision is needed when using the rangehood.
• Only for indoor domestic use only. It is not to be used for industrial or
commercial use.
• Do not use this product for anything other than its intended purpose, and only
use it as described in this manual. Do not attempt to alter or modify
this appliance.
• The rangehood is not intended to be operated by means of an external timer
or seperate remote control system.
• Damage or malfunction caused from foreign objects is not covered by your
warranty to the appliance.
• Make sure you do not use the rangehood if any part has been damaged or
does not work correctly. It must only be repaired by a qualified technician.
An incorrect repair could expose you to risk of electric shock, fire or injury.
If you continue to use the product in such a condition it could cause a fire
or electrocution.
• Incorrect use can result in property damage, injury or death. We assume no
liability for misuse of the appliance or noncompliance with these instructions.
• There shall be adequate ventillation of the room when the range hood is used
at the same time as appliances burning gas or other fuels (not applicable to
appliances that only discharge the air back into the room).
6
Page 7

GENERAL SAFETY INSTRUCTIONS (Cont.)
CAUTIONS!
• Make sure when using the rangehood with either an open fire such as a burner
that depend on air from the environment other than electricity, the rangehood
removes air from the environment which a burner needs for combustion.
• No open flame cooking: do not use an open flame for cooking underneath
this rangehood. Open flames can damage the filter and preset a fire hazard.
• Do not touch the light bulbs after the appliance has been used as it may
be hot.
• FIRE RISK: clean your rangehood regularly as instructed in this manual.
There is a fire risk if cleaning is not carried out.
• Accessible parts may become hot when used with cooking appliances.
7
Page 8

PRODUCT OVERVIEW
1
2
3
5
4
1 Rangehood housing
2 Slide out front panel (fascia)
3 On/off fan speed switch
4 Inner aluminium mesh filter
5 Outer aluminium mesh filter
6 Lights
7 Light switch
7
6
8
Page 9

INSTALLATION
Before installing your appliance, read all safety instructions in this manual,
especially the sections on electrical safety and installation.
UNPACKING
• When unpacking the appliance, be sure to keep all the packaging materials
until you have made sure your new appliance is undamaged and in
good working order.
• Be sure to remove all packaging materials around the oven and inside
the oven.
• CAUTION: Plastic wrapping can be a suffocation hazard for babies and young
children. Make sure all packaging materials are out of reach for children and
that they are disposed of correctly.
WARNING!
THE INSTALLATION OF THIS PRODUCT CAN ONLY EVER BE INSTALLED BY A
LICENCED ELECTRICIAN IN ACCORDANCE WITH RULES AND REGULATIONS
AND FOLLOWING INSTRUCTIONS IN THIS MANUAL.
Make sure you do not try to install the oven yourself, doing will expose you to
danger and void the warranty. Incorrect installation, adjustment, alteration or
service can cause injury or damage. We do not assume responsibility for injury
or damage to a person or persons or property as a result of incorrect
use or installation.
9
Page 10

INSTALLATION (Cont.)
INSTALLING RANGEHOOD
• The distance of the rangehood to you cooktop should be a minimum of
650mm to 750mm, this ensures safety of heat produced from cooktop doesnt
damage the rangehood, and if you have a Gas Cooktop that the Rangehood
does not take away air needed for combustion for the burners.
• Below are the cutout measurements needed for the cabint for
rangehood installation.
PRODUCT DIMENSIONS
CABINET CUTOUT
10
Page 11

INSTALLATION (Cont.)
VENTING OPTIONS
• Before installing the rangehood, please check and ensure that the two levers
on the motor are set to the desired venting mode (Fig. 1): “Ducting”
or “Recirculating”.
• Steam can be vented to the outside (Fig. 5, outdoor ducting mode), if you
are able to knock a hole in the ceiling or wall for the exhaust ducting pipe (not
supplied). Alternatively, you can vent the steam back into the kitchen (Fig. 6,
recirculating mode), using the odour-absorbing charcoal filters
(already installed).
FIG. 1
FIG. 2 FIG. 3
11
Page 12

INSTALLATION (Cont.)
OUTDOOR DUCTING MODE
This is the recommended extraction mode wherever possible for optimum
performance. If you are able to install an exhaust duct (not supplied) to vent the
air outside and operate your rangehood in outdoor ducting mode, proceed
as follows:
• Unscrew the 80mm fascia rail which is
already installed on the rangehood.
• Using the same screws, attach the 40mm
fascia rail supplied in the box.
• If you haven’t already done so, remove the
aluminium mesh filters from the underside
of the rangehood and set the two levers in
the centre of the motor housing to the
“Ducting” position.
• Remove the charcoal filters by turning anticlockwise. The charcoal filters
are not required for outdoor ducting mode.
• Clip in the plastic front vent cover over the vent holes on the front of
the rangehood.
• Install the flue outlet adaptor to the top of the rangehood.
• Install the ducting pipe (not supplied) to the outlet on the top of the
rangehood and vent to the outside. We recommend using a ducting pipe with
a diameter of 120mm.
• When installing the rangehood in external ducting mode, you can cover
the front air outlet with the supplied front vent cover.
12
Page 13

INSTALLATION (Cont.)
RECIRCULATING MODE
This mode is the default setting. The rangehood will operate with carbon
filters and vent the air back into the kitchen. To ensure that the mode is correct,
remove the grease filters and check that the two levers are in the
“Recirculating” position.
CHARCOAL FILTERS
• If you intend to use the rangehood with the air recirculating back into the
kitchen, it is important that you use the charcoal filters to absorb some of
the cooking odours.
• The rangehood comes supplied with the charcoal filters already installed.
However, before you install it into your kitchen cabinet, make sure to remove
any adhesive transit support tape (if any) on the carbon filters.
REMOVING AND INSTALLING CHARCOAL FILTERS
• To remove the charcoal filters, first remove the grease filters, then turn
anticlockwise and pull down.
• To install new charcoal filters, first remove the grease filters, then align the
charcoal filters with the centre of the motors, push upwards and turn clockwise
until they lock into place.
13
Page 14

INSTALLATION (Cont.)
TOP MOUNTING IN A CABINET
• Determine where in the top cabinet you want to install the rangehood, then
drill 4 holes of Ø4mm at the bottom of the hanging board of your cabinet.
• You will also need to make an opening for the power cord and plug and, if
the rangehood is to be ducted to the outside, a hole for the ducting.
• Install the rangehood onto the bottom of the cupboard and secure it in
place with four M4x30mm screws.
WARNING: Failure to install the screws or fixing device in accordance with
these instructions may result in electrical hazards!
14
Page 15

INSTRUCTIONS
After the rangehood has been properly installed, insert the power plug into
an appropriate electrical outlet and let the unit run for a few minutes prior to
using it while cooking.
TURNING OFF AND ON
• Determine where in the top cabinet you want to install the rangehood,
then drill 4 holes of Ø4mm at the bottom of the hanging board of
your cabinet.
This switch turns the rangehood lights either on or off.
I Turns the rangehood lights ON.
O Turns the rangehood lights OFF.
This button switches the rangehood on and toggles between the fan
speed settings: HIGH, LOW, OFF.
= Turns on the fan motors to HIGH speed for maximum extraction.
O Turns off the fan motors for no extraction; the rangehood
is switched OFF.
– Turns on the fan motors to LOW speed for minimum extraction.
NOTE:
• The rangehood will only operate once the slide-out rail is pulled outwards
towards the kitchen.
• Close the front panel and the rangehood will stop working.
• The next time the front panel is pulled back out, the rangehood will start
working at the previously set level.
15
Page 16

FAQS
If experiencing issues with your oven and isn’t operating correctly please
check the following pages for solutions to the problems. If none of the solutions
offered help solve the problem with your appliance then please contact our
call centre on 1300 296 699.
DO NOT ATTEMPT TO REPAIR THE APPLIANCE YOURSELF.
Problem Solution
• Check with other appliances if you electricity
The extractor fan is not
functioning
There is not enough
suction power
supply is in working order.
• Check and ensure that the fan speed
switch is set to “–” or “=”.
• Make sure that the slide-out rail is pulled out.
• Up the suction Speed
• The Filter may need to be replaced
• Check the ducting outlets for blockages if the
vent are installed to go outside.
• Make sure your kitchen has plenty of ventillation
Rangehood switched o
during use.
The lights are not
turning on
16
• Turn off rangehood, wait for a moment then
switch back on.
• The lights may have burnt out, please replace them.
Page 17

OTHER USEFUL INFORMATION
CLEANING AND MAINTENANCE
CAUTION: Before cleaning the rangehood or maintenance, make sure the
operation and light switched are set to “0” and the rangehood is disconnected
from the power supply.
• Make sure to clean the filters regularly as oil and food can become a fire
hazard over time.
• Never use a steam cleaner to clean the rangehood.
• When cleaning the exterior surface of the rangehood, make sure to use a soft
cloth dampened with household solvent or a sponge dampened with water
when wiping the rangehood.
• The aluminium mesh filters must be cleaned regularly to ensure good
working condition and to prevent potential fire hazard over time due from
food residue build up.
• When removing the aluminium filters, wash the filters thoroughly with
warm soapy water. Rinse with warm water and leave to dry. Over time as
you wash the filters the panels may slightly change colour, this is not a fault
and cause of no concern.
17
Page 18

SPECIFICATIONS
Power Supply 220-240V / 50Hz
Product Dimensions 595 (w) x 315 (d) x 194 (h) mm
Extended depth (mm) 315 - 485mm
Weight Net: 9kg / Gross: 10kg
Motor Power 2 x 95
Lamp Power 2 x 28W
Total Input Power 246
Maximum Air Flow 400M3/H
Height of Front Panel 40mm/80mm
2 Aluminium mesh filters
Filters
2 Charcoal filters
18
Page 19

19
Page 20

CUSTOMER HELPLINE:
info@ayonz.com
DISTRIBUTED BY:
Ayonz Pty Ltd
20
 Loading...