

Page 1
59
IGNITED MINDS
4499 Glencoe Avenue
Marina del Rey, California 90292
T
310.754.3210 F310.754.3204
www.ignitedminds.com
CLIENT PROJECT TITLE
DATE % OF SIZE SHOWN
FILE NAME JOB CODE
SIZE CONCEPT NUMBER
Activision
08.09.04 100%
RTW_PC ACT-ROME-MN1
4.5” x 6.875” R7 section 3 FINAL
Rome Total War
PC Manual
RTW_PC_rv7_60toEnd.qxd 12/13/05 7:06 PM Page 59
Page 2
60
• Select one or more units within a group and click on the group button on
the control panel. The selected units will be removed from the current group
and create their own group. At least two units must remain in the group,
otherwise it will be completely broken up.
Groups can be put into
group formations:
Click on this button to show the group formations buttons.
• Eight group formations can be selected. Each one
has its own strengths and weaknesses. If you move
the cursor over the buttons, tool tips appear
describing the formations.
• Click on the relevant button to select the formation you want the selected
group to use.
• Alternatively, hold down the
Shift key and press numbers 1 through 8 on
the main keyboard—not the numeric keypad—to select a group formation.
• You can select more than one group before deciding on a formation. Your
selected groups will collectively adopt the group formation you choose.
Groups can be placed under
AI assistance:
With a group selected, click on this button to toggle
AI assistance of
the group on and off. A group under
AI assistance has a red outline
on the control panel.
• Units within an
AI assisted group will ignore your combat orders in favor
of those of their commanding officer.
• However, you can order the group to move to a location, and the computer
will handle the detailed movement orders for units.
• Units in an
AI assisted group will stay in formation.
• You can cancel
AI assistance at any time by clicking on the Control Panel
button to toggle it off.
61
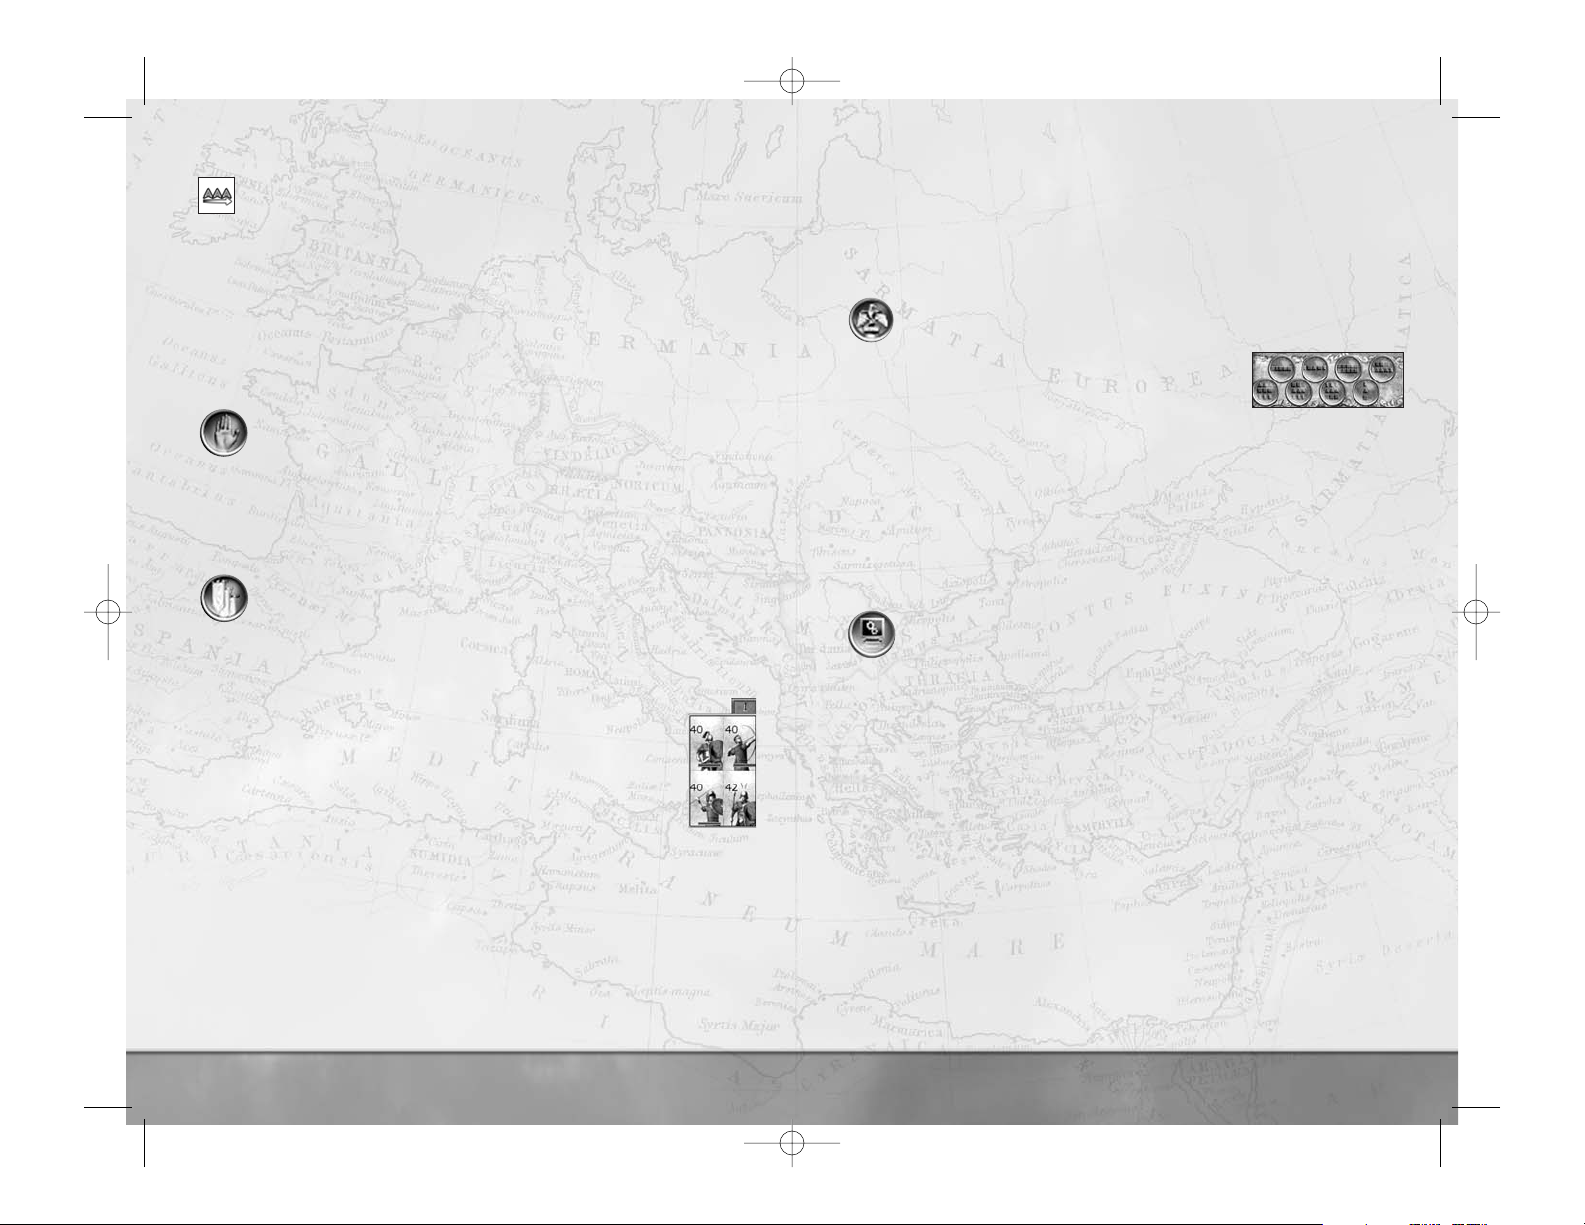
Right-click and drag on a destination to make the selected units form
a line. As you drag the cursor sideways, a set of yellow chevrons appears
showing the frontage and depth of the selected units. Release the mouse
button when you’re happy with the line’s position.
•
Right-click on a target unit for an attack order.
•
Double right-click on a target unit for a charge order.
• Use the < and > (comma and period) keys to form a line of units and
change its facing. Yellow chevrons appear to show the units’ final
destinations. The line forms at a point that’s the shortest march for the
selected units.
Use the
stop button on the control panel or press the backspace key
to cancel the units’ collective orders.
Once multiple units have been selected, they can be
grouped together, as well as
put under
AI assistance.
Grouping Units
Groups can be a very useful way of managing a large force.
With a collection of units selected, click on this button to
group them
together. You can also press the
G key. The relevant unit cards in the
control panel will be collected together into one numbered group.
Grouped units don’t have to be of the same type. When grouped like this,
the new group has the lowest group number that’s currently available.
• Alternatively, with a collection of units selected, hold down the Ctrl
key and press one of the number keys on the main keyboard—not
the numeric keypad—to create a numbered group.
• A grouped unit is displayed like this in the Control Panel.
•
Left-click on the numbered group tab to select all the units
instantly or press the number key that corresponds to the group
number (shown in Roman numerals in the tab).
Groups can be split or modified at any time:
• Select two or more groups of units and then
group them again using one
of the above methods to create a new, larger group that includes all the
units of the old selected groups.
• Select a single group and click on the
group button in the Control Panel (or
use a keyboard shortcut) to
break up the group. The units become single
units once again, though they remain selected.
RTW_PC_rv7_60toEnd.qxd 12/13/05 7:06 PM Page 60
Page 3
■ Unit Morale
Morale is the willingness of a unit to fight on while taking casualties. As long as a
unit’s morale remains good, it will fight. But sooner or later, even the bravest of
men will realize that their lives are in more danger if they stay than run. Morale,
therefore, is more noticeable when it’s lacking: a unit with no morale will run away.
Not all units are equally blessed with good morale. For example, peasants aren’t
keen on going to war. Professional Legionaries, on the other hand, are likely to stay
and fight against great odds.
Some units in the game have morale effects in addition to their combat value:
• Generals (usually) and captains boost the morale of nearby troops.
• There are some traits, such as personal cowardice, that reduce the morale of
warriors under a general’s command.
• The death of a general or captain is usually a severe blow to the morale of his
whole army.
• Some units
frighten nearby enemy units, either because of their terrible
appearance and fearsome reputation or because they’re armed with cruel
and unusual weaponry. Enemies are more likely to run when faced with
frightening units.
•
Routing units can cause other friendly units to rout: if lots of other people
are running from the enemy, soldiers tend to think it might be a good idea to
run, too!
■ Routing Units and Pursuit
As has been noted, generals can rally routing units. This won’t work if enemy
forces are too close to the routing unit. They will ignore the general and
concentrate on escaping death!
Therefore, it can be a good idea to keep some speedy forces available to pursue
fleeing foes to prevent them from rallying. There’s also a good chance of killing
some enemies as they run, saving you the trouble of having to fight against them
on another battlefield. Traditionally, light cavalry were used for this task. Units in
guard mode will not pursue enemies.
■ Romans and Legionary Eagles
Some types of Roman units carry Legionary Eagles. These appear in the
campaign game after the reforms of Gaius Marius have occurred, but they’re always
available in custom battles.
A First Cohort unit carries a Legionary Eagle. This battle standard is regarded as the
soul of a Roman Legion, and is an inspiration for any Roman units nearby. Its
presence raises the morale of friendly Roman units. Losing a Roman Legionary Eagle
is the height of disgrace, and a terrible blow to the battlefield morale of an army
that loses one.
63
62
How to Get the Most from Unit Abilities
Many units have a special ability that makes them more useful in battle. Select the
unit, then click on the special ability button (or press the F key). Most special abilities
can be toggled, but a few are “one use”:
The
Cantabrian Circle formation is used by light, missile-armed cavalry
to keep up a barrage on an enemy unit. Rather than firing a mass volley
against an opponent and then retreating to reload, a unit executing a
Cantabrian Circle gallops around with each soldier firing before dropping
back to prepare a new missile. The effect is a steady—and demoralizing—
rain of missiles on a target unit, rather than a single volley.
Many archer and artillery units can fire
flaming projectiles instead of their
normal missiles. These can set men and buildings on fire.
Many spearmen, hoplites and pikemen, particularly those schooled in Greek
ways of warfare, can form a
phalanx. This is a solid mass of infantry who
rely on mass and discipline to punch into an enemy line.
A general can
rally nearby routing units, recalling them to the fight by
sheer force of personality. If this works, the unit re-forms, ready to fight on
(for a while, at least).
The later types of Roman Legionaries can form a
testudo or tortoise
formation by closing up and interlocking their shields. Snug inside an
armored shell, the Legionaries can then advance through missile fire
and survive.
A
warcry gives a temporary boost to the combat power of the unit as it
enters combat.
Some cavalry units can form a
wedge, a formation that aids them when
charging into other units by increasing their shock value on attack. The
mass of cavalry is concentrated against a small portion of the enemy’s line,
and then the enemy unit is split apart (if the wedge charge works).
Some barbarian units can
chant or let forth fearsome keens and
screeches. This increases the morale of nearby friendly units and
decreases the morale of nearby enemy units.
Should an elephant unit panic and run amok, the drivers can be ordered to
kill their beasts. This is very useful if the elephants are running amok
through your own troops!
RTW_PC_rv7_60toEnd.qxd 12/13/05 7:06 PM Page 62
Page 4
■ Unit Characteristics
There are a couple of other unit abilities that are worth remembering:
• Some units are rated as
hardy or very hardy. They don’t tire quickly
when running or charging—they’re not supermen, just fitter and tougher
than average soldiers.
•
Impetuous or berserker units may charge into combat without orders.
■ Hiding
Many units can hide in forests. Hiding is automatic when a unit moves into terrain
where its men can hide. A few highly specialized units can hide in less promising
terrain, or even in relatively open terrain. On the battlefield, hidden units are
shown with their soldiers crouching down.
• Enemy forces cannot see hidden units until they’re very close. This makes it
possible to stage tactical ambushes with hidden units.
• The same holds true for enemy forces, of course. It’s possible for an enemy
unit to hide and not be visible to you on the battlefield!
• Generals cannot hide, nor can captains.
■ Using a General in Combat
A general is the most important unit in an army:
• In a campaign battle, the general’s abilities and personality traits can have
effects on army morale, unit performance and the combat power of his
bodyguard unit. An army lead by a 7-star general, for example, will perform
with greater effectiveness than one under the command of a 1-star general.
• Man for man, a general and his bodyguard are among the most powerful
forces at your disposal. As a reserve to be thrown into battle at the critical
point, they can make the difference between victory and defeat!
• A general is the only unit that can
rally routing troops.
• The death of a general can have catastrophic effects on the morale of every
unit in his army.
• In the campaign game, the death of a general is also the death of a family
member. When the ruling family is dead, the faction is destroyed!
How to Assault a Settlement or Fort
Sieges can occur when an army assaults a settlement or attempts to break into a
fort. They have much in common with field battles, but with the important
qualification that one side is “safely” behind a set of defenses. All the normal rules
of the battlefield apply to sieges; orders for attacks and movement are issued in
the normal fashion.
64
There are, however, extra conditions that apply during sieges, and new weapons
and tactics for both the attacker and defender.
■ Sieges and Victory
Victory in a siege is very simple: the side that controls the center of the
settlement wins! You can also win by killing or routing the entire enemy army off
the field.
■ Siege Equipment
Siege equipment is constructed in the campaign game when an army is besieging a
settlement. In Custom Battles, siege equipment can be obtained during setup.
• In either case, suitable siege equipment is automatically assigned to units
when battle deployment begins.
• Without siege equipment or suitable artillery, it’s almost impossible for
attackers to break into a settlement.
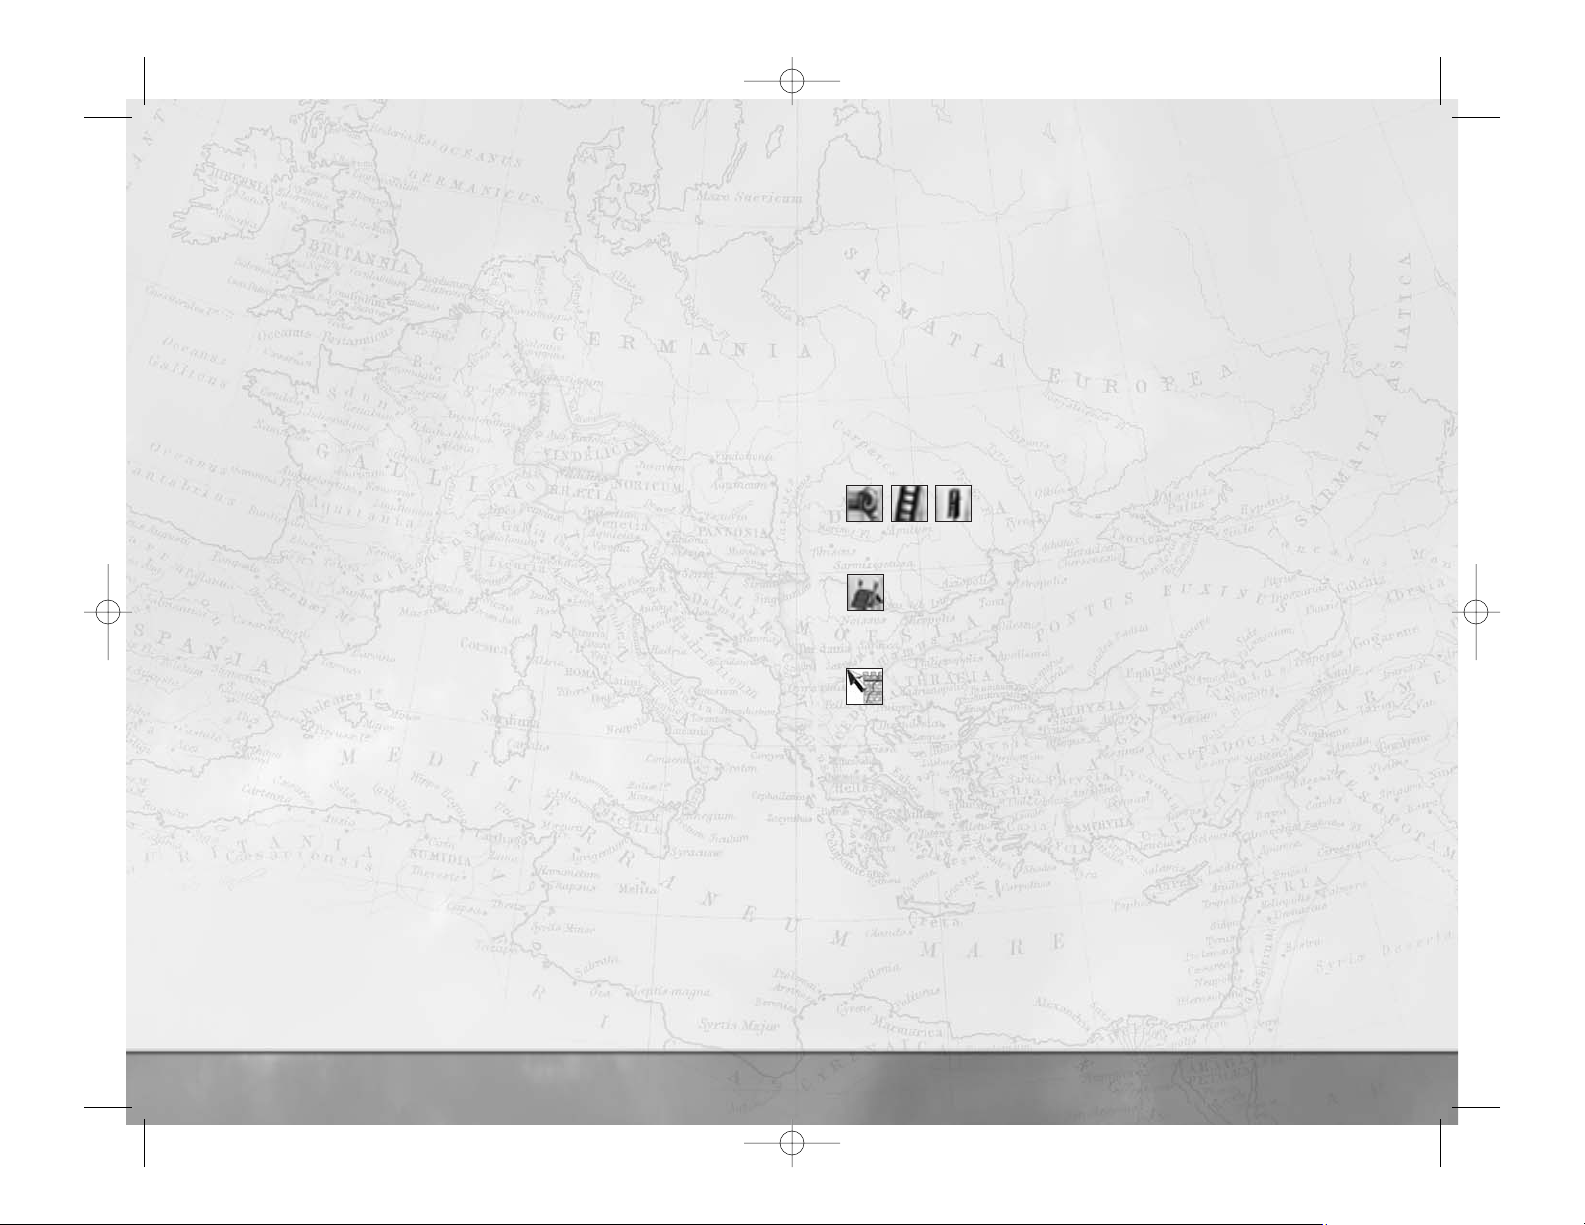
Rams, ladders and siege towers are assigned to individual
units. The unit cards of relevant units are marked with one of
these symbols to show they have siege gear. Units with
ladders, towers and rams cannot charge.
Saps (or sapping points) are placed on the battlefield in front of suitable
sections of wall. They cannot be moved during deployment.
Once the battle starts, units with siege equipment can be ordered to advance
against city walls:
A unit equipped with a
ram can be sent against a gateway or wooden
wall. The cursor changes to show a suitable target gate or wall section for
the ram. The unit will push the ram toward the gate or wooden defense and
then attempt to smash a way through. If it’s successful, it will haul the ram
out of the broken gateway so a clear path is available into the settlement.
• Elephants can be ordered to attack gateways or wooden walls without siege
equipment. They just batter a hole!
• A unit equipped with
ladders can be sent to scale a suitable stretch of
wall (not a tower). The cursor changes to show a suitable wall to assault.
The unit will march toward the walls, raise their ladders and climb up.
They’ll have to fight any defenders on the walls!
• A unit equipped with a
siege tower can be sent to assault a suitable wall
(not a tower in the defenses). The cursor changes to show a suitable wall to
attack. The unit will push the siege tower toward the wall, then clamber up
before launching an assault directly over the battlements. Units in siege
towers can fire arrows, and they’ll have to fight any defenders on the wall.
65
RTW_PC_rv7_60toEnd.qxd 12/13/05 7:06 PM Page 64
Page 5
Most types of units can be ordered into a sap in front of a stone wall.
Progress in digging a tunnel toward the defenses is shown by a line of
disturbed earth between the sap and the wall. When the diggers reach the
wall, there will be a pause while they undermine the walls and set fire to
the sap; this brings the walls crashing to the ground, opening a hole in the
defenses. The sapping unit(s) will then emerge from the tunnel.
• While any or all of these attacks are happening, the defenders will not be
idle. As an attacker, you should expect missile fire from defenders within a
settlement and on top of the larger walls. Towers will also fire missiles at
your troops.
When a
breach in the defenses is caused (either a gateway is broken or
walls are knocked down), the camera view switches to show the breach.
Units can be ordered to drop siege equipment by clicking on this button
in the Control Panel.
A unit that’s not currently equipped with siege gear can be ordered to
pick some up. The siege equipment has to have been abandoned by its
previous users.
■ Sieges and Artillery
Artillery units can fire at walls and buildings in settlements, as well as other units
on the battlefield:
This cursor appears whenever it’s possible to target walls or defenses with a
selected artillery unit. The artillery unit will continue to fire until its target
is destroyed or it runs out of ammunition. Note that it can take a very long
time for artillery to batter a hole in a stone wall.
This cursor appears whenever it’s possible to target a building with an
artillery unit. The artillery will fire as long as the target is standing or until
there’s no more ammunition.
Click on this button in the Control Panel to toggle flaming missiles on
and off. Flaming missiles can set buildings on fire, and the fires can
spread through a settlement.
• Artillery fire can be a little inaccurate. Large stones, for example, are rarely
very aerodynamic and it’s possible for shots to scatter instead of landing
exactly on target. Flaming missiles are also inaccurate. Experienced artillery
crews are better at consistent targeting, but don’t be surprised if there’s an
occasional missile that goes astray!
66
■ Capturing Walls
Wooden walls serve only as a barrier to keep out attackers. Stone walls, on the
other hand, can be actively fought over by the attackers and defenders:
• Any infantry (i.e. non-mounted) unit can be ordered to move to the top of a
wall, or ordered to attack defenders on a wall.
• If an attacking unit is in sole possession of a wall, gatehouse or tower, it will
capture the structure.
• The defenders can recapture walls.
■ Within the Walls
Once inside a settlement or fort, the attackers need to capture the central plaza
area to take the settlement. Naturally, the defenders need to keep control of this
area. This may involve fighting through every street if the defenders are feeling
particularly bloody-minded and obstinate.
• The longer street fighting takes, the more damage done to the settlement.
This damage needs to be repaired, as explained in the Campaigns section of
this manual.
• If the fighting takes a long time, it’s possible that fires will break out in the
settlement. The fires will spread unchecked until the battle is resolved.
■ Sally Battles
Sally battles occur when a settlement garrison emerges from behind their walls to
drive off their besiegers. The
garrison is always treated as the battle attackers
and the besiegers as the battle defenders even though, in strategic terms, the
situation is the other way around.
The besiegers appear on the battlefield outside the settlement with any siege
equipment they have constructed. Attacking the unit to which it is attached can
destroy siege equipment. This can be a good way of thwarting the progress of a
besieging army that might be about to assault the town.
It’s also possible to time sallies out of a besieged settlement so reinforcements
from a relief force are also present on the battlefield. See
How to Use
Reinforcements and Allies
on page 68 for more information.
One point to remember: it’s possible for sally battles to go horribly wrong if the
besiegers get into the settlement during the battle. The settlement defenders can
all be committed to taking the fight to the enemy, leaving their town or city
vulnerable to a sneaky incursion!
For the attackers (sallying out) to win, they must kill or drive off all the defenders
(the besieging army).
67
RTW_PC_rv7_60toEnd.qxd 12/13/05 7:06 PM Page 66
Page 6

68
• While your camera view onto the battlefield can be in any direction, the
mini-map is always oriented with north at the top. This can be useful in
working out where reinforcements are likely to appear.
• Reinforcement units won’t necessarily arrive on the battlefield at the start of
a battle. They can be delayed by intervening terrain, weather and sheer bad
luck. You may also notice that cavalry and light forces arrive at a battle
before heavier units.
Direct control of reinforcing units depends on the following:
•
Allies are always controlled by their own leaders, and are never placed
under foreign command—in this case, your command. You won’t be able to
issue orders to allied units. An allied army will arrive on the battlefield as a
single force.
•A
friendly army that’s led by a general will be independent and under
computer AI control during the battle. You won’t be able to issue orders to
units in that army. An independent army like this arrives on the battlefield as
a group, all at the same time.
•A
friendly army under the command of a captain appears as
reinforcements under your command. There are restrictions on when
reinforcement units become available to you:
■ Armies can have a maximum of 20 units. A unit with only one man
still counts as a unit, and occupies one of the 20 slots that exist
within an army.
■ Unless a spare slot exists, a reinforcement unit cannot enter battle.
The unit will wait in the out-of-bounds area until a spare slot opens
to receive it. This may be because one of your original units has been
eliminated in combat, you ordered it to withdraw or it has routed off
the battlefield.
■ A reinforcement’s unit card is transparent when it’s out of bounds
and about to come into battle. When it enters battle, the unit card
becomes opaque; it can then be selected and given orders like any
other unit.
■ Once a reinforcing unit is on the battlefield and under your control,
it’s treated as being part of your army.
■ A reinforcing captain’s unit has its unit card marked with a silver
star, in the same fashion as a subsidiary general.
Once a battle is over, any surviving reinforcements and allies return to their
original position on the campaign map.
69
How to Deal with Ambushes
Ambushes—when you’re the ambusher—are much like any other battle, but hopefully
rather one-sided in your favor! When you’re ambushed, however, things can very
rapidly get out of hand:
• The
ambusher gets the chance to deploy units before the battle as normal.
Unlike a normal battle, the deployment zone nearly surrounds the enemy, rather
than being a section of the battlefield.
• The
ambushed army is always deployed in a column formation because it’s
on the march, not prepared for battle. The general (or captain) is always at the
head of the column. There’s no chance to alter the deployment of the army.
The first rule when ambushed is the simplest:
Don’t Panic! It takes the enemy some
time to get into combat formation, and those moments can be used to form your
army into battle lines for the coming assault.
Ambushes may feel like harsh and uncompromising battles, but they’re intended to
be! A skilled leader will make use of all the weapons at his command, and this
includes not fighting fairly!
■ Failed Ambushes
It’s possible that an ambushing army will not “get the drop” on an enemy. In such
cases, a battle will still take place. Thus, each side must make the best of the day that
it can!
How to Use Reinforcements and Allies
Battles that are part of campaign games can sometimes involve more than one army
for both the attackers and defenders:
• When you’re attacking, the army that makes the attack on the campaign map
is always the one you control directly.
• When you’re defending on the campaign map, the army that’s attacked is
always the one you control.
• Other adjacent armies on the campaign map can appear on the battlefield as
reinforcements and/or allies. Friendly reinforcements are armies or
units belonging to the same faction;
allies are friendly troops that belong to
another faction.
• Reinforcements always arrive on the battlefield from the direction that
corresponds to their position on the campaign game map. A supporting army
on the campaign map to the north of the current battlefield will always appear
on the northern edge of the battlefield.
RTW_PC_rv7_60toEnd.qxd 12/13/05 7:06 PM Page 68
Page 7

70
• The check box for Arcade Style Battles turns off many of the realistic
features of the battle system. The emphasis in arcade battles is on action
and excitement, not on clever tactics and command skill.
• The
Show Advanced Conditions tick box brings up more options so
you can precisely tailor the battlefield and the conditions you’ll face. As
you’ll see, these can let you practice sieges, face different weather
conditions and even practice fighting at night!
■ Season allows you to choose the time of year for your battle. This
has an influence on how much (if at all) the weather changes during
the course of battle. Fighting in the depths of winter can affect how
tired your troops become.
■ Weather allows you to set the initial weather for the battle (but
you probably guessed that!). Rain and snow have negative effects on
bow-armed troops.
■ Time of Day sets the starting light conditions for the battle.
■ Time Limit sets the timer for the battle. It’s entirely possible to
run out of time before achieving victory when attacking, or
deliberately run out the clock to achieve a defensive victory.
■ Advice Level determines how active Centurion Marcus (your
battlefield advisor) will be in giving you information and tactical hints
during the battle.
■ Settlement Level runs from none to Huge City. If you want to
fight a siege or sally battle, you’ll need to include a settlement on
the map.
■ Settlement Culture only applies if there’s a settlement present.
This allows you to choose the look and layout of the settlement from
the six cultures in the game. Barbarian settlements can be no larger
than a minor city.
■ Settlement Defenses only applies if a settlement is present. This
allows you to choose the type and size of the walls around a
settlement. A settlement without walls is pretty unlikely in the
ancient world, and not much of a challenge to any besieging army.
• When you’re happy with your choices, click on the
continue arrow.
Return to the Single Player menu at any time by clicking on the
U-shaped arrow.
71
■ Going to the Aid of Allies
When one of your armies is adjacent (on the campaign map) to a battle involving
one of your allies, you’ll be given the option of going to your ally’s aid. You’ll be in
control of your army during the battle.
■ Settlement Assaults and Allies
If you and an ally are assaulting an enemy settlement and conquer it, the new
owner of the settlement is the faction that initiated the assault. If you attacked the
settlement on the campaign map during a siege, you become the new owner. If
your forces go to the aid of your ally, then you have the satisfaction of having
helped your friends gain some new lands!
CUSTOM BATTLES
A custom battle gives you the opportunity to command any army you want in
battle. This is a “
sandbox mode” that allows you to try any kind of combination
of terrain, armies, units, allies and enemies you want. Custom battles are an
excellent way of learning the battle game and an ideal way to hone your skills
before trying your command abilities online!
• Select
Custom Battle from the Single Player menu to begin the
process of setting up and fighting your own battle. You’ll be given the
option of saving away your custom battle setup during the creation process.
Choosing Conditions
Initially, this screen appears in the express
setup version that only allows you to select
a limited number of variables for your
custom battle:
•
Game type determines the victory
conditions for the battle. For example,
Last Man Standing is a fight to
the death.
•
Difficulty sets the behavior of your opponents. At easier difficulty levels,
you’ll find that enemies tend to have lower morale, for instance, while high
difficulty levels present you with a greater threat.
•
Terrain allows you to choose the landscape for your battle. As you might
expect, troops tire more quickly in hot, dry conditions such as a desert.
Some armies are not at their best in some terrain—usually an army fights
best on its home ground.
RTW_PC_rv7_60toEnd.qxd 12/13/05 7:06 PM Page 70
Page 8

Customize Battle
This screen allows you to select the faction
armies you want in the battle, and
assign them to different sides for the
coming struggle:
• Team Denarii allows you to set a
purchasing budget for each team (side)
in the battle. This money is used to
purchase individual units. It’s also used
to purchase equipment and experience upgrades for units. If there’s more
than one army on a team, the money is split equally between the whole
team; each army does not get the full budget! Indirectly, the amount of
money sets the maximum size for each army in the battle (there’s still the
option to have lots of cheap units or a few expensive ones).
• The first army in the central list is always controlled by a
human
player
—you! All other armies are shown as “CPU player” and are
controlled by the game or are
empty and not in use.
• The list in the center of the screen shows the armies that have been
selected. There are a couple of methods for choosing an army for each slot
on this list:
■ Left-click on the name box, and then left-click on any of the
faction shields on the right of the screen. Duplicated factions are
not allowed in custom battles, so any faction that’s already been
chosen has its shield grayed out.
■ Left-click on either arrow to cycle through the full collection
of available factions. A faction that’s already been used is not
available. Each large faction shield is highlighted in turn.
■ If you want to clear one of the armies from the list, left-click
on the deselect shield icon on the right hand side of the screen.
Alternately, you can click on the arrows on either side of the
small shield icons until the small version of the
deselect faction shield appears.
There can be up to eight teams (I through VIII in Roman numerals)
in any battle. Click on the arrows to change the team number for
an army. Armies with the same team number are automatically
allied. Any force with a different team number is fair game!
72
If there’s a settlement involved in the battle, there can only be two
teams, and one of these must be defined as the settlement defenders.
Left-click on this icon to select the settlement defenders.
When you’re happy with your choices, click the continue arrow to move on to
selecting units for each army. You can return to the new game menu at any time
by clicking on the U-shaped arrow.
Customize Army
This screen allows you to select the individual
units in each army. The only limit is the
budget—you can select any mix of units
you like.
•
Denarii Left shows the remaining
budget for unit selection and upgrades.
Every unit costs denarii, and no more
than this budget may be spent.
Overspending is not allowed!
• Click on a
faction shield to change armies and select another force. The
army currently being selected has a glowing faction shield.
If this icon is displayed, the unit counts as an attacking force. This is
always the case in field battles where no settlement is involved. When
attacking a settlement with defenses, extra siege equipment options are
shown on this screen for the attacking army. It’s almost impossible to
get into a settlement without siege equipment, so make sure the
attackers have some!
If an army is defending a settlement, a shield icon is displayed.
• The screen has two boxed areas that are used for unit selection. The upper
area shows all units that belong to the selected faction. The lower area
shows selected units that are part of the army.
■ Move the cursor over any unit card. A tool tip appears giving a brief
description of the unit.
■ Left-click on a unit in the upper area to add it to the army.
The unit cost is immediately deducted from the available money.
■ The first unit selected is always the army leader. Unless this
is a
general or a (barbarian) warlord, the army will be led by
a
captain.
73
RTW_PC_rv7_60toEnd.qxd 12/13/05 7:06 PM Page 72
Page 9

74
Click on this button to make the computer select an army for you. It
will do its best to spend your budget efficiently and create as flexible a force
as possible. This can be a good way of giving yourself a starting point when
creating an army: you can change the computer’s initial choices to match
what you want.
Click here to
save the custom battle setup or load a custom battle you
created earlier.
■ The game automatically saves the last custom battle setup you created,
but this file is overwritten every time you start a custom battle.
When you’re happy with all your choices, click on the
continue arrow. You can
return to the
Customize Battle screen at any time by clicking on the U-shaped arrow.
MULTIPLAYER GAMES
Multiplayer games allow you to battle against other people, either over the Internet or
across a Local Area Network (LAN). You can create multiplayer customized battles or
fight one of the special historical multiplayer battles that have been included with
Rome: Total War.
There are three options on the multiplayer menu:
•
Online Battles—Click here to host or sign in to an online battle hosted
through GameSpy™. You’ll need an active Internet connection before starting
and any firewall software on your PC needs to be correctly configured. See the
separate technical notes supplied on the
Rome: Total War CD-ROMs for
further information. You won’t need a GameSpy profile to play
Rome: Total
War
online.
•
LAN Battles—Click here to host or sign on for a battle across your
LAN. This battle will be fought on local machines and doesn’t require an
Internet connection but the process for setting up a LAN battle is the same
as the Internet.
•
Change CD Key—Click here to change the CD key used for multiplayer
battles. You may want to do this so that two (or more) people can use the
same PC, each with their own unique CD key.
75
■ Right-click on a unit in the lower area to remove it from the
army. The unit cost is credited to the available budget.
■ You can drag-and-drop units to select them for the army. To
deselect units, drag from the army and drop them in the top unit box.
■ You can drag-and-drop units within the lower army box. You can
drag-and-drop a unit into the first place in your army (the upper
left-hand box) to make it the commander’s unit.
• You can upgrade some units in an army. This costs money for every
improvement you make. Not all units can be upgraded:
■ Left-click on a unit in the army to select it—not a
right-click since this removes the unit from the army!
Click on the arrows next to the chevrons to change the unit’s
experience rating. The more chevrons, the greater the unit’s
experience. Gray chevrons indicate no experience.
Click on the arrows next to the sword to change the unit’s
weapon quality. Gray indicates standard weaponry. Bronze
(+1), silver (+2) and gold (+3) indicate increased quality.
Click on the arrows next to the shield to change the unit’s
armor
quality
. Gray indicates standard armor. Bronze (+1), silver (+2)
and gold (+3) indicate increased quality.
• In siege battles you can provide
siege equipment for the attacking army:
Click on the arrows next to each of the siege equipment items
to add them to the army.
Note that all of these have a cost, so make allowance in your
budgeting for some siege gear! These options are only
available during siege battles, and only the siege equipment
that’s needed for the battle is shown.
Click on this button to
clear the selected units in an army and start
again.
RTW_PC_rv7_60toEnd.qxd 12/13/05 7:06 PM Page 74
Page 10

Setting Up a
Multiplayer Battle
Once you’ve confirmed your name for the
game, you are taken to the Lobby Screen
for both online and LAN battles.
Here, you can choose to host a
game by setting up the initial
conditions for the battle.
Or join a game that’s ready to play.
Chat
At the bottom of all multiplayer screens is the chat area. Type a message and it
appears on-screen for everyone in the lobby. Between the message window on the
left and the player list on the right are a set of toggle buttons that allow you to
filter and/or ignore messages.
• Select the player you want to ignore (or filter) and then click on the
appropriate toggle. You can change your mind later.
Hosting a Game
Hosting a game is similar to setting up a Custom Battle. See Customize
Battle
on page 72 for more information.
• The host gets to decide on the overall battle conditions, but each player gets
to select his or her own army.
Unlike a Custom Battle, the host has access to a special
kick feature. This
kicks a player out of the game at the host’s discretion, a useful tool for
excluding abusive individuals!
Multiplayer Historical Battles
In addition to creating custom multiplayer battles, the host also has the
choice of selecting one of the special versions of
Rome: Total War’s
historical battles. This limits the number of players to a total appropriate to the
battle. Simply select the battle from the on-screen list.
76
Joining a Game
Once you‘ve decided to join an existing game, you’re committed to the setup
selected by the hosting player.
Once you’ve made your choice on each screen, click on the continue button in the
lower right-hand corner. Until all players have completed their choices, you’ll see a
“Waiting for…” message on-screen. When all players are ready, the multiplayer
game moves on to the next part of setup or into battle itself!
After a Battle
When a battle is concluded, you’ll see a report on how well or badly you fared, and
then be returned to the Lobby.
77
RTW_PC_rv7_60toEnd.qxd 12/13/05 7:06 PM Page 76
Page 11

79
78
LIMITED WARRANTY:
SEGA of America, Inc. warrants to the original consumer purchaser that the game disc
or cartridge shall be free from defects in material and workmanship for a period of 90days from the original date of purchase. If a defect covered by this limited warranty
occurs during this 90-day warranty period, the defective game disc or cartridge will be
replaced free of charge. This limited warranty does not apply if the defects have been
caused by negligence, accident, unreasonable use, modification, tampering, or any other
causes not related to defective materials or manufacturing workmanship. This limited
warranty does not apply to used software or to software acquired through private
transactions between individuals or purchased from online auction sites. Please retain
the original, or a photocopy, of your dated sales receipt to establish the date of
purchase for in-warranty replacement. For replacement, return the product, with its
original packaging and receipt, to the retailer from which the software was originally
purchased. In the event that you cannot obtain a replacement from the retailer, please
contact Sega to obtain support.
Obtaining technical support/service
To receive additional support, including troubleshooting assistance please contact
Sega at:
• Website: www.sega.com/support
• E-mail: support@sega.com
• Telephone: 1-800-USA-SEGA
LIMITATIONS ON WARRANTY
ANY APPLICABLE IMPLIED WARRANTIES, INCLUDING WARRANTIES OF MERCHANTABILITY AND
FITNESS FOR A PARTICULAR PURPOSE, ARE HEREBY LIMITED TO 90 DAYS FROM THE DATE OF
PURCHASE AND ARE SUBJECT TO THE CONDITIONS SET FORTH HEREIN. IN NO EVENT SHALL
SEGA OF AMERICA, INC., BE LIABLE FOR CONSEQUENTIAL OR INCIDENTAL DAMAGES
RESULTING FROM THE BREACH OF ANY EXPRESS OR IMPLIED WARRANTIES. THE PROVISIONS
OF THIS LIMITED WARRANTY ARE VALID IN THE UNITED STATES AND CANADA ONLY. SOME
STATES DO NOT ALLOW LIMITATIONS ON HOW LONG AN IMPLIED WARRANTY LASTS, OR
EXCLUSION OF CONSEQUENTIAL OR INCIDENTAL DAMAGES, SO THE ABOVE LIMITATION OR
EXCLUSION MAY NOT APPLY TO YOU. THIS WARRANTY PROVIDES YOU WITH SPECIFIC LEGAL
RIGHTS. YOU MAY HAVE OTHER RIGHTS THAT VARY FROM STATE TO STATE.
To register this product, please go to www.sega.com
NOTES
RTW_PC_rv7_60toEnd.qxd 12/13/05 7:06 PM Page 78
Page 12

NOTES
80
81
NOTES
RTW_PC_rv7_60toEnd.qxd 12/13/05 7:06 PM Page 80
Page 13

82
NOTES
83
NOTES
RTW_PC_rv7_60toEnd.qxd 12/13/05 7:06 PM Page 82
Page 14

84
NOTES
RTW_PC_rv7_60toEnd.qxd 12/13/05 7:06 PM Page 84
 Loading...