

Page 1
•
•
*Transmission range will vary depending on installation and operating environment
®
RA-4961-PRQ
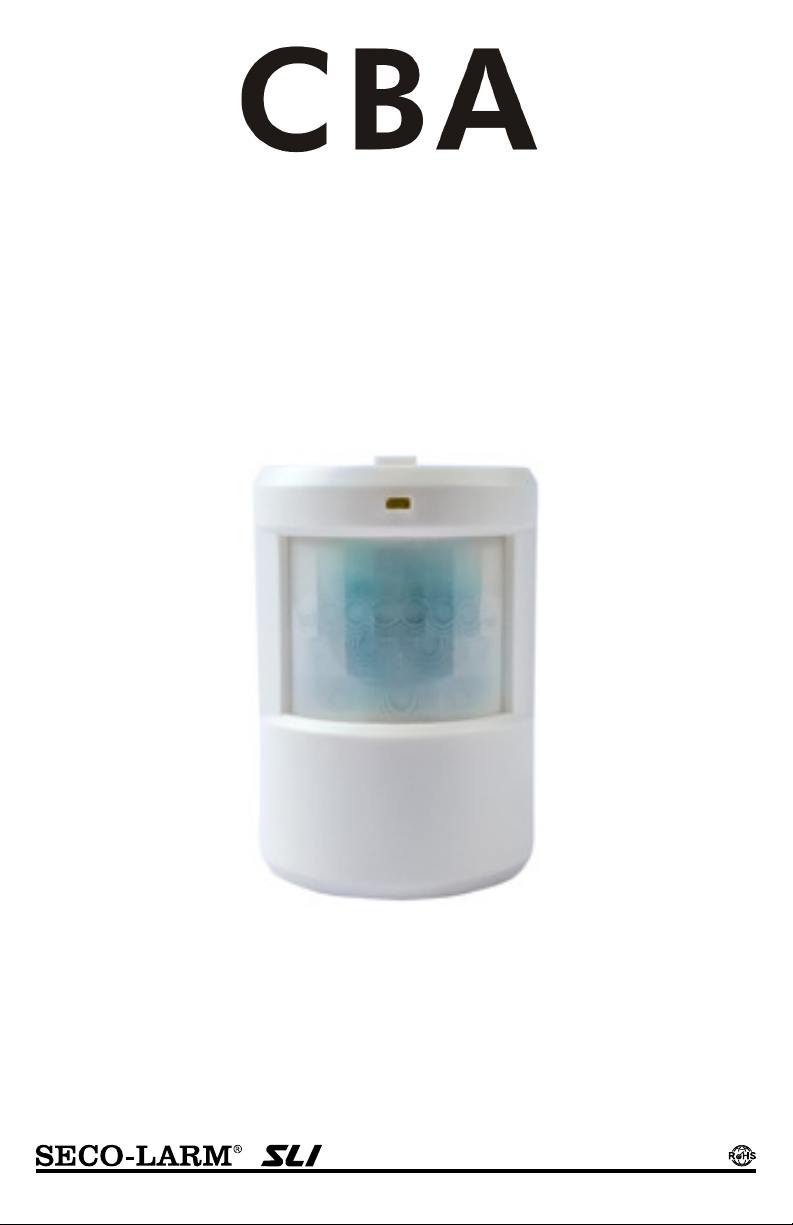
Wireless Indoor PIR Sensor
Manual
For use with RA-4961 series receivers
• Wirelessly monitor entryways, rooms, or
other areas
• Up to 1,000ft (305m) transmission range*
Programmable activation time
• Runs on batteries for a convenient,
wireless installation
• Adjustable mounting angle
Page 2

CBA Wireless Indoor PIR Sensor
Specifications:
Overview:
Model number
RA-
4961-PRQ
Frequency
914.8MHz
Transmission range*
Up to 1,000ft (305m)
Channels
1
Power supply
1x 9VDC Battery
(Not included)
Current
Standby
7µA
Max 18mA
Estimated battery life
300 days (3 triggers/day)
Low battery indicator
Zone LED on rec
eiver blinks continuously
PIR sensor range
26' (8m)
PIR sensor detection angle
80º h
orizontal
Operating temperature
-4º~140º F (
-
20º~60º C)
Dimensions
27/16"x115/16"x39/16" (62x49x90
mm)
Front Front (Cover removed)
Side
Sensor
LED
Mounting
Sensor
9V Battery
LED
ON/OFF
Parts List:
1x
Wireless indoor PIR sensor
2x Screw
s
Dimensions:
2x Screw anchors
1x Manual
1x Sensor Bracket
2"
27/16"
39/16"
115/16"
draw
*Transmission range will vary depending on installation and operating environment.
(62mm)
(90mm)
(49mm)
(51mm)
Switch
connector
2 SECO-LARM U.S.A., Inc.
bracket
Page 3

CBA Wireless Indoor PIR sensor
Installation:
1. Select the location where the sensor will be mounted.
1. To acc
ess the timer programming and install/change
the battery,
the cover of the sensor
Removing the Cover
Programming the Sensor:
1. Follow the pairing instructions for the
RA-
4961-K1Q receiver or RA
-
4961-VPQ wireless
1. Use the DIP Switch to program the sleep timer to 5 seconds
or 5 minutes. The sensor will
Programming the Sleep Timer
5 Minutes
5 Seconds*
6~9’
Pairing the Sensor:
2. The sensor should be mounted 6~9ft (2~3m) above the ground, have a
clear view of the desired detection area, and be safe from water.
3. Use the two included mounting screws to mount the sensor bracket to
the surface.
4. Slide the sensor down onto the bracket.
5. Point the sensor toward the desired detection area.
(2~3m)
must be removed.
Note: Remove the sensor from the bracket before removing the cover.
2. Push down behind the tab on the top of the sensor and carefully pull the cover away from
the sensor body.
not reactivate for the set amount of time after the sensor is triggered.
*Default setting
receiver to enter the pairing mode. (Refer to the RA-4961-K1Q or RA-4961-VPQ manual for
detailed instructions).
2. Turn the sensor on and wait up to 15 seconds for the PIR to begin sensing.
3. Wave a hand in front of the sensor to activate it for pairing.
4. The receiver will beep once and cycle to the next channel
to confirm successful pairing.
SECO-LARM U.S.A., Inc. 3
Page 4

CBA Wireless Indoor PIR Sensor
Installing the Battery:
Also Available from SECO
-
LARM:
1. Remove the cover by pushing down
behind
the
Wireless
Wireless
Wireless
Wireless
Wireless
Wireless
NOTICE
:
However, the
LARM reserves the right to
Trademarks
eproduced or copied, in whole or
LIMITED
WARRANTY:
LARM product is warranted against defects in material and workmanship while
LARM’s obligation is limited to
This Warranty
is void if damage is caused by or attributed to acts of God, physical or electrical misuse or abuse, neglect, repair or
LARM determines that such
The sole
ive remedy, shall be limited to the replacement or repair only, at
LARM be liable for any special, collateral, incidental, or consequential
SECO
-
LARM
tab on the top of the sensor and carefully pulling
the cover away from the sensor body.
2. Connect a 9V battery to the battery connector.
3. Replace the cover.
Note: Low battery is indicated on the receiver. Refer to the RA-4961-K1Q or RA-4961-VPQ manual for more information.
9V Battery
Alert System
RA-4961-K1Q
Outdoor PIR Sensor
RA-4961-DSQ
Magnetic Contact
RA-4961-MCQ
FCC COMPLIANCE STATEMENT: FCC ID: YAHHAX-900
THIS DEVICE COMPLIES WITH PART 15 OF THE FCC RULES. OPERATION IS SUBJECT TO THE FOLLOWING TWO
CONDITIONS: (1) THIS DEVICE MAY NOT CAUSE HARMFUL INTERFERENCE AND (2) THIS DEVICE MUST ACCEPT
ANY INTERFERENCE RECEIVED, INCLUDING INTERFERENCE THAT MAY CAUSE UNDESIRED OPERATION. Notice:
The changes or modifications not expressly approved by the party responsible for compliance could void the user’s authority
to operate the equipment. IMPORTANT NOTE: To comply with the FCC RF exposure compliance requirements, no change
to the antenna or the device is permitted. Any change to the antenna or the device could result in the device exceeding the
RF exposure requirements and void user’s authority to operate the device.
used in normal service for one (1) year from the date of sale to the original customer. SECOthe repair or replacement of any defective part if the unit is returned, transportation prepaid, to SECO-LARM.
This SECO-
Pushbutton
RA-4961-PBQ
Vibrating Receiver
RA-4961-VPQ
Mailbox/Tilt Sensor
RA-4961-MBQ
alteration, improper or abnormal usage, or faulty installation, or if for any other reason SECOequipment is not operating properly as a result of causes other than defects in material and workmanship.
obligation of SECO-LARM and the purchaser’s exclus
SECO-LARM’s option. In no event shall SECOpersonal or property damage of any kind to the purchaser or anyone else.
SECO-LARM policy is one of continual development and improvement. For this reason, SECOchange specifications without notice. SECO-LARM is also not responsible for misprints or typographical errors.
are the property of SECO-LARM USA Inc. or their respective owners.
Copyright © 2015 SECO-LARM U.S.A., Inc. All rights reserved. This material may not be r
in part, without the written permission of SECO-LARM.
16842 Millikan Avenue, Irvine, CA 92606 Website: www.seco-larm.com
Phone: (949) 261-2999 | (800) 662-0800 Email: sales@seco-larm.com
The information and specifications printed in this manual are current at the time of publication.
®
U.S.A., Inc.
MiRA-4961-PRQ_150916.doc
PIHVK1
4 SECO-LARM U.S.A., Inc.
 Loading...